Verve 6700 User manual

USER MANUAL
VERVE 6700
2GB Multimedia Player
VERVE

CONTENTS
Warning .......................................................................
Important Informafion....................................................
Before You Begin..........................................................
Software Setup.............................................................
Overview......................................................................
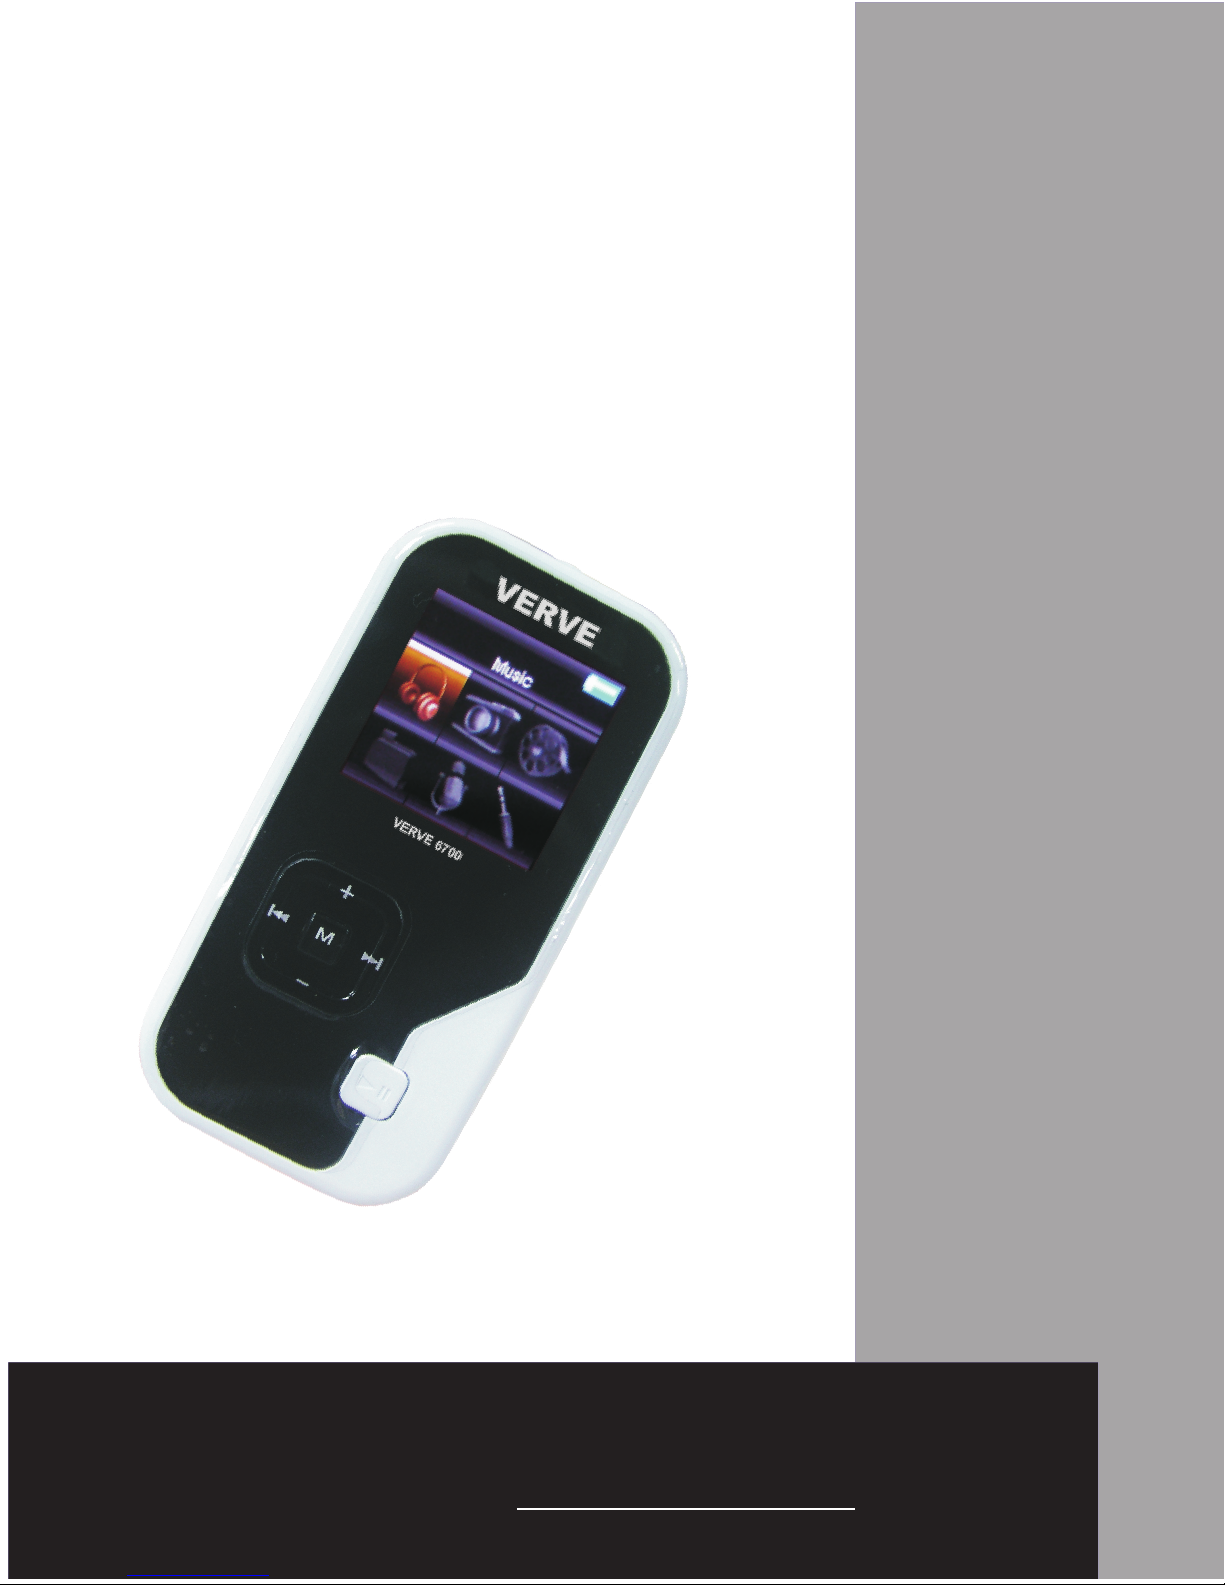
Player Overview......................................................
Product Features....................................................
Operational Notes...................................................
General Controls..........................................................
Power on/off...........................................................
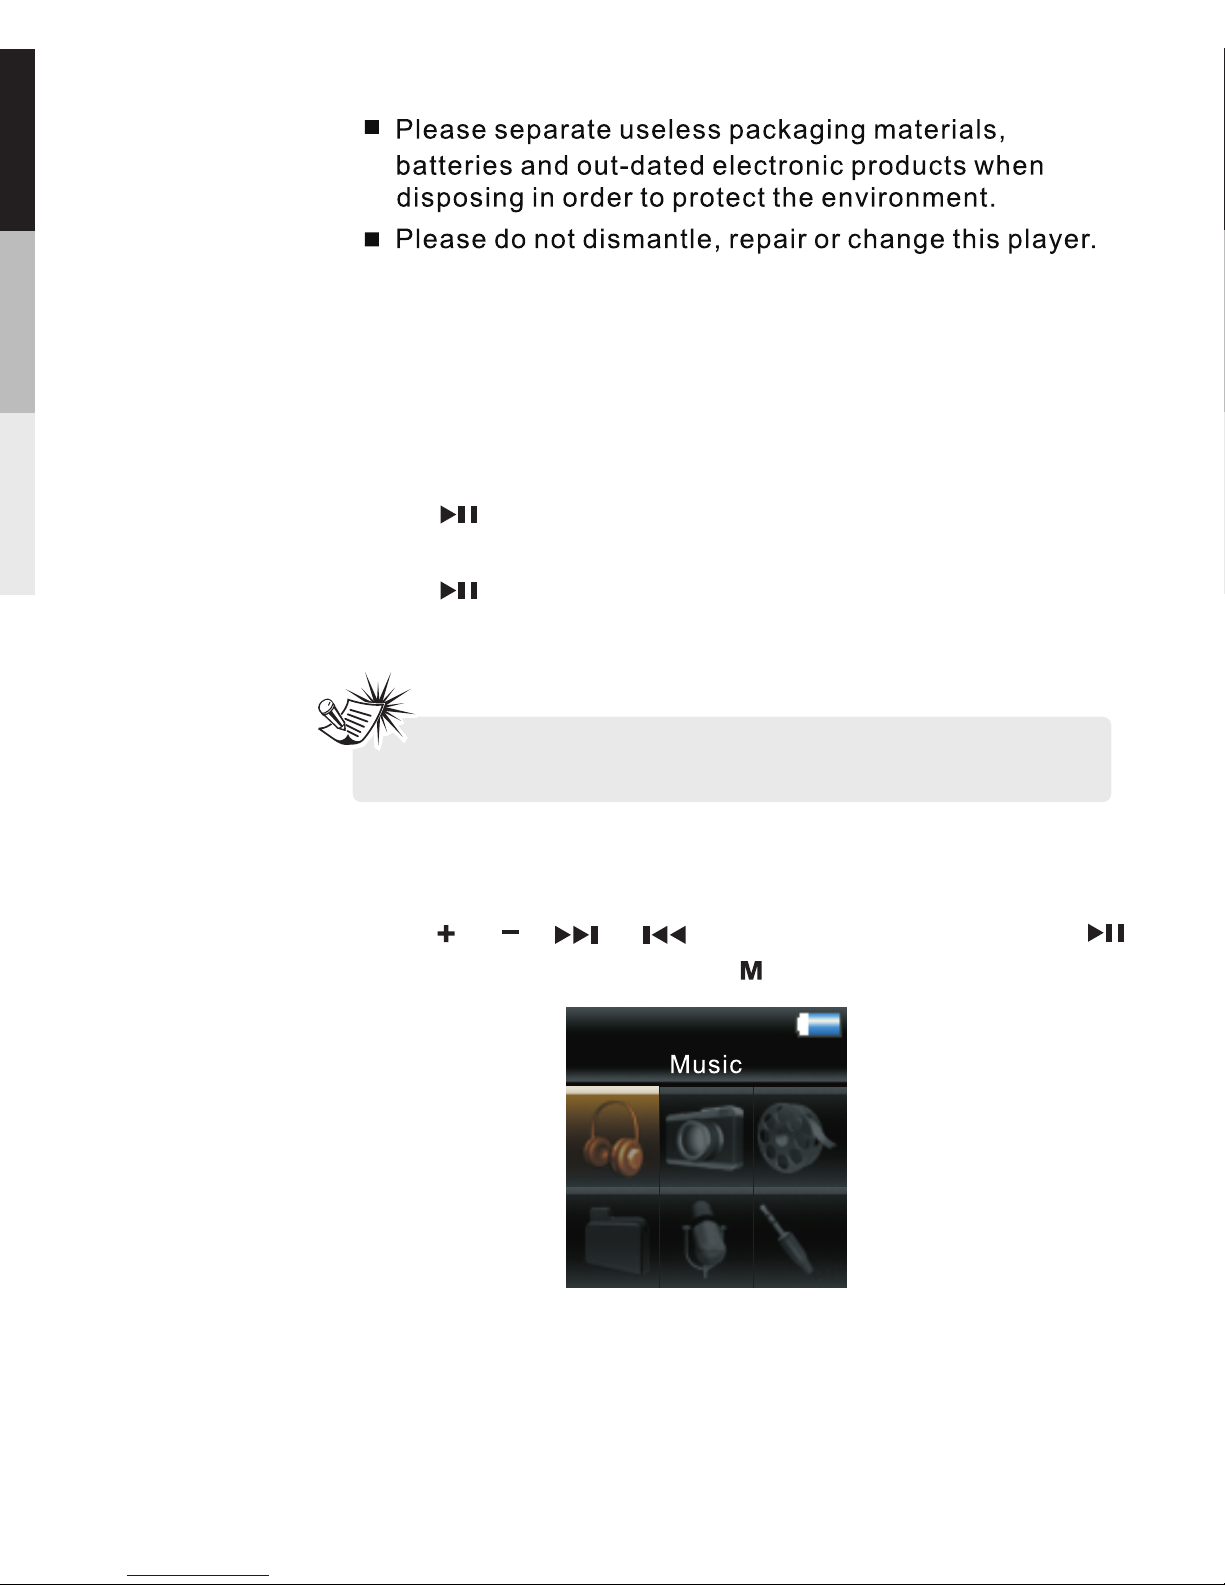
Main menu.............................................................
Listening and Recording................................................
Music Playing.........................................................
Voice Recording....................................................
Playback Recorded Voice Recording.......................
Line-in Recording..................................................
Playback Recorded Line-in Recording.....................
Deleting Recorded Files.........................................
Picture and Video Viewing............................................
Picture Viewing.....................................................
Video Viewing........................................................
1
2
3
5
6
6
7
7
8
8
8
9
9
13
14
15
17
17
18
18
19
Connection to the Computer.........................................
Charging the Battery..............................................
Important Battery Information.................................
Transferring Files to the Player.....................................
Installation Window 98SE Drive....................................
Conversion Software Install and Using.........................
Disconnecting your player from the Computer................
24
25
25
26
31
32
35
Warranty Card ..................................................................36

1
WARNING

2
Important Information
Performance may be slightly affected of
there are more than 50 files in the player.
When exposed to electrostatic discharge,the
MP3 player may malfunction and require user
to reset the MP3 player.

Thank you for This product will
play open mp3 and Windows Media audio (WMA)
content as well as content purchased from most online
music download services.
your purchase.
Before You Begin
(Note: Services and applications must be Windows Media
audio-compliant andsupport Digital Rights Management.)
After purchasing and downloading music to your PC,
you are now ready to move content to your player. To
transfer the music, you must use Windows Media
Player or the application recommended by the online
music download service.
TM
Your player came with everything you need to make music
portable — all of the items shown below should have been
packed in the box with your player.
Unpacking Your Player
VERVE Player
USB cable
Earphones
Line-in cable
3
CD

• Pentium III 500MHz or higher recommended
• Windows® 2000 (Service Pack 3) or Windows® XP
(Service Pack 1 or higher) or Windows Vista
• Internet Explorer 6.0 or higher with Internet access
• 250MB or more free hard disk space for the software
• 128MB RAM (256MB recommended)
• CD drive capable of digital audio extraction
• USB port (2.0 recommended)
• Installed sound card
• Installed 16-bit color video card
Computer System Requirements
• Windows® XP (Service Pack 1 or higher) or Windows
Vista
• Internet Explorer 6.0 or higher with Internet access
• Windows Media Player 10 or higher
Secure Music Download Requirements
• Keep player out of direct sunlight. Exposure to direct
sunlight or extreme heat (such as inside a parked car)
may cause damage or malfunction.
• Do not expose to rain or moisture.
Caution
To use a headset safely, please keep the following in mind:
• Do not play your headset at a high volume. Hearing
experts advise against continuous extended play.
• If you experience ringing in your ears, turn down the
volume or stop using the headset.
• Do not use a headset while driving a motorized vehicle or
riding a bike. It may cause a traffic hazard and is illegal in
many areas.
• Even if your headset is an open-air type designed to let
you hear outside sounds, don’t turn up the volume so
high can’t hear sounds around you. that you
Headset safety
TM
TM
4

Use of headphones while operating an automobile or
moving vehicle is not recommended and is unlawful in
some states and areas. Be careful and attentive on the
road.
Caution While Driving
As with any portable player, you must back up the drive
regularly.VERVE is not responsible for lost data.
Back up your data
5

Player Overview
1.Lcd
2.On/Off/Play/Pause/Com
3.Menu
Rew/Volume-/Fwd/Volume+
4.Hold
5.Reset
6.Internal Microphone
7.
Socket
Earphone / Line-in /
Data
Note: Push“ ”to right to , push
“ ”to left to
disable the buttons
re-enable.
HOLD
HOLD
Overview
6

Product Features
Operational Notes
Compact, light weight and stylish design
65K color LCD display.
Built in Li battery.
Playback MP3. WMA. WAV multi format file.
Playback SMV format video
.
No driver required for WINDOWS
WINDOWS 98SE.
Viewing JPG format .
7 Equalizer Flat. Bass. Rock. Jazz.
Classic. Pop. Graphic.
.
files (video conversion
software included).
versions newer than
pictures.
modes:
Please release the before performing any
operation
HOLD button
7
to recharge the battery

Press or , or to , press“ ”
to confirm selection , press“ ”to return.
make a selection
1.Music
2.Picture
3.Videos
4.My Selections
5.Voice Recording
6.Line-in Recording
Main menu
Power on/off
Press button, the device switches on and
VERVE appears in the LCD.
Press and hold for app 2 second , The device
switches off and “shutting down” appears in the LCD.
8
GENERAL CONTROLS
Note: Remember to release the HOLD switch before
using the player,and lock it when not in use.

Music Playing
In home menu ,press or , or to select, press
to confirm or enter playback, press“ ”to re turn to
menu.the previous
Press twice during playback to enter Home menu.
Highlight “ Music ” by pressing or . Then press to
advance.
Highlight “ Artists ” by pressing or . Then press
to advance.
9
Listening and Recording

The Artists menu appears with the artists listed in
alphabetical order.
·Scroll up and down the “ Artists ” menu by pressing or .
·Return to the previous menu by pressing .
·View the albums from the artist highlighted by
pressing (the albums of that artist appear in
alphabetical order).
Scroll up and down the “ Albums ” menu by pressing or .
·View the songs from the album highlighted by
pressing (the songs of that album appear in track
order).
Artist
Artist 1
Artist 2
Artist 3
Artist 4
Artist 5
10

,
Press during playback to access the Player s menu.
Music
In “music play back ” display, press to starts or pauses
playback,
Press to skip to the next file.
Press to skip the previous file.
Press and hold to scan forward within a file.
Press and hold to scan back wards within a file.
Press or to increase or decrease the volume.
Highlight the desired song by pressing or .
·To play the song, press or . The song s
information will show on the display during playback.
·To pause playback, press .
,
Volume
11

To scroll up or down to highlight items on the screen,
press or .
To confirm your selection or enter and view the submenu,
press .
To go back to the previous menu level, press .
Press repeatedly to select options.
Shuffle …… Press repeatedly to select shuffle on
or off.
Repeat … … Press repeatedly to select a repeat mode.
Slide show … … defines the viewing time for This
each picture during a slideshow. Press repeatedly to
select among:off,3,5,10 and 15 seconds.
Adding Files to My Selections …… You can add your
favorite songs to my Selections.
Clearing My Selections … … Press during playback
to access the Player s menu. Highlight “Clear MySel”.
by pressing or .Then press to confirm deletion
of the selected items.
Settings … … Press to enter the settings menu and
then press or to highlight an item. Press
repeatedly to change settings.
System …… Press to show the amount of free Info
space available and the firmware version.
EQ … … Press to select a EQ mode.repeatedly
Options available: Flat,Bass,Classic,Pop,Rock,Jazz
,
12

Voice Recording
1.To start voice recording, press twice during playback
to access the Home menu.
2.Press or to highlight “ Voice Recording ”. Then
press to advance.
3.Press or to highlight “ Record ”.Then press to
access “ Voice Recording ” mode.
4.Press when the display shows “ Ready ” to start voice
recording.
Record
Play back
13

5.Press to pause recording. Press again to resume
recording.
6.press to stop recording.
Playback Recorded Voice Recording
1.Follow steps 1-2 above to enter the Voice Recording
sub-menu.
2.Press or to highlight “ Play Back ” and press to
confirm your selection.
3.Press or to highlight the recorded file and to start
playback.
Voice Recording
wav
VOICE003
Repeat … … Press repeatedly to select a repeat mode.
Slide show … … defines the viewing time for This
each picture during a slideshow. Press repeatedly to
select among:off,3,5,10 and 15 seconds.
Adding Files to My Selections … … You can add your
favorite songs to my Selections.
Clearing My Selections … … Press during playback
to access the Player s menu. Highlight “Clear MySel”.
,
Delete file: You can delete now playing file.
In Playback mode, press or to select; press to
confirm or change; press to return to previous menu.
EQ … … Press to select a EQ mode.repeatedly
Options available: Flat,Bass,Classic,Pop,Rock,Jazz
14

3.Press or to highlight “ Record ”. Then press to
access the line-in recording mode.
Record
Play back
Line-in Recording
1.To start line-in recording, press twice during playback
to access the Home menu.
2.Press o r to highlight “ Line-in Recording ”, Then
press to advance.
Line-in Recording
by pressing or .Then press to confirm deletion
of the selected items.
Settings … … Press to enter the settings menu and
then press or to highlight an item. Press
repeatedly to change settings.
System …… Press to show the amount of free Info
space available and the firmware version.
15
Line-in Recording
Line-in Recording is for recording directly from another
audio device that has a heaphone or Line out port. Connect
one end of the supplied cable into the other audio device's
heaphone or Line out port, and the other end into the
Earphone/Line-in/Data socket on this player.

6.Press to stop recording.
5.Press to pause record. Press again to resume
recording.
wav
VOICE003
Line-in Recording
4.Press when the display shows “ Ready ” to start
line-in recording
Line-in Recording
Ready
Tips: Adjust the volume level of the source audio device
in order to achieve the optimum recording quality. The
source output varies from model to model. You might want
to experiment with a few recordings to determine the
proper volume output of the source to get optimum
recording quality from the player. Recommend starting
the source at around the room volume level.
16

Deleting Recorded Files
1.While an unwanted recorded voice or line-in recording is
highlighted, press to start the playback.
·Refer to Playback Recorded Voice Recording and
Playback Recorded Line -in Recording for details in
highlighting a recorded file.
2.Press and then or to highlight “ Delete File ” and
press to confirm the deletion.
2.Press or to highlight “ Play Back ” and press to
confirm your selection.
3.Press or to highlight the recorded file and to
start playback.
Playback Recorded Line-in Recording
1.Follow steps 1-2 above to enter the Line-in Recording
sub-menu.
17

Picture Viewing
1.To start picture viewing, press twice during playback
to access the Home Menu.
2.Press or to highlight “ Picture ”. Then press to
advance.
3 Press or to highlight picture, press to confirm
your selection.
.
In picture viewing, press or to select picture,
press to confirm your selection; press to return to
previous menu level.
18
Picture and Video Viewing
Table of contents