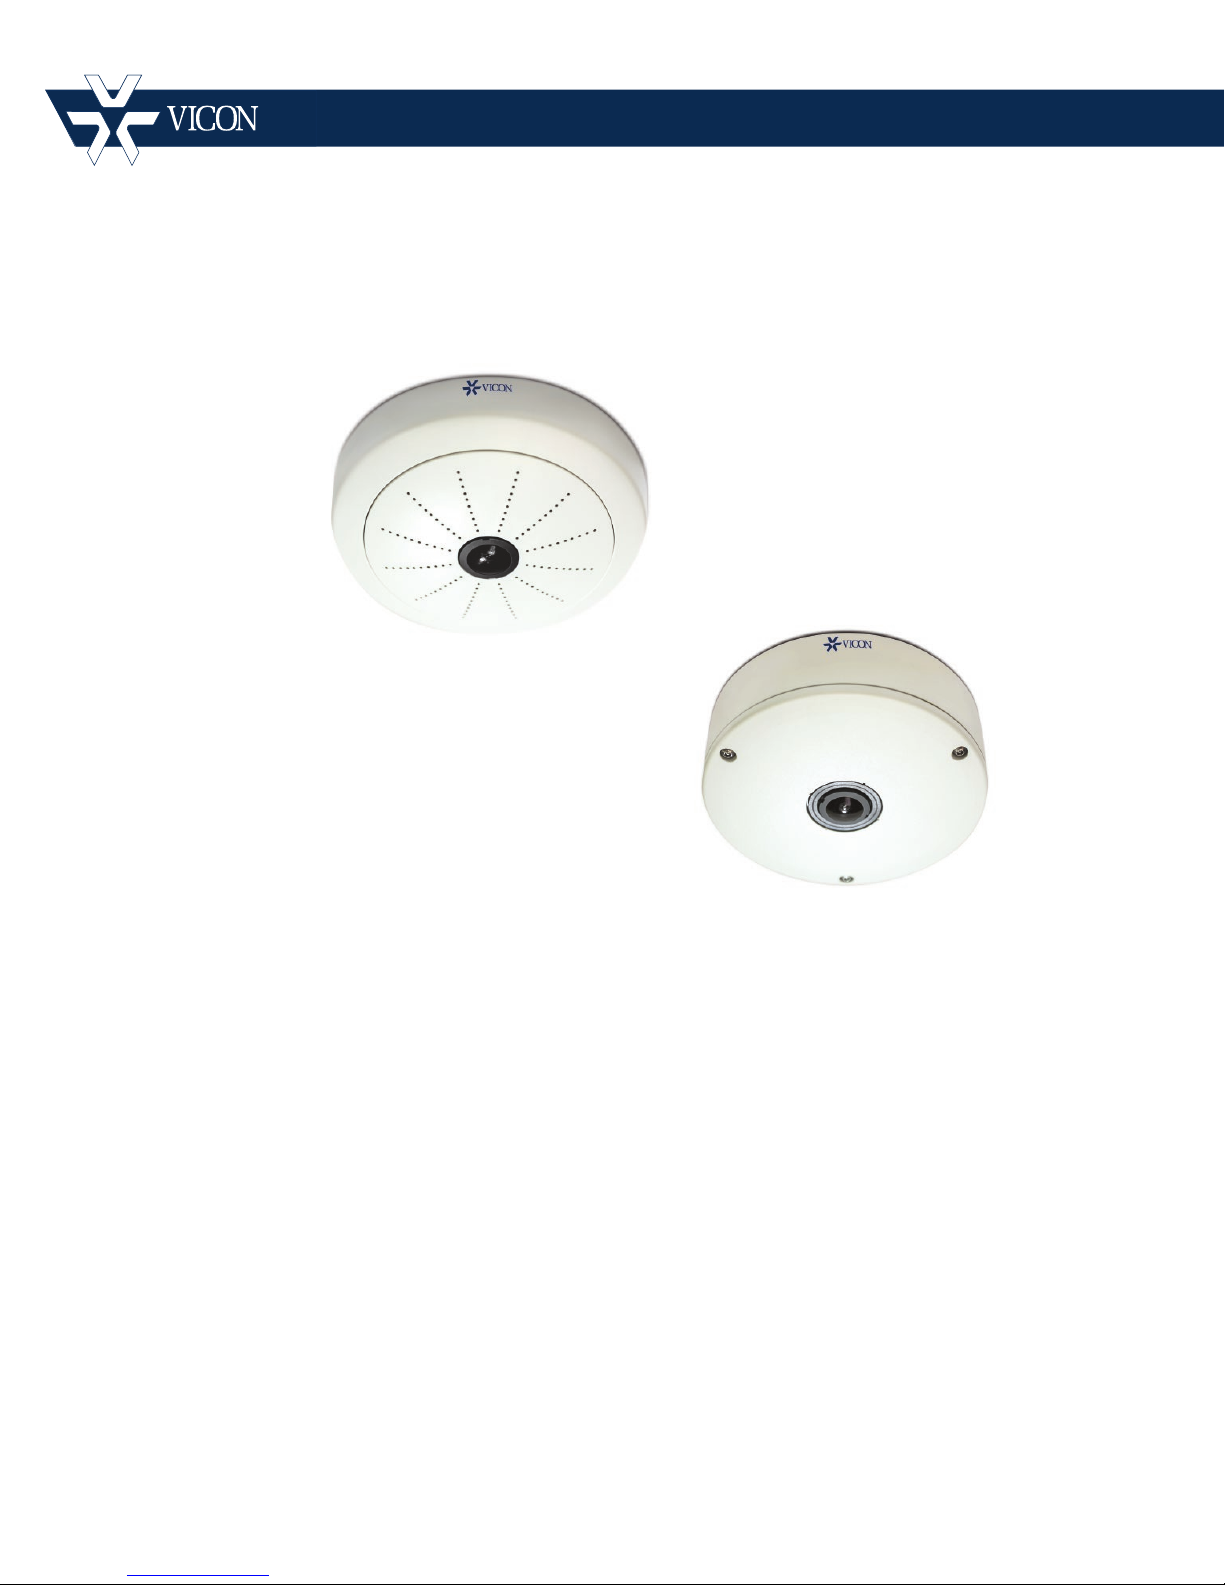
Setup V9360 Hemispheric Cameras |9
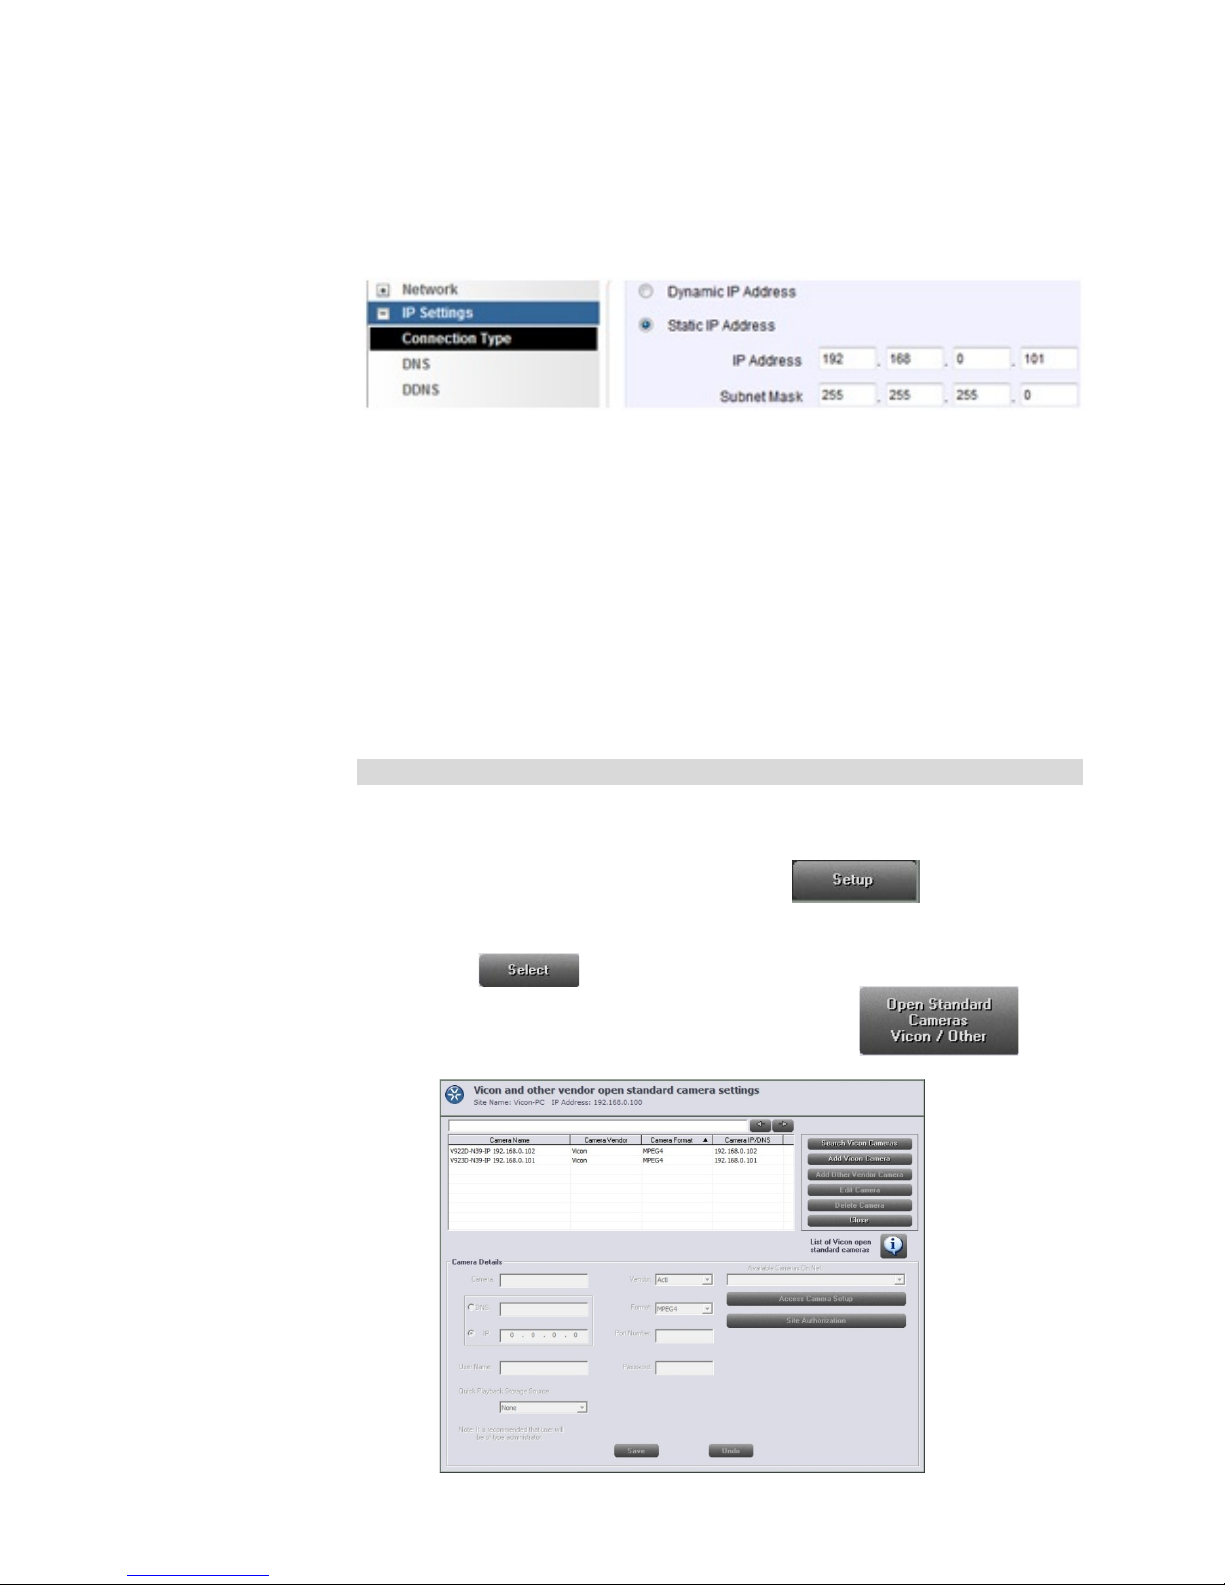
4. Click on the Open Standard Camera
settings screen.
5. The detected cameras are displayed and are added automatically to
the list. A message will display to add a User Name and Password for
each detected camera. The User Name and Password for the camera
are the camera’s identity in its browser. It is recommended that the
user be administrator level to be able to access all camera features.
After being named, the camera can be activated. Click on the
camera. Click the button. The Camera
Details area will become enabled.
Note:
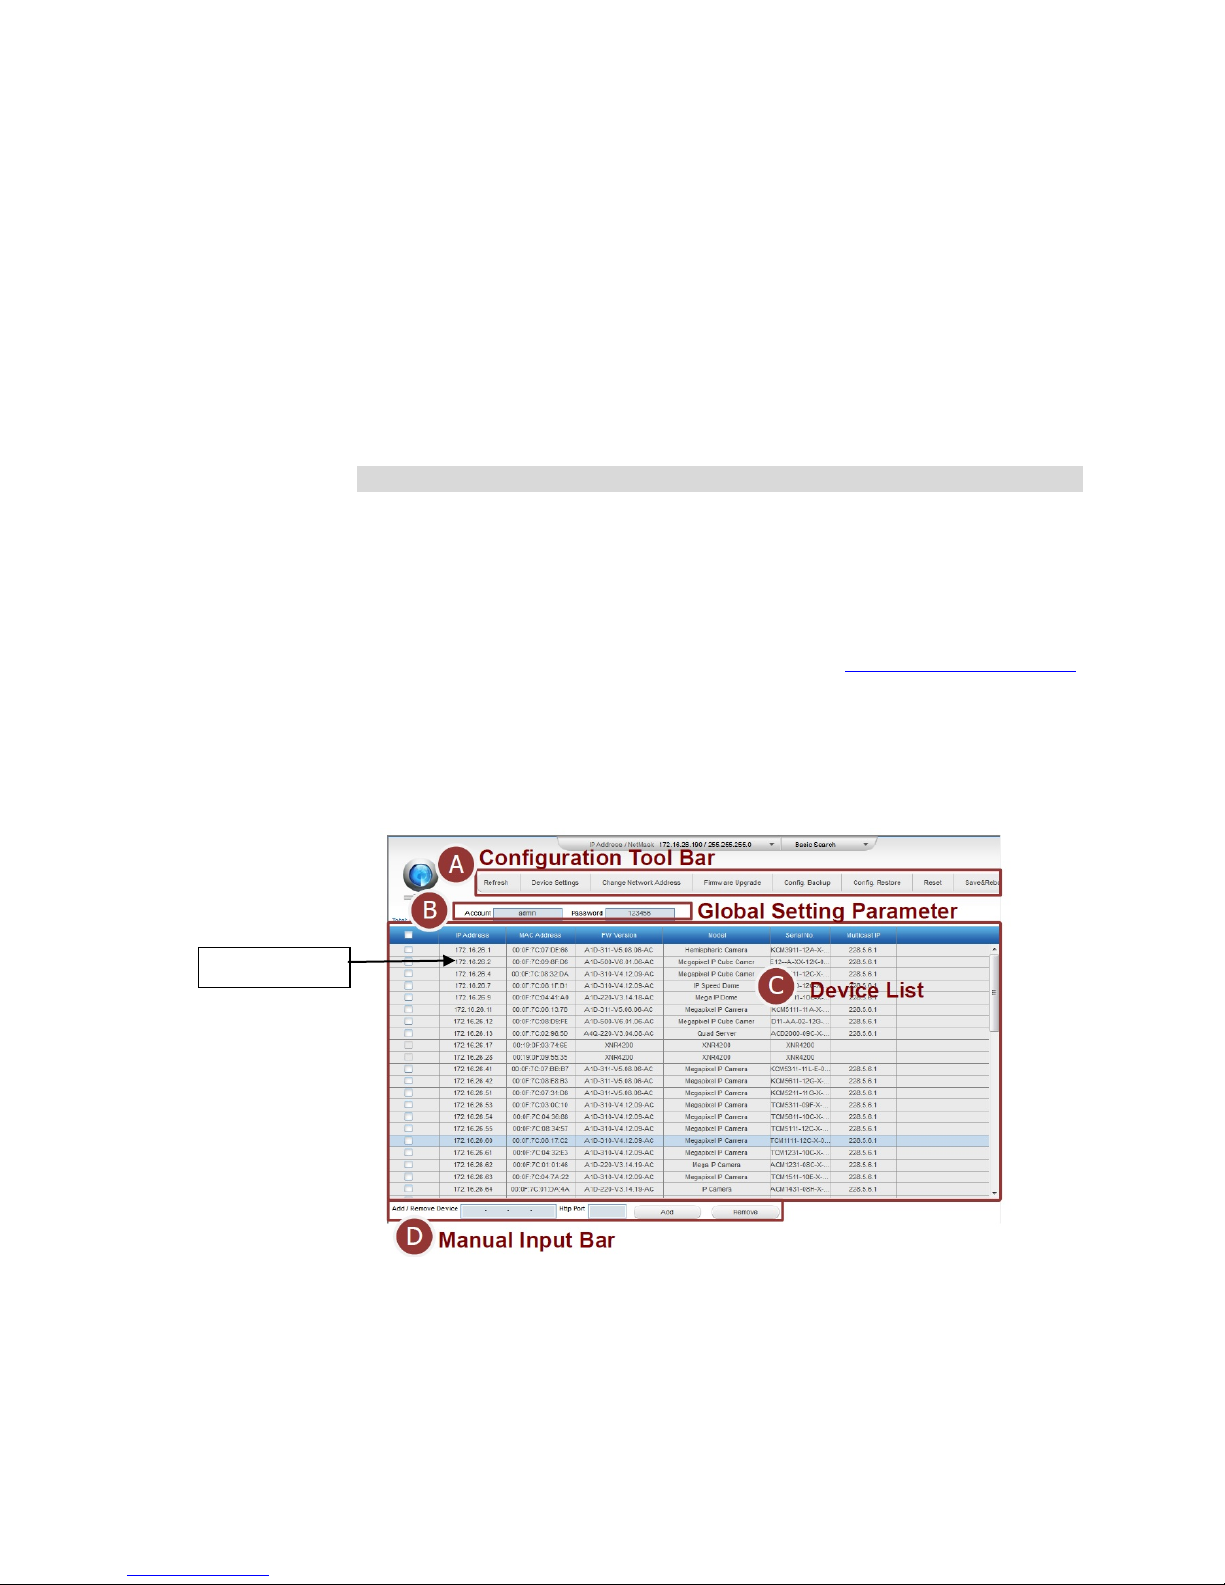
Cameras will only be detected if they are on the same LAN as the PC.
Cameras that are not on the LAN have to be added manually. Refer to the
instruction manual for the camera to add cameras manually.
1. Enter a Camera Name for this camera and select IP or DNS.
2. The format is set from the camera’s Video Settings screen. Select the
same format, H.264, MPEG-4 or M-JPEG.
3. The Port Number will default to 80; this can be changed as required.
4. Enter a User Name and Password for this camera. It is recommended
that the user be administrator level to be able to access all camera
features. Default User and Password are “Admin” and “123456”.
5. Click Save to save the settings. An Undo button is provided.
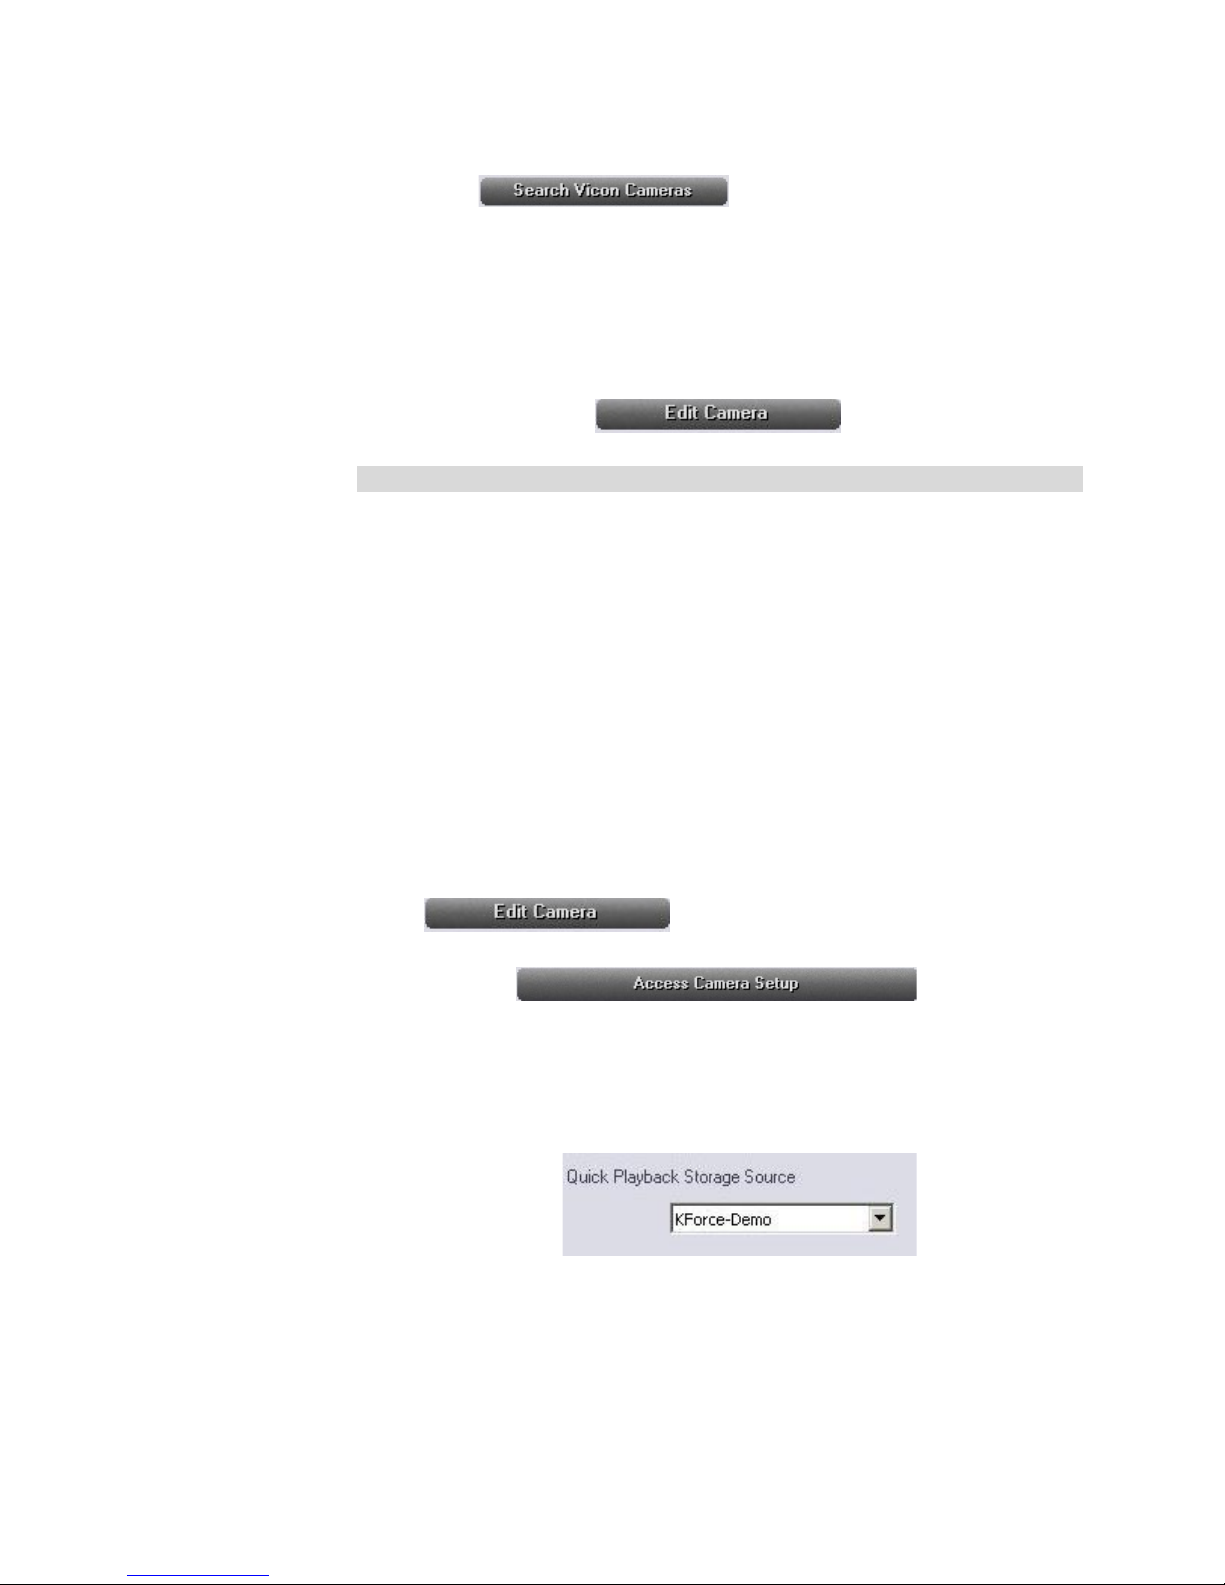
6. Click on the camera to be set up from the camera list. Click the
button.
7. Click the button for a
direct link to the browser for that camera, if needed. Click Save and
Close.
8. To make sure you can use Quick Playback, select the Quick
Playback Storage Source. From the dropdown list, select from the
NVR on which this camera will be recorded.