Vicon Valkyrie User manual
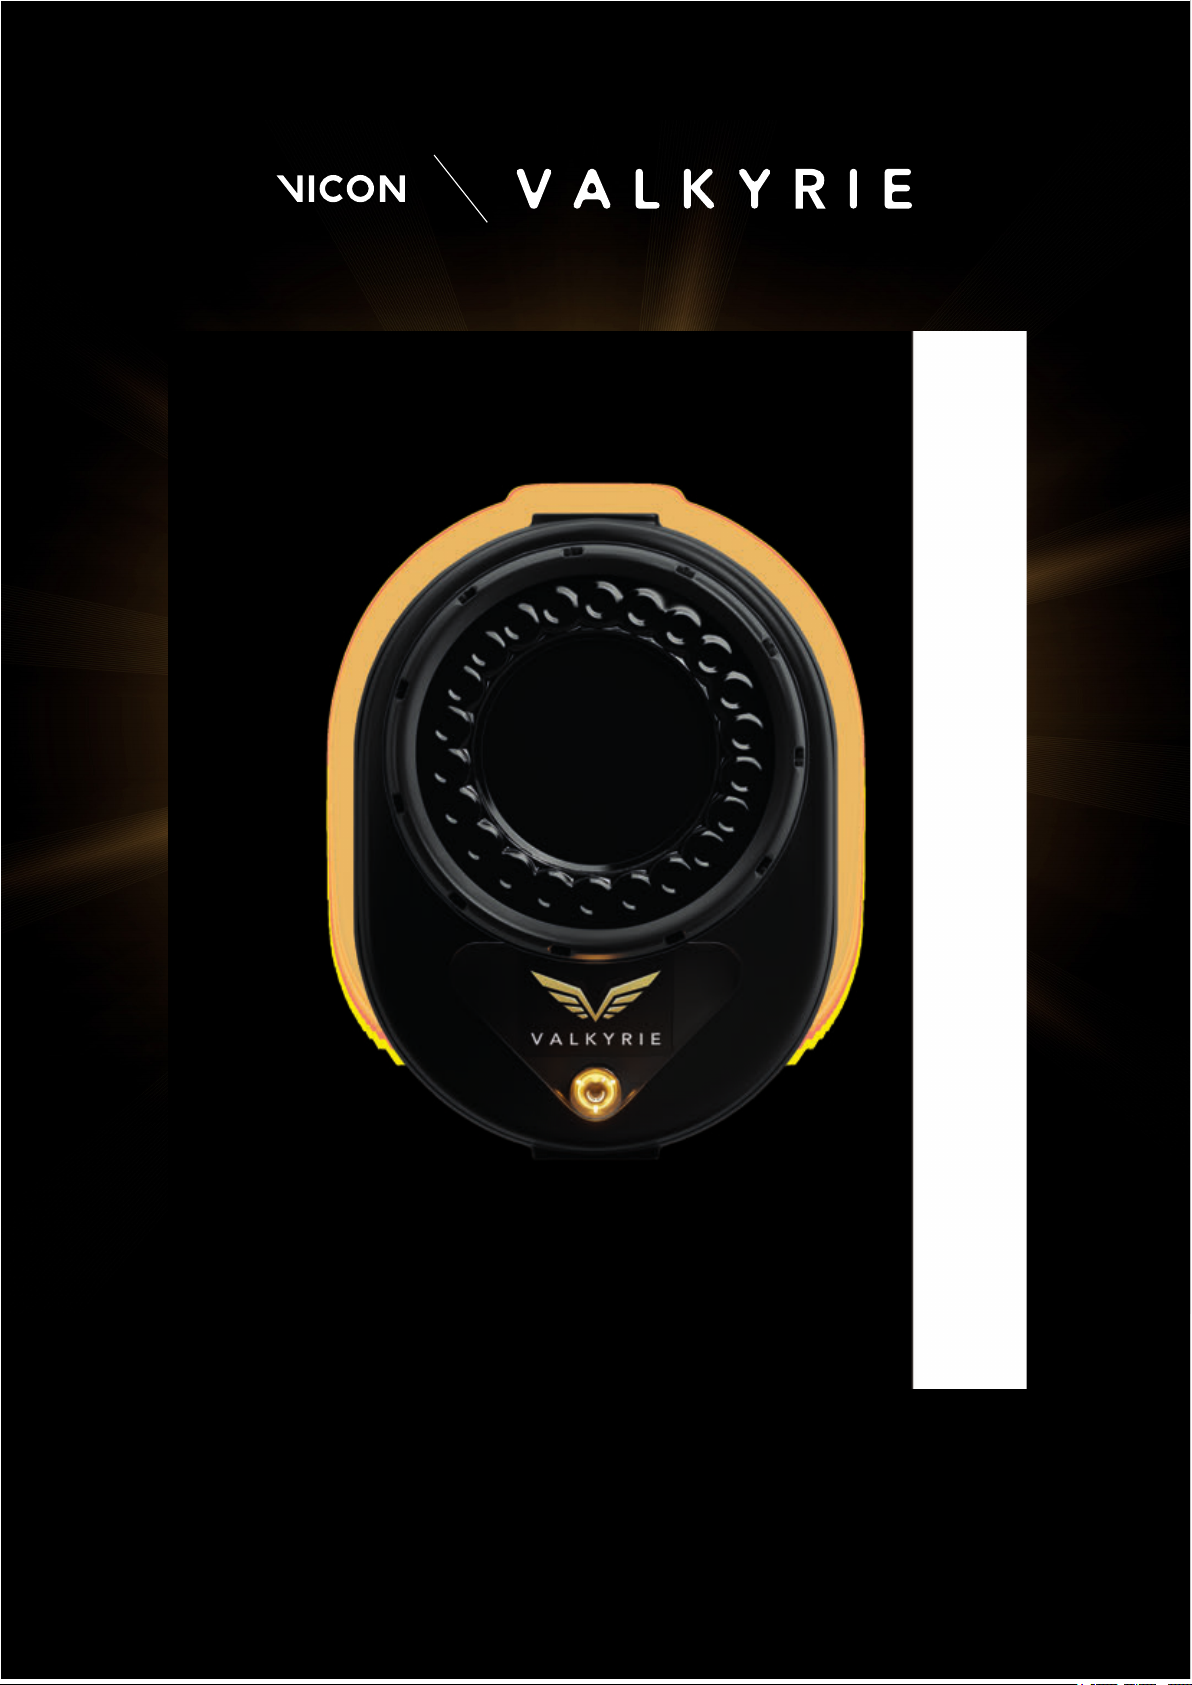
QUICK START GUIDE

BEYOND MOTION
Vicon Valkyrie Quick Start Guide
15 Dec 2022, Revision 1
Page 2 of 16
Contents
Valkyrie handling recommendations 3
Set up your Vicon Valkyrie system 6
Configure your Vicon Valkyrie system 14
Vicon Valkyrie troubleshooting 16
For regulatory information relating to Vicon Valkyrie, see also Vicon Valkyrie regulatory, safety and warranty
information on the Vicon documentation website.
© Copyright 2022 Vicon Motion Systems Limited. All rights reserved.
Revision 1, 15 December 2022
Vicon Motion Systems Limited reserves the right to make changes to information or specifications in this document without notice.
Companies, names, and data used in examples are fictitious unless otherwise noted. No part of this publication may be reproduced,
stored in a retrieval system, or transmitted in any form or by any means, electronic or mechanical, by photocopying or recording, or
otherwise without the prior written permission of Vicon Motion Systems Ltd.
Vicon® is a registered trademark of Oxford Metrics plc. Vicon Lock™, Vicon Lock Lab™, Vicon Lock Studio™, Vicon Nexus™,
Vicon Shōgun™, Vicon Tracker™, Vicon Valkyrie™, Vicon Vantage™, Vicon Vero™, and Vicon Vue™ are trademarks of
Oxford Metrics plc.
VESA® is a registered trademark owned by VESA (www.vesa.org/about-vesa/). Other product and company names herein may be the
trademarks of their respective owners. For full and up-to-date copyright and trademark acknowledgements, visit
https://www.vicon.com/vicon/copyright-information.
Vicon Motion Systems is an Oxford Metrics plc company.
Email: [email protected] Web: http://www.vicon.com
BEYOND MOTION
Vicon Valkyrie Quick Start Guide
15 Dec 2022, Revision 1
Page 3 of 16
Valkyrie handling recommendations
Before you unbox your new camera, learn the right way to lift and carry it,
and maintain its IP65-rated protection.
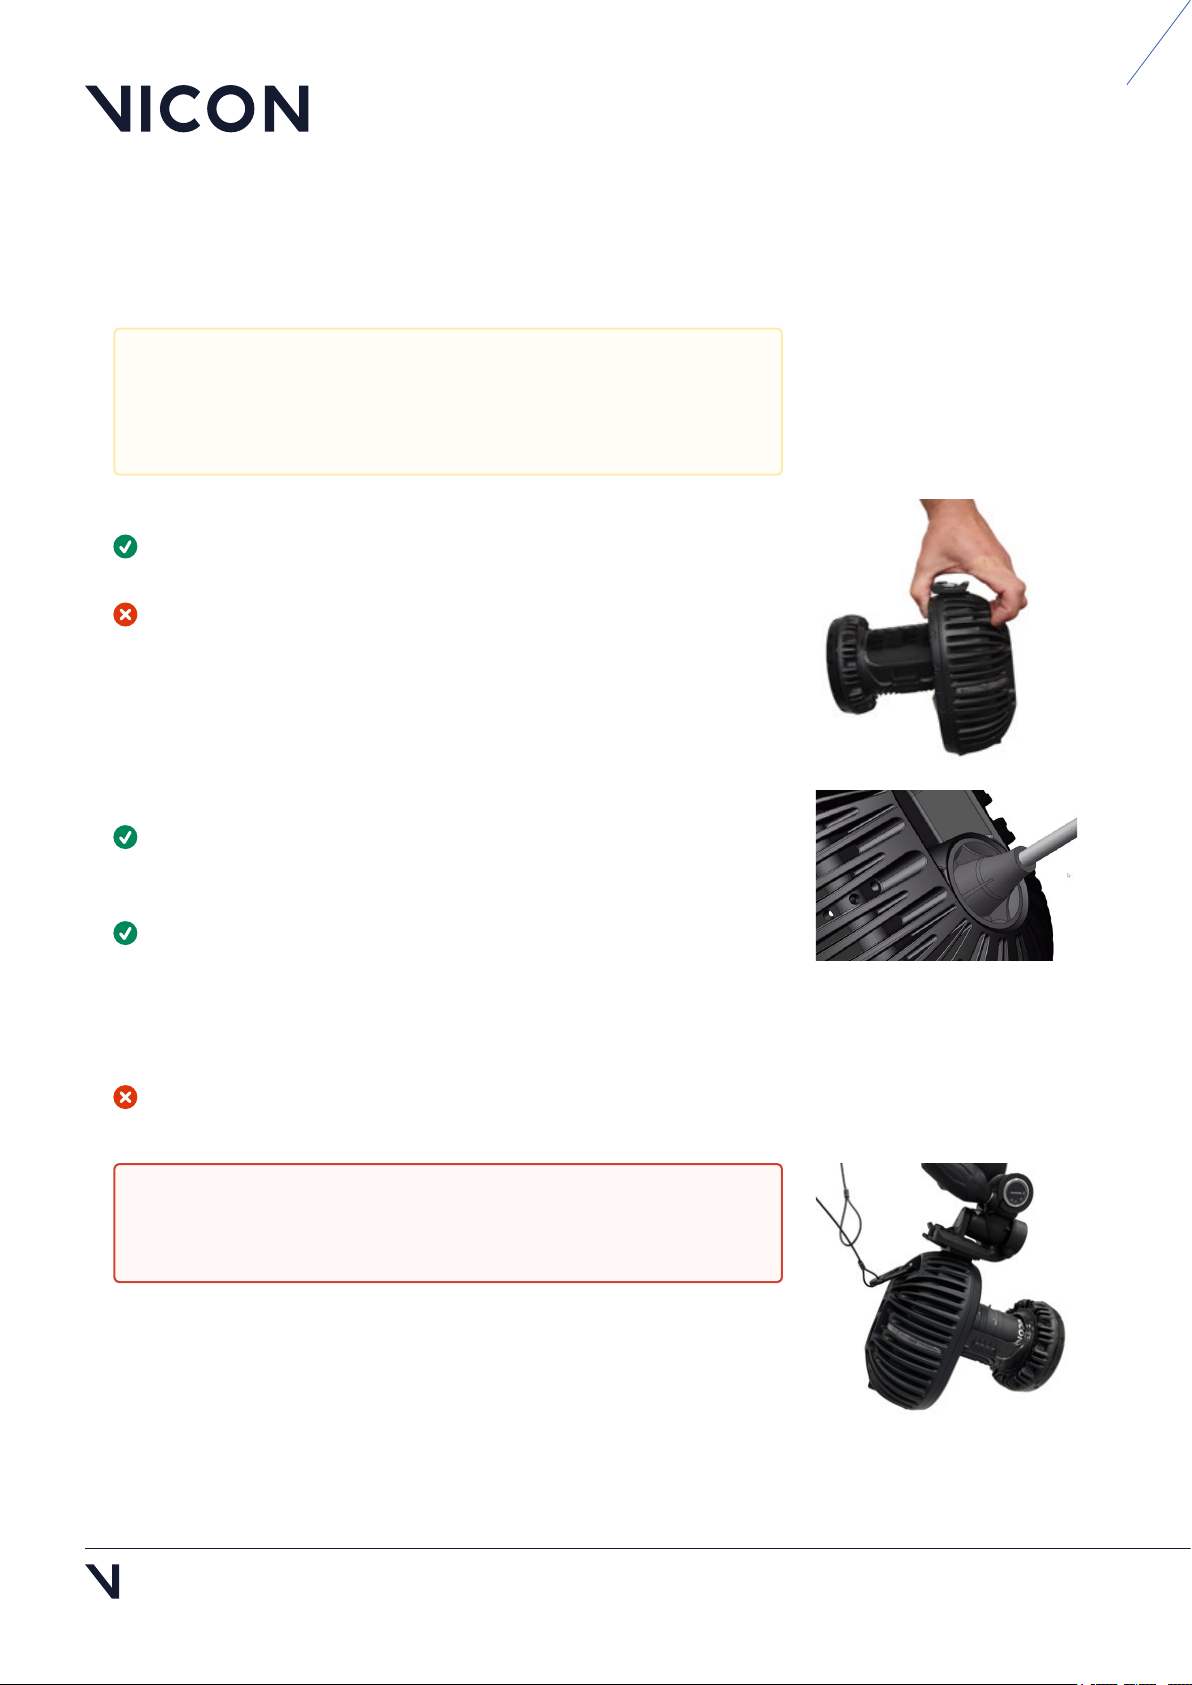
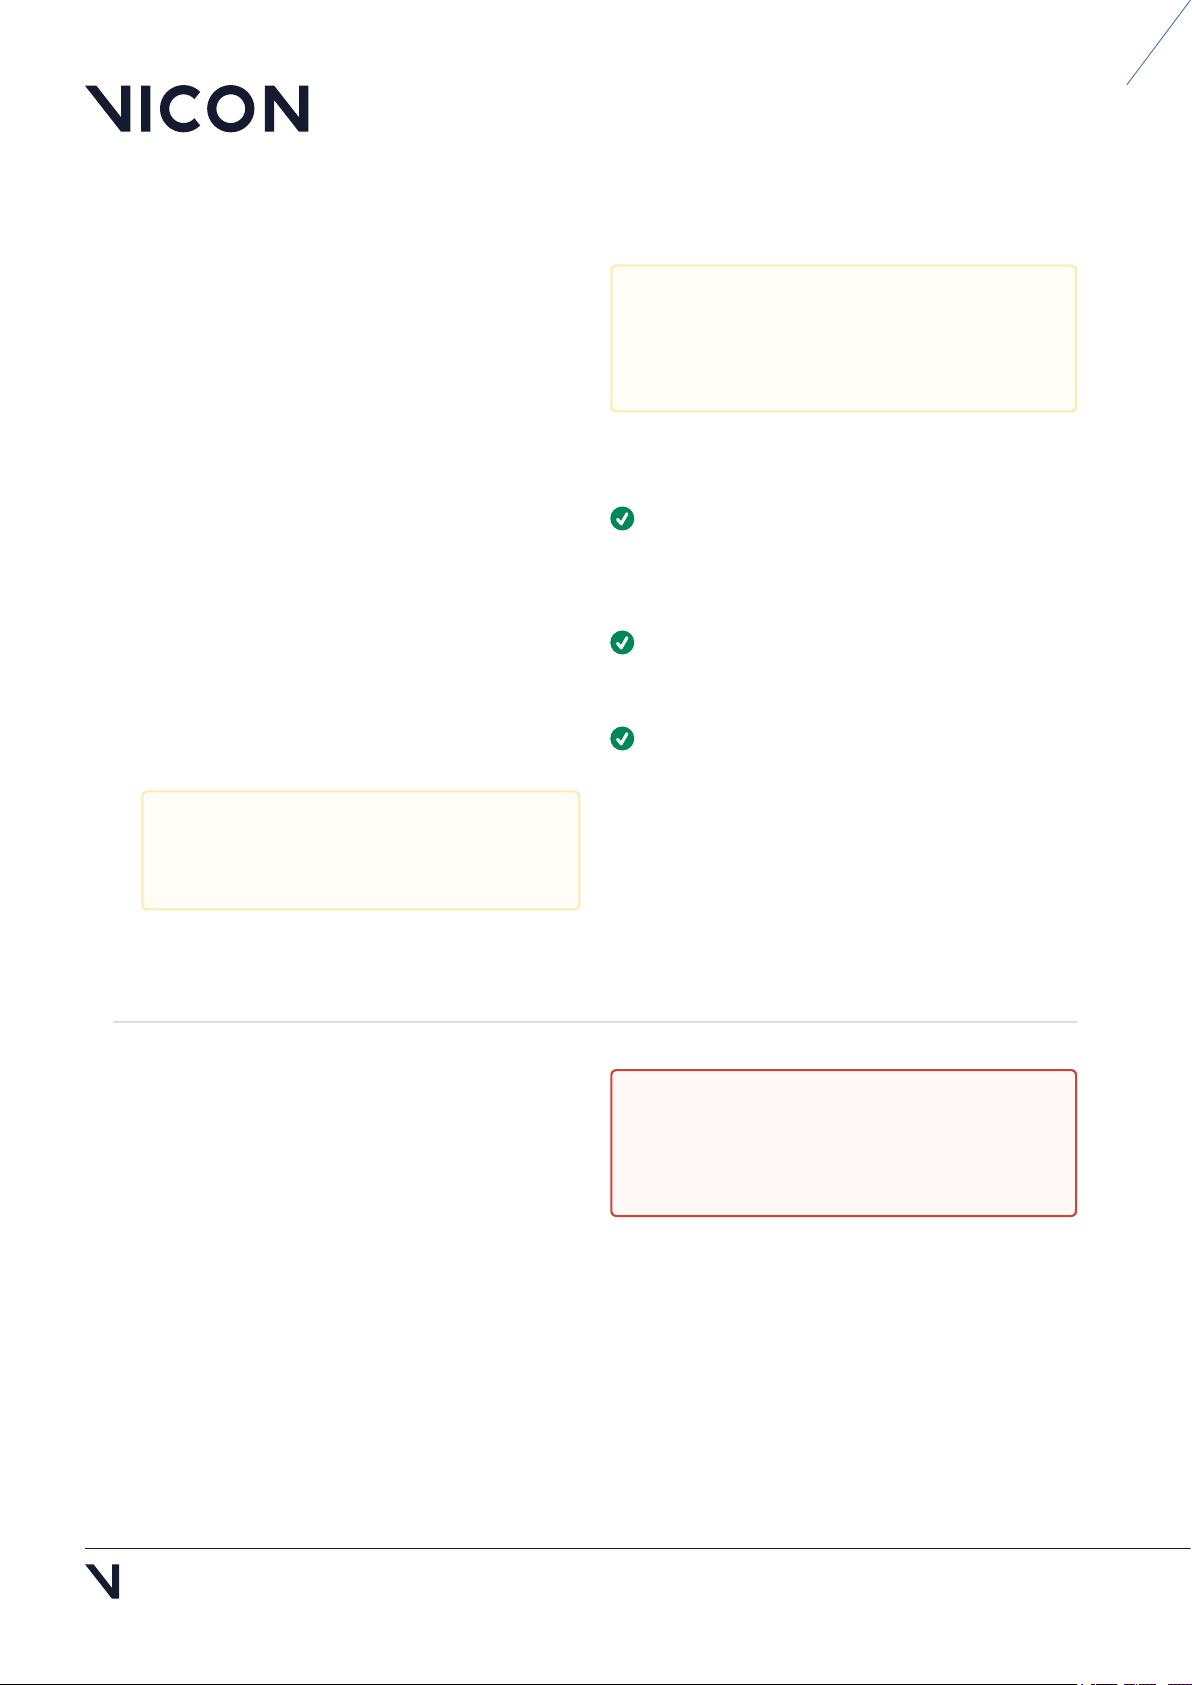
Carry and mount your camera correctly
Always use the grip point at the top of the camera to pick up your
Valkyrie camera (as illustrated, right).
Do not pick up the camera in any other way, such as by the lens.
Maintain your camera's IP65-rated protection
If you need to remove the IP65 cable cap that protects the connection
between the Ethernet cable and the camera, ensure that you remove and
replace the cap correctly (see Remove and replace IP65 cable cap, page 4).
To adjust the focus, aperture, or zoom, you must remove the IP65 lens
cover. To do this, hold the camera body, NOT the lens, and carefully unclip
the lens cover from the lens. You may find it easiest to unclip one side of
the cover first, and then ease off the cover from the other side.
When you replace the cover, ensure it is fully clipped into place.
If the lens cover and IP65 cable cap are not fitted or are incorrectly
fitted, the camera is no longer IP65-rated.
Although Valkyrie cameras are IP65-rated, the other components
of your Valkyrie system (switches, Locks, other cameras, etc) may
not be, so ensure that these components are not exposed to
unsuitable environmental conditions.
Warning: If the cameras are mounted where they may fall and
injure people or damage equipment, tether them to their mounts
with safety bonds (see Tether a camera, page 10).
BEYOND MOTION
Vicon Valkyrie Quick Start Guide
15 Dec 2022, Revision
Page 4 of 16
Remove and replace IP65 cable cap
Remove an IP65 cable cap
To remove the Ethernet cable from a Valkyrie camera, you must first remove the cable cap and seal.
Hold the camera by its body, NOT by the lens.
Push inward on each of the segments around
the edge of the outer cap until it loosens, then pull
the cap gently backward along the cable.
Pull the seal backward along the cable.
You can now detach the RJ45 connector of the
Ethernet cable from the back of the camera.
Replace an IP65 cable cap
If you remove an IP65 cable cap from a Valkyrie camera, to maintain the camera's IP65 rating, you must
replace the cap correctly, as described in these steps.
Insert the RJ45 connector on the Ethernet cable
into the port at the back of the Valkyrie camera.
Push the seal into place and ensure it sits flat
within the circular recess around the connection.
Push the cap into place over the seal until the
rounded clips on the edge of the cap clip into the
groove in the metalwork.
Note that if the seal is not correctly fitted, you will
not be able to clip the cap into position.
Caution: To maintain IP65 protection for your Vicon Valkyrie cameras, ensure that if you remove IP65
cable caps (and/or lens covers), you replace them correctly, as described below.

BEYOND MOTION
1 https://www.facom.eu/uk-en/professiontools/productdetails/hierarchy/7658/catno/985763/
Vicon Valkyrie Quick Start Guide
15 Dec 2022, Revision 1
Page 5 of 16
•
•
Add IP65 protection to Ethernet cable
Ensure you have the required parts:
Waterproof cable cap and seal (obtained from
Vicon)
Cat 6 RJ45 cable
Ensure you also have a suitable cable sleeve
expander tool (also known as sleeving pliers), such
as these sleeving pliers1.
Take one end of the cable and thread the RJ45
connector through the cap.
Insert the prongs of the cable sleeve expander
into the hole in the seal and squeeze the handles to
widen the hole so that you can thread the RJ45
connector through it. Ensure that you push the
connector far enough through the opening.
When required, connect the cable to the camera
and fit the cap and seal over the connection as
described in Replace the IP65 cable cap, page 4.
Caution: These instructions apply only if you are adding a Vicon-supplied cap and seal to an RJ45
Category 6 (Cat 6) Ethernet cable. Use of parts obtained from third parties or failure to protect your
Ethernet cable correctly, as described below, will invalidate the IP65 protection and the warranty of
the camera.
Caution: To ensure Valkyrie cameras remain IP65-rated, ensure you always remove and replace the
IP65 cable cap correctly. For instructions, see Remove and replace IP65 cable cap, page 4.
BEYOND MOTION
Vicon Valkyrie Quick Start Guide
15 Dec 2022, Revision
Page 6 of 16
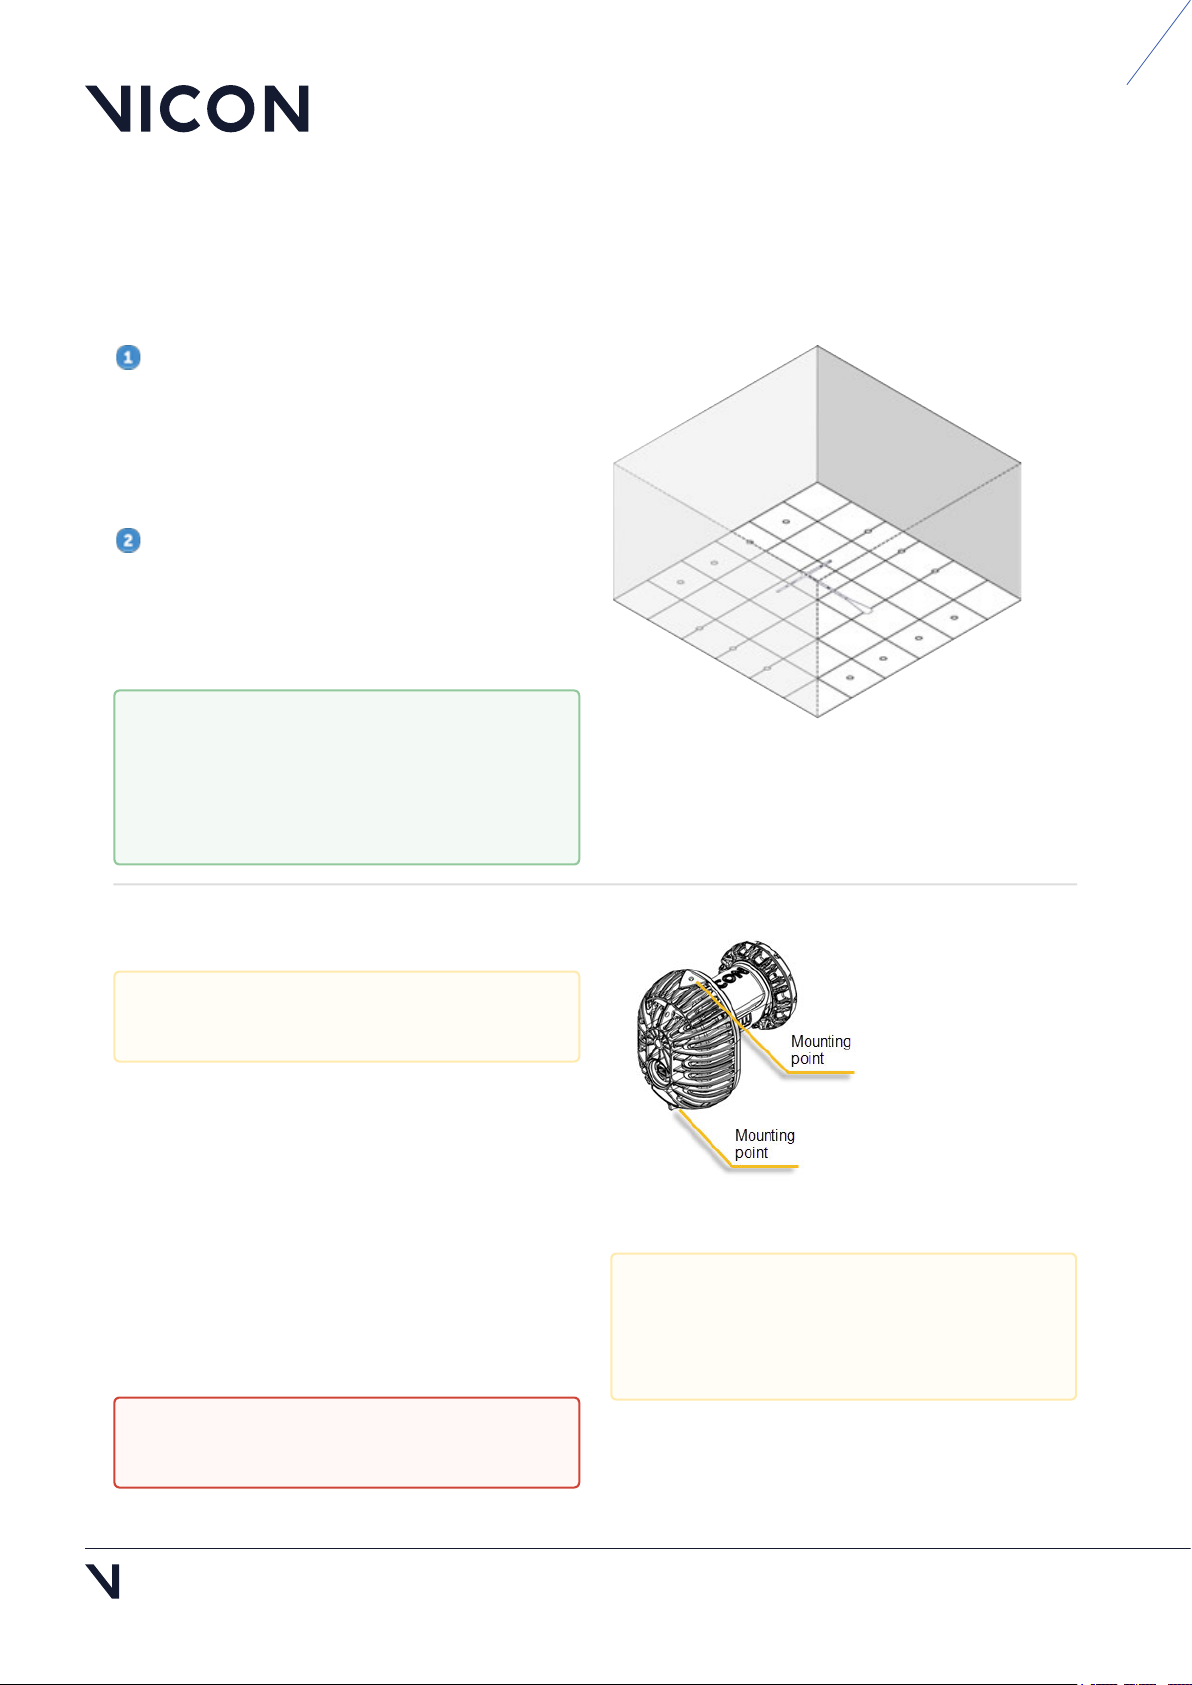
Set up your Vicon Valkyrie system
Define the capture volume
To define the volume:
Place markers around the edges of the volume
to indicate the intended capture volume.
You can often place the markers on the floor. If the
volume to be captured is higher up, place the
markers accordingly. This makes it easier to visualize
the capture space.
Position the cameras around the volume to
provide full coverage across the volume (see Install
the cameras, page 6 and Position the cameras, page
13). Positions will depend on the volume size and
shape.
Install the cameras
Your Valkyrie camera has two mounting points, top
and bottom, to provide flexibility on mounting and
orienting the camera. These mounting points have
¼" 20 UNC threaded holes, which match the thread
found on most tripod and wall-mount fixing screws.
Ensure the camera is rigidly mounted by clamping it
securely to a rail or mounting on a tripod. For both
options, you must attach the camera to a mounting
head.
To help with camera positioning, use
Valkyrie's Video Preview mode, which
enables you to view a low-resolution image
of the whole scene (see Video Preview
mode, page 13).
Installation must be carried out by trained,
experienced personnel only.
Caution: Ball head mounts and clamps are
not suitable for mounting Valkyrie cameras.
To pick up your Valkyrie camera, always use
the grip point at the top of the camera (see
illustration, Valkyrie handling
recommendations, page 3).
BEYOND MOTION
Vicon Valkyrie Quick Start Guide
15 Dec 2022, Revision 1
Page 7 of 16
1.
2.
3.
4.
5.
Prepare a clamp
If using a clamp, you must prepare it by fitting the
stud that comes with the clamp into the slot at top
of clamp.
To do this:
With your fingers, loosen the screw on the side
so that it doesn’t protrude through the slot.
Press the silver button on the side of the clamp
and drop the stud into the hole, leaving the
larger side of the stud exposed.
Release the button and tighten the screw on the
side again so the stud is held firmly in place.
The mounting head can then be screwed into the
top of the clamp, using the stud.
Fit the clamp onto the railing by opening the
clamp, attaching it to the rail and tightening the
clamp until it is secure on the rail.
O
Tips
Typical rail systems have circular cross sections.
For rails with rectangular cross sections, insert the
accompanying wedge into the clamp to maximize
the grip surface.
Secure the clamp to the rail in the desired
orientation (eg, for mounting the camera on top of
the rail or suspending the camera below it).
If the head has a “quick release” camera mount
feature, remove the mounting plate before securing
the head to the clamp.
Prepare a tripod
To use a tripod, ensure the screw and thread match
and screw the tripod head directly onto the stud on
the top of the tripod.
Ensure the clamp is secured tightly
enough to prevent any movement of the
camera.
If you're using a rail or truss, before
installation, ensure that the diameter of the
rail is of a suitable width for use with the
clamp.
Caution: When locking a tripod into place,
do not rely on the noise alone to indicate
that it is secure: push it to check that no
further movement is possible.

BEYOND MOTION
Vicon Valkyrie Quick Start Guide
15 Dec 2022, Revision
Page 8 of 16
1.
2.
Attach a camera to a mounting head
With a standard mounting head, the plate is
screwed into one of the mounting points at the top
or bottom of the camera. Attach the plate to the top
or bottom of the camera according the desired
mounting orientation relative to the mounting head.
Note that the plate has arrows to indicate the
alignment with the lens when you screw the plate
into the camera and for when you lock it into the
mounting head.
Use the arrows to position the plate correctly
over the required mounting point and firmly
screw and lock it into place.
O
Tips
To avoid slippage while mounting the camera,
adjust the tilt and roll levers on the head to neutral
orientations and ensure they are tight.
Tighten the pan lever on the head and then
thread the mounting head onto the stud.
Ensure that the quick release lever is locked
“open”.
When you lay out the cable, ensure that you have
enough length to allow for any adjustments needed.
If you are mounting the camera on a rail,
attach the plate to the camera on the
ground before you bring the camera up to
the rail.
BEYOND MOTION
Vicon Valkyrie Quick Start Guide
15 Dec 2022, Revision 1
Page 9 of 16
1.
2.
3.
4.
Mount the camera
To prepare the clamp, push down on the black
button at the top of the mounting head and pull
the lever until it snaps into place.
Insert the front of the camera first, before
snapping it into the back.
Before releasing the camera, make sure the
camera is locked in securely.
To secure the camera further, tighten the lever by
hand to ensure no further movement is possible.
To remove the camera, push down on the black
button at the top of the mounting head and pull the
lever until the camera becomes loose.
O
Tips
Push the clamp and the levers to check that the
clamp is still tightly secured to the rail and that the
levers on the mounting head are also tight.
If you decide an adjustment to the clamp is
needed, remove the camera from the mounting
head, adjust the clamp, and re-secure the camera to
the mounting head. Do not loosen the clamp while
the camera is attached to the assembly.
If you move the cameras to adjust the field of
view, ensure they are fully locked down again before
continuing.
•
•
•
Warning: If using cherry-picker or scissor lift
to install the cameras:
Always follow the safety and compliance
instructions for your apparatus.
Ensure you remain within 1 m of the
camera and can gain sufficient height to
prevent you from having to reach or lean.
If someone is required to hold the
climbing equipment, ensure that they are
not positioned directly under it.
When carrying cameras at height, consider
wearing gloves that offer improved grip.
•
•
Warning: If the cameras are mounted where
they may fall and injure people or damage
equipment:
To prevent injury, we recommend that
anyone involved in the installation wears
a hard hat.
Tether the cameras to their mounts with
safety bonds (see Tether a camera, page
10).
Warning: When the cameras are in their
final positions, tidy any slack cable to
ensure it does not present a trip hazard and
if the cameras are installed at height,
ensure that no cables are dangling loose.

BEYOND MOTION
Vicon Valkyrie Quick Start Guide
15 Dec 2022, Revision
Page 10 of 16
1.
2.
Tether a camera
If the cameras are mounted where they may fall and
injure people or damage equipment, tether the
cameras to their mounts with safety bonds, ensuring
that they are long enough to secure the cameras. To
do this:
Loop the the safety chain around the rail and
thread it through the tail loop to secure it in
place.
Connect the safety chain carabiner through the
hole (tether point) on the rear of the camera.
Other manuals for Valkyrie
1


