V-Mic Manual EN v1.5 Juli 2020 © 2020 Vidicode 8
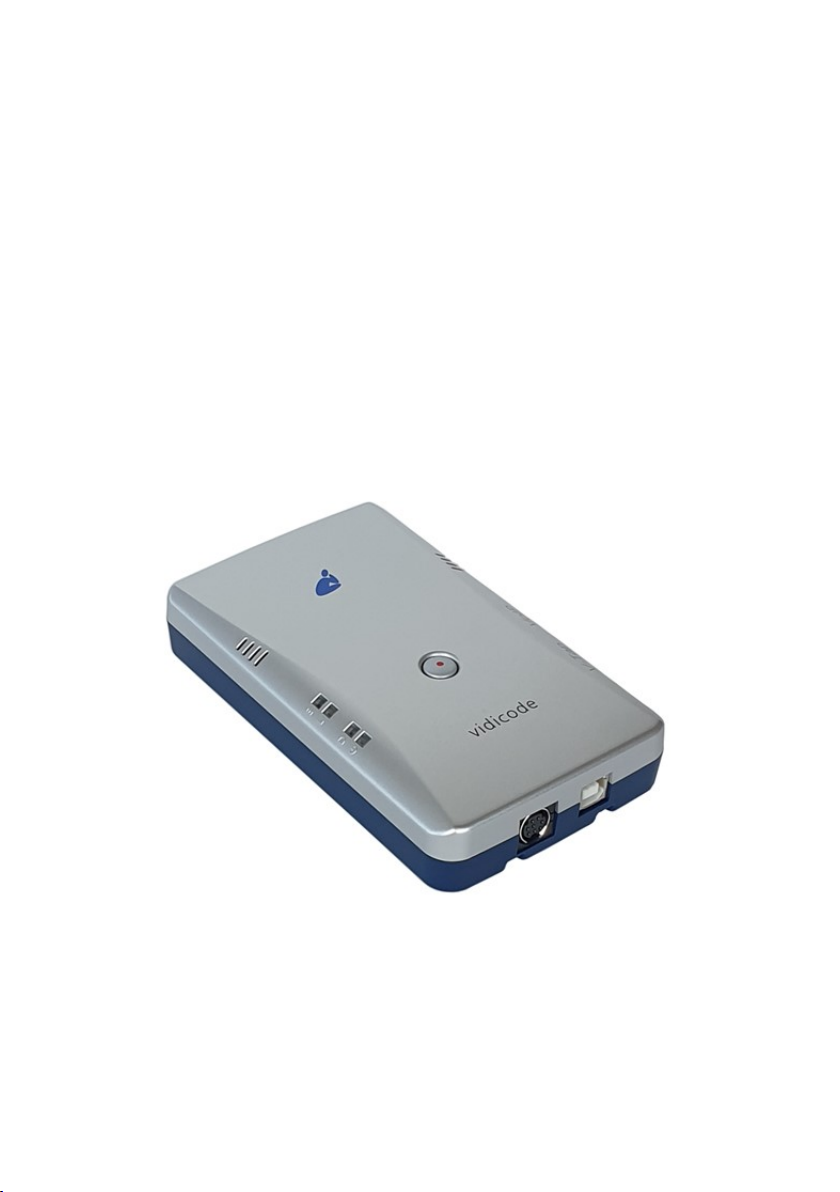
3Web interface and Settings
There are two ways to access the web interface of the V-Mic:
1) With a network cable, connected to the LAN. See below.
2) With Wi-Fi, after putting the V-Mic in a special ‘config-mode’,
see Access Settings with Wi-Fi.
3.1 Access with a network cable
In the case of using a cable, DHCP is default enabled and the V-Mic can
be accessed with a browser by entering the address:
http://vmicXXXXXX.local
XXXXXXis the serial number, as it is found on the bottom of the device.
Note: It may take some time after first connect before the local name is known to the network.
When this does not work, the MDNS protocol is probably not active on
the network. The IP address, given by the DHCP server (if present), may
then be difficult to track down. Then, the best way is to set a static
(fixed) IP address, by using an SD card:
Defining a Static IP address with an SD card:
. Create a text file on your PC, named “IP”.
. The first line in this file must hold the IP address.
. Copy “IP.TXT” to the root-directory of an SD card.
. Insert the SD card into the V-Mic unit.
. The IP address has now changed and can be accessed.
. The file “IP.TXT” is deleted from the card by the V-Mic.
3.2 Web settings page
After entering the IP address in your browser, the settings page of the
V-Mic appears, as is shown on the next page.
By pressing the Submit and Restart button, the settings are saved by the
V-Mic and the unit restarts. Any ongoing recording is stopped, the file
on SD is closed, and after a few seconds the new settings are activated.