1 About these instructions for use
Trade mark rights exist for this document, further information can be
found at
viega.com/legal
.
1.1 Target groups
The information in this instruction manual is directed at the following
groups of people:
nHeating and sanitary professionals and trained personnel
It is not permitted for individuals without the abovementioned training or
qualification to mount, install and, if required, maintain this product. This
restriction does not extend to possible operating instructions.
The installation of Viega products must take place in accordance with
the general rules of engineering and the Viega instructions for use.
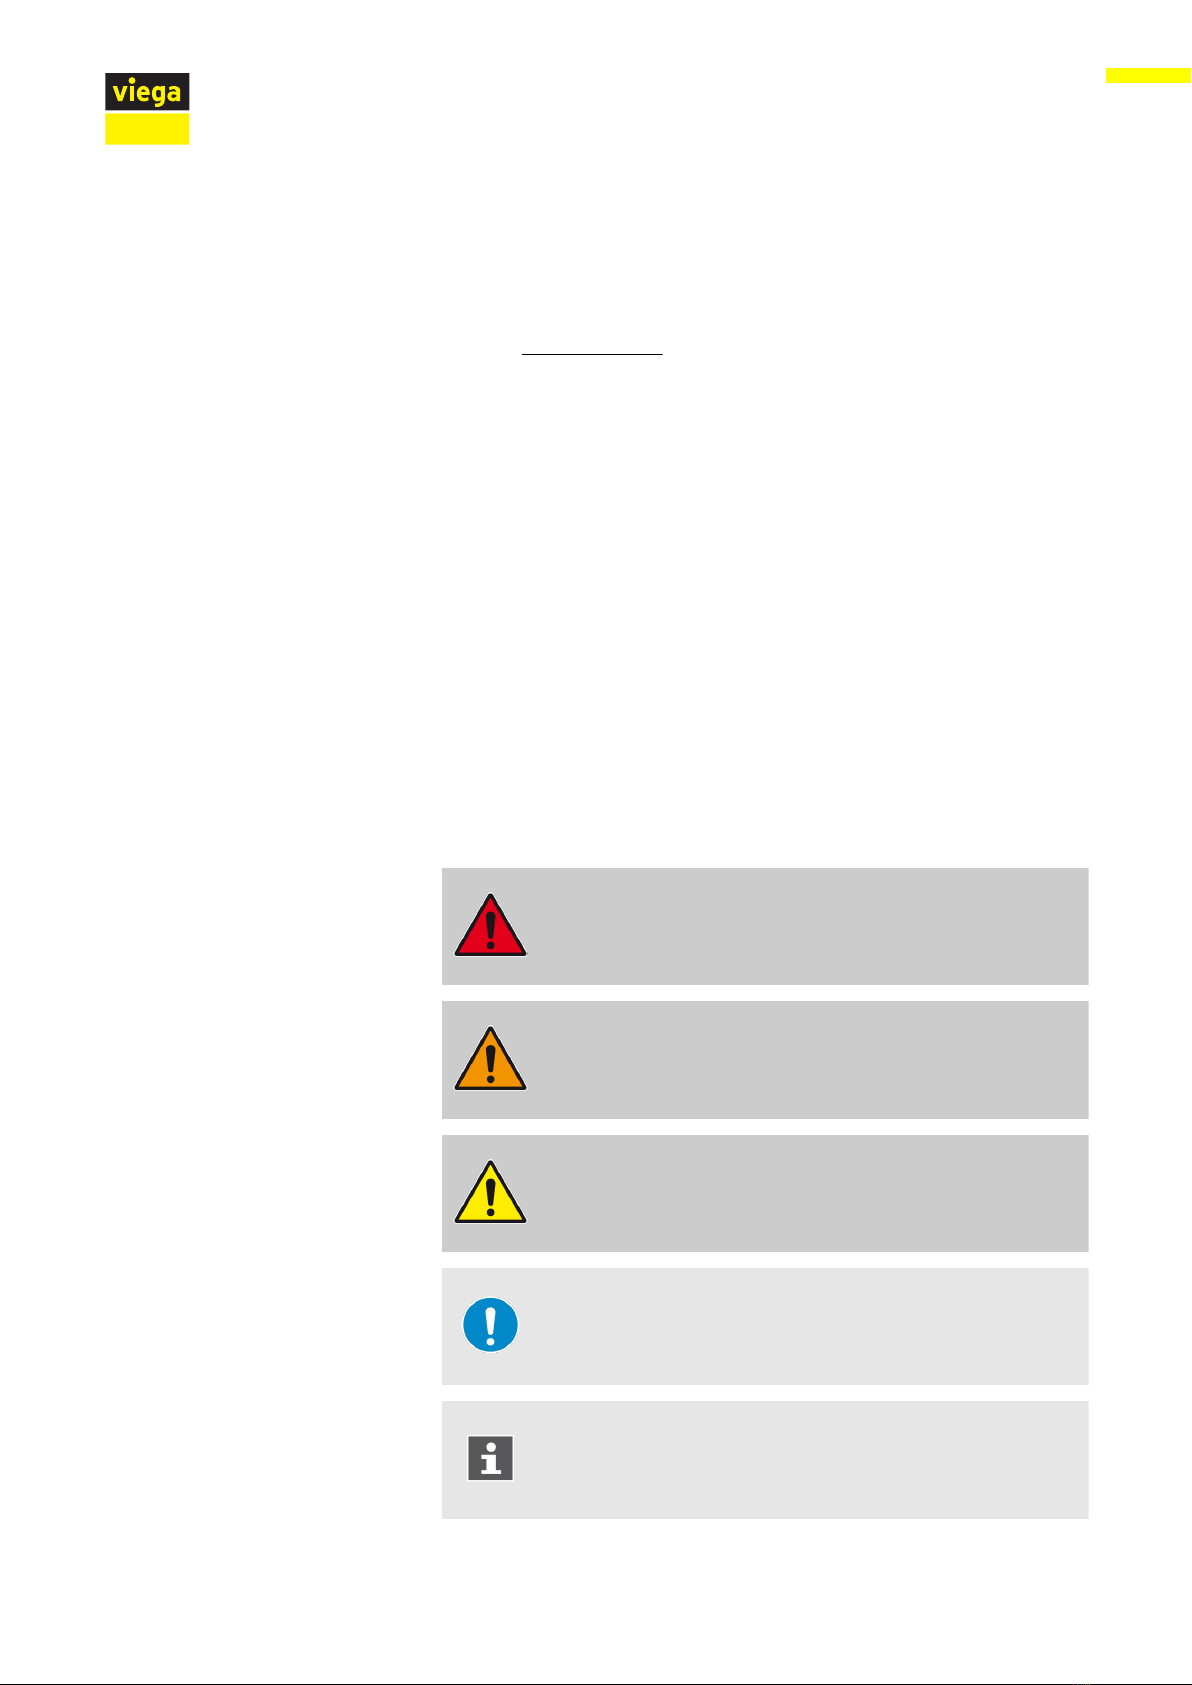
1.2 Labelling of notes
Warning and advisory texts are set aside from the remainder of the text
and are labelled with the relevant pictographs.
DANGER!
This symbol warns against possible life-threatening injury.
WARNING!
This symbol warns against possible serious injury.
CAUTION!
This symbol warns against possible injury.
NOTICE!
This symbol warns against possible damage to property.
Notes give you additional helpful tips.
About these instructions for use
Universal bracket 4 from 11