VIETA HMD400 User manual


1
Important safety instructions – please read carefully
and keep for future reference
To reduce the risk of fire or electric shock, do not expose this product to water, rain or moisture. To
prevent the risk of electric shock, do not remove the cover or back of this product. In case of product
failure, only qualified personnel can repair. There are no user-serviceable parts inside.
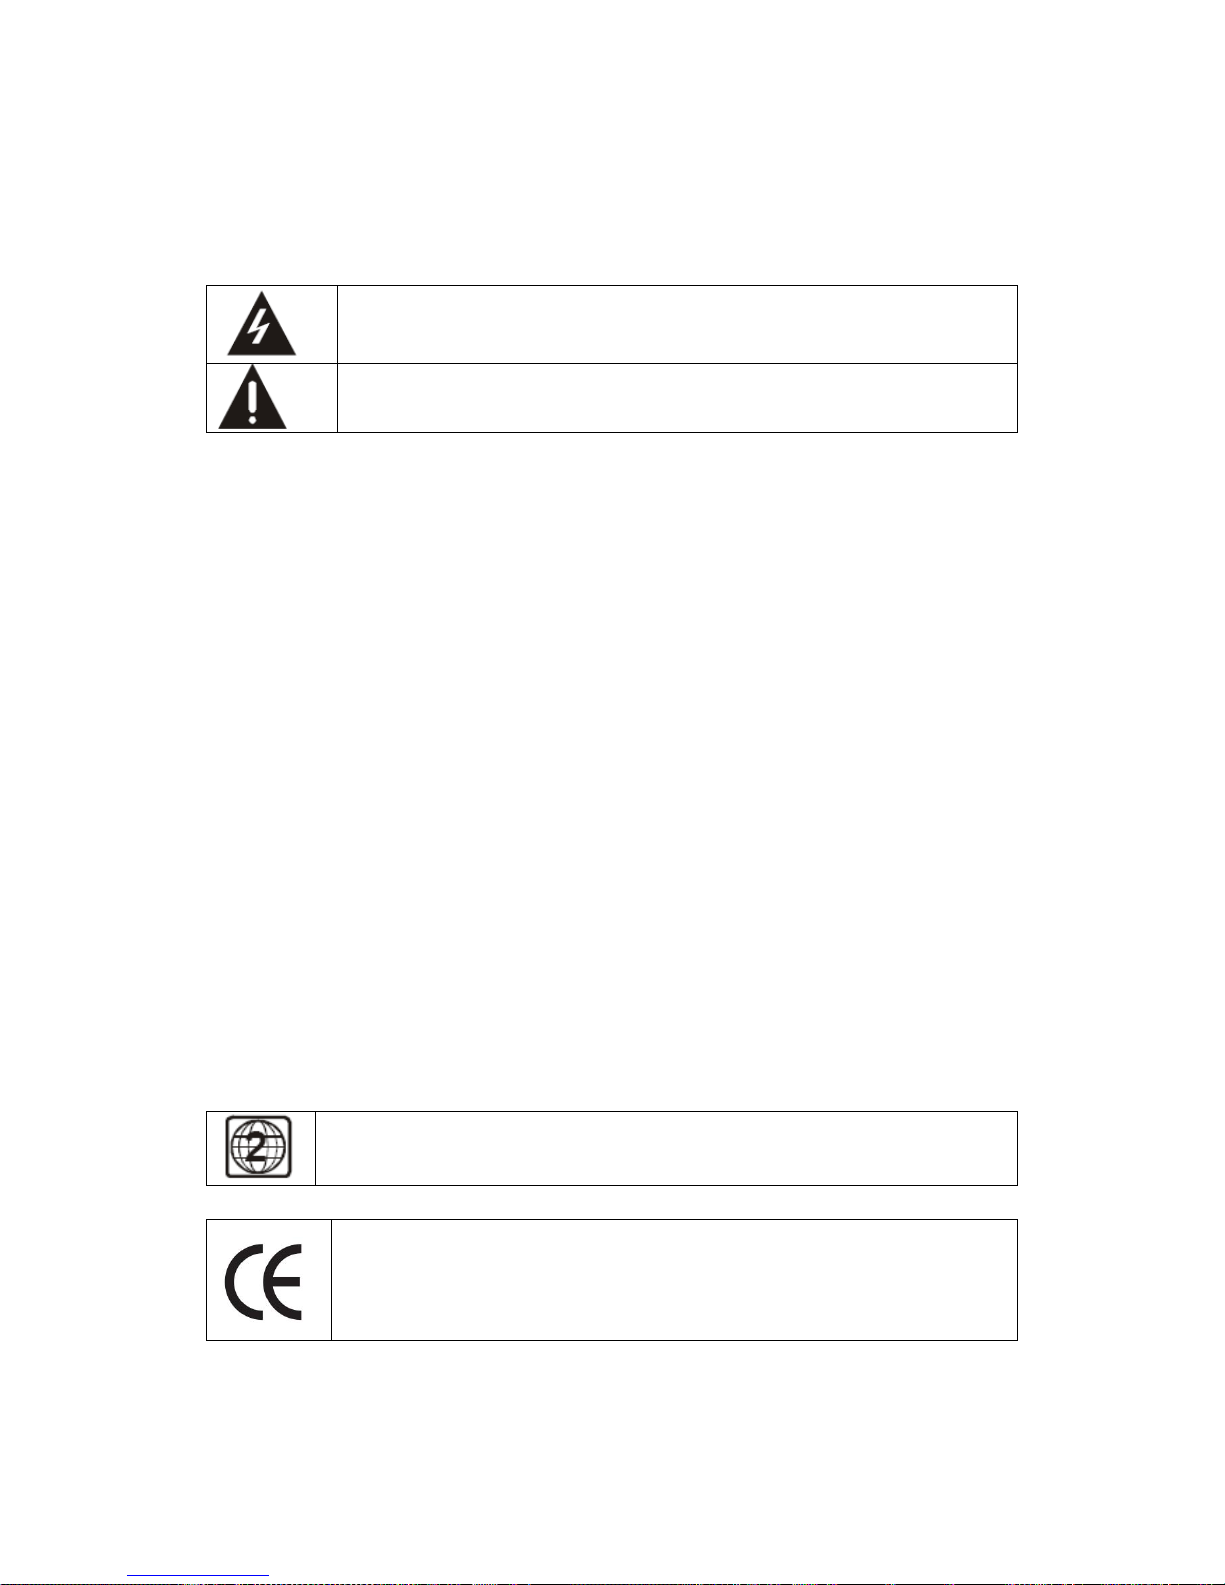
Use of controls, adjustments, or performance of procedures other than those specified herein may
result in dangerous radiation exposure. This product is rated as LASER CLASS 1 PRODUCT.
CAUTION: Laser radiation when open - never stare into the laser beam.
CAUTION !
Dangerous tension inside the product ! Do not open. Risk of electric shock ! No parts can be repaired by the end-
user. Only qualified personnel can repair and maintain this product.
If the electric cord is damaged, it must be replaced by the manufacturer or qualified after-sales personnel in order to avoid
any danger.
The product must be installed in accordance with local laws.
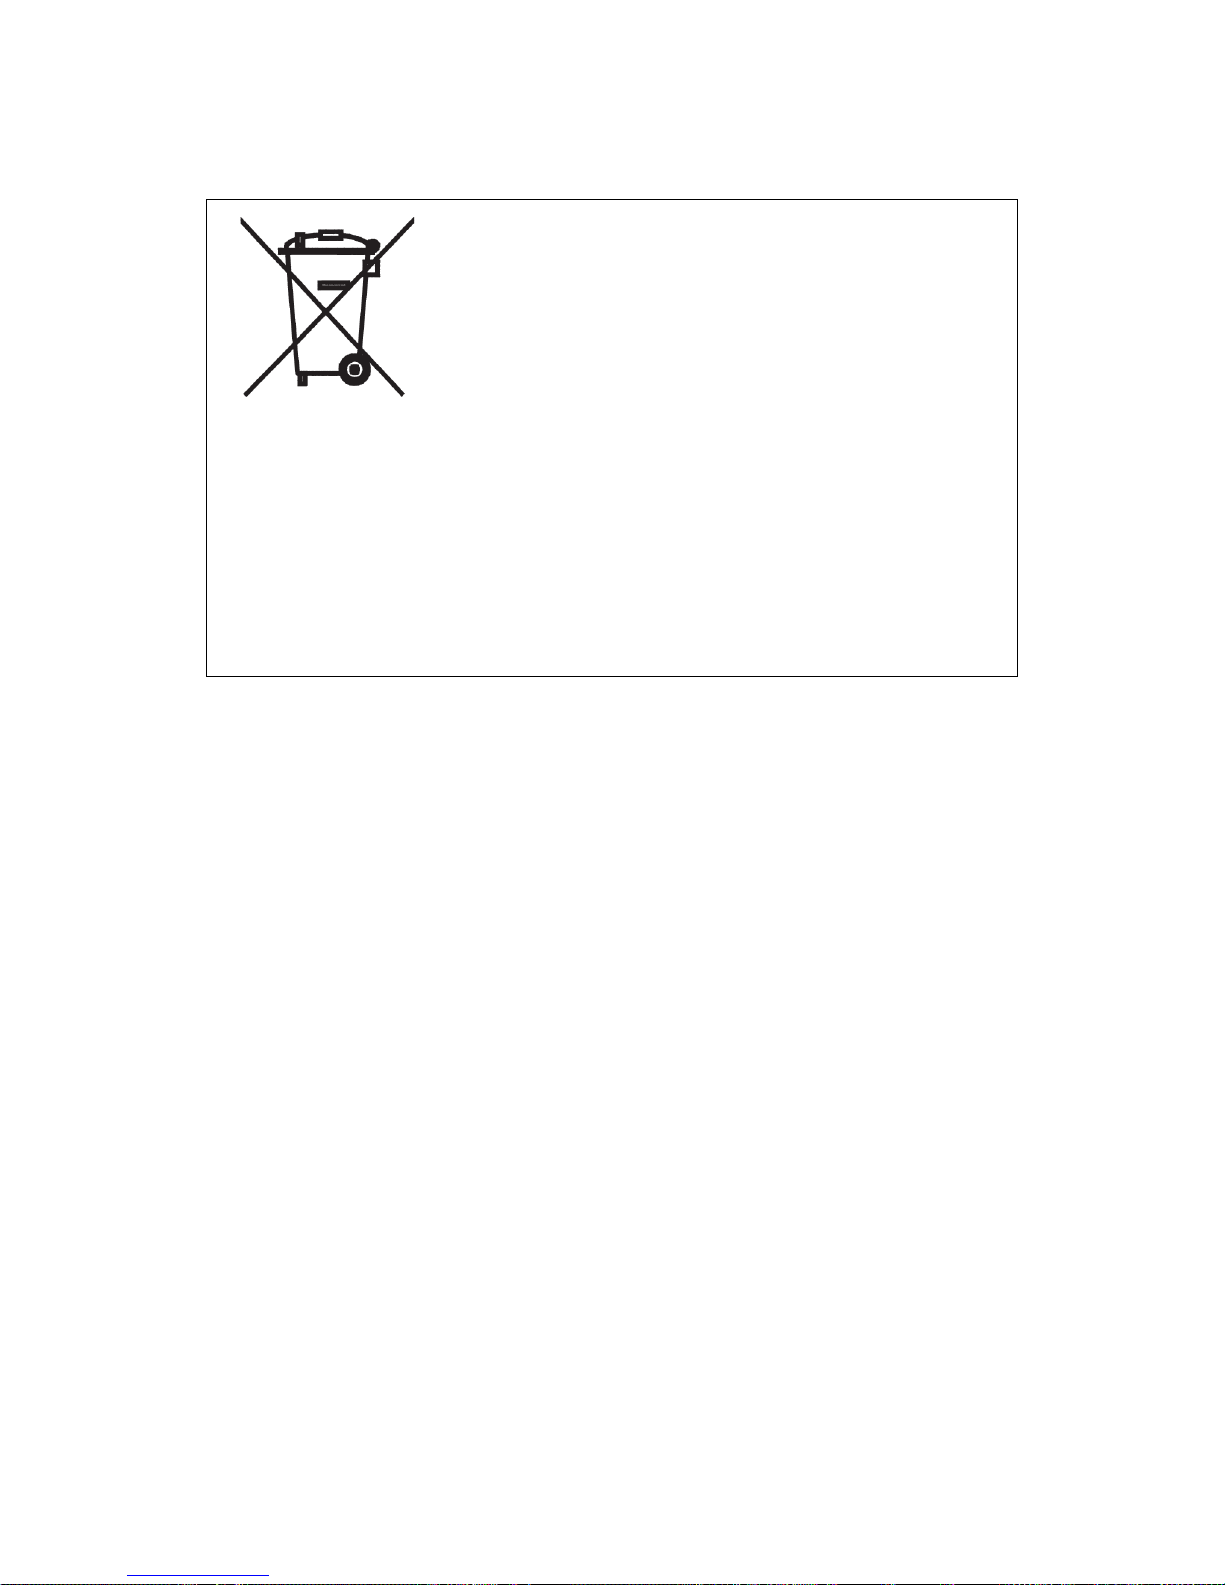
Damaged batteries must be properly disposed. In order to protect the environment, please dispose the batteries properly,
in accordance with local laws (information is available at your reseller).
Where to install the product
- Place the product on a straight, rigid and stable place. Do not place the product on a carpet.
- Do not place the product on top of another that may cause overheating (for example, a receiver or amplifier).
- Do not place anything underneath the product (for example, CDs or magazines).
Proper ventilation
- Place the product in a sufficiently–aerated place to avoid overheating. Allow at least 10cm spacing at the back
and top of the product, and 5cm spacing on both sides to prevent overheating.
- Do not place items such as newspapers, tablecloth, curtains, in front of the ventilating openings.
Do not expose the product to high temperatures, moisture, water and dust.
- The apparatus shall not be exposed to dripping or splashing. No object filled with liquids, such as vases, shall
be placed on the apparatus.
- Do not place other items close to this product that may damage it (for example, objects containing water or
lightened candles).
- No naked flame sources, such as lighted candles, should be placed on the apparatus.
Electric supply
- Please unplug the product in case of prolonged non-use.
- If the supply cable is damaged, it must be replaced by the manufacturer or qualified after-sales personnel to
avoid any danger.
- This product must be connected to an electrical supply 230V ~ 50Hz.
‐The plug must be accessible after installation.
DVD Compatibility
This product can only play ZONE 2 DVD.
This product is compliant with directives 2006/95/CE (abrogating the directive 73/23/CEE modified by
the directive 93/68/CEE) and 2004/108/CE (abrogating the directive 89/336CEE).

2
- This logo set on the product means that the recycling of this apparatus comes within the framework of the directive
2002/96/EC of January 27, 2003 concerning the waste on electrical and electronic equipment (WEEE).
- The presence of dangerous substances in the electrical and electronic equipments can have potential consequences on
the environment and human health in the cycle of reprocessing this product.
- Therefore, at the end of its lifetime, this product shall not be disposed with other non-recycled waste.
- As the end user, your role is of prime importance in the cycles of re-using, recycling, and other forms of valorization of
this electrical and electronic equipment. Local authorities and resellers have set special procedures for the purpose of
collecting and recycling this product.
- You have the obligation to use the selective waste collection systems put in place by your local authorities.

3
INTRODUCTION
Thank you for selecting VIETA as your lifestyle companion.
To bring the functionalities of your device to an excellent condition,we suggest you to spend some time to
read this manual before operating your device.The information contained in this manual will enhance your
total experience in operating your device.
Keep this manual in a safe place after reading for your future reference.
FUNCTION
BUILT-IN 2.0CH Hi-Fi AMPLIFIER DVD MINI COMPONENT SYSTEM
COMPATIBLE WITH DVD/VCD/DVCD/CD/HDCD/MP3/MP4
HIGH QUALITY DIGITAL OPTICAL AND COAXIAL AUDIO OUTPUT
COMPONENT VIDEO OUTPUTS TO PRODUCE CLEAR PICTURE
MULTI-LANGUAGE,MULTI-ANGLE AND MULTI-SELECTION OF SUBTITLE
DIGITAL VOLUME CONTROL,ALT AND UNDERTONE SEPARATELY ADJUSTABLE
FULL FUNCTION FOR INFRARED REMOTE CONTROL
BUILD-IN 2.0 CHANNEL POWER AMPLIFIER OUTPUT: 2 X 15W RMS
MATCHED TWO WOODEN HI-FI BOOK-SHELF SPEAKERS
PLL FM TUNER WITH AUTO-RESEARCH FUNCTION
USB READER FUNCTION
IT CAN CONVERTS CD SIGNALS INTO MP3/MP4 SIGNALS IN YOUR USB MOMERY STICK

4
CONTENT
IMPORTANT SAFETY INSTRUCTION............................................................................................................1
INTRODUCTION...............................................................................................................................................3
CONTENT.........................................................................................................................................................4
LIST OF MAIN PARTS......................................................................................................................................4
FUNCTIONAL DESCRIPTION OF PANEL.................................................................................................... .5
FUNCTIONAL DESCRIPTION OF REMOTE CONTROL.................................................................................6
CONNECTION OF DVD AND TV ....................................................................................................................7
SETTING OF DIGITAL AUDIO OUTPUT.........................................................................................................8
SYSTEM CONNECTION..................................................................................................................................9
BASIC OPERATIONAL INSTRUCTION....................................................................................................10-15
DVD MENU SETUP..................................................................................................................................16-18
SPECIFICATION............................................................................................................................................19
TROUBLESHOOTING...................................................................................................................................19
LIST OF MAIN PARTS
Master Unit 1Piece
2 Speakers
Remote Control 1Piece
FM Antenna 1Piece
AV Wire 1Piece
Manual 1Piece

5
PANEL FUNCTION
1.STANDBY
Press to standby mode
2.DISPLAY
Show the dvd function
3.REMOTE SENSOR
Receive the signal from remote control
4.SOURCE
Coose the input source
5. .PLAY/PAUSE
Sart or pause disc/mp3 play
6.PREV
Sip to previous song or station
7.NEXT
Sip to next song or station
8.OPEN/CLOSE
Open and close the disc door
9.VOLUME
Ajusts volume level
10.DISC DOOR
Pt in or take off the disc
11.STEREO HEADPHONE JACK
.5mm headphone jack
12.USB INTERFACE
USB input host

6
REAR PANEL ILLUSTRATION
1.R/L AUDIO OUTPUT
2.Pb/Y/Pr OUTPUT
3.COAXIAL OUTPUT
4.VIDEO OUTPUT
5.S-VIDEO OUTPUT
6.OPTICAL OUTPUT
7.2CH AMPLIFIER OUTPUT.
8.AUX IN INPUT
9..FM ANTENNA
10.AC230V INPUT

7
FUNCTIONFUNCTIONAL DESCRIPTION OF REMOTE CONTROL
Range of operation of the remote control
The remote control can be used up to approximately 16 feet/5 meters in straight line. It can
also be operated at a horizontal angle up to 30 from the remote control sensor.
Follow this precautions to avoid leaking or cracking cells:
1.Place the batteries in the remote control so they match the polarity:(+)to(+)and(-)to(-).
2.Use the correct type of batteries. Batteries that look similar may differ in voltage.
3.Always replace both batteries at same time.
4.Do not expose batteries to heat or flame.

8
CONNECTION OF DVD AND TV
1.If your TV has AV terminals,connect this unit to TV with the attached AV cables,and set
the TV to be AV status after confirming the connection is correct.(Figure 1)
2.If your TV has a jack for S-terminal,please use the S-terminal connection cable(not
attached) to connect the DVD player,to obtain a higher quality images.(Figure 2)
3.If your TV has a component output terminals(also called chromatism output)please use
three groups of connecting wires to connect the DVD component output with the input
terminals correspondingly to obtain a more vivid image.(Figure 3)
Note:
1.Please turn off the power switch of both DVD player and TV before they are connected, and unplug the power plug
from the socket on the wall.
2.When watching the disc with different system ,adjust the corresponding system according to your TV
system.(NTSC/PAL/AUTO)
3.If there are multiple connections between DVD player and TV ,select one and unplug other connections so as not to
affect the quality of images and sounds.
4.Do not switch the power on and off frequently,switch on and off each time must have an interval of 3 seconds.
5.Do not connect the digital optical output or coaxial output jack of DVD player with the analogue input terminal for
reception.

9
CONNECTION OF DIGITAL AUDI OUTPUT AND DOLBY DIGITAL
STEREO
The Setting of Digital Audio Output:
1.Connect the coaxial jack of DVD player and amplifier of DVD player and amplifier.
2.In the status of STOP or PLAY ,press STEUP key ,the system set page is displayed on the TV screen.And press the
LEFT/RIGHT direction key to switch the cursor to AUDIO SET,and then press the DOWN direction key to move the
cursor to the setting of DIGITAL OUTPUT ,press RIGHT direction key to switch to SPDIF/RAW or SPDIF/PCM,and press
PLAY/ENTER key ,the SETUP key exits after completion.

10
SYSTEM CONNECTOION
Please connect the acoustics as the following figure .Please do not switch on the power
supply before you finished all the parts connected.
Note:
1.Please connect the wires firmly,otherwise this unit will has no sound or come into
other troubles.
2.When unplug or plug the connection wires,please make sure the power supply is cut
off,otherwise it will damage this unit or some equipments

11
BASIC INFORMATION ABOUT OPERATION
PREPARATIVE:
1.Before turning on, make sure all connection of this unit and other sound devices are correct and reliable.Plug the power
supply of this unit to the AC Power Socket.
2.Press POWER key on the panel.
3.Press EJECT key to move the tray into the deck,VCD or CD will automatically be played in several seconds.The DVD
with caption directory will enter into the menu status,at this time ,press the direction keys (up,down,left,right)on the
remote control ,move thecursor to the song to be played,and then press PLAY/ENTER key to enter into the playback
status.
Set the picture size(SETUP/SYSTEM SETUP/PROPORTION OF SCREEN PICTURE)
based on the proportion of length,width and height of theTV screen display.
If the machine is keep idle for a long time,the power supply must be unplugged.
1.Power
BASIC OPERATION:
The POWER button on front panel control power supply of whole system.Press STANDBY
key on remote control to switch player to standby mode or power on.
2.CD RIPPING function
It can converts CD signals into MP3 signals in your USB momory stick when playing cd. Insert the USB
memory ,Press the “RIPPING” key for 3-5seconds on the remote, when monitor appear “copy” letter, select the
song you want to convert and press “ ENTER” It is converting and saving into the use disk when the
monitor show the time, No sound output during changes.
CD-RIPPING is an innovating function that allows you to encode one or several tracks from an Audio CD directly on your
USB key. You can then listen to these tracks anywhere you like, without needing a computer.
Explore this function in just a few steps:
- Insert an audio CD in the player. The CD starts playing.
- Insert a USB stick at the front of the device.
- Press the CD RIPPING button on the remote control.
- The CD RIPPING menu appears. Move the cursor on START to begin encoding automatically.
- The information of the CD appears on screen. Press the ENTER button of the remote control to confirm.
- Recording begins. The screen now displays the recording status of the track and the CD.
- The recording takes place at the same time as the playback of the track. You can accelerate the encoding process by
pressing CHANGE SPEED. The recording speed will then be doubled and the playback is stopped.

12
Once the “CD RIPPING COMPLETED” screen appears, you're done! You can now withdraw your USB and listen to the
MP3 recorded anywhere you want!
Useful Tips – Customizing your recordings
The CD-RIPPING function allows you to change the setting of the following:
1) In the OPTION menu, you may adjust:
- The speed of the recording (SPEED): This rate may be normal x1 (the CD will be played during recording) or x2 on Fast
Mode (playback is turned off). You may also change the speed during recording.
- The quality of the recording (BITRATE): The default is 128Kbps, which allows encoding of good sound quality and
significantly reduces the space required on your USB stick. This default setting is recommended. If you wish, you can
adjust the BITRATE up to 320kbps, the quality of a CD. Attention: the disk space required will therefore be very big. You
must make sure that you have enough space on your USB.
- The ID3 TAG and PLAYLIST options are only available for certain recent audio CD for which the information about the
song title will be used to create files. You can however leave these values enabled by default.
.
2) The TRACKS menu allows you to choose the tracks you want to save. By default, all tracks (hence the whole CD) are
selected.
3) The START menu is used to launch recording. You must first validate the recording summary: the number of selected
tracks, the total length and the total size of recording on your USB. To reduce the size of the recording, you can either
reduce the quality (BITRATE) or the number of selected tracks. You should then press the ENTER button to start
recording. During recording, you can change the recording speed (SPEED CHANGE) or stop the operation (CANCEL). If
you press CANCEL before the end of the recording, you can always listen to all of the songs recorded up to the moment.

13
Useful Information – Frequently Asked Questions
Recording Location
- All of your recordings are saved in a folder called " RIPPING"
- They are stored and named by sequential order: TRACK 1.MP3, TRACK 2.MP3,...
If the CD RIPPING menu does not show
- When you press the CD RIPPING button, message “INVALID ENTRY” appears: this means that there is no audio CD in
the drive. Beware, this function can be executed with AUDIO CD, but not CD with music already recorded in MP3.
- When you press the CD RIPPING button, message “NO DEVICE” appears: this means that there is no USB inserted.
Insert a storage device first, and then try again
USB Compatibility
- If the player does not recognize your USB drive or external hard drive connected via the USB port on the device (no
device message): This unit is compatible with the vast majority of Flash memory media (USB sticks and MP3 players) and
disk drive (MP3/Video players with HDD). However, this device may not be compatible with some media, especially the
self-powered external hard drives. In the latter case, your hard drive should be simultaneously connected to a power
supply (mains or battery) and your DVD player via USB (Please refer to the instruction manual of your hard disk device).
- The CD-RIPPING function is only compatible with the USB sticks and MP3 players whose file system is compatible with
FAT/FAT32. In case of recording problem, you can verify compatibility by connecting your storage device to your
computer. Under Windows 95/XP, simply go to My Computer, do a right-click on the device’s name (usually D:) and select
"Properties" from the menu. The file system type will then appear on screen. If the file system is a different one (eg NTFS),
you can reformat the support in FAT32, after doing a data backup.
Audio CD Compatibility
The CD-RIPPING function is only compatible with Audio CD. Other disc types such as CD-R/-RW, CD MP3, DVD and
Audio DVD are not supported. Besides, the discs in CD-G and DTS-CD formats, or Audio CD with special protections may
not be supported.
Respect for Copyright
The CD-RIPPING function must be used legally. It is intended for strictly personal and private use. More specifically, it is
forbidden to duplicate or disseminate any artistic works without the authors’ authorization.
3.Mute
In play status,if MUTE key is pressed,the TV screen will display MUTE , the synchronous
output sound is eliminated,the image will still be played normally,and then press the key
again to cancel the mute status,the sound resumes to be its normal status .
4.Master Volume/ Volume/Bass/Treble/Balance
In play status,turn the volume knob on the front panel or press VOL+/- key on remote control
to adjust the master volume.
In play status,press the EQ key on the remote control to choose one item to adjust,
master volume/balabce/bass/treble,then press VOL+ or VOL- key to adjust chosen item.
5.SLOW
W hen playing the DVD , press SLOW key to can choose your favorite speed
6.Title Selection
If the DVD disc you are playing contains a directory column,press TITLE key to take out the items contained in this disc in
the directory column,use direction keys to move the cursor,and select the title you want to play,or directly use number
keys to select the titles. (This effectiveness of it depends on discs)
7. Menu
During playing the status of CD,VCD2.0 , press Menu key on the remote control, the status ofMenu is on or off.
During playing the DVD, press Menu key on the remote control, using the direction keys to select the item, then press
PLAY/ENTER key on the remote control.

14
8.Number Keys and Time Selcetion
In playing songs ,press number keys(1~9) to directly select the songs you need.If the songs you want exceed 10th piece,
you may do it by pressing 10+ key, and then press the number keys 1~9.For example:If 12th song is needed,you can
press 10+ key first and press number key 2 to select
this song. In play status ,press TIME key ,TV screen display:
VCD/CD disc display: track:_ _: time:_ _:
DVD disc display: title: _ _: chapter:_ _:
Then you can press direction keys to move the cursor according to the above-mentioned screen suggestions, use number
keys to input the corresponding time numbers ,and then enter after it is done, DVD player will start to play according to the
set time.
9.Repeat and A-B Repeat
When playing DVD disc,press REPEAT key once,the section will be repeated playing.Press the key twice,the content in
the title will be repeated playing.Press the key three times,the whole disc will berepeated .Press the key four times,exit to
the repeat opreation.
When playing CD/VCD disc, press REPEAT key once,the current content will be repeated.Press the key twice,the whole
disc will be repeated .Press the key three timess,exit to the repeat opreation.
In play status,press A-B key once to set the jumping-off point of the A-B repeat,press the key twice to set the end-point of
the A-B repeat,press the key three time to exit the A-B repeat opertion.
10.Pause,Stop
In play status press PAUSE key on the remote control,the device will be pause playing,then press PLAY/ENTER key to
continue playing.
In play status press PLAY/PAUSE key on the front panel,the device will be pause playing,then press the key twice to
continue playing.
In play status, press STOP key on the remote control,the TV screen will return to the picture of switching on,and the
device is half-stop status; press the key twice the TV screen will return to the picture of switching on and the device
stop.Then press number keys or PLAY/ENTER key,the disc will be played.
11.Video
In play or stop status press VIDEO key on the remote control,the device will switch its video-output interface :
TV-RGB,P-SCAN,S-VIDEO,INTERFACE YUV.
12.PAL/NTSC
Press P / N key on the remote to display current TV system.
Press the P / N key again to change to the next TV system. There offers four systems: NTSC, PAL, and AUTO. With
each consecutive press of the key, the TV system switches. If youpress the key five times, the TV system cycles back.
13.Zoom
The Zoom Function allows you to enlarge or zoom out the video image . Press ZOOM key repeatedly to activate the
function and choose the required zoom factor: Zoom 1, Zoom 2, Zoom 3, Zoom 1/2, Zoom 1/3, Zoom 1/4, Zoom Off.
Note:
*This feature does not work when the Disc Menu appears.
*Use the direction keys to pan across the screen when the zoom factor is 1, 2 or 3.
14.FF and FR
You can search in forward or reverse mode during playback.Press the or keys during playback to search through a disc.
Press the keys again to search at the next speed. Fast Forward Playback and Fast Reverse Playback has four speeds:
× 2, × 4, × 8, × 20.
With each consecutive press of the keys, the search speed increases. If you press the keys five times, FF or FR cycles
back to normal playback.During DVD playback, when FF orFR gets to the beginning of the next title / chapter, it resumes
normal playback; During SVCD or VCD playback with PBC on,when FF or FR
gets to the beginning of the next track, it resumes normal playback.Press PLAY key to resume normal playback.(In FM
status,press FF key or FR key to search for channels. )
15.DISPLAY
In play status ,press DISPLAY key, you can choose a different mode of time display
16.Programe Playback

15
The Program Playback option allows you to enter the order in which you want chapters or tracksto play, maximum to 16.
*Program Menu:
SVCD, VCD, CD discs: DVD, MP3/JPEG discs:
*According to the highlight, use the number keys to enter the chapters / tracks in the order you want them to play. Then
press PLAY/ENTER or use direction keys to highlight the item and press PLAY/ENTER key.
*You can program maximum 16 titles / chapters / tracks.
Note:
To clear the programmed order, use direction keys to highlight the CLEAR item, then press PLAY/ENTER key.To modify
the programmed order, use direction keys to highlight the modifying item and enter the new chapter / track you want to
program directly.
17.Playing WMA / Mp3 / JPEG discs
Place a MP3 / WMA / JPEG disc into the tray, and the player will auto search the directories saved files. After searching,it
will auto go to the first directory saved MP3 files (to the disc containing both Mp3 and JEPG files; To the disc containing
single type of files, it will auto go tothe first directory) and play the first song in the directory (>1 =is highlighted).The
screen displays as the picture below:
Current MP3/JPEG file name. If a JPEG file playing,
the name should be *.jpg.
Current directory name
The playing file is a MP3 music
File Switch Region: Displays the file type of the
playing and the switching.
Use the direction keys to enter directory region and highlight the desired directory, then the first track under it starts
playback; Also you can use direction keys to enter the file region and select the file you want to play.
Note:
*The highlight in directory region and file region is shown as the picture above.
Press the Left and Right arrow keys, you can activate Directory Region, File Region and File Switch Region separately.
*To the disc with WMA, MP3 and JPEG files, when playing a JPEG picture, press the STOP keyto return to JPEG list.
*When a picture playing or pausing, press the direction keys to change the display angle:
Up: flip vertical Down: flip horizontal Left: rotate 90 reverse Right: rotate 90 clockwise.
*When playing JPEG pictures, press the PROG key to choose the pictures switched mode.
There are 17 switch modes; Press Program repeatedly to activate the function and choose the required switch mode.
18.Audio Input Function
The device has the function of audio input. Please connect the source with the device according to SYSTEM
CONNECTION,then press FUNCTION key on the remote control or on the panel to choose audio input. Only volume and
tone are adjustable.
Press FUNCTION key to switch AUDIO input status, RADIO status and DVD play status
Note:
*In AUDIO IN input status, only VOL+/VOL-/EQ/MUTE/STANGDBY/FUNCTION keys are valid.
*In AUDIO IN input status, there are not video output from VIDEO/S-VIDEO/CHROMATISM output and audio output from
AUDIO OUTPUT on the rear panel, only the AMPLIFIER OUTPUT socket export amplified audio signal to speaker
system.
19.USB Interface
This device have USB function to connect memory with USB interface. In play or stop status press DISC/USB key on
The playing file is a JPEG picture

16
remote control to enter CD/USB switch menu, choose USB item and press PLAY/ENTER key to begin reading USB
device .In play USB status, repeat a mentioned process to return reading disc status.
Note:
*USB interface sort: USB 1.1 2.0
*Operable USB device: U disc, flash memory or Mp3 player with USB interface
*Operable file format: compatible with MP3, JPEG, MPEG4 and DIVX 6 formats
Remark: Depending on the capacity of the device, the reading can take more than 1 minute before lauching the video.
The unit cannot read my USB device.
- Once you have plugged your device to the unit, you may need to switch on the USB device before it can
operate.
- This unit does not support a direct USB connection with a computer. You need to use a USB device, a MP3
player or a PMP (Portable Multimedia Player with hard disk).
- If you are using a USB external hard disk: you need to connect your device simultaneously to an external power
source and to the unit. If you are using a self-powered PMP, make sure that the battery is sufficiently loaded.
- Check that the files system of your USB device is formatted into the FAT or FAT 32 format. USB device
formatted into NTFS are not compatible with this unit. Caution: if you attempt to modify your file system,
formatting your device will erase all data. Please refer to your USB device’s instruction manual first.
20.Radio Operation
FM frequency range: 87 MHz~108 MHz
* FM function
In the status of play press FUNCTION keys on remote control or front panel, enter the FM status.
*Select the band
Auto scanning: press the key (AUTO ),the unit will search for on the step.
Select the band by pressing number keys: in radio status press the number keys directly, you may select the bands that
have be saved.
*Save band
In radio status press SAVE key and input some number(1~20) with number keys ,then press SAVE
key again,you will save the band to this channel.
*Exit the radio status
Press FUNCTION key, exit radio status, enter DVD playing status.
*In FM status ,press L/R key to switch FM stereo on or off status.
21.DVD Title Choose Function (compatible with DVD discs only)
When playing the DVD, press the key TITLE , displaying as illustrator:
By the press direction keys to highlight the title you want to choose, and press PLAY/ENTER; Also
you can press number keys to choose.
DVD MENU SETUP

17
General Steps of Setup Menu
*Press the Setup key, the main setup menu appears.(When the main menu displayed, the DVD
system will auto pause.)
*Press the Left and Right direction keys to highlight the icon of the desired page, then press the
Down or Right direction keys to activate that page.
*Press the Down direction key to highlight the desired option. Press PLAY/ENTER or press Right to
select, the choice of that option appear on the right.
*Press the direction keys to highlight the Exit Setup option, then press PLAY/ENTER to exit Setup
Menu. In SETUP status, press SETUP key will exit Setup Menu.
1.System Setup
1.1 TV system
*AUTO: to multi-system TV.
*NTSC: to a NTSC TV.
*PAL: to a PAL TV.
According to the Color System of the TV.
1.2 SCREEN SAVER
When the SCREEN SAVER option is ON, if
there are no signals input, the TV screen will
display @DVD@as a screen saver.
1.3 POWER RESUME
When the POWER RESUME option is ON, ,it will auto run the disc directly
1.4 Video
*Interlace-YUV: connected to a TV with Y, Cb, Cr video cables.
*S-VIDEO: connected to TV with an S-VIDEO cable.
1.5 TV type
*4 : 3 PS (Pan & Scan): You can fill the movie to the entire screen of your TV. This might mean that parts of the picture
(the left and right edges) won’t be seen.
*16 : 9 (Wide Screen): If you choose this setting and you don=t have a wide screen TV, the images on the screen may
appear distorted due to vertical compression.
*4 : 3 LB (Letter Box): Movie might appear with black bars at the top and bottom of the screen.
Notes:
* Some disc can not display images in the aspect ratio you choose.
*You must adjust the screen setting depending on the type of the television you have.
1.6 Password
The password option is initialized locked, and you can set the ratings limit or change the password.
If youwant to set the ratings limit, you will need to enter the default password, whichis 0000, then
press PL/ENT to confirm. To change the password, you will be prompted for the old password, then
be prompted for a new. Enter a 4-digit number (this is your password).
1.7 Rating
The Rating feature is a rating limit system, like movie ratings. It works with DVD discs that have
been assigned a rating. This helps you control the types of DVDs that your family watche.
*There are eight rating options: 1 KID ,2 G,3 PG, 4 PG 13,5 PG-R,6 R, 7 NC-17 and 8 ADULT.
*Select the appropriate option that suit different user.

18
1.8 Default: Choose this option to resume all the setup options to default settings.
2. Language Setup
2.1 OSD LANGUAGE option, press the direction keys to choose the OSD language you prefer.
There are 8 optional OSD languages: English and Thailand, German, Spanish, French, Portuguese.
2.2 AUDIO LANG option, press the direction
keys to choose the audio language you prefer.
There are 2 optional audio languages: English,
THAILAND, Japan, French, Spanish, Portuguese,
German, and Latin.
2.3 SUBTITLE LANG option, press the direction
keys to choose the subtitle language you prefer.
There are 8 optional audio languages: English,
Japan, French, Spanish, Portuguese,
German, and Off.
2.4 MENU LANG option, press the direction keys to choose the menu language you prefer. There
are 8 optional menu languages: English, Japan, French, Spanish, Portuguese, German, and Latin.
Notes:
*If your preferred language isn’t available, the disc’s default language will be played.
*The default language of your DVD player is French
3. Audio Setup
3.1 AUDIO OUT option, and press the direction
keys to choose the audio output mode you prefer.
*SPDIF/OFF: From the Coaxial Output jack and
the Optical Output jack, no signal is output.
*SPDIF/ RAW: DVD player is connected to a
power amplifier with a coaxial cable or an optical
cable; This player=s digital output jacks are
designed for a connection to a Dolby Digital, DTS ,
or MPEG receiver or decoder.
*SPDIF / PCM: connected to a 2-channel digital stereo amplifier, audio signals will be modulated
into a 2-channel PCM signal and will be output from the Coaxial jack or Optical jack.
4. Video Setup
4.1 BRIGHTNESS: Use the Up and Down
direction keys to move the scroll and adjust
the brightness.
4.2 CONTRAST: Use the Up and Down direction
keys to move the scroll and adjust the contrast.

19
4.3 HUE: Use the Up and Down direction
keys to move the scroll and adjust the hue.
4.4 SATURATION: Use the Up and Down
direction keys to move the scroll and adjust the saturation.
4.5 SHARPNESS :Use the Up and Down direction keys to move the scroll and adjust the sharpness.
5. Speaker Setup
5.1 STEREO
STEREO: Choose this setting, when 5.1
channel sound playing, two channels of
signals will be output from the left and
right soundtrack; when 2 channel sound playing,
stereo signal will be output.
5.2 FRONT
*LARGE: When 5.1 channel sound playing, Choose this setting,
it will be it will be beefed-up sound output.
*SMALL: When 5.1 channel sound playing, Choose this setting,
it will be it will cut down sound output.
LOUD off / on key
L/R key
6. Digital Setup
6.1 OP MODE
*LINE OUT: It will be more suitable to choose
this setting for playing in the night time, for
the output volume is low.
*RF REMOD: It will be more suitable to choose
this setting for playing in the day time, for the
output volume is high.
6.2 DYNAMIC RANGE: When LINE OUT is selected,
choose this setting to adjust the line out ratio and get different
effect. If adjusting to FULL, the audio signal peak value will be
the minimum; you can choose OFF or MAXIMUM.
6.3 DUAL MONO (LEFT + RIGHT):Choose this option to setup the L and R mono output mode;
There are four modes in this option: STEREO, MONO L, MONO R, and MIX MONO; It is mainly
used in karaoke mode.
Table of contents
Other VIETA Stereo System manuals