Viking VICU206 User manual
Other Viking Cooktop manuals
Viking
Viking RVEC3365BSB User manual
Viking
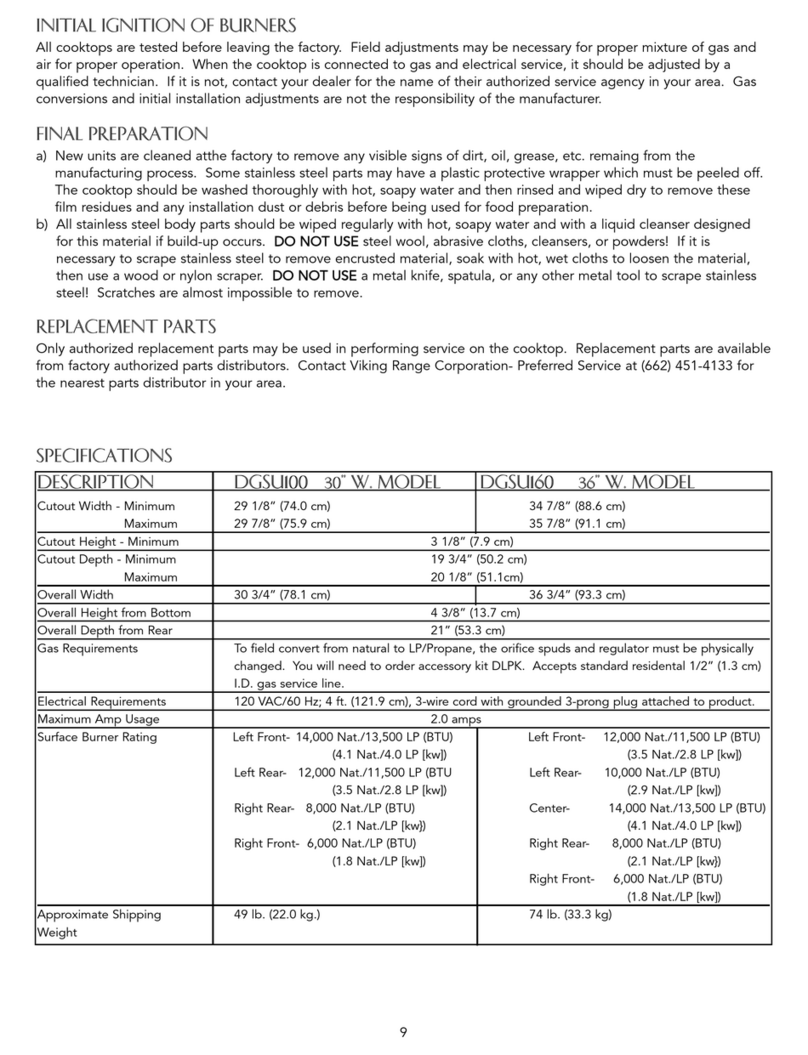
Viking DGSU100 Service manual
Viking
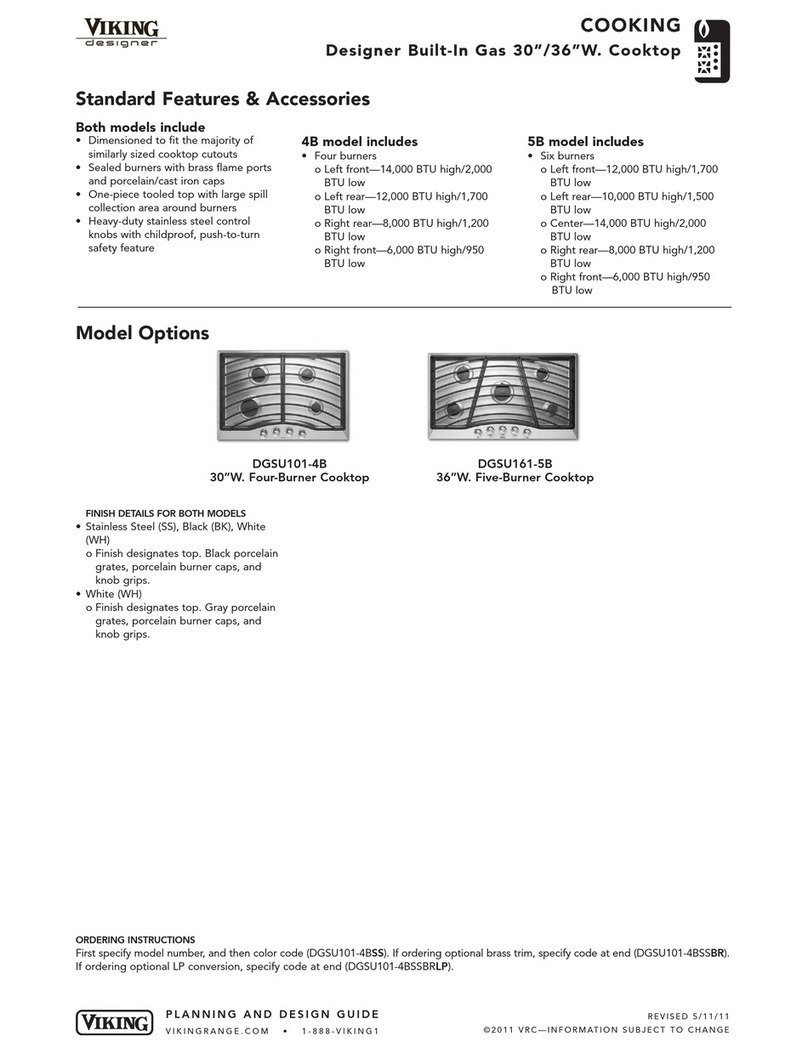
Viking Designer DGSU100-4B User manual
Viking
Viking Electric Rangetops/Ranges User manual
Viking
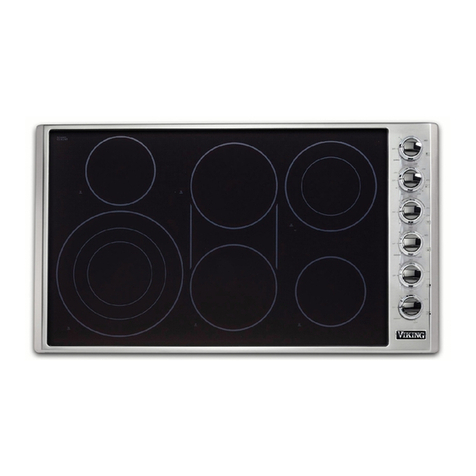
Viking VEC5301 User manual
Viking
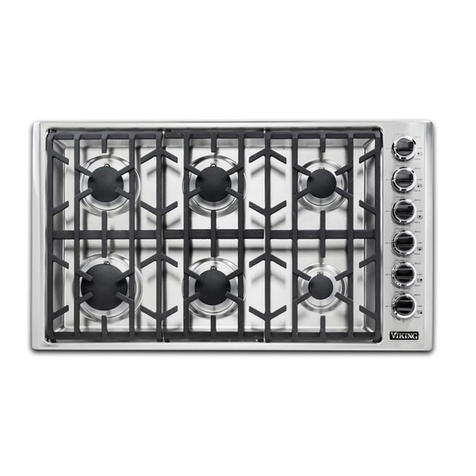
Viking VGWT240SS User manual
Viking
Viking VGSU SERIES User manual

Viking
Viking RVEC3305B User manual
Viking
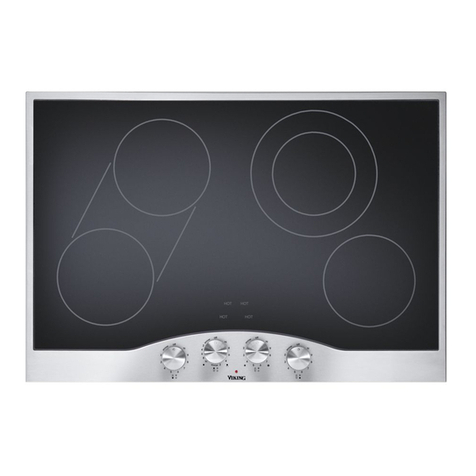
Viking F20111C User manual
Viking
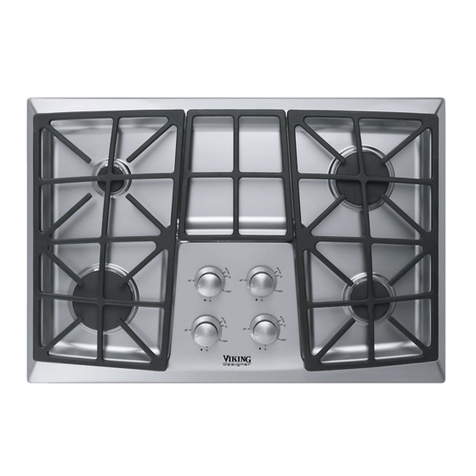
Viking DECU1054BSB User manual
Viking
Viking DGVU200 User manual

Viking
Viking Designer DECU105 User manual
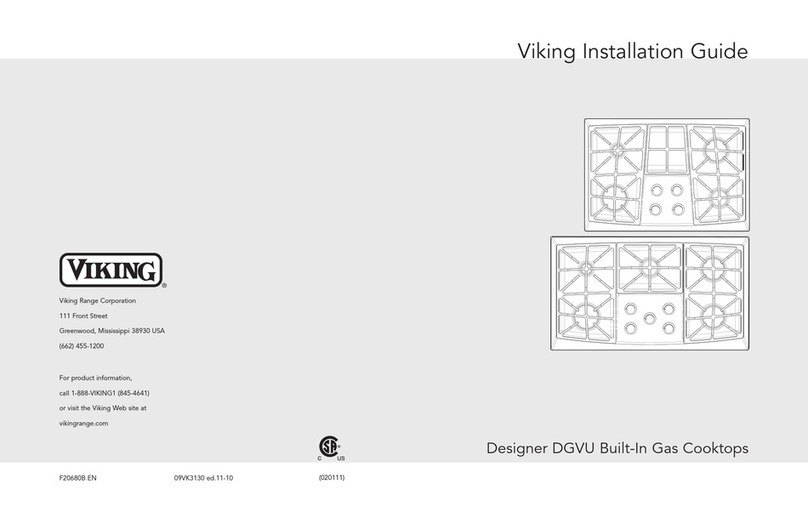
Viking
Viking Designer DGVU2004BSS User manual

Viking
Viking RVGC33615BSS User manual

Viking
Viking Professional VICU105-4B User manual

Viking
Viking 5 Series User manual
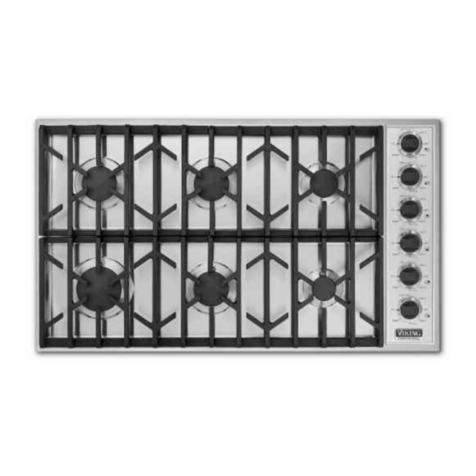
Viking
Viking Professional VGSU103-4B User guide
Viking
Viking Professional Custom VGRT530-4BSS User manual
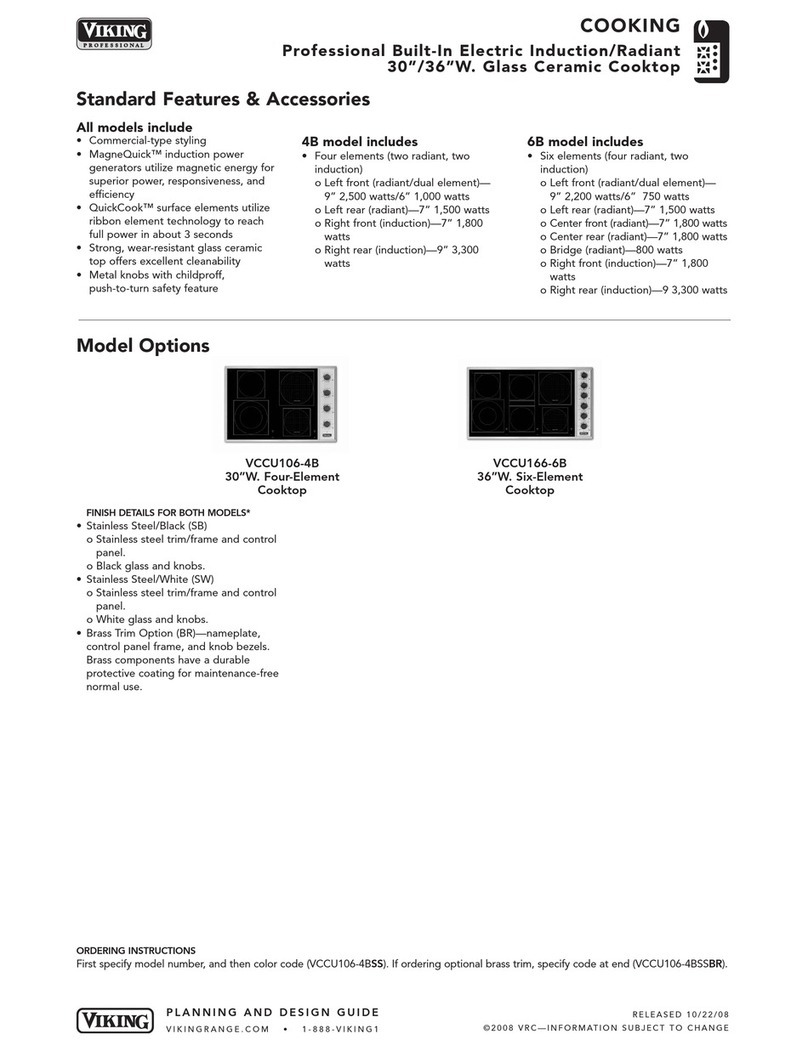
Viking
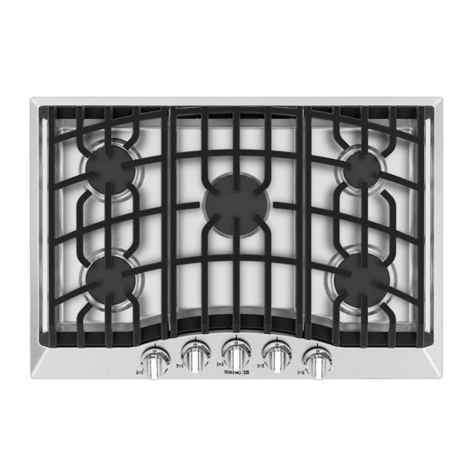
Viking VCCU106-4B User manual
Viking
Viking RDGSU2005B User manual
Popular Cooktop manuals by other brands

Bonnet
Bonnet OPTIMUM 700 Technical instructions

Jenn-Air
Jenn-Air JGCP430 installation instructions

Frigidaire
Frigidaire FES367FCC Wiring diagram

Ztove
Ztove EZ2 DUO instruction manual

Kleenmaid
Kleenmaid cooking GCTK9011 Instructions for use and warranty details

Jenn-Air
Jenn-Air JGC2536EB00 Use & care guide
