manuals.online logo
Brands
  1. Home
  2. •
  3. Brands
  4. •
  5. Villeroy & Boch
  6. •
  7. Bathtub
  8. •
  9. Villeroy & Boch Quaryl User manual

Villeroy & Boch Quaryl User manual

Vill.roy & Ëqth @
GARANTIE
Villeroy & Boch verleent 10 jaar garantie op dit product, met
inachtneming van de garantievoorwaarden, zoals elders in dit
boekje omschreven. lndien u aanspraak op de garantie wilt
maken, dient u contact op te nemen met de installateur.
GEWÄHRLEISTUNG
Viileloy & Boch gibt auf dieses Produkt unter Beachtung der in
diese¡ Broschüre genannten Gewährleistungsbestimmungen
10 Jahre Gewährleistung. Bei Gewährìeistungsansprüchen ist mit
dem Installateur Kontakt aufzunehmen.
GARANTIE
Villeroy & Boch vous offre une garantie de 10 ans sur ce produit,
si les conditions de garantie décrites dans cette blochure sont
respectées. Si vous voulez faire usage de votre garantie, prenez
contact avec votre installateur.
GUARANTEE
Villeroy & Boch hereby guarantees this product for a period
of 10 years, subject to the guarantee conditions fo¡mulated
elsewhere in this booklet. If you want to make a claim under
this guarantee, you should contact the installer.
GARANZIA
Villeroy & Boch garantisce questo prodotto per 10 anni, in
osservanza delle condizioni di garanzia descritte nel presente
manuale. Per richiedere 1'assistenza in garanzia, vi preghiamo di
contattare il vostro installatore.
GARANTI
Villeroy & Boch ger 10 års garanti på denna produkt,
iakttag garantivillkoren som beskrivs på annan plats i denna
broschyr. Kontakta montören om du vill utnyttja garantin.
TAKUU
Villeroy & Boch myöntää 10 vuoden takuun tälli tuotteelle
edellyttäen, että tässä ohjeessa myöhemmin mainittuja
takuuehtoja on noudatettu. Takuuaikana iÌmenneistä virheistä
tulee ottaa yhteys asennustyön suorittaneeseen liikkeeseen.
Villeroy e !9çh
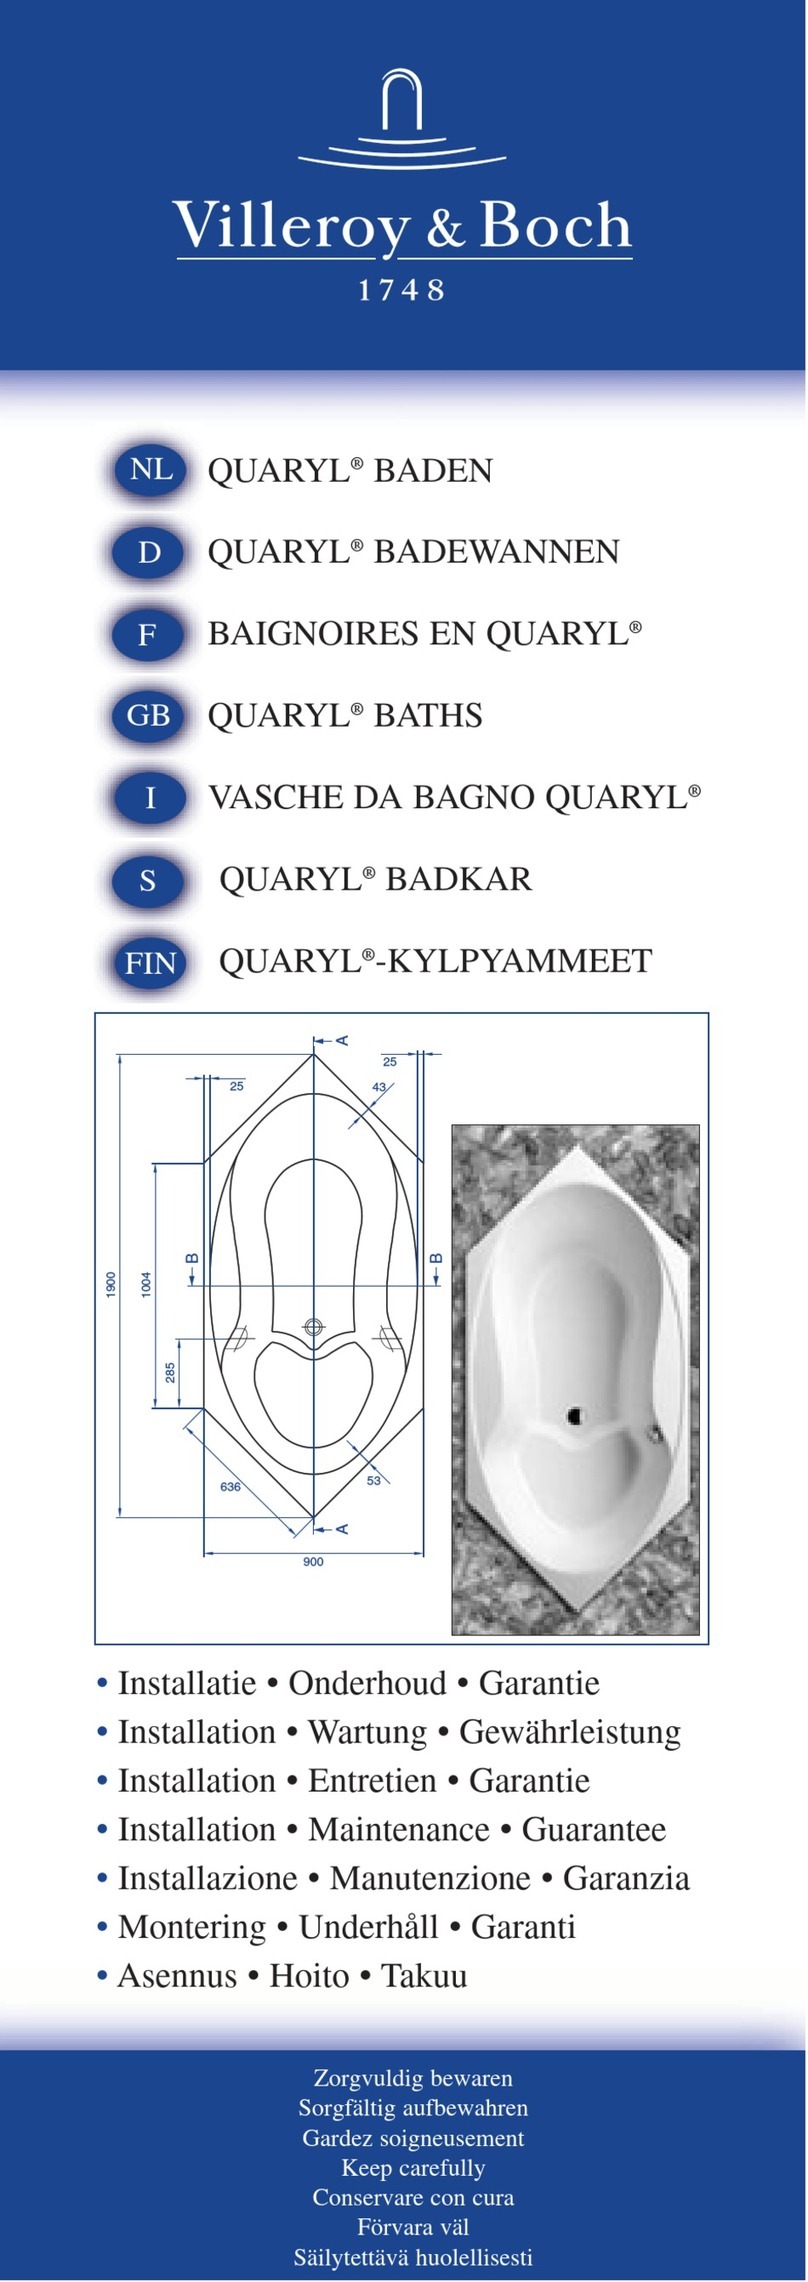
$ QUARYL@BADEN
QUARYL@ BADEWANNEN
BAIGNOIRES EN QUARYL@
QUARYL'BATHS
VASCHE DA BAG}{O QUARYL@
QUARYL@ BADKAR
QUARYL@-KYLPYAMMEET
Installatie . Onderhoud . Garantie
. Installation . Wartung . Gewährleistung
. Installation . Entretien . Garantie
. Installation . Maintenance' Guatantee
. Installazione . Manutenzione' Gannzia
. Montering. Underhåll . Garanti
. Asennus . Hoito . Takuu
Zorgvuldig be'uvarell
Sorgfältig au1ùewahren
Gardez soigneu sentctrt
Keep calefull¡'
Conservare coÍt ctll'a
Fiin,ara väl
t7 48
English
1. FITTING INSTRUCTIONS
1.1. UNPACKING
To avoid damage in transport, the bath is packed in carton with
protective tape along the rim, which has to be removed
(see figure I ). Check if the inside of the bath is undamaged
before installing it.
1.2. MAKING THE OVERFLOW OPENING
For baths for which the overllow opening is not made in advance,
you can dete¡mine its position yourself. The centre of the over-
flow opening to be drilled is indicated. Select the overflow posi-
tion you prefer and follow the instructions below.
Drill out
1. Fit the hole saw supplied to your drilling machine.
2. Drill out the opening from the outward side, positioning the
bit of the hole saw in the centre of the cilcle of the overflow
position desired (see figure 3).
3. To fit the drain/over'flow combination, see point 1.4.
1.3. ASSEMBLY OF LEGS
Below are instructions for attaching the legs to Quaryl@ baths.
Quaryl'baths must be installed using the legs supplied. Never
use scre\üs as fasteners! They are bonded under the bath using
the double-sided tape which is supplied ready fixed to the steel
channel leg supports. Set the whole unit on its legs at the place of
installation, as close to the wall as possible and make su¡e all
sides are horizontal, using a spirit level along the edges (not on
the bottom!; see figure 4). Check to see that all the legs reach the
flool and tighten the locking nuts after adjustment (see figure 5).
Do not fix the feet into concrete!
L Clean the underside of the bath where the legs are to be fitted,
taking care to remove any grease (see figure 6).
2. Remove the film covering the double-sided tape on the legs.
3. Bond the legs to the underside of the bath and press down
firmly.
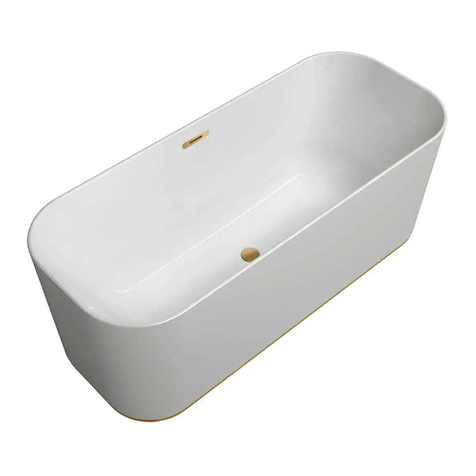
1.4. DRAIN/OVERFLOV/ COMBINATION
The drain/overflow combination is not supplied with the bathtub.
Fit this as instructed by the supplier and connect it to the drain.
Then check for waterJeakage.
It is advisable for the drain to be kept accessible through an
inspection opening of at least 30 x 30 cm.
1.5. SUPPORT
The edges of the bathtub should be suppofed around. You can do
this by having a batten fitted against the wall or a holizontal
recess made previously.
It is essential to leave a gap of at least 3 mm between the bath
and the wall/tiles (see figure 7' I and 9).
1.6. FINISHING
Degrease the edges with a cloth with spirit. For sealing, apply a
layer of silicon compound between the edge of the bath and the
wall. This creates a watertight finishing joint (see figure I 0).
Read the instructions on the silicon compound packing before
2. MAINTENANCE & GUARANTEE
2.1. MAIERIALS
This bath is made of Quaryl'. This is quality synthetic coloured
throughout and has a hard surface.
2.2. MAINTENANCE
Cleaning
Your bath will look at its best if you give it a regular rub over
with a liquid detergent (Sunlight Lemon, Sqezy) and a sponge or
soft brush.
For cleaning bathtubs with a matt finish, please rinse with soap
and plenty of water.
Removing obstinate spots
Chalk spots are best removed with a vinegar solution
(see figure 1 1, l2).
Proof against household chemicals
Quaryl'baths easily withstand all normal chemicals used in the
household without the surface ofthe Quaryl@ bath being affected.
2.3. GUARANTEE
This quality product comes with a 10 year guarantee from the
date of purchase. The guarantee covers: factory faults, changes in
colour and/or cracks resulting from material ageing, and distor-
tions caused by hot water. The guarantee is limited to the repair
or replacement of products supplied.
The guarantee is only valid ifthe product was installed in accor-
dance with our installation/n-raintenance terms and conditions.
And with the exception of the necessary drainage/overflow provi-
sion, has not been provided with a system developed or fitted by
third parties and has not been subjected to modification (e.g. the
drilìing of holes) which are not indicated in the installation provi-
sions accompanying the product.
To claim against the guarantee please contact your dealer. Conse-
quential damages and the cost ofbuilding-in or removing ele-
ments are not covered by tbe guarantee.
I
fi
l
IJ
1ì
ii
r
ii
n
_=-_ l3
T2
11

Other manuals for Quaryl

2

Other Villeroy & Boch Bathtub manuals

Villeroy & Boch CETA User manual

Villeroy & Boch

Villeroy & Boch CETA User manual

Villeroy & Boch Antheus User manual

Villeroy & Boch

Villeroy & Boch Antheus User manual

Villeroy & Boch Quaryl Maintenance and service guide

Villeroy & Boch

Villeroy & Boch Quaryl Maintenance and service guide

Villeroy & Boch Antheus User manual

Villeroy & Boch

Villeroy & Boch Antheus User manual

Villeroy & Boch Theano UBQ170ANH7F200V-01 User manual

Villeroy & Boch

Villeroy & Boch Theano UBQ170ANH7F200V-01 User manual

Villeroy & Boch Hommage Duo UBQ180HOM7W0V-01 User manual

Villeroy & Boch

Villeroy & Boch Hommage Duo UBQ180HOM7W0V-01 User manual

Villeroy & Boch Finion UBQ177FIN7A2BCV2 User manual

Villeroy & Boch

Villeroy & Boch Finion UBQ177FIN7A2BCV2 User manual

Villeroy & Boch Antheus User manual

Villeroy & Boch

Villeroy & Boch Antheus User manual

Villeroy & Boch Combipool User manual

Villeroy & Boch

Villeroy & Boch Combipool User manual

Popular Bathtub manuals by other brands

Lippert Components Better Bath Alcove Bath Tub OEM INSTALLATION MANUAL

Lippert Components

Lippert Components Better Bath Alcove Bath Tub OEM INSTALLATION MANUAL

Kohler MEMOIRS K-1418-M specification

Kohler

Kohler MEMOIRS K-1418-M specification

Bellagio Luxury MT-NR1420 Instructions of installation

Bellagio Luxury

Bellagio Luxury MT-NR1420 Instructions of installation

Laurel Mountain Whirlpools Colony Series owner's manual

Laurel Mountain Whirlpools

Laurel Mountain Whirlpools Colony Series owner's manual

American Standard Williamsburg Elite Whirlpool 2805EC Specification sheet

American Standard

American Standard Williamsburg Elite Whirlpool 2805EC Specification sheet

STROMBERG LAGUNA Assembly & Operating Instruction

STROMBERG

STROMBERG LAGUNA Assembly & Operating Instruction

Mirolin Beacon CF2001 installation guide

Mirolin

Mirolin Beacon CF2001 installation guide

Julabo Pura 4 Original operating manual

Julabo

Julabo Pura 4 Original operating manual

Kohler Sterling 66051100 Homeowner's guide

Kohler

Kohler Sterling 66051100 Homeowner's guide

Kohler K-1014 installation guide

Kohler

Kohler K-1014 installation guide

American Standard Virtuoso Whirlpool 7236.028 parts list

American Standard

American Standard Virtuoso Whirlpool 7236.028 parts list

DURAVIT Vero Air 700418 Mounting instructions

DURAVIT

DURAVIT Vero Air 700418 Mounting instructions

OVE NOAH installation manual

OVE

OVE NOAH installation manual

Arblu TULIP VASCA Assembly instructions

Arblu

Arblu TULIP VASCA Assembly instructions

shelolab SWB2 Installation and operation manual

shelolab

shelolab SWB2 Installation and operation manual

Kohler K-12515 Maintenance Guide

Kohler

Kohler K-12515 Maintenance Guide

Kohler K-1162-S1CB Roughing-In Guide

Kohler

Kohler K-1162-S1CB Roughing-In Guide

Kohler K-1800X Installation and care guide

Kohler

Kohler K-1800X Installation and care guide

manuals.online logo
manuals.online logoBrands
  • About & Mission
  • Contact us
  • Privacy Policy
  • Terms and Conditions

Copyright 2025 Manuals.Online. All Rights Reserved.