Visit help.c5k.info for more information and support
1. Download the “DMSS” application on your iOS
(Apple) or Android (Google) smart device.
1. Install the two included 4G antennas and
mount the included bracket to the camera.
2. Undo the screws on the camera base to open
the ap and reveal the card inputs. Orient the
camera so the text & input layout matches the
diagram on the previous page of this guide.
3. Install the microSD card with its card contacts
facing up toward the reset button and the card
notch to the left of the camera. (see diagram)
4. Install the microSIM card with its SIM contacts
facing down and the notch to the left of the
camera. (see diagram)
5. Set the power switch to the ON position. After
boot-up (max. 120s), check that the light is a
constant green, indicating that the camera is
powered up and connected via 4G.
6. Open the DMSS app. Log in or create a new
account (Fig. 1). After logging in, click the “+”,
then “SN/Scan” (Fig. 2). You must be logged in.
7. Scan the QR code on the sticker on the base
of the camera to add it to your account. Wait
for up to 60s for the camera to connect.
If the camera fails to connect, press and hold
the reset button for 30s and restart this step.
8. On connecting, you will be prompted to set
the time zone and daylight saving time (if
applicable). After this has been done, select
“Done”. Live video from the camera should
now be displayed.
9. With a successful connection to the camera,
you can close the ap, fastening the screws.
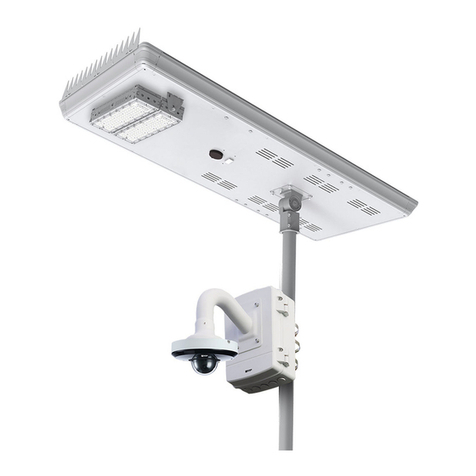
10. Mount the camera to your install location using
the provided screws. The location must have
4~5 hours of sunlight daily and be mounted
at a height of 2m to 3m from the ground for
optimal infrared motion detection (PIR).
11. Adjust the camera angle whilst using the DMSS
mobile application to view the live image as
you adjust the camera.
12. Waterproof all cable connections, included is a
waterproof RJ45 boot.
13. Adjust the solar panel angle to capture as
much light as possible, ensure there is some
tilt on the panel to prevent the accumulation
of dust and debris.
14. It is recommended to change the password
on the camera, please see the “Further
Information”section for more information; visit
https://help.c5k.info/VSIPSLR-A41
Fig. 1 Fig. 2 Fig. 3
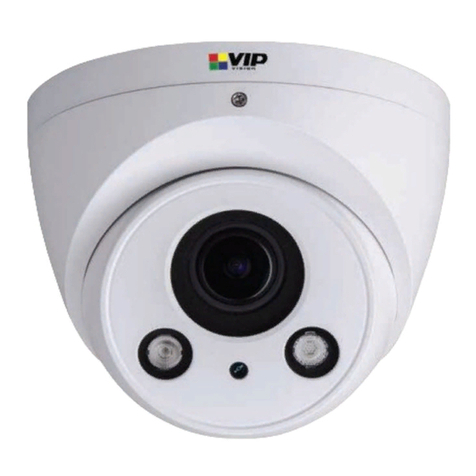
VIP Vision Solar Series 4.0MP 4G Bullet Camera
VSIPSLR-A41 Quick Start Guide
It is strongly recommended to congure the camera rst before mounting it to the install location.
