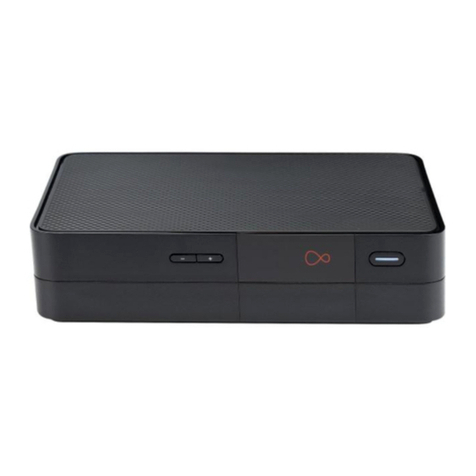
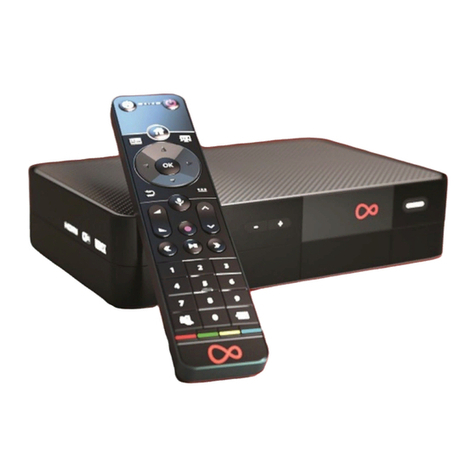
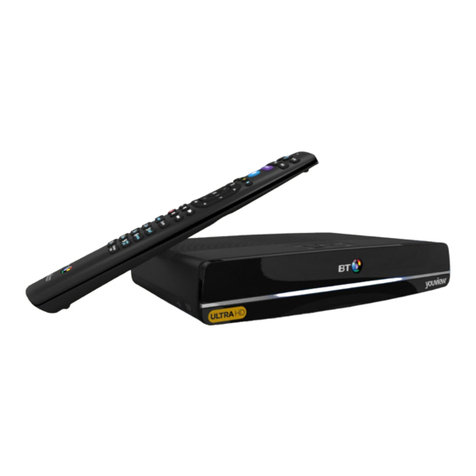
Virgin Media Virgin TV V6 User manual

Installation guide
30 mins
2
Install
your TV
10 mins
1
Uninstall

INT
RESET
1
2
TEL
COAX IN AUDIOSCART OUT HDMIUSB INTERNETD.AUDIO POWER
1
2
3
4
I
NT
RE
S
ET
1
2
TEL
1
2
3
4
1Uninstalling
your old TV kit
We will start with step-by-step
instructions on uninstalling your old kit.
This guide contains step-by-step instructions on how to:
2
What’s included?
The yellow labelled parts have
been supplied in the box.
Your existing equipment may look
dierent to what is shown here.
Automatic activation
Our new boxes automatically
activate when connected
correctly to the Virgin Media
wall socket, please follow these
instructions to get set up.
Tip
Set up all of your kit within 12
hours to avoid any delay and
get the services you have
signed up to.

INT
RESET
1
2
TEL
COAX IN AUDIOSCART OUT HDMIUSB INTERNETD.AUDIO POWER
1
2
3
4
I
NT
RE
S
ET
1
2
TEL
1
2
3
4
Power supply
Ethernet cable HDMI cable
Cable adaptor
Then follow the step-by-step
instructions to get your
new box up and ready to go.
2Install your TV
Once the install is complete
this section will show you
how to get the most from
your new kit, including
services like Virgin TV Go.
+Get more from
your kit
Virgin TV V6 box
Virgin TV V6 box remote
Please don’t pull the tab
out of your new remote until
your new box is switched on.
3

4

1Uninstall your old box
This section will take about 10 mins
1
Uninstall your old box
In this section we’ll be uninstalling your old box. If you need spanners
to undo your connector cables, you’ll find them in the box we sent.
Spanner
5

1.31.21.1
Switch o at the socket
and unplug your TV box.
Remove the connector cable.
You may need to use the
spanner provided.
Switch o your old box
at the back and remove
the power supply lead.
Uninstall your old box
1
Warning
Please keep your old TV box,
HDMI cable and power supply
together. Do not re-use them
with any other device.
6

1.4
Remove the HDMI or SCART
lead that connects your old box
to your TV.
Tip
You don’t need to remove the
connector cable from the wall
socket, as we’ll be re-using
that later.
Uninstall your old box
1
What to do with
your old kit?
Got a second Virgin TV box?
Place the box you have just
uninstalled, its remote and
power pack to one side, and
we’ll come back to how
you can swap it with your
current second box later.
There will be a Collect+
letter with instructions on
how to return your old kit.
If you don’t have a Collect+
letter we don’t need this kit
back so please recycle.
You can nd information
on how best to do that at
recycle-more.co.uk
7

8

Install your TV
This section will take about 30 mins
For this section you’ll need:
HDMI cableVirgin TV V6 box
2
Virgin TV V6 box
power supply
Install your TV
Virgin TV V6
box remote
(do not pull red tab)
2
Cable adaptor Ethernet cable
9

2.2
2
Install your TV
2.1
Connect the short cable adaptor
to the connector cable that was
plugged into your old TV box.
Depending on the cable type
this may require the spanner.
There are two options for
connecting your new box to
your Hub.
Ethernet
Ethernet provides the most
reliable connection speeds.
The Ethernet cable can be
detached from the other
cables to extend its reach.
WiFi
If you can’t connect using
Ethernet, you can connect via
WiFi instead. Keep following
this guide from step 2.5.
The instructions for WiFi set
up are included later.
Connecting your
Virgin TV V6 box
to your Hub
10
Attach the connector cable
with the white end to the
socket on the rear of your new
Virgin TV V6 box by pushing
it rmly into place.
Your box remote uses radio
so you can hide it away
and still control it. For more
information see Customisation
& extras at the end of this guide.
Did you know?

2.52.4
Use the HDMI cable provided
to connect your box to your TV.
Take a note of the name of the
HDMI port you have connected
to, e.g. HDMI 1.
If you have a 4K TV make sure
you connect to a 4K compatible
HDMI socket.
2
Install your TV
2.3
Connect the Ethernet cable
to your Hub. Push it rmly
into place.
11
Are you online?
You need to fully install your
broadband and select your
settings before attempting
to install your Virgin TV
V6 box.
Connect the other end of the
Ethernet cable to the rear
of your box.
Your ethernet ports may face
the opposite direction to the
ones shown below.

2
Install your TV
2.6 2.8
Connect the power supply
to the back of your box.
2.7
12
Plug your box into a nearby
mains socket.
Connect the power supply
for your Virgin TV V6 box.

Install your TV
2
2.9
Switch on at the mains socket
and then use the switch at the
back of your box to turn it on.
You will see an amber light on
the right hand front side of
your box.
2.10 2.11
When you see the Starting up
screen, you can pull the tab out
of your Virgin TV V6 remote.
Starting up...
13
Turn on your TV, then using your
TV remote press the Input, AV
or Source button. It may also
be a button with this icon: .
Select the correct HDMI input
for your box.
Using the right remote?
You need to use your TV
remote for this bit. Your Virgin
TV V6 box remote won’t work
for nding your HDMI port.
Example:

2
Install your TV
2.12 2.13
14
The box will now download
the latest software.
At the end of the update you
will see the following screen.
Press OK and you will see this
conrmation screen:
Once the software has
completely downloaded you
will see this screen, please press
OK to progress.
The download will take up to
30 minutes and will involve
2-3 restarts where the screen
will go back to the Starting up
screen, so don’t worry if you
see the welcome and starting
screens several times.
30 minutes
When you press OK again we
will run a speed check to ensure
everything is working properly.
You will then be shown how to
program your new remote to
control your TV.

2
Install your TV
15
Connection trouble? 2.14
You will now be given the option
to set up your remote so it can
control your TV. To do this follow
the instructions on screen.
If you would rather do this
later you can select No thanks,
maybe later.
Instructions on how to set up
your remote control can be found
in the Customisation & extras
section at the back of this guide.
Your new box will test the
connection strength and show
one of the following.
Green thumbs up?
Your Virgin TV V6 box has
a good connection to your
Hub and you’re all set.
Amber thumbs up?
The connection is a little slow,
so you may have some issues
streaming at high resolution.
Red thumbs down?
Your connection isn’t good
enough for TV services.
If you do not get a green thumbs
up, check the Ethernet cable
connection on both your new
box and your Hub. If you are
connecting via WiFi check that
your Hub is switched on and the
WiFi signal is accessible where
your TV box is.
After those checks follow the
onscreen instructions. If you still
can’t get a green thumbs up
call the activation number at
the start of this guide and
someone will help you.

Install your TV
2
16
2.15
When complete you’ll see the
home screen.
Can’t use the Ethernet cable?
We recommend a direct Ethernet
cable connection as this ensures
the best possible performance
from your box.
If you do not have a longer cable
available you can use WiFi
to connect your Hub and
your box.
Connecting with WiFi
During the set-up process if your
box can’t nd an Ethernet
connection to your Hub it will
show this screen.
Connect with WPS
To connect using WPS press
the WPS button on your Hub
until the light ashes, then press
OK on your remote to continue.
Your box will attempt to
connect automatically.
If the connection fails, select try
again to return to the Connect
to WiFi screen and follow the
connect instructions below.

Install your TV
2
17
Can’t see your network?
If your network isn’t visible
in the list you can click
on Enter network name
to search for it manually.
Once connected you will see
the following screen – press OK
to continue.
Connect manually
From the Connect to WiFi screen
select Search for WiFi networks
with your remote and press OK.
A list of local networks will be
displayed. Look for your network
name. Unless you have changed
it, it will look something like
VM123456. You will then be
asked for your password which
you should enter using your
new remote.
Your TV box will now download
the new software and restart.
Once restarted the installation
screens indicated in 2.12 to 2.15
will complete. Don’t forget to
set up your remote as explained
in 2.11.
Not connected?
Your Hub needs to be connected
to the internet for your new TV
box to work. If you’re having
trouble connecting please check
all the connections to your Hub
and turn it o and on again
using the switch on the back
of the box.
If you’re still having trouble
connecting after rebooting
your kit, please call us on
0800 953 9500.

18

Get more from your Virgin Media setup.
Controlling your TV with your new remote
Do more with your new kit
Copy your current TV settings to your new box
Get the Virgin TV Go and Virgin TV Control apps
Download the Virgin Media Connect app
Troubleshooting
19
Get more from your kit
Get more from your kit

20
You can use your Virgin TV
box remote to control the
volume function and turn
your TV on and o.
Make sure your TV and your
box are switched on.
Press Home and go to Help
& Settings, then select Help,
and press OK to enter the Help
area. Select Program your
remote and press OK.
If the initial code doesn’t work,
or one can’t automatically be
detected, you will be given more
instructions, which may include
manually entering the make of
your TV or scanning for signals.
Follow the instructions on screen.
At each stage you will be
provided with some questions
– use the remote to select the
right answer and press OK.
Your box will select the right
option. Just keep following
the instructions on screen.
Controlling your TV with your remote
Get more from your kit
Table of contents
Other Virgin Media Set-top Box manuals

