ENGLISH
Important Safety Instructions
The following instructions are provided to ensure your safety and to protect the unit from
accidental damage.
•Read these instructions –All the safety and operating instructions should be
read before this product is operated.
•Keep these instructions –The safety and operating instructions should be
retained for future reference.
•Heed all warnings –All warnings on the appliance and in the operating
instructions should be adhered to.
•Follow all instructions –All instructions for use and operation should be
followed.
•Warranty –included inside.
Warning –This symbol indicates important safety instructions that must be fol-lowed to
avoid injury.
Caution –This symbol is to bring important information to your attention to avoid the
risk of injury or damage to the unit.
Prohibited –This symbol indicates a forbidden action. Adhere to these to reduce the
risk of injury or damage to the unit
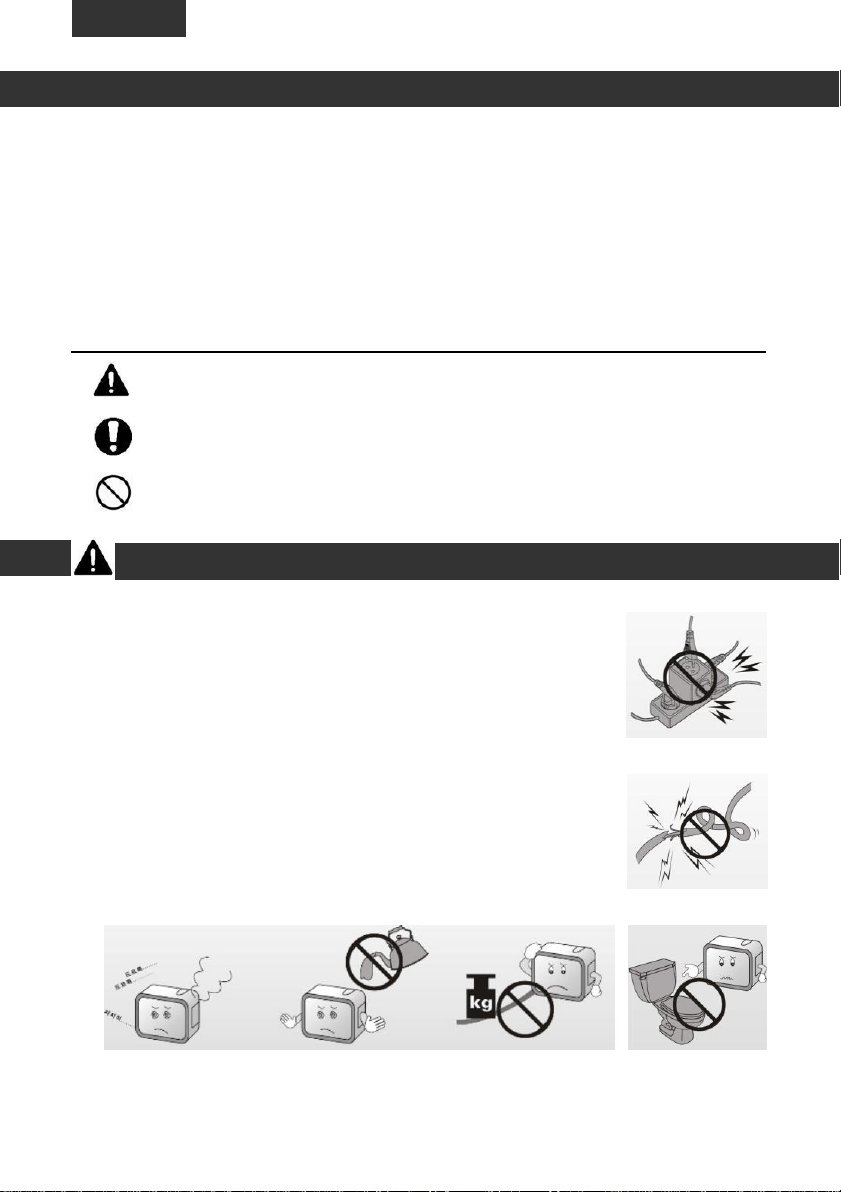
Electrical Safety
•The unit should only be connected to a properly grounded mains power
supply with voltage that matches that specified.
•To prevent overload, do not share the same power supply socket with
too many other electronic components.
•Do not place the power cord where it could be stepped on or tripped
over.
•Do not place heavy items on the power cord, they could damage the
wire.
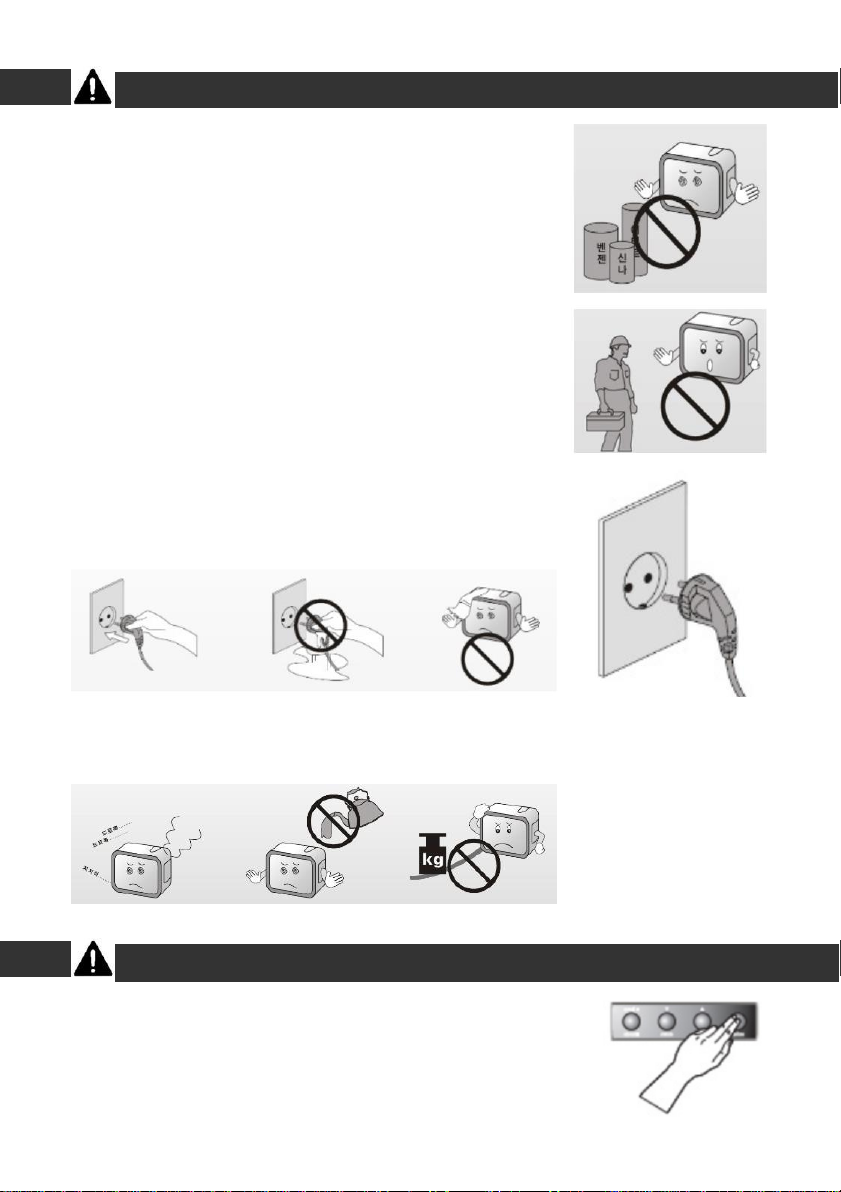
•Do not allow water or moisture to enter the unit or power adapter.
•Do not use in wet, moist areas such as bathrooms, steamy kitchens or
near swimming pools.
•Pull the plug out immediately and seek professional help if the plug or power cord is
damaged, liquid is spilled onto the unit, if it is accidentally exposed to moisture or the unit is
not working normally.
5