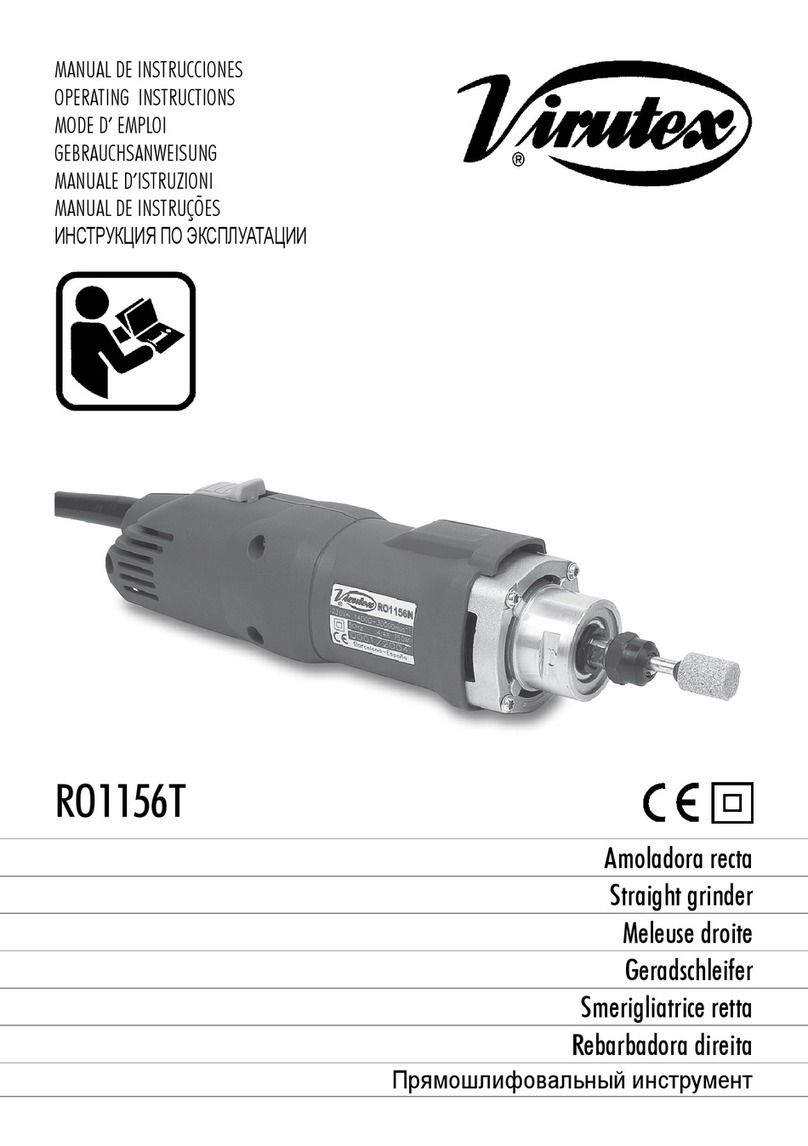
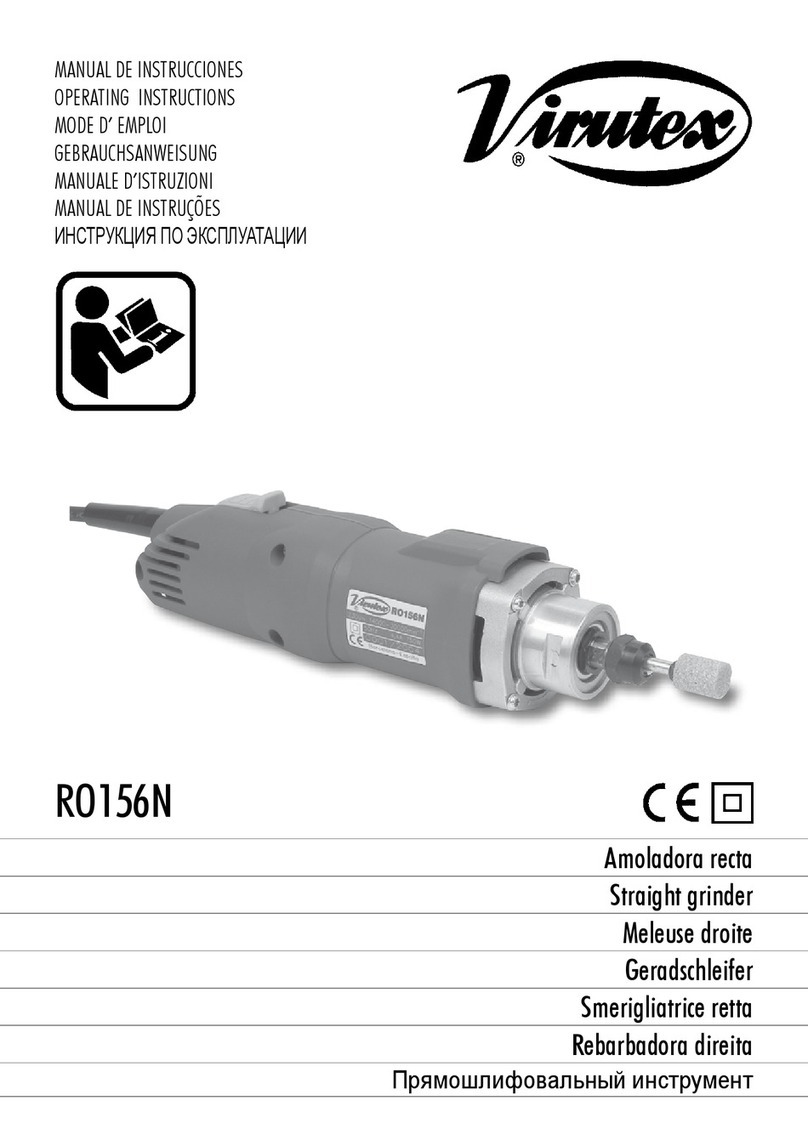
Virutex FR217S User manual

Fresadora para copetes
Angle trimmer
Affleureuse d'angle
Eckentrimmer
Fresatrice per angoli
Fresadora de topos
Угловой Фрезер
Frezarka kątowa
FR217S
MANUAL DE INSTRUCCIONES
OPERATING INSTRUCTIONS
MODE D’ EMPLOI
GEBRAUCHSANWEISUNG
MANUALE D’ISTRUZIONI
MANUAL DE INSTRUÇÕES
ИНСТРУКЦИЯ ПО ЭКСПЛУАТАЦИИ
INSTRUKCJA OBSŁUGI

2
Fig. 1
Fig. 2
Fig. 4
Fig. 3
ESPAÑOL Fresadora para copetes FR217S
4
ENGLISH FR217S Angle trimmer
7
FRANÇAIS Fraiseuse d'angle FR217S
9
DEUTSCH Eckentrimmer FR217S
12
ITALIANO Fresatrice per angoli FR217S
14
PORTUGUÉS Fresadora de topos FR217S
17
РУССКИЙ FR217S Угловой Фрезер
19
РOLSKI Frezarka kątowa FR217S
22
MANUAL DE INSTRUCCIONES
OPERATING INSTRUCTIONS
MODE D'EMPLOI
GEBRAUCHSANWEISUNG
MANUALE D'ISTRUZIONI
MANUAL DE INSTRUÇÕES
ИНСТРУКЦИЯ
ПО
ЭКСПЛУАТАЦИИ
página/page
Seite/pagina
страница/strona

3
Fig. 5 Fig. 6
Fig. 7 Fig. 8
Fig. 9 Fig. 10
C

4
ESPAÑOL
FRESADORA PARA COPETES FR217S
Importante:
Antes de utilizar la máquina lea atenta-
mente éste MANUAL DE INSTRUCCIONES
y el FOLLETO DE INSTRUCCIONES GENE-
RALES DE SEGURIDAD que se adjunta.
Asegúrese de haberlos comprendidoantes
de empezar a operar con la máquina.
Conserve los dos manuales de instruccio-
nes para posibles consultas posteriores.
1. INSTRUCCIONES DE SEGURIDAD
PARA EL MANEJO DE LA FRESADORA
- Asegúrese antes de conectar la máquina, que la tensión
de alimentación, corresponda con la indicada en la chapa
de características.
- Mantenga siempre las manos alejadas del área de
corte y sujete siempre la máquina por el cuerpo central
de la misma.
- Es recomendable trabajar con aspiración de la viruta
para prolongar la vida de la fresa y evitar posible roturas
de la misma.
- Desconecte la máquina de la red eléctrica antes de
realizar cualquier operación de mantenimiento.
- Use siempre recambios originales VIRUTEX.
- Utilizar únicamente fresas con el diámetro de la caña
adecuado a la pinza a utilizar y adaptadas a la velocidad
de la fresadora.
Fig. 11
Fig. 12

7
ENGLISH
FR217S ANGLE TRIMMER
Important
Read these OPERATING INSTRUCTIONS
and the attached GENERAL SAFETY
INSTRUCTIONS LEAFLET carefully before
using the machine. Make sure you have
understood them before operating the
machine for the first time.
Keep both sets of instructions for any
future queries.
1. SAFETY INSTRUCTIONS FOR
OPERATING THE TRIMMER
- Before plugging in the machine, ensure that the power
supply voltage corresponds to what is stated on the
machine's characteristics plate.
- Always keep your hands away from the cutting area
and grip the machine by its main body
- It is recommended to use the machine attached to a
dust collector in order to prolong the life of the bit and
prevent possible damage to it.
- Unplug the machine from the electrical outlet before
performing any maintenance operations.
- Always use original VIRUTEX spare parts.
- Use only bits of diameter suitable for the chuck to be
used, and adapted to the router speed.
2. SPECIFICATIONS
Input power........................................................1,000 W
Universal motor............................................50/60 Hz
No-load speed................................14,000-30,000/min
Chuck collet.......................................................8 mm
Conforme a la Directiva Europea 2002/96/CE los usuarios
puedencontactar con el establecimientodonde adquirie-
ron el producto, o con las autoridades locales pertinentes,
para informarse sobre cómo y dónde pueden llevarlo
para que sea sometido a un reciclaje ecológico y seguro.
VIRUTEX se reserva el derecho de modificar sus productos
sin previo aviso.
Weight...............................................................1.6 Kg
Weighted equivalent continuous
acousticpressure level A..................................................88 dBA
Acousticpower level A.......................................................99 dBA
Uncertainty...................................................................K = 3 dbA
Wear ear protection!
Vibrationtotal values..............................................ah:<2.5m/s2
Uncertainty....................................................................K:1.5 m/s2
3. STANDARD EQUIPMENT
Inside the box you will find the following items:
1. FR217S Angle trimmer
2. H.M. Bit for rims R.5
3. H.M. Bit for rims R.10
4. Feeler R.5
5. Feeler R.10
6. 11-mm a/f key for motor shaft
7. 19-mm a/f key for the chuck collet
9. 3-mm Allen key
9. Dust collection pipe
10. Cable - dust collection tube brackets
11. Operating instructions
4. GENERAL DESCRIPTION AND APPLICATIONS
Specially designed for trimming the concave radiuses in
the joints between rims and work tops made of materials
such as Corian or Rausolid. Fitted with a front feeler that
prevents the rim from becoming damaged and allows for
quick, easy trimming, giving a perfect finish.
The machine comes equipped with a dust collector con-
nection, and using the dust collector attachment, it can
be connected to our AS182K and AS282K dust collectors,
or to any other industrial dust collector.
The power cable can be fed through the brackets S (Fig.
11) on the dust collection tube to make the machine
easier to handle.
5. PREPARING THE MOULDING
To trim concave radiuses, a plate must be fitted between
the base of the work top and the rim. The size of the
plate depends on the desired radius, as shown in (Fig. 3).
The maximum trimmer radius that can be fitted on the
machine is 10 mm and the minimum is 5 mm.
6. STARTING AND STOPPING THE MACHINE
To start the machine, press button A forward (Fig. 1)
to the "on" position. To stop the machine, simply press
the back of the switch and it will return to the "off"
position. The electronic control enables you to work at
the ideal speed for each type of job and cutter bit. To
do this, use button B (Fig. 1 and 2).

8
7. ADJUSTING THE BIT HEIGHT
Disconnect the machine from the mains
before making any adjustments to the
machine.
Protector C does not need to be removed in order to
adjust the bit height (Fig. 4).
Loosen screw D (Fig. 4) using key E (Fig. 4) until the mo-
tor body F can move. Turn the eccentric G (Fig. 4) using
the same key E (Fig. 4) until the edge of the cutter bit
with radius H (Fig. 5) is level with the base I (Fig. 5) and
firmly tighten screw D (Fig. 4) in this position.
8. ADJUSTING THE FEELER
The machine includes feeler C (Figs. 5, 6 and 7) which acts
as a support guide and determines the depth of same.
We advise routing the desired radius in two or three
cuts in order to prevent vibrations and marks on the
finished radius. The feeler must be adjusted for each cut.
First cut:
To adjust the feeler for the first cut, loosen screws J (Fig.
6) with spanner E (Fig. 6) and move the feeler forward
until it can go no further.
Last cut:
To adjust the feeler for the last cut, loosen screws J (Fig.
6) and move the feeler until the edge of bit H (Fig. 6) is
level with the feeler. Since the bit is spiral, you will have
to turn it 360° in order to check this (Fig. 6).
To ensure that the edge and the feeler are accurately
aligned, use support ruler K (Fig. 6). Once the correct
position of the bit has been established, tighten screws
J again (Fig. 6).
Intermediate cut:
Should you wish to make the radius in 3 cuts, place the
feeler in an intermediate position, between the two
positions explained above.
Before routing radius (Fig. 7) on the work top, do a test
trim to check that the height of the cutter bit and the
position of the feeler are correctly set.
9. CHANGING THE BIT
Make sure you place the chuck collet in
the correct position, otherwise vibrations
may occur or the part itself my come
loose (Fig. 12).
Disconnect the machine from the mains
before performing this operation.
To change the cutter bit, first remove the feeler C (Fig.
6), removing the screws J (Fig. 6). Block the motor shaft
using key L, unscrew the nut with the key M (Fig. 8),
remove the worn bit and insert a new one. Hold it in
position by tightening the nut with key M and let it slide
until the edge rests on the support surface.
Adjust the height of the bit, as explained in the cor-
responding section (Fig. 5).
10. MAINTENANCE. CARBON
BRUSHES AND COMMUTATOR
Disconnect the machine from the
power supply before any maintenance
operation.
Remove the screws N (Fig. 9) that hold the side covers
O (Fig. 9) and separate them. Remove the brush-holder
P (Fig. 10) with small screwdriver Q, using one of the
brush-holder side tabs to lever it out. Push back the end
of spring R. Keep it in this position to remove the brush
and replace it with a new genuine Virutex brush. Reinsert
the brush-holder, ensuring that it is firmly positioned in
the casing and that each of the brushes exerts a small
amount of pressure on the collector. Re-attach the
covers O with the corresponding screws, making sure
that no wires get caught in the process. It is advisable
to leave the machine running for 15 minutes after the
brushes have been changed.
If the collector burns or juts out, it should be serviced
by a VIRUTEX technical service. Always keep the cable
and plug in good service condition.
11. LUBRICATION AND CLEANING
The machine comes fully lubricated from the factory and
does not require special care during its working life. It is
important to always clean the machine carefully after
use with a dry air blower.
Keep the power cable in perfect working condition.
12. NOISE LEVEL AND VIBRATIONS
The noise and vibration levels of this device have been
measured in accordance with European standard EN
60745-2-17and EN 60745-1 andserve as a basisfor com-
parison with other machines with similar applications.
The indicated vibration level has been determined for
the device’s main applications and may be used as an
initial value for evaluating the risk presented by expo-
sure to vibrations. However, vibrations may reach levels
that are quite different from the declared value under
other application conditions, with other tools or with
insufficient maintenance of the electrical device or its
accessories, reaching a much higher value as a result

9
of the work cycle or the manner in which the electrical
device is used.
Therefore, it is necessary to establish safety measures
to protect the user from the effects of vibrations, such
as maintaining both the device and its tools in perfect
condition and organising the duration of work cycles
(such as operating times when the machine is subjected
to loads, and operatingtimeswhen workingwith no-load,
in effect, not in use, as reducing the latter may have a
considerable effect upon the overall exposure value).
13. WARRANTY
All VIRUTEX power tools are guaranteed for 12 months
from the date of purchase, excluding any damage which
is a result of incorrect use or of natural wear and tear
on the machine. All repairs should be carried out by the
official VIRUTEX technical assistance service.
14. RECYCLING ELECTRICAL EQUIPMENT
Never dispose of electrical equipment with domestic
waste. Recycle equipment, accessories and packag-
ing in ways that minimise any adverse effect on the
environment. Comply with the current regulations in
your country.
Applicable in the European Union and in European
countries with selective waste collection systems:
If this symbol appears on the product or in the accom-
panying information, at the end of the product's useful
life it must not be disposed of with other domestic waste.
In accordance with European Directive 2002/96/EC, users
may contact the establishment where they purchased the
product or the relevant local authority to find out where
and how they can take the product for environmentally
friendly and safe recycling.
VIRUTEX reserves the right to modify its products
without prior notice
FRANÇAIS
FRAISEUSE D'ANGLE FR217S
Important
Avant d'utiliser la machine, lisez attenti-
vement ce MANUELD'INSTRUCTIONS etla
BROCHURE D'INSTRUCTIONS GÉNÉRALES
DE SÉCURITÉ qui vous sont fournis avec
cette machine. Assurez-vous de bien
avoir tout compris avant de commencer
à travailler sur la machine.
Gardez toujours ces deux manuels
d'instructions à portée de la main pour
pouvoir les consulter, en cas de besoin.
1. INSTRUCTIONS DE SÉCURITÉ POUR
LE MANIEMENT DE L'AFFLEUREUSE
- Vérifier avant de brancher la machine si la tension
d'alimentation correspond à celle indiquée sur la plaque
des caractéristiques.
- Maintenir toujours les mains éloignées de la zone de
coupe et tenir toujours la machine par le corps central.
- Il est recommandé de travailler avec un aspirateur de
copeaux pour prolonger la durée de vie de la fraise et
éviter d'éventuelles cassures de celle-ci.
- Débrancher la machine du secteur, avant toute opéra-
tion d'entretien.
- Utiliser toujours des pièces de rechange d'origine
VIRUTEX.
- N'utiliser que des fraises ayant un diamètre de tige
adapté à la pince à utiliser et que correspondent à la
vitesse de la défondeuse.
2. CARACTÉRISTIQUES TECHNIQUES
Puissance absorbée.......................................................1.000 W
Moteur universel......................................................50/60 Hz
Tr/min à vide........................................14.000-30.000/min-1
Pince fraise.........................................................................8 mm
Poids...................................................................................1,6 Kg
Niveau de pression acoustique
continuéquivalentpondéréA..........................................88dBA
Niveaude puissance acoustique A................................99dBA
Incertitude.....................................................................K = 3 dbA
Porter une protection acoustique!
Valeurstotalesdesvibrations..................................ah: <2.5m/s2
Incertitude..................................................................K: 1,5 m/s2
3. ÉQUIPEMENT STANDARD
La mallette contient les éléments suivants:

Virutex, S.A.
Antoni Capmany, 1
08028 Barcelona (Spain)
www.virutex.es
1796263 022015
http://www.virutex.es/registre
Acceda a toda la información técnica.
Access to all technical information.
Accès à toute l’information technique.
Zugang zu allen technischen Daten.
Accedere a tutte le informazioni tecniche.
Aceso a todas as informações técnicas.
Dostęp do wszystkich informacji technicznych.
Доступ ко всей технической информации.
Other manuals for FR217S
2
Table of contents
Other Virutex Grinder manuals
Popular Grinder manuals by other brands

Parkside
Parkside PFBS 9.6 A1 Operation instructions

Bosch
Bosch Professional GWS 14-125 Original instructions

Chicago Electric
Chicago Electric 93179 Assembly and operating instructions

jcb
jcb JCB-AG720 Safety and operating manual

Maktec
Maktec MT954 technical information

Berner
Berner BACSG Original instructions