manuals.online logo
Brands
  1. Home
  2. •
  3. Brands
  4. •
  5. Visual Comfort & Co.
  6. •
  7. Lantern
  8. •
  9. Visual Comfort & Co. Rosedale Grand Medium Bracketed Wall Lantern User manual

Visual Comfort & Co. Rosedale Grand Medium Bracketed Wall Lantern User manual

1. Carefully remove all parts from the box.
2. Thread the finial (H) to the nipple (I).
3. Remove the mountin plate (C) from the fixture body (G) by loosenin side screws (E).
4. Put the mountin plate (C) on the wall and mark the holes position with pencil.
5. Drill 4 holes on the wall and knock the anchors (B) into the holes.
6. Affix mountin plate (C) onto the junction box and secure with mountin screws (D), then
secure the wood screws (F) to the anchors (B) and lock ti ht.
7. With the fixture dimension as a uide, attach the bracket (J) on the wall and mark the
hole position with pencil (see Fi .2).
8. Drill one hole on the wall and knock the anchor (B) into the holes.
9. Connect the fixture Ground (bare) wire with the round wire from the junction box usin
wire nut (A). If your house does not have round wire, then attach this wire to the
reen roundin screw inside of the junction box.
IT IS IMPERATIVE THAT THIS FIXTURE BE GROUNDED.
10. Connect the fixture Neutral wire (WHITE) with the neutral wire (White) from the junction
box usin wire nut (A).
11. Connect the fixture Hot wire (BLACK) with the hot wire (Black) from the junction box usin
wire nut (A).
DO NOT REVERSE THE HOT AND NEUTRAL CONNECTIONS OR SAFETY WILL
BE COMPROMISED.
12. Attach fixture body (G) to the mountin plate (C) and secure with side screws (E).
13. Attach the bracket (J) on the wall and secure with wood screw (F).
Rosedale Grand Medium Bracketed Wall Lantern
Item # RC 2048
WE RECOMMEND INSTALLATION OF THIS LIGHTING FIXTURE BE DONE BY A
LICENSED ELECTRICIAN.
WARNING***SWITCH OFF THE MAIN ELECTRICAL SUPPLY FROM THE MAIN
FUSE BOX/CIRCUIT BREAKER BEFORE INSTALLATION.
INSPECT ITEM CAREFULLY BEFORE ATTEMPTING TO INSTALL. IF THERE IS ANY
DAMAGE OR OBVIOUS DEFECT. DO NOT INSTALL.
ITEM MAY NOT BE RETURNED ONCE IT HAS BEEN INSTALLED.
NOTE: CAREFULLY UNPACK EACH PIECE IN TOP LAYER OF PACKING PRIOR TO
REMOVING. RETAIN ALL PACKING MATERIAL UNTIL INSPECTION AND
INSTALLATION ARE FINAL.
WET
L
I
S
T
E
D
C US
Intertek
CM
Safety cable
Cable lock nut
N
GND
Fi .1 Fi .2
TO assemble safety cables:
1.Join fixture safety cables with safety
cable from wall.
2.Wrap both safety cable around the
cable lock nut.
3.Insert screws into both holes on cable
lock nut,secure screws with screwdriver.
4.Push the cable lock nut into outlet box.
Glass L
Glass M
14. Thread the finial (K) to the bracket (J).
15. Rotate the door knob (N) 180 de rees to open the door.
16. Attach the lass panels (L) on the side of the frame and secure by bendin the metal tabs.
17. Attach the lass panel (M) on the door of and secure by bendin the metal tabs.
18. Insert bulbs (not included) into the sockets, then close the door.
19. Installation is complete, turn on power at fuse or circuit breaker.
***Clean with a dry, soft cloth only. Use no harsh abrasives or chemical a ents.
WITH SILICONE CAULKING COMPOUND, CAULK COMPLETELY AROUND METAL
BASE MEETS THE WALL SURFACE TO PREVENT WATER FROM SEEPING
INTO J-BOX.
Rosedale Grand Medium Bracketed Wall Lantern
Item # RC 2048
WE RECOMMEND INSTALLATION OF THIS LIGHTING FIXTURE BE DONE BY A
LICENSED ELECTRICIAN.
WARNING***SWITCH OFF THE MAIN ELECTRICAL SUPPLY FROM THE MAIN
FUSE BOX/CIRCUIT BREAKER BEFORE INSTALLATION.
INSPECT ITEM CAREFULLY BEFORE ATTEMPTING TO INSTALL. IF THERE IS ANY
DAMAGE OR OBVIOUS DEFECT. DO NOT INSTALL.
ITEM MAY NOT BE RETURNED ONCE IT HAS BEEN INSTALLED.
NOTE: CAREFULLY UNPACK EACH PIECE IN TOP LAYER OF PACKING PRIOR TO
REMOVING. RETAIN ALL PACKING MATERIAL UNTIL INSPECTION AND
INSTALLATION ARE FINAL.
WET
L
I
S
T
E
D
C US
Intertek
CM
Safety cable
Cable lock nut
N
GND
Fi .1 Fi .2
TO assemble safety cables:
1.Join fixture safety cables with safety
cable from wall.
2.Wrap both safety cable around the
cable lock nut.
3.Insert screws into both holes on cable
lock nut,secure screws with screwdriver.
4.Push the cable lock nut into outlet box.
Glass L
Glass M

This manual suits for next models

1

Other Visual Comfort & Co. Lantern manuals
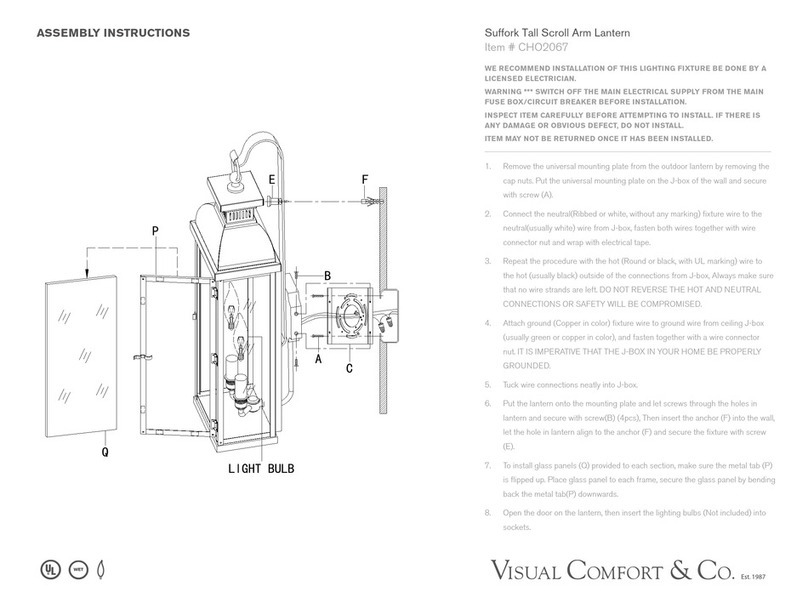
Visual Comfort & Co. Suffork Tall Scroll Arm Lantern User manual
Visual Comfort & Co.

Visual Comfort & Co. Suffork Tall Scroll Arm Lantern User manual

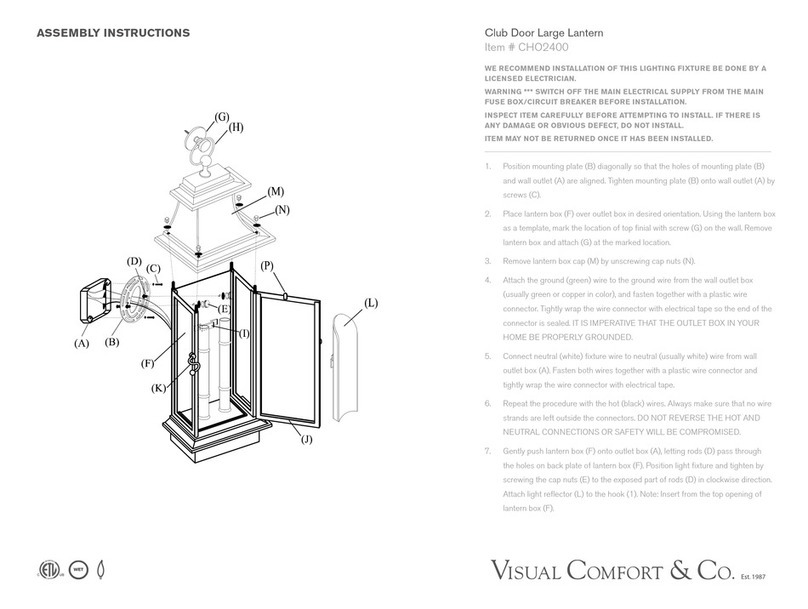
Visual Comfort & Co. CHO2400 User manual

Visual Comfort & Co.

Visual Comfort & Co. CHO2400 User manual

Visual Comfort & Co. Kensington CHO2802 User manual

Visual Comfort & Co.

Visual Comfort & Co. Kensington CHO2802 User manual

Visual Comfort & Co. Chelsea CHO2111 User manual
Visual Comfort & Co.

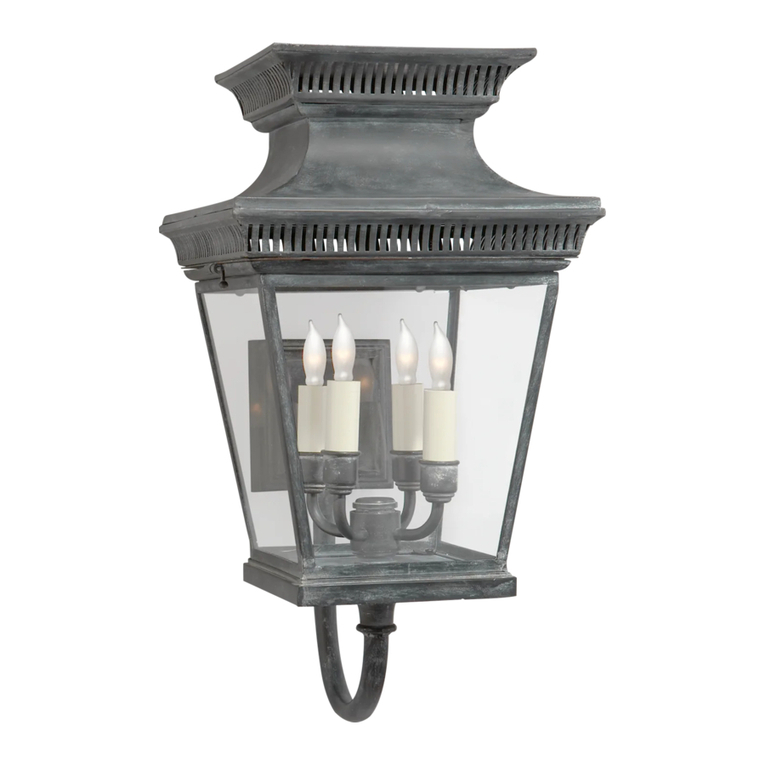
Visual Comfort & Co. Chelsea CHO2111 User manual

Visual Comfort & Co. Elsinore Bracket Lantern User manual

Visual Comfort & Co.

Visual Comfort & Co. Elsinore Bracket Lantern User manual

Visual Comfort & Co. Club Door Large Lantern User manual

Visual Comfort & Co.

Visual Comfort & Co. Club Door Large Lantern User manual
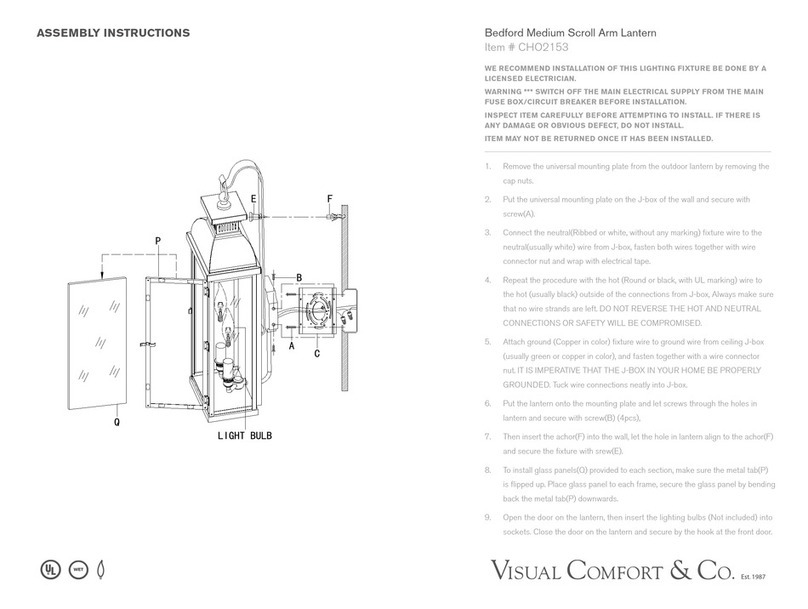
Visual Comfort & Co. CHO2153 User manual

Visual Comfort & Co.

Visual Comfort & Co. CHO2153 User manual

Visual Comfort & Co. Lafayette NW 2707 User manual

Visual Comfort & Co.

Visual Comfort & Co. Lafayette NW 2707 User manual

Visual Comfort & Co. CHO2401 User manual

Visual Comfort & Co.

Visual Comfort & Co. CHO2401 User manual

Visual Comfort & Co. Bedford User manual
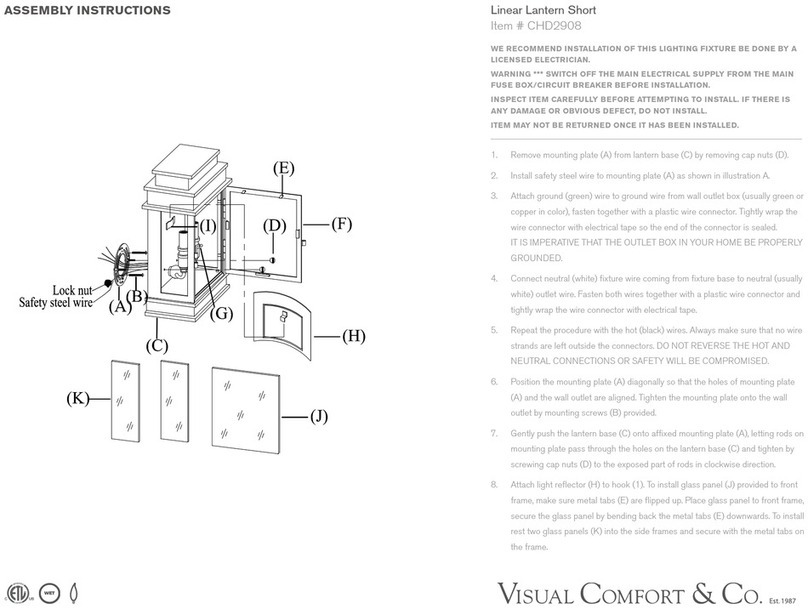
Visual Comfort & Co.

Visual Comfort & Co. Bedford User manual

Visual Comfort & Co. CH D2908 User manual

Visual Comfort & Co.

Visual Comfort & Co. CH D2908 User manual

Visual Comfort & Co. Bedford CHO2155 User manual
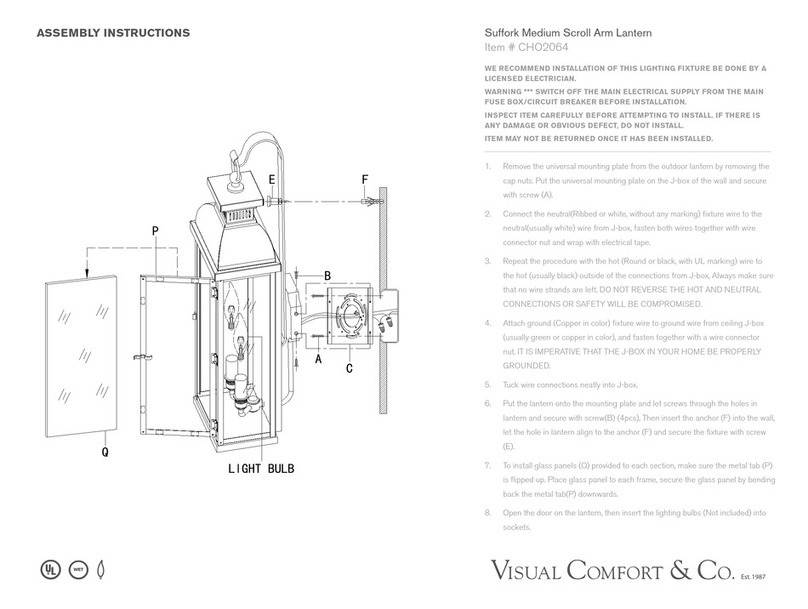
Visual Comfort & Co.

Visual Comfort & Co. Bedford CHO2155 User manual

Visual Comfort & Co. CHO2064 User manual

Visual Comfort & Co.

Visual Comfort & Co. CHO2064 User manual

Visual Comfort & Co. Chelsea User manual
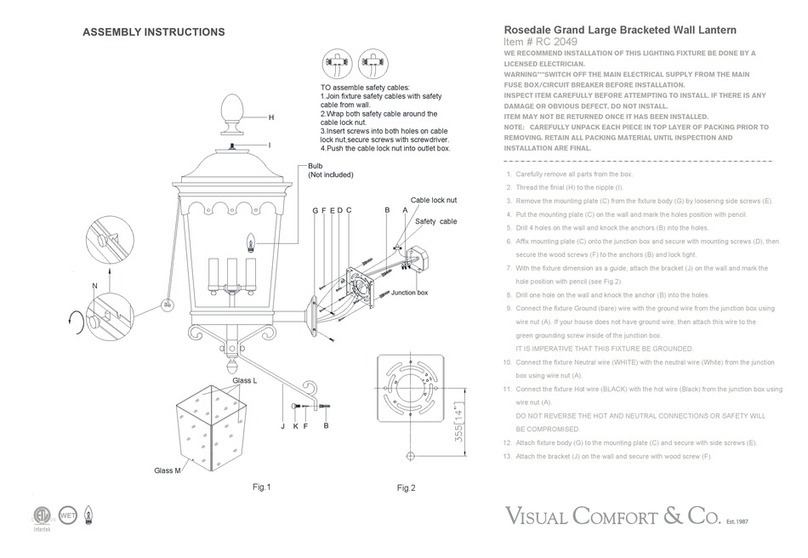
Visual Comfort & Co.

Visual Comfort & Co. Chelsea User manual

Visual Comfort & Co. RC 2049 User manual
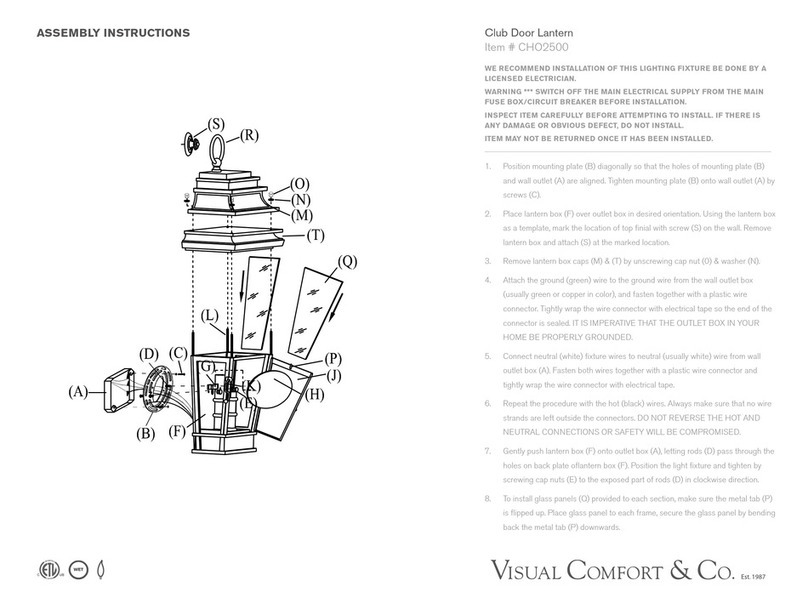
Visual Comfort & Co.

Visual Comfort & Co. RC 2049 User manual

Visual Comfort & Co. CHO2500 User manual

Visual Comfort & Co.

Visual Comfort & Co. CHO2500 User manual

Popular Lantern manuals by other brands
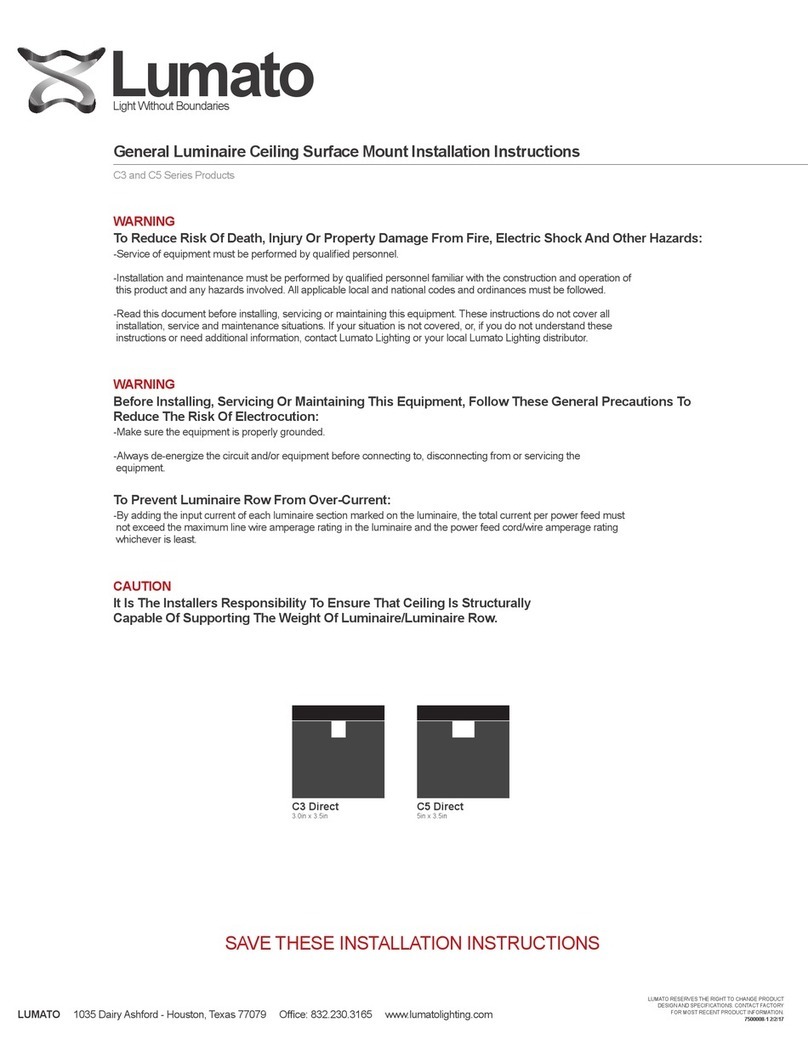
Lumato C3 Series installation instructions
Lumato

Lumato C3 Series installation instructions

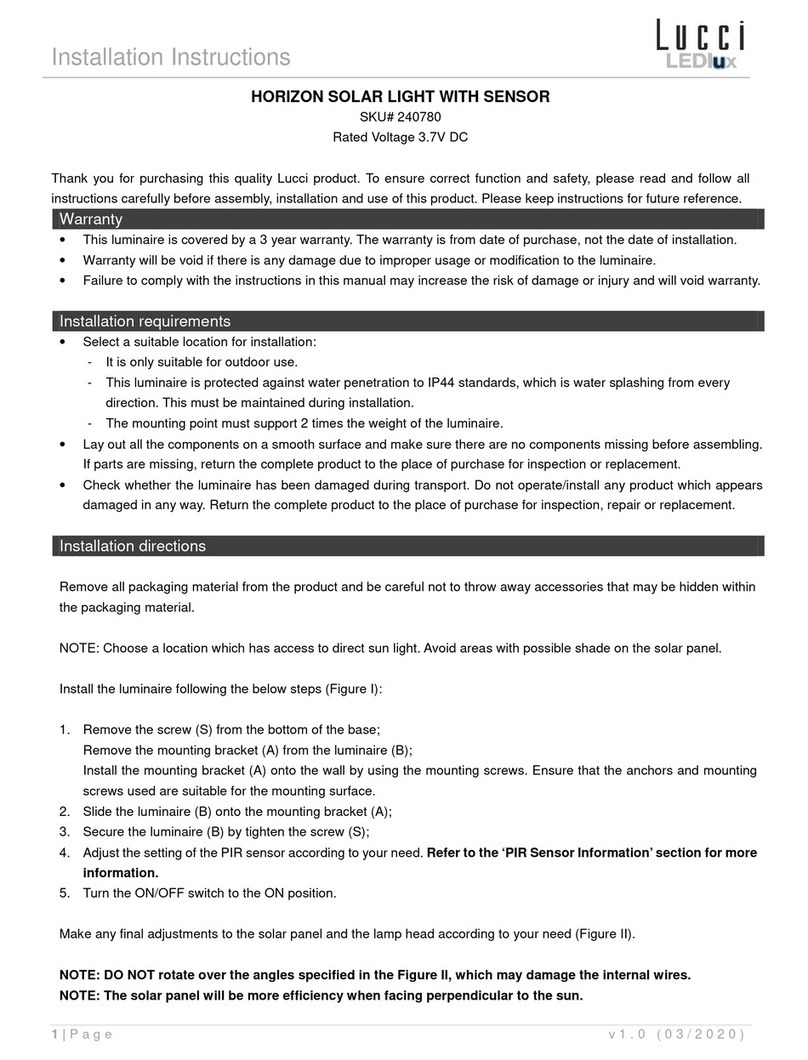
Lucci LEDlux 240780 installation instructions
Lucci LEDlux

Lucci LEDlux 240780 installation instructions

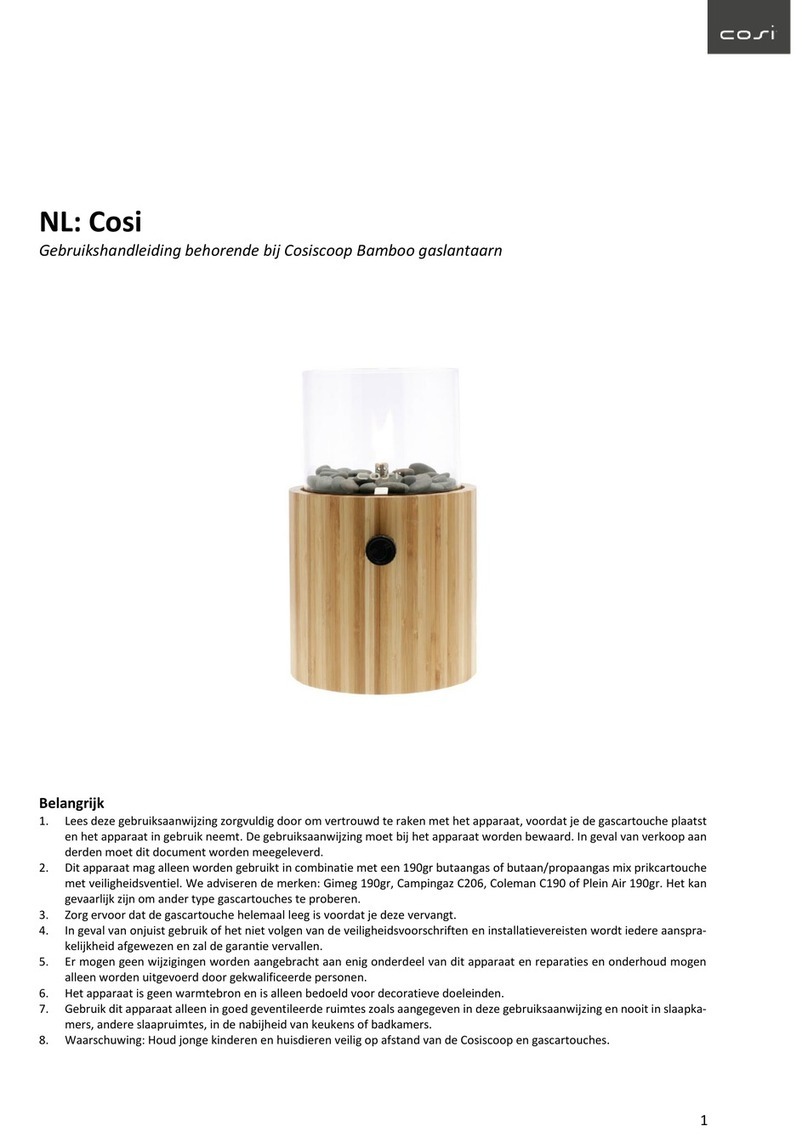
Cosi Cosiscoop Bamboo User instructions

Cosi

Cosi Cosiscoop Bamboo User instructions

Home Decorators Collection 2642M-PHO Use and care guide
Home Decorators Collection

Home Decorators Collection 2642M-PHO Use and care guide

Daintree GE current Lumination Tetra PowerGrid Series installation guide

Daintree

Daintree GE current Lumination Tetra PowerGrid Series installation guide

Philips LifeLight user manual

Philips

Philips LifeLight user manual
STEINEL Spot Way Sensor Connect instructions
STEINEL

STEINEL Spot Way Sensor Connect instructions

Classy Caps SLX772 Lighting instructions
Classy Caps

Classy Caps SLX772 Lighting instructions

WE-EF ETC120-FS LED Installation and maintenance instructions

WE-EF

WE-EF ETC120-FS LED Installation and maintenance instructions

Campingaz Lumostar C270 PZA Series Instructions for use

Campingaz

Campingaz Lumostar C270 PZA Series Instructions for use

Raytec AR10 Mounting & installation

Raytec

Raytec AR10 Mounting & installation

Petromax HL1 Series manual

Petromax

Petromax HL1 Series manual
Sealey LED181 instructions

Sealey

Sealey LED181 instructions

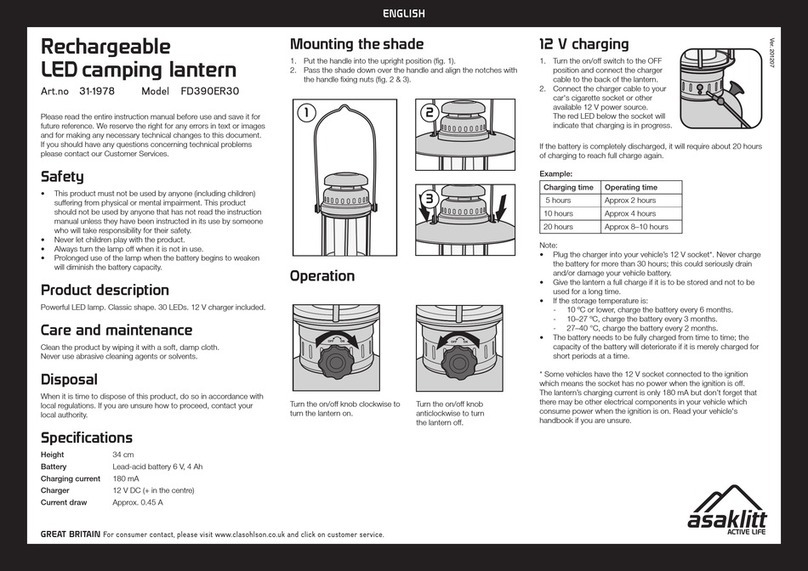
Asaklitt FD390ER30 quick start guide

Asaklitt

Asaklitt FD390ER30 quick start guide

Keri JS-PRO-2209U user manual

Keri

Keri JS-PRO-2209U user manual

Kapego LED LED Mixit Set USB TV RGB manual

Kapego LED

Kapego LED LED Mixit Set USB TV RGB manual

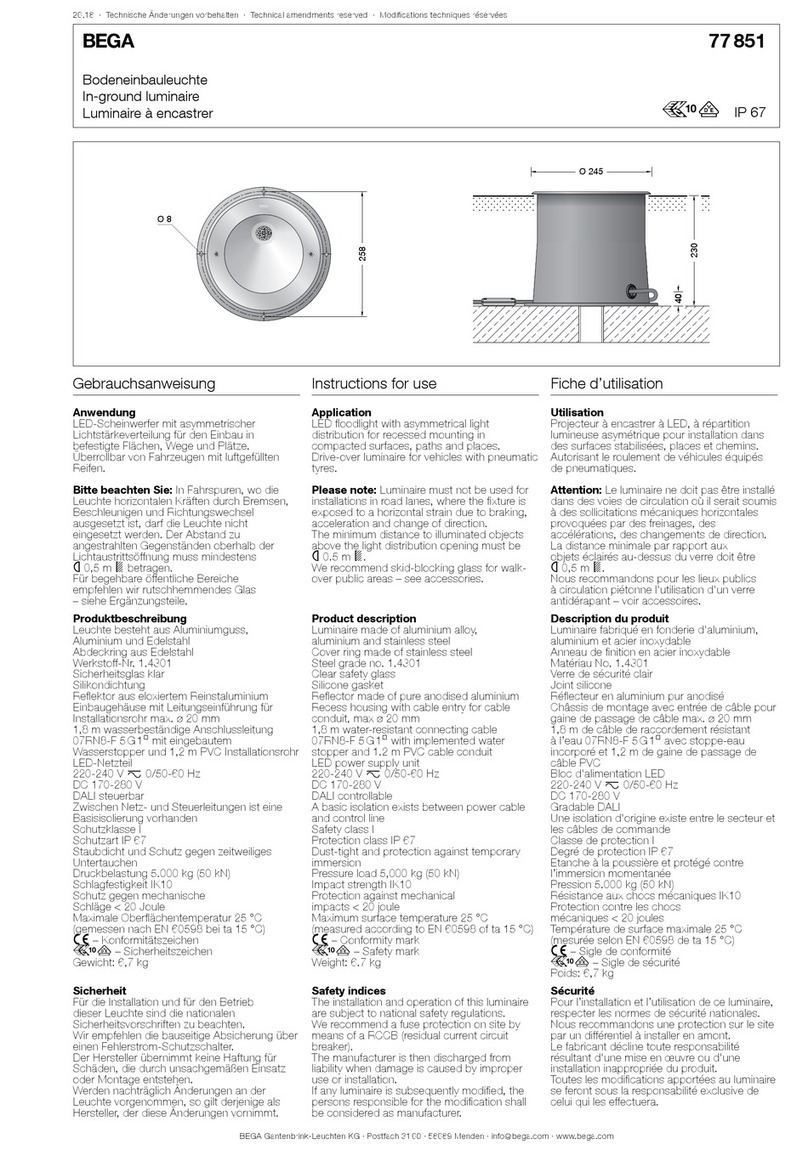
BEGA 77 851 Instructions for use

BEGA

BEGA 77 851 Instructions for use

BSi iPLASMA installation guide

BSi

BSi iPLASMA installation guide

manuals.online logo
manuals.online logoBrands
  • About & Mission
  • Contact us
  • Privacy Policy
  • Terms and Conditions

Copyright 2025 Manuals.Online. All Rights Reserved.