VITINNI JF07591000 User manual

For further assistance, other products and more, join us at:
Website: www.vitinni.co.uk
Instagram: @vitinniuk
Facebook: www.facebook.com/vitinni
1.8L Multi Cooker
PLEASE READ AND KEEP THESE INSTRUCTIONS FOR FUTURE USE
SAP Code: JF07591000
2
Thank you for choosing our Vitinni 1.8L Multi Cooker. Please read this user
manual carefully and keep it for future reference. The manufacturer and
importer do not accept any liability if the information in these operation
instructions is not complied with. If you need any assistance, please contact
our customer service team on the details provided on the back page of this
manual.
SAFETY INSTRUCTIONS
This appliance is for indoor use only.
This appliance is for domestic use only and should not be used for
commercial purposes.
Check that the voltage on the rating plate corresponds with that of the local
network before connecting the appliance to the mains power supply.
This appliance can be used by children aged from 8 years and above and
persons with reduced physical, sensory or mental capabilities or lack of
experience and knowledge providing they have been given supervision or
instruction concerning use of the appliance in a safe way and understand the
hazards involved. Cleaning and user maintenance shall not be undertaken
by children unless they are older than 8 years and supervised.
This is not a toy - children should be supervised to ensure they do not play
with the appliance. Keep the appliance and its cord out of reach of children
less than 8 years.
If the appliance, power supply cord and plug are malfunctioning or they have
been dropped or damaged switch off the appliance and discontinue use
immediately.
This appliance contains no user serviceable parts. Repairs should only be
undertaken by the manufacturer, its service agent or a similar qualified
person.
If the power supply cord is damaged, it must be replaced by the
manufacturer, its service agent or a similar qualified person in order to avoid
a hazard.
Keep the power supply cord away from sharp edges and parts of the
appliance that may become hot during use. Do not allow the power supply
cord to overhang the worktop.
3
Do not use this appliance with an extension lead or multiple socket adaptor.
Do not use this appliance near an open flame or in moist or damp conditions.
Allow sufficient space around the product for ventilation and heat dissipation.
Place on a flat, stable, heat resistant surface a minimum distance of 5 to 10
cm from walls and other items.
This appliance will begin to heat as soon as the mains power supply is
connected.
Do not leave the appliance unattended whilst connected to the mains power
supply. Switch off the mains power supply and remove the plug by hand
when not in use.
Always disconnect the appliance from the power supply before assembling,
disassembling or performing cleaning or maintenance.
Do not immerse the product, power supply cord or plug in water. Care
should be taken to avoid spillage on the electrical components, power cord
and plug. Do not operate the appliance with wet hands.
Do not use any accessories or attachments with the appliance that have not
been supplied or recommended by the manufacturer.
Caution: Misuse of the appliance could cause injury – do not use the
appliance for anything other than its intended use
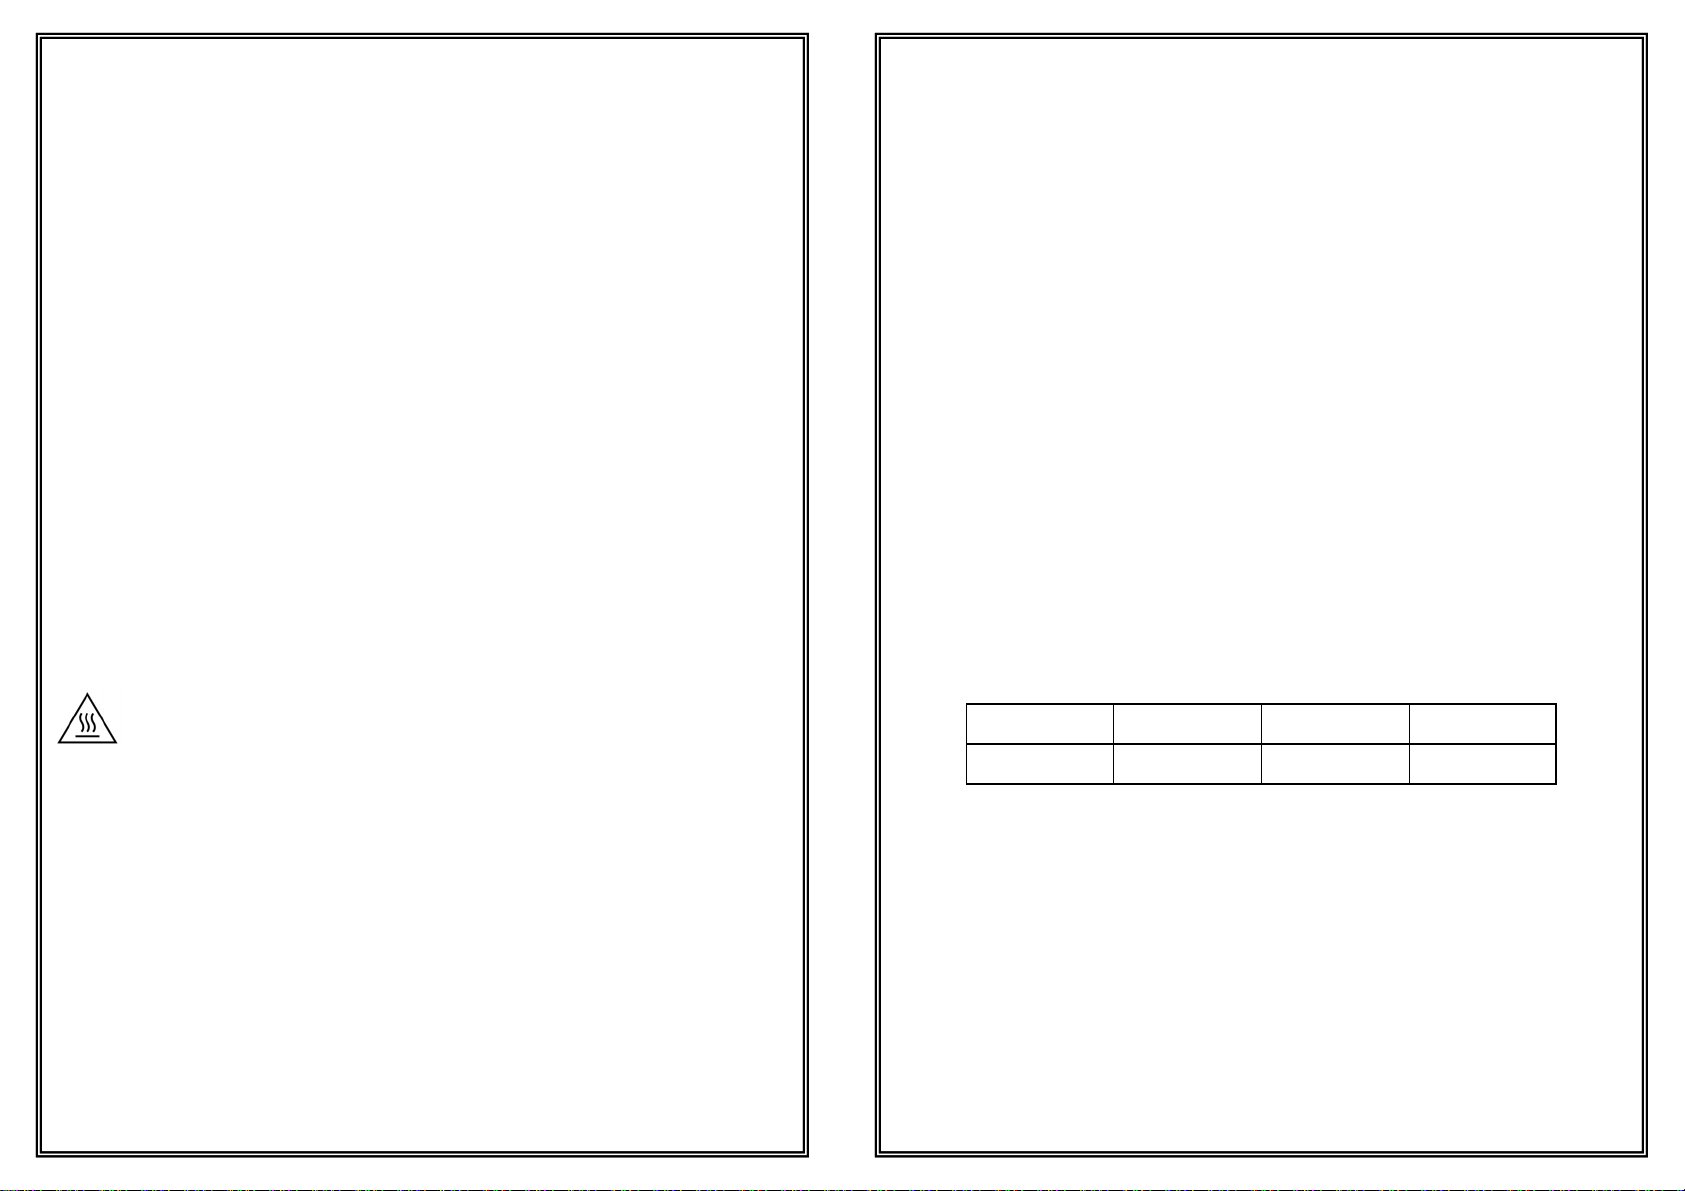
Caution: Hot surface. To avoid injury do not touch the hot or
heated surfaces of the Multi Cooker. The heated surfaces and heating
element may contain residual heat and still be hot after use. Allow the Multi
Cooker to cool fully before moving or handling.
Do not overfill the Multi Cooker past the maximum mark. If the Multi Cooker
is overfilled, boiling water may be ejected
Boiling Water and Steam can be released from the Multi Cooker and steam
vent during use and can cause serious injury, scalds and burns. Allow
vigorous boiling and steam production to subside before removing the lid
from the Multi Cooker. Exercise caution when handling the Multi Cooker.
Do not cover the steam vent.
4
CLEANING AND MAINTENANCE
Unplug the product from the mains power supply and allow to cool fully
before performing any cleaning or maintenance.
Remove the Lid, Steamer and Inner Pot from the main body and wash them
in warm, soapy water. The rice spoon and measuring cup should also be
washed in warm soapy water.
Wipe the inside of the pot body and the heating plate with a wrung out and
damp cloth. Remove all food residue from the inside of the Multi Cooker.
Wipe the outside of the Multi Cooker with a soft, damp cloth.
Only use a soft and dry cloth to wipe the control panel. Remove any food
residue around the control panel.
Do not use strong detergent, sharp objects, harsh abrasives or scourers to
clean the product body and accessories as this could cause damage to the
finish. Do not immerse the main unit in water. All parts are not dishwasher
safe.
SPECIFICATION
Rated Voltage Frequency Rated Power Capacity
220V-240V 50-60Hz 900W 1.8L
5
DESCRIPTION OF PARTS
BEFORE FIRST USE
Before use, remove all packaging materials. Check all accessories are
complete and that the equipment is not damaged. The product should be
cleaned according to the instructions in the Cleaning and Maintenance
section. The product should be run through an operational cycle before it is
used for the first time.
When using the product for the first time a slight odour may be emitted. This
is normal and will soon subside.
1. Lid Handle
2. Glass Lid
3. Steamer
Basket
4. Steamer
Handle
5. Inner Pot
6. Main Body
Handle
7. Main Body
8. Power
Select Knob
9. Power
Socket
(on side)
10. Indicator
Light
11. Reset
Button
12. Pot Feet
1.
2.
3.
4.
5.
6.
7.
8.
9.
12. 10 & 11.
Measuring
Cup
Rice Spoon Power Cord
6
INSTRUCTIONS FOR USE
This Multi Cooker is a versatile Kitchen Appliance which can produce a wide range
of tasty and nutritious foods. We have provided some ideas here to get started with.
Try using the Multi Cooker as a Cooker to make a hearty stew, a Steamer for
cooking fish and vegetables, a Slow Cooker for making Pulled Pork and other
tender meats, a Rice Cooker for excellent rice and grains or to make Porridge or
Congee for a filling family breakfast.
Preparing the Multi Cooker for use
1. Place the Multi Cooker on a flat, stable and heat resistant surface.
2. Ensure that the Power Select Knob is set to the central (Keep Warm)
position.
3. Remove the Lid and Steamer by lifting them off the Inner Pot. The
Multi Cooker is now ready for use in one of the ways described below.
Using the Multi Cooker as a Steamer
4. Fill the Inner Pot with water, stock or other liquid which will be used to
steam the food. Around 1.0L of liquid should be sufficient for most
steaming needs.
5. Place the Steamer on top of the inner pot and add the food to be
steamed into the steamer.
6. Place the Lid onto the Steamer. The Multi Cooker is now ready to
cook.
Using the Multi Cooker as a Cooker or Slow Cooker
7. Add the ingredients to be cooked into the inner pot making sure not to
exceed the maximum mark of 2.2L.
8. Place the Lid onto the Inner Pot. The Multi Cooker is now ready to
cook.
Using the Multi Cooker to cook porridge, rice or congee
9. Using the measuring cup add porridge oats or rice to the Inner Pot.
Distribute the porridge oats or rice evenly around the Inner Pot to
prevent sticking and then add a sufficient quantity of water.
10. Place the Lid onto the Inner Pot. The Multi Cooker is now ready to
cook.

7
Cooking with the Multi Cooker
11. Connect the power cord to the Multi Cooker by inserting the connector
into the power socket on the side of the Multi Cooker.
12. Plug in and switch on the Multi Cooker at the mains power supply. The
Multi Cooker will begin heating as soon as the mains power supply is
turned on.
13. With the Power Select Knob in the central position the indicator light
will shine blue to show the Multi Cooker is in Keep Warm mode and the
Multi Cooker will begin heating gently.
14. When using as a Steamer or Cooker: turn the Power Select Knob
to the “high” position to begin the cooking process. The Multi Cooker
will keep cooking until either manually switched to Keep Warm Mode,
automatically switched to Keep Warm Mode when the liquid is boiled
off or the power is disconnected.
When using as a Slow Cooker: turn the Power Select Knob to the
“low” position to begin the cooking process. The Multi Cooker will keep
cooking until either manually switched to Keep Warm Mode,
automatically switched to Keep Warm Mode when the liquid is
evaporates off or the power is disconnected.
When using to cook rice: turn the Power Select Knob to the
“high” position to begin cooking. The Multi Cooker will cook the rice and
automatically switch to Keep Warm mode when the rice is ready.
When using to cook porridge or congee: turn the Power Select
Knob to the “low” position to begin cooking. The Multi Cooker will cook
the porridge and automatically switch to Keep Warm mode when the
porridge is ready.
The indicator light will shine red to show that cooking is in progress.
The indicator light will shine blue to show Keep Warm mode is active.
15. When the Multi Cooker is being used as a cooker the lid can be
removed at any time to stir the contents to prevent sticking.
When steaming food the lid should not be removed until the cooking
process has been completed.
16. The Multi Cooker will automatically change to Keep Warm mode when
all of the liquid in the Inner Pot evaporates/boils off.
8
The Multi Cooker will remain in Keep Warm Mode even if the Power
Select Knob is moved to a new position. To restart cooking, select
either “High” or “Low” with the Power Select Knob and press the centre
of the Power Select Knob (Reset Button) to Reset the Multi Cooker.
NOTE: If the temperature of the Inner Pot is too high the Multi Cooker will not
resume cooking if the Reset Button is pressed. Allow the Multi Cooker to cool
for a few minutes in Keep Warm Mode and add some more liquid to the Inner
Pot if required before trying again.
17. When the food is cooked turn the function selector knob to the Keep
Warm position. Allow a few minutes for any steam to dissipate and
boiling/simmering to subside.
18. Switch off and remove the plug from the mains power supply. Remove
the lid by the handle. The steamer can be lifted off by the steamer
handles. Use the rice scoop or non-metal utensils to serve from the
inner pot. Using metal utensils will scratching the coating of the inner
pot and reduce the effectiveness of the inner pot coating.
TIPS FOR COOKING RICE
The cooking time will vary depending on the ratio of rice to water and the
quantity being made. Typical cooking time for two servings of rice is around
25 minutes.
Do not serve the cooked rice immediately after cooking has finished. Let the
rice simmer in Keep Warm mode for another 10 minutes before eating.
The water level line marked on the Inner Pot is for reference. The rice to
water ratio can be modified according to different rice varieties and personal
preferences. The quantity of rice and water should not exceed the maximum
amount indicated in the Inner Pot to avoid overflowing.
TIPS FOR COOKING PORRIDGE OR CONGEE
The cooking time is around 30 to 120 minutes and will depend on the ratio of
oats/rice to water/milk and the quantity being made.
The Multi Cooker will automatically switch to keep warm mode when the
porridge or congee is ready. This will produce quite thick porridge or congee.
9
If a more runny texture is desired the Multi Cooker will need to be switched to
Keep Warm mode manually.
TIPS FOR STEAMING FOOD
When cooking rice or other food in the Inner Pot, the steamer can be placed
on top of the Inner Pot and covered with the lid to steam food simultaneously.
Other liquids such as meat/vegetable stock, wine etc. can be used in place of
water in the Inner Pot to infuse the ingredients while steaming is in progress
and enhance the taste.
WEEE INFORMATION
The symbol on this product or its packaging means that this product
may not be treated as household waste. It should be handed to an
appropriate collection point for the recycling of electrical and electronic
equipment. Contact your local council or household waste disposal service
for further information.
Do not dispose of electrical appliances as unsorted municipal waste, use
separate collection facilities.
Guarantee
Our products are guaranteed for a period of 2 years from the date of purchase.
Products that develop a fault within this period are covered by our warranty and we
will replace defective parts, or where not available the whole product. The warranty
does not apply to any defect in the goods arising from fair wear and tear, wilful
damage, accident, negligence by you or any third party, use otherwise than as
recommended by us, failure to follow our instructions, any alteration or repair carried
out without our approval or has been the subject of commercial use. Your statutory
rights remain unaffected, in particular any rights you have under the Consumer
Rights Act 2015.
If you have a problem with your product within this warranty period please contact
our customer services team.
In the event of changes to the specification of a product and we are not able to
replace parts, we will replace the whole product within the 2 year guarantee period
For products that fall outside of the 2 year guarantee, we will endeavor to provide
spare parts to purchase for as many of the replaceable parts as possible, but cannot
foresee specification changes or upgrades to products or parts outside of the initial 2
year period.
10
Customer Services:
If you would like further advice or information on your product, ensure you have the SAP
code ready and please get in touch with us at Vitinni on the contact options below:
SAP Code: JF07591000
Phone: 0330 002 1202 (Mon – Fri 9am to 5pm)
Email: support@vitinni.co.uk
UK Address: Vitinni, Vale Mill (Rochdale) Ltd, Robinson Street, Rochdale,
OL16 1TA, UK
EU Address: Vitinni, Delu-Ako Minky GmbH, Hauptstraße 103, 53619, Rheinbreitbach,
Germany
Table of contents
Other VITINNI Kitchen Appliance manuals


