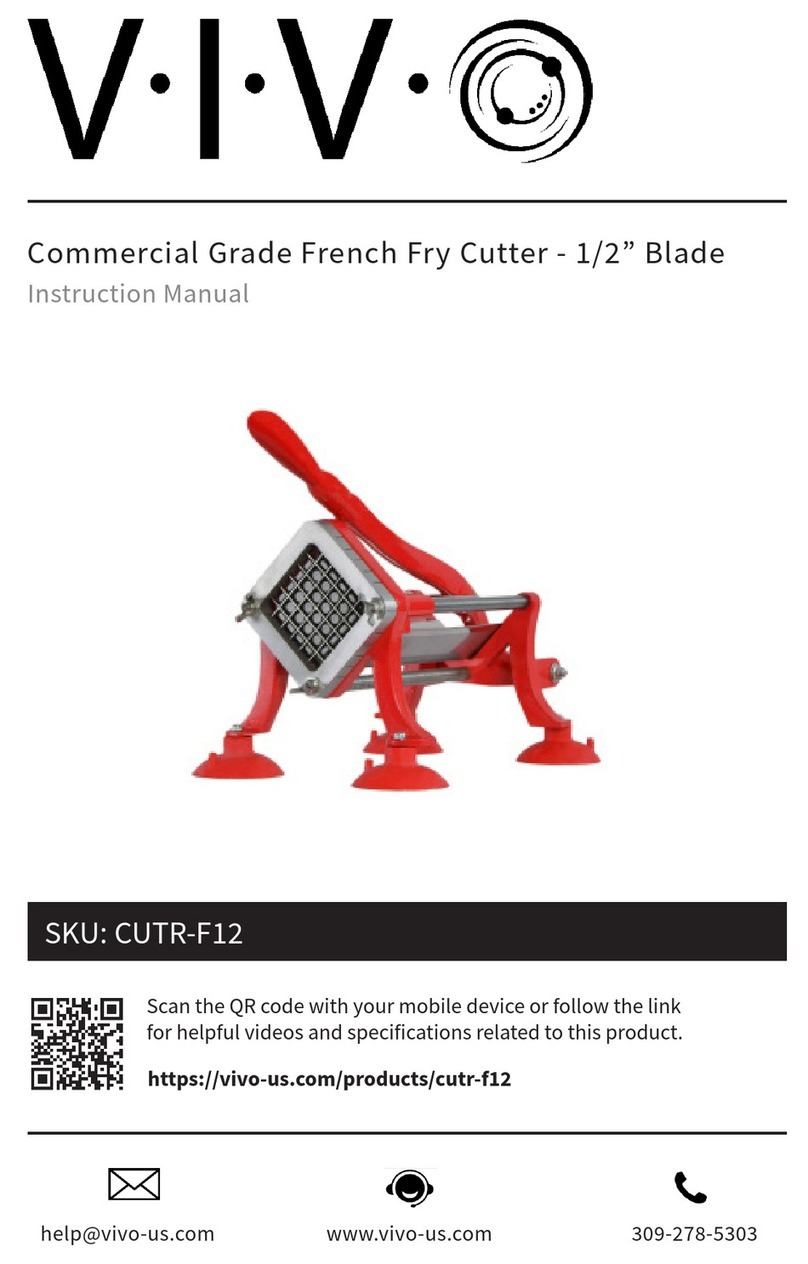
Vivo CUTR-F003 User manual

Commercial Grade French Fry Cutter
- 1/2”, 1/4”, 3/8” Blades
Scan the QR code with your mobile device or follow the link
for helpful videos and specifications related to this product.
Instruction Manual
https://vivo-us.com/products/cutr-f003
SKU: CUTR-F003

2
If you do not understand these directions, or if you have any doubts about the safety
of the installation, please call a qualified technician. Check carefully to make sure
there are no missing or defective parts. Improper installation may cause damage or
serious injury. Do not use this product for any purpose that is not explicitly specified
in this manual and do not exceed weight capacity. We cannot be liable for damage
or injury caused by improper mounting, incorrect assembly or inappropriate use.
WARNING: IMPORTANT SAFETY INFORMATION
READ AND FOLLOW ALL SAFETY REQUIREMENTS
• ALL MINORS MUST BE SUPERVISED WHILE MACHINE IS IN OPERATION.
• THIS APPLIANCE IS NOT INTENDED FOR USE BY PERSONS (INCLUDING
CHILDREN) WHOSE PHYSICAL, SENSORY OR MENTAL CAPABILITIES MAY
BE DIFFERENT OR REDUCED, OR WHO LACK EXPERIENCE OR KNOWLEDGE,
UNLESS SUCH PERSONS RECEIVE SUPERVISION OR TRAINING TO OPERATE
THE APPLIANCE BY A PERSON RESPONSIBLE FOR THEIR SAFETY.
• WHEN MOUNTING FRY CUTTER FOR VERTICAL USE, MOUNT ONLY TO A SOLID
SURFACE WHERE THE WALL STUD WILL SUPPORT THE FRY CUTTER.
• BEFORE USING FRY CUTTER, CHECK MOVING PARTS FOR ANY BINDING OR
MISALIGNMENT. TAKE NOTE OF ANY OTHER CONDITIONS THAT MAY AFFECT
THE OPERATION OF THE PRODUCT.
• FRENCH FRY CUTTER SHOULD ONLY BE USED ON A FLAT, STABLE WORK
SURFACE
WARNING: DO NOT USE DETERGENT WHEN CLEANING. ANY REMAINING
DETERGENT RESIDUE WILL POLLUTE THE FRENCH FRIES.
WARNING: NEVER OPERATE THE FRY CUTTER WITH HANDS IN LINE OF THE
CUTTING BLADE. FAILURE TO KEEP FINGERS AND HANDS AWAY FROM THE
CUTTING BLADE MAY RESULT IN SERIOUS PERSONAL INJURY.
WARNING: DO NOT USE FRY CUTTER WHILE UNDER THE INFLUENCE OF DRUGS
OR ALCOHOL.
WARNING: DO NOT USE FRY CUTTER IN WAYS NOT INSTRUCTED IN THIS
MANUAL.
CAUTION: FOLLOW INSTRUCTIONS TO PREVENT INJURIES.
• BE CAUTIOUS OF SHARP EDGES. KEEP HANDS AND FINGERS CLEAR OF THE
CUTTING SURFACE.
KEEP THIS MANUAL IN A SAFE AND DRY PLACE FOR FUTURE REFERENCE

3
PRODUCT SPECIFICATIONS
MODEL CUTR-F003
TYPE MANUAL
DIMENSION (Blades) 1/4” or 1/2” or 3/8”
BLADE MATERIAL STAINLESS STEEL
BODY MATERIAL CAST IRON
PACKAGE CONTENTS
A (x2)
Handle Parts
B (x1)
Cutter Body
D (x3)
Blade
C (x1)
Handle Bolt
E (x4)
Suction Feet

4
Handle
Bolt
Suction
Feet
Handle
Push Rod
PRODUCT STRUCTURE
Shield Push
Plate
Cutting
Plate
Guide Rod

5
ASSEMBLY STEPS
STEP 1
STEP 2
Unscrew one end of the handle bolt (C). Place the handle at the opposite end of
the cutting plate (D) face down as shown in the picture. Slide the handle bolt into
the aligned holes of handle and base of fry cutter. Screw nut back onto handle
bolt and tighten.
STEP 3
Unscrew one end of the bolt from
the push rods. Position the push rods
on each side of the handle and align
with corresponding holes. Insert bolt
through push rods and handle and
secure with nut.
Screw nut back
onto bolt.
Screw the handle parts (A) together to create the handle.

6
OPERATING INSTRUCTIONS
CUTTING POTATOES
1. Raise handle of the fry cutter so that the push plate is away from the cutting
plate.
2. Insert potato into the cutter length-wise and slowly lower the handle until the
potato is held securely against the cutting plate.
3. Push down on the handle and the potato will be forced out through the bottom.
MOUNTING INSTRUCTIONS
HORIZONTAL SUCTION CUP MOUNTING
Fasten suction cup feet to legs of fry cutter using the nuts provided.
Press firmly down on the fry cutter to create suction against the work surface. To
create more suction, the surface can be wiped with a damp cloth. Suction cups work
best on smooth horizontal surfaces.
NOTE: Suction cups are NOT intended for vertical mounting. Use suction cups
for horizontal mounting only.
HORIZONTAL MOUNTING
Mount the fry cutter to table top or other solid surface by securing the legs of the fry
cutter to the mounting surface using the appropriate length screws (not included).
VERTICAL MOUNTING
Make sure your mounting surface is sturdy enough to handle the weight of the
cutter as well as the pressure used for operation, preferably a wall surface with stud
support. Mount to surface using appropriate length screws (not included).
OPERATE WITH CARE. KEEP FINGERS AWAY FROM CUTTING BLADES AND PUSH
PLATE.
WARNING: KEEP HANDS CLEAR OF MOVING PARTS TO
REDUCE RISK OF INJURY

7
We oer a ONE YEAR warranty for this product. If you have any problems with the
machine, please contact us directly. We have a 90 Day Return Policy.
CARE & MAINTENANCE
CLEANING
Please clean French Fry Cutter before and aer each use. Wash with warm soapy
water rinse and dry thoroughly.
1. Carefully remove the cutting plate.
2. Use a long bristle brush to clean between the cutting plate blades. Do not use
your fingers!
3. Remove the push plate.
4. Clean the push plate by gently removing any debris with a blunt object, then
clean with a long bristly brush.
NOTE: Cutting plate must be facing inward. Dull edge of cutting blades should
face outward.
WARRANTY
NOTE: For larger potatoes, it may be necessary to cut a small flat edge on the
end of the potato. Place the flat end of the potato against the blade and cut.
CHANGING THE CUTTING BLADE
1. Detach the cutting plate. Remove the three wing nuts from the front of the fry
cutter. Be careful not to let the cutting plate fall while doing so.
2. Remove push plate. With the handle in the down position, remove screws from
the top of the push plate and gently pull away.
3. Reassemble in reverse order with new cutting and push plates.
PLEASE USE CAUTION WHEN HANDLING THE CUTTING PLATE AND BLADES.

LAST UPDATED: 09/13/2019
Open Monday-Friday from 7:00am-7:00pm CST,
our dedicated support team can oer immediate assistance with rapid response times.
If any parts are received damaged or defective, please contact us.
We are happy to replace parts to ensure you have a fully functioning product.
FOR MORE VIVO PRODUCTS, CHECK OUT OUR WEBSITE AT: www.vivo-us.com
Love your new VIVO setup and want to share?
Tag us in your photo! @vivo_us
www.vivo-us.com
309-278-5303
AVG. RESPONSE TIME (within oice hrs): 1HR 8M
- 23% within < 15m
- 38% within < 30m
- 61% within < 1hr
- 83% within < 2hr
- 92% within < 3hr
AVG. RESOLUTION TIME (within oice hrs): 5M 4S
AVG. RESOLUTION TIME (within oice hrs): < 15 M
Table of contents
Other Vivo Cutter manuals
Popular Cutter manuals by other brands

Challenge
Challenge Titan 265 instruction manual

EINHELL
EINHELL 43.011.63 Original operating instructions

Makita
Makita CP100DWA instruction manual

Clipper
Clipper 100 User instructions

The Cool Tool
The Cool Tool Unimat ML MetalLine Instructions for use

MSW Motor Technics
MSW Motor Technics MSW-STC-150 user manual