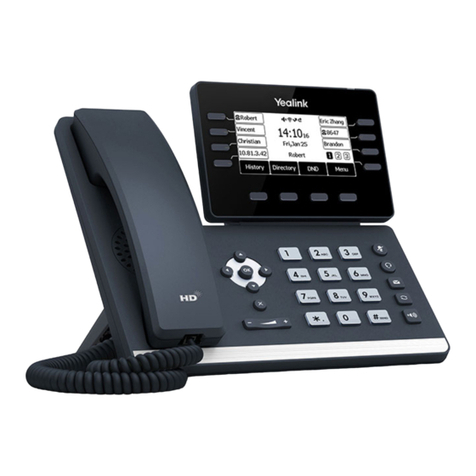
VOICE2NET YL41P User manual

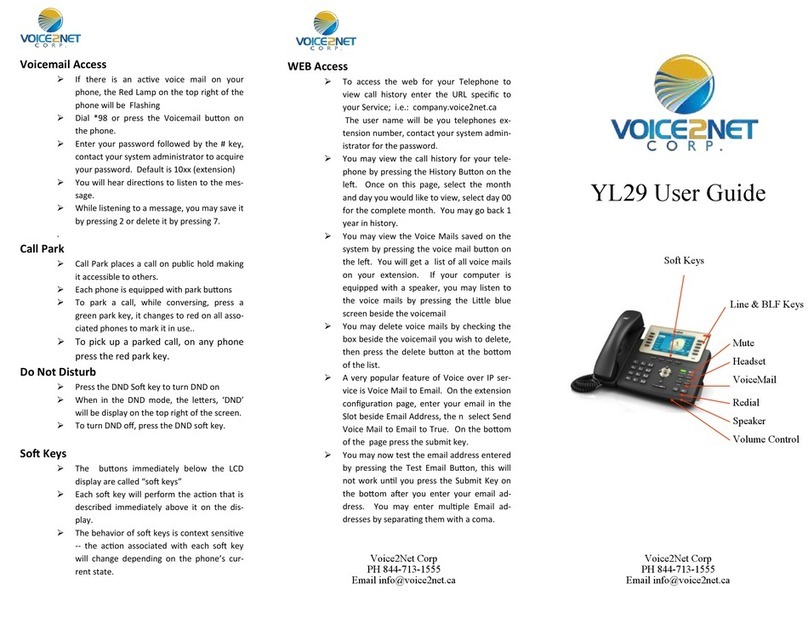
YL41P User Guide
Voice2Net Corp
200 Prescott Street
Kemptville, ON K0G 1G0
PH 877-454-0761
Email info@voice2net.ca
Voicemail Access
If there is an active voice mail on your
phone, the Red Lamp on the top right of the
phone will be Flashing
Dial *98 or press the Voicemail button on
the phone.
Enter your password followed by the # key,
contact your system administrator to acquire
your password. Default is 10xx (extension)
You will hear directions to listen to the mes-
sage.
While listening to a message, you may save it
by pressing 2 or delete it by pressing 7.
.
Call Park
Call Park places a call on public hold making
it accessible to others.
Each phone is equipped with park buttons
To park a call, while conversing, press a
green park key, it changes to red on all asso-
ciated phones to mark it in use..
To pick up a parked call, on any phone
press the red park key.
Do Not Disturb
Press the DND Soft key to turn DND on
When in the DND mode, the letters, ‘DND’
will be display on the top right of the screen.
To turn DND off, press the DND soft key.
Soft Keys
The buttons immediately below the LCD
display are called “soft keys”
Each soft key will perform the action that is
described immediately above it on the dis-
play.
The behavior of soft keys is context sensitive
-- the action associated with each soft key
will change depending on the phone’s cur-
rent state.
WEB Access
To access the web for your Telephone to
view call history enter the URL specific to
your Service; i.e.: company.voice2net.ca
The user name will be you telephones ex-
tension number, contact your system admin-
istrator for the password.
You may view the call history for your tele-
phone by pressing the History Button on the
left. Once on this page, select the month
and day you would like to view, select day 00
for the complete month. You may go back 1
year in history.
You may view the Voice Mails saved on the
system by pressing the voice mail button on
the left. You will get a list of all voice mails
on your extension. If your computer is
equipped with a speaker, you may listen to
the voice mails by pressing the Little blue
screen beside the voicemail
You may delete voice mails by checking the
box beside the voicemail you wish to delete,
then press the delete button at the bottom
of the list.
A very popular feature of Voice over IP ser-
vice is Voice Mail to Email. On the extension
configuration page, enter your email in the
Slot beside Email Address, the n select Send
Voice Mail to Email to True. On the bottom
of the page press the submit key.
You may now test the email address entered
by pressing the Test Email Button, this will
not work until you press the Submit Key on
the bottom after you enter your email ad-
dress. You may enter multiple Email ad-
dresses by separating them with a coma.
Voice2Net Corp
200 Prescott Street
Kemptville, ON K0G 1G0
PH 877-454-0761
Email info@voice2net.ca
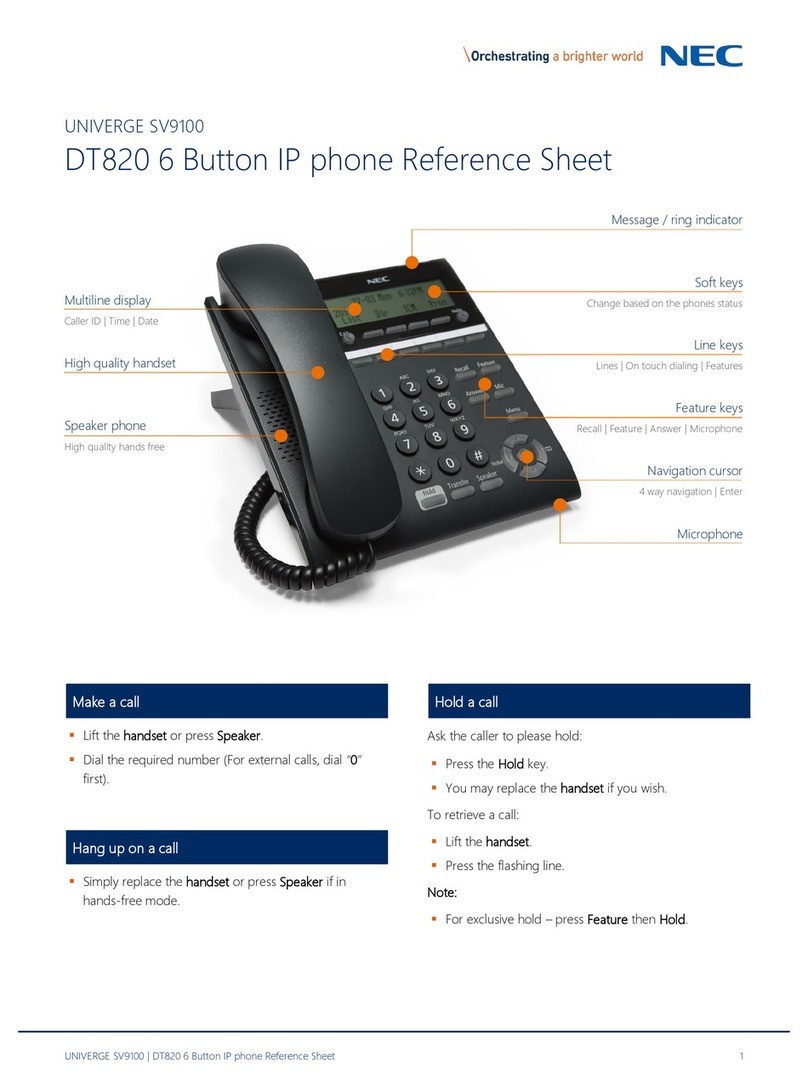
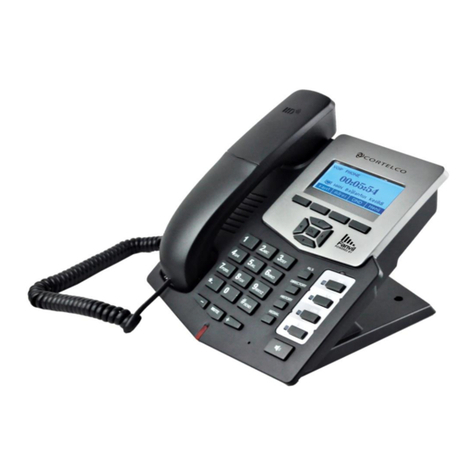
Line & BLF Keys
Redial
Speaker
Soft Keys
VoiceMail
Volume Control
Headset
Mute

To Place A Call
To place an external call, with the phone on
hook, dial your destination, when a pattern
is reached, a line will automatically be se-
lected and the call placed.
Pick up the receiver to keep the call private,
otherwise the speaker is active.
Alternatively, you may lift the handset and
dial after receiving dial tone. You may have
to press the send button to complete the call
if it is to an extension or an international call.
To disconnect and active call, press the can-
cel softkey, hangup the receive or press the
speaker key.
Last Number Redial
Press the Redial, the most recent call history
is displayed, scroll to the one you want then
press the send soft key..
If you lift handset or use the speaker phone
key, the redial will not work.
Call Hold
Press the Hold soft key. Press the blinking
line key to resume call.
This places the call on private hold and can
only be retrieved on this phone.
Call Transfer BLF-Blind
With call in progress, press the BLF key you
wish to receive the call, the call is immedi-
ately transferred.
Call Transfer BLF-supervised
With call in progress, press the Trans soft
key, you will place the call on hold and hear
dial tone.
Press the BLF key and wait for the party to
answer.
Announce the call and press the exit soft
key.
Button Assignment and usage
The YL41P has 15 programmable buttons.
When more than 5 buttons are pro-
grammed, the 6th button is the shift key
To program these buttons, use the web in-
terface button tab.
Buttons assigned as extensions serve a dual
purpose, they also double as monitor keys
giving a status of in use (red) or idle (green).
To make a call using these buttons, simply
press the button.
To Transfer a call using these buttons, while
conversing, press the button and the call is
blind transfered
Call Pickup, if Button is flashing indicating a
ringing phone another extension may an-
swer this call by pressing the flashing line
key.
Group Paging
The YL41P supports multicast paging which
allows users to perform a one way page to a
pre selected group of phones.
To Page a group, one of the 15 buttons will
be assigned to page. Press the page key
before lifting the handset.
Now lift the handset and make your an-
nouncement, remember to press the End
Call soft button to end the page.
Mute
To Mute your handset or microphone on the
phone, press the mute key
Call Forwarding
To enable call forwarding, lift the handset or
press the speaker key and dial *72. You may
have to press the send button.
You will hear dialtone, dial your destination
followed by the # key. You will receive ver-
bal confirmation call forwarding is active.
To disable: lift the handset and dial *73.
Ad-Hoc Conference / 3 Way Calling
With a call on the line, press the conf soft
key.
Dial the second party and press the conf
button after voice communications is estab-
lished to establish the conference.
Hangup to end the conference.
Ringer Tone and Volume
To change the ringer volume, press the
menu soft key and scroll down until you
reach settings entry. Select 1. Now select 4
for ring tones.
The current ring tone will be played, adjust
the volume or select a new ring tone, then
press the save key.
Call Transfer Dial Extension Supervised
With call in progress, press the trans soft
key, you will hear dial tone.
Dial the extension number and press send.
When the party answers, announce the call.
To complete the transfer, press the trans
soft key again.
Other VOICE2NET IP Phone manuals
