VOIspeed V-USB400 User manual
©
VOI
SPEED
L
TD
.
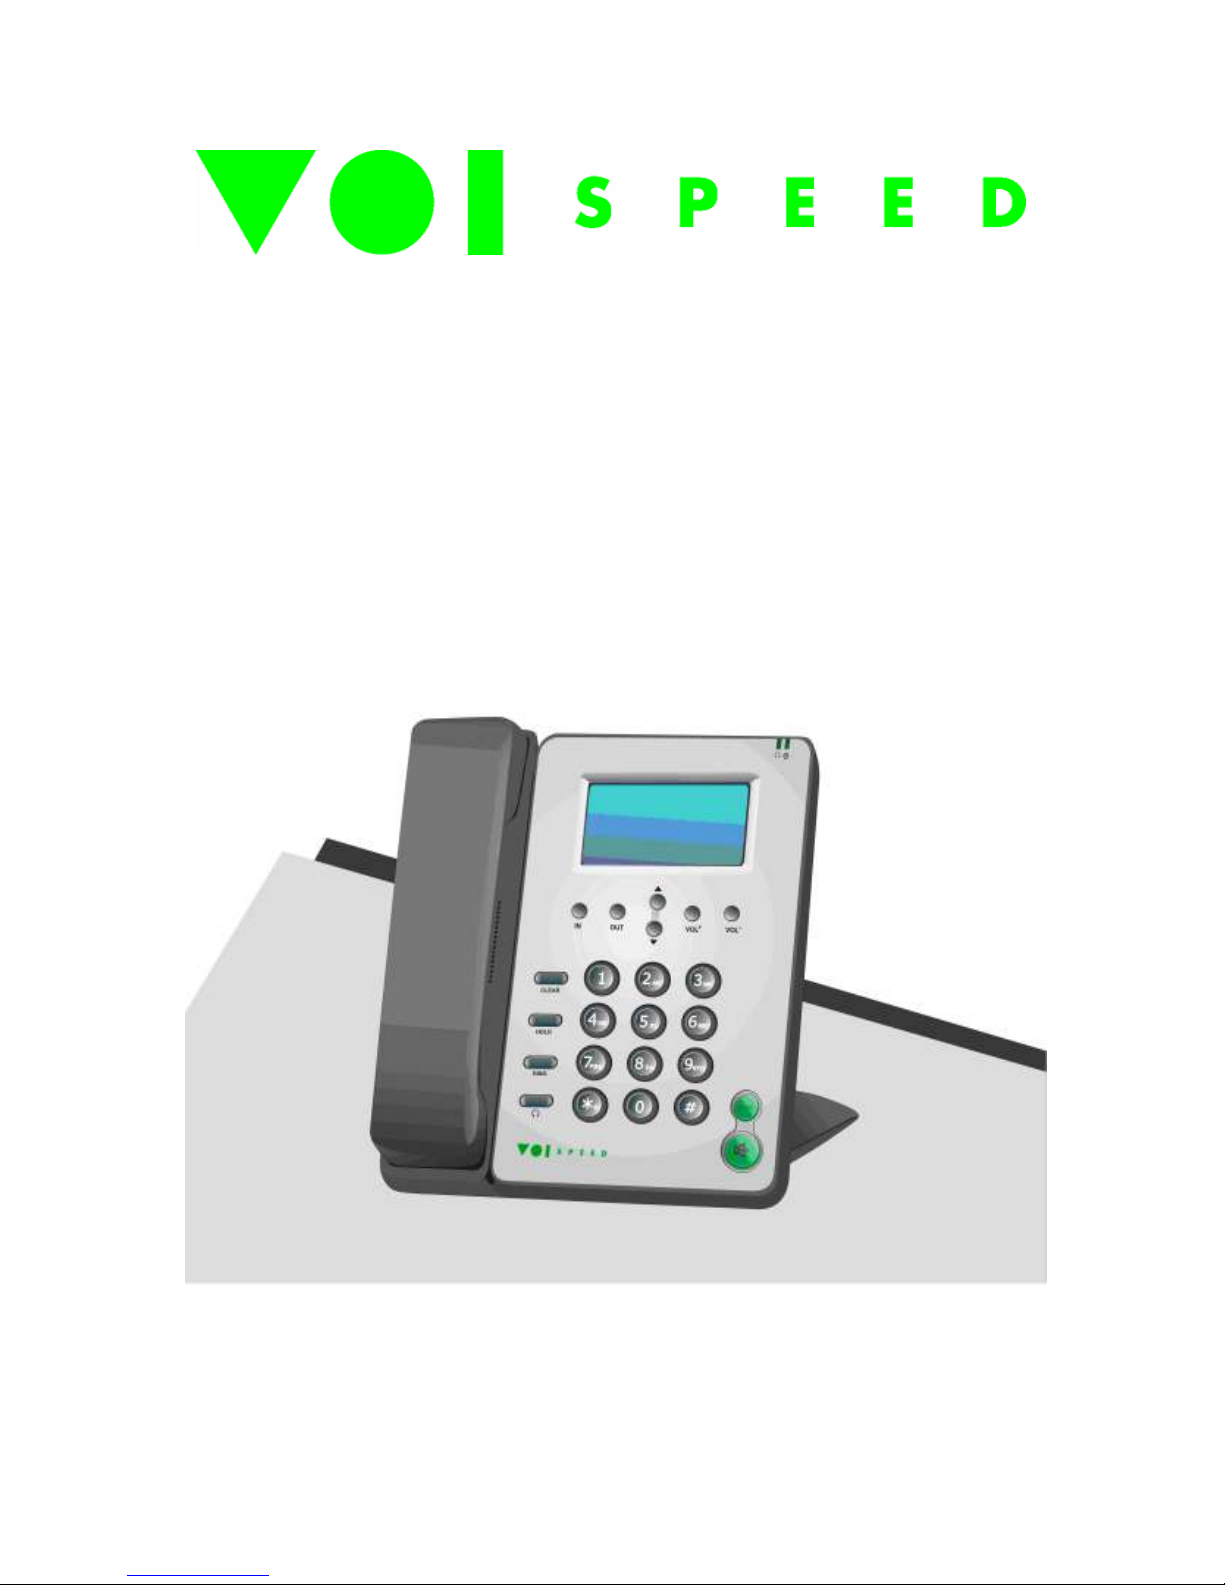
V-USB400 Telephone
User Manual

©
VOI
SPEED
L
TD
.
2
Table of Context
Table of Context .................................................................................................................... 2
1 Introduct on ................................................................................................................... 3
2 Secur ty nformat on ...................................................................................................... 3
2.1 How to use the telephone correctly ......................................................................... 3
2.2 Qual f ed personnel ................................................................................................ 3
2.3 Accessor es ............................................................................................................ 3
2.4 Waterproof gu del nes ............................................................................................ 3
2.5 Connect ng other dev ces........................................................................................ 3
2.6 Telephone pos t on ................................................................................................. 3
2.7 Connect the power supply ...................................................................................... 4
2.8 Clean ng the dev ce ................................................................................................ 4
2.9 Product D sposal .................................................................................................... 4
2.10 Product Warranty ................................................................................................... 5
2.10.1 Exclus ons ...................................................................................................... 5
3 Qu ck start ..................................................................................................................... 6
4 Techn cal features .......................................................................................................... 6
5 System Requ rements..................................................................................................... 6
6 How to use the USB telephone....................................................................................... 7
6.1 How To... ............................................................................................................... 8
6.1.1 Accept an ncom ng call.................................................................................. 8
6.1.2 Refuse an ncom ng call.................................................................................. 8
6.1.3 Put a call “On Hold” or p ck-up a call from “On Hold” state........................... 9
6.1.4 Transfer a phone call ...................................................................................... 9
6.1.5 End a phone call ............................................................................................. 9
6.1.6 D splay the l st of phone calls ......................................................................... 9
6.1.7 Enable or d sable the Loudspeaker.................................................................. 9
6.1.8 Enable the analogue headset connected to the USB socket.............................. 9

©
VOI
SPEED
L
TD
.
3
1 Introduction
We would l ke to thank you for your purchase and for hav ng chosen one our products. Th s
manual prov des general gu del nes for a correct use of the product. In case you requ re
further nformat on on th s product or to rece ve techn cal ass stance please v s t our webs te:
www.prontopbx.com.
2 Security information
You w ll f nd l sted below secur ty rules that the user should follow when us ng th s dev ce.
Please comply w th these gu del nes to avo d tak ng unnecessary r sks.
2 1
How to use the telephone correctly
Use the telephone only n the standard pos t on.
2 2
Qualified personnel
Any nstallat ons or repa rs on the product should be carr ed out only by qual f ed and fully
tra ned personnel.
2 3
Accessories
Use only accessor es that are fully approved by The Manufacturer. Do not connect to any non
compat ble products.
2 4
Waterproof guidelines
The telephone s not waterproof. Avo d contact w th l qu ds.
2 5
Connecting other devices
If you connect the telephone to other dev ces please read the user gu de of the dev ce f rst. Do
not connect the telephone to any non compat ble products.
2 6
Telephone position
Avo d prolonged exposure to d rect sunl ght. Do not place the telephone near sources of
ntense heat (e.g. rad ators, f re, etc.) and near electron c equ pment produc ng strong
magnet c f elds (speakers, m crowaves ovens, etc.). Do not nstall the telephone n hum d
rooms and avo d contact w th l qu ds. Do not expose the dev ce to aggress ve gas and do not
use the telephone n too dusty env ronments. Never use the telephone n presence of any
explos ve gas (e.g. methane). Refra n from open ng any parts of the V-USB400 and do not
touch the plugs w th metal or sharp objects.
©
VOI
SPEED
L
TD
.
4
2 7
Connect the power supply
Please make sure that the power supply compl es w th the voltage sett ng of your equ pment.
If you have doubts about the voltage sett ng, please call the techn cal support. Do not remove
any dev ces that prov de secur ty. Always d sconnect the telephone from the power supply
dur ng storms. All ma ntenance work should be carr ed out by qual f ed personnel.
2 8
Cleaning the device
We suggest clean ng the equ pment only us ng a sl ghtly dump cloth.
2 9
Product Disposal
Our products are compliant with the European Directives 2002/95/CE, 2002/96/CE and
2003/108/CE regarding the limitation of use of lead, mercury, cadmium, chromium (VI)
as well as some flame retardants and hazardous material within electric and electronic
equipment and disposal
The s gn above represent ng a crossed waste b n nd cates that the product, once no longer
ut l sed, must be d sposed of by separat ng t from normal waste. The user must ensure that
the product, once reached ts end-l fe, s g ven to qual f ed organ sat ons respons ble for the
collect on of electron c and electr cal waste. The user may otherw se choose to return the
equ pment to the manufacturer when purchas ng a new equ valent dev ce. In th s case the
product returned must correspond to the one be ng purchased.
Su table d sposal of the equ pment n accordance w th relevant recycl ng gu del nes helps the
env ronment and fosters susta nable development. Unlawful d sposal of th s equ pment s an
offence and may lead to prosecut on n accordance w th the Country’s laws n wh ch the
d sposal takes place.
Correct disposal benefits us and the environment

©
VOI
SPEED
L
TD
.
5
2 10
Product Warranty
The Manufacturer (Harpax Srl.) warrants ts products to be free from defects n mater al and
workmansh p dur ng the warranty per od. The product s covered by warranty only f t s
used n compl ance w th the gu del nes conta ned n th s manual. Th s product s compl ant
w th CE regulat ons.
The warranty per od starts from the date the product has been purchased (stated on the
nvo ce) and w ll last for 12 months thereafter. If a product proves to be defect ve n mater al
or workmansh p dur ng the warranty per od, The Manufacturer w ll, at ts sole d scret on,
repa r or replace the product w th a s m lar one (new or re-cond t oned). The replacement un t
w ll be covered by a new warranty per od that w ll last the rema n ng t me on the customer's
or g nal l m ted warranty. The old equ pment subst tuted w ll automat cally become property
of Harpax Srl.
In order to have access to the warranty the user must f ll out the onl ne form that can be found
on www.prontopbx.com or www.vo speedltd.com (please also contact the customer support
department on 01727 848186). The user must prov de a val d nvo ce to cla m warranty on the
product.
2 10 1 Exclusions
The warranty w ll be nval dated n the follow ng cases:
Damages to any parts that are meant to ware out w th t me. No support, ma ntenance
or replacement w ll be prov ded for these components.
Damages result ng from wrong power supply.
Damages result ng from m suse or act ons that do not comply w th the gu del nes of
th s manual.
Damages result ng from lack of ma ntenance as adv sed by The Manufacturer.
Damages result ng from nstall ng or us ng the product w thout comply ng w th the
relevant standards (legal, health and safety, techn cal, etc.) that are n place n the
Country where the product s ut l sed.
Damages result ng from m suse, negl gence, unauthor zed product mod f cat on, repa r
or attempted repa r by anyone not author zed by The Manufacturer ( nclud ng the
user) or fa lure to follow nstruct ons suppl ed w th the product.
Damages caused dur ng product transport or del very due to nsuff c ent or
nappropr ate packag ng.
Damages caused by acc dent, f re, water, any acts of nature, nsuff c ent vent lat on or
other causes that don not fall under the control of The Manufacturer.
Damages caused from any un ntent onal or del berate human acts .
Damages caused from manum ss on or n conjunct on w th warranty labels be ng
broken.
Damages to Software or any Hardware component not suppl ed by The Manufacturer
w th the product.
This warranty is only valid within the European Community

©
VOI
SPEED
L
TD
.
6
3 Quick start
Connect the telephone V-USB400 to one of the free USB ports of a PC or USB hub. The USB
port w ll also power the equ pment.
The telephone dr ver w ll be automat cally nstalled dur ng the setup phase of the VOIce
cl ent software. All telephone funct onal t es are ava lable to use only when the VOIce cl ent
s runn ng on the PC.
4 Technical features
1. H gh qual ty speaker
2. W de back-l ghted LCD d splay
3. Conf gured to operate w th analogue headphones
4. Tune and Volume of r ngtones are adjustable by the cl ent software
5. L st of recent nbound/outbound calls ava lable at the telephone
6. Caller’s ID
7. Adjustable pos t on
5 System Requirements
These are the m n mum requ rements for the PC connected to the V-USB400 phone:
1. W ndows XP Home/Profess onal (SP2) or W ndows 2000 (SP4)
2. 400 MHz processor
3. Free USB 1.0 or USB 2.0 ports
4. 128 MB ava lable RAM and 15MB free memory on Hard D sk

©
VOI
SPEED
L
TD
.
7
6 How to use the USB telephone
Keys descr pt on
HEADSET STATE INDICATOR
The lamp s l t when the headset connected to the telephone s act ve.
POWER INDICATOR
The lamp s l t when the telephone s powered ( .e. connected to the PC through one USB
port).
IN / OUT
These keys are used to d splay the l st of recent nbound/outbound calls.
UP / DOWN /
These keys are used to browse through the l st of recent nbound/outbound calls.

©
VOI
SPEED
L
TD
.
8
VOL+ / VOL-
To ncrease or decrease the volume of the headset, loudspeaker or r ngtones.
SEND
Th s key enables the user to beg n a phone call.
LOUDSPEAKER
Enable/d sable the loudspeaker dur ng a phone call. It s also used to answer an ncom ng call
through the loudspeaker.
CLEAR
To erase a key entered or to refuse an ncom ng call.
HOLD
To put a phone call “on hold” or to p ck t up from “on hold” state.
TRAN
To transfer a phone call.
HEADSET
Enable/d sable the aud o of the headset
6 1
How To
6 1 1 Accept an incoming call
• L ft the handset or, alternat vely, press (LOUDSPEAKER) to answer the call
us ng the loudspeaker
6 1 2 Refuse an incoming call
• Press CLEAR

©
VOI
SPEED
L
TD
.
9
6 1 3 Put a call “On Hold” or pick-up a call from “On Hold” state
• Press HOLD
6 1 4 Transfer a phone call
In order to transfer a phone call to another number:
1. Put the call “on hold” press ng the HOLD button.
2. Enter the rec p ent’s phone number
3. Press SEND
4. Once the rec p ent s ready to take the phone call, press TRAN
6 1 5 End a phone call
• Replace the handset ( f answer ng from the telephone) or, alternat vely, press
LOUDSPEAKER ( f the call was answered through the loudspeaker)
6 1 6 Display the list of phone calls
1. Press IN or OUT to d splay respect vely all nbound or outbound calls made
through the VOIce cl ent.
2. Press repeatedly the UP or DOWN keys to browse through the l st of calls.
6 1 7 Enable or disable the Loudspeaker
• E ther: press (LOUDSPEAKER), to answer an ncom ng call us ng the
loudspeaker
• Or: f rst answer the ncom ng call l ft ng the handset and then transfer the aud o to
the loudspeaker by press ng (LOUDSPEAKER) replac ng the handset.
6 1 8 Enable the analogue headset connected to the USB socket
• Answer the ncom ng call l ft ng the handset.
• Press n order to enable the headset
• Press aga n to transfer the aud o to the telephone.
• When the headset aud o s on the lamp on the top r ght hand corner s l t.
• NB: In order to transfer the aud o from the loudspeaker to the headset you f rst
need to transfer the aud o to the telephone.
Table of contents
Other VOIspeed Telephone manuals


