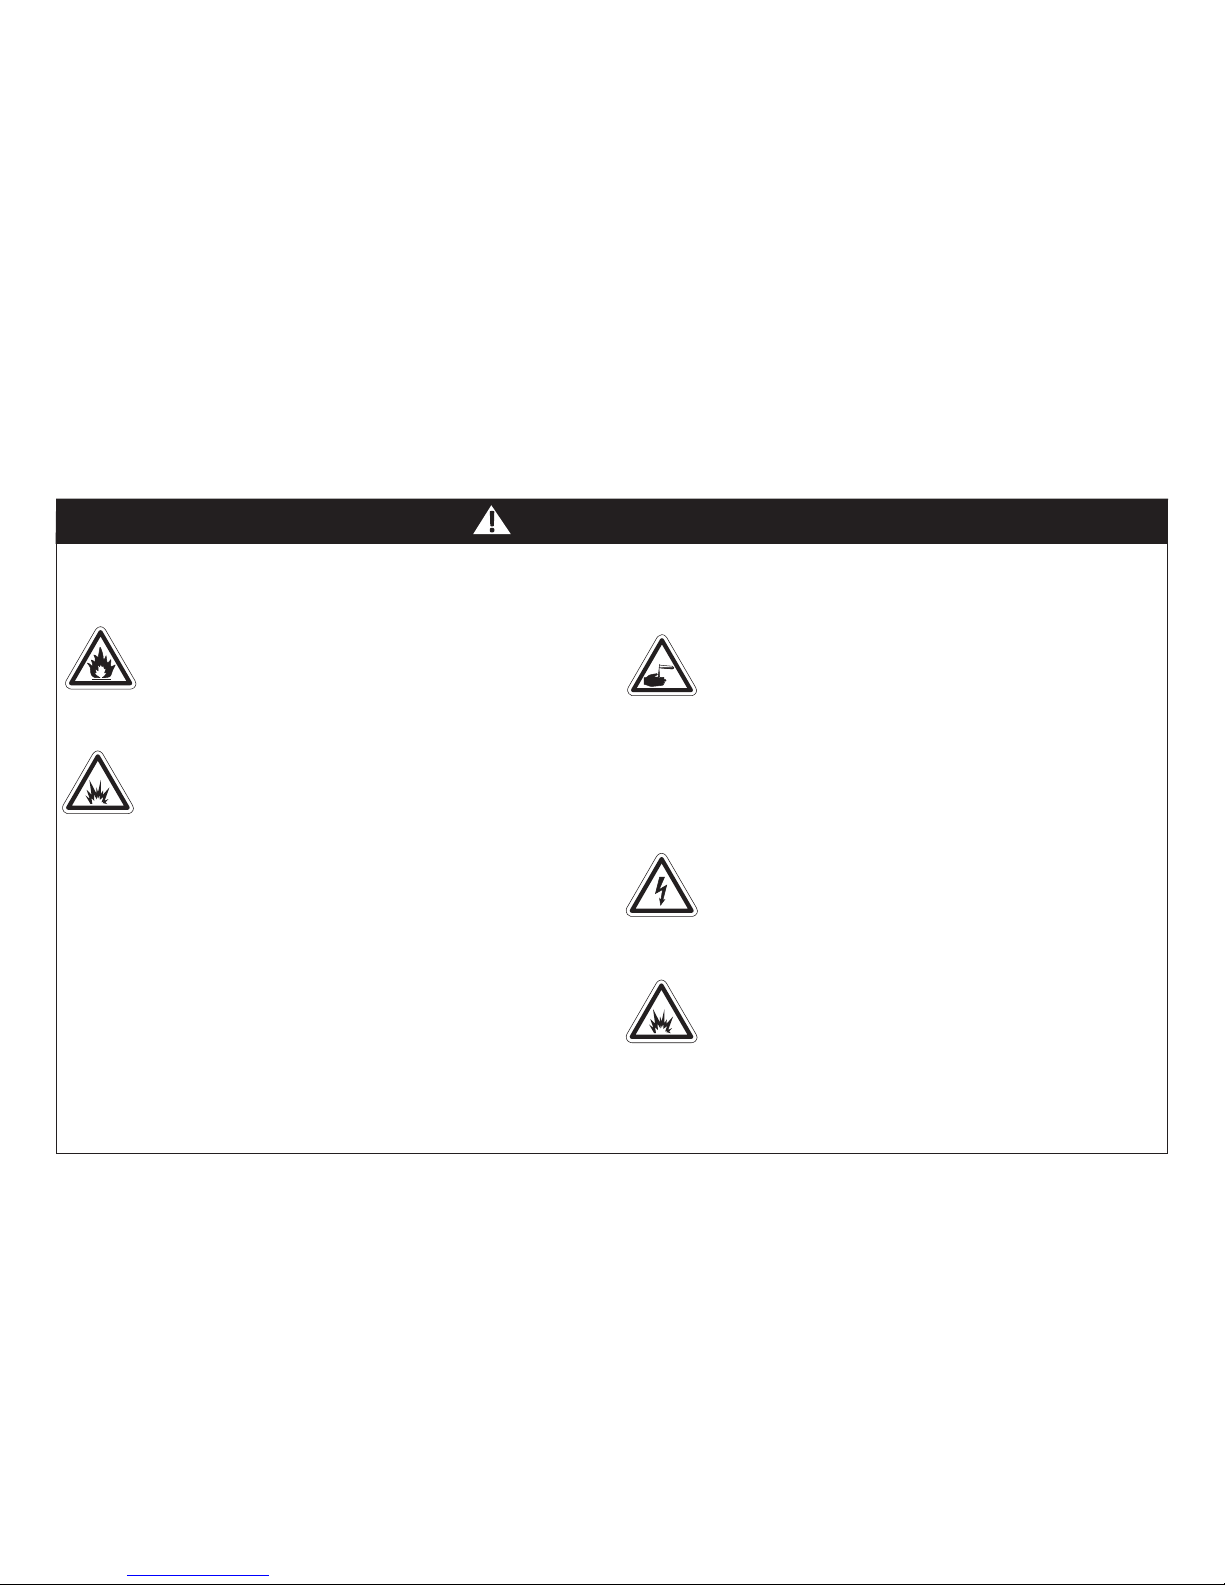
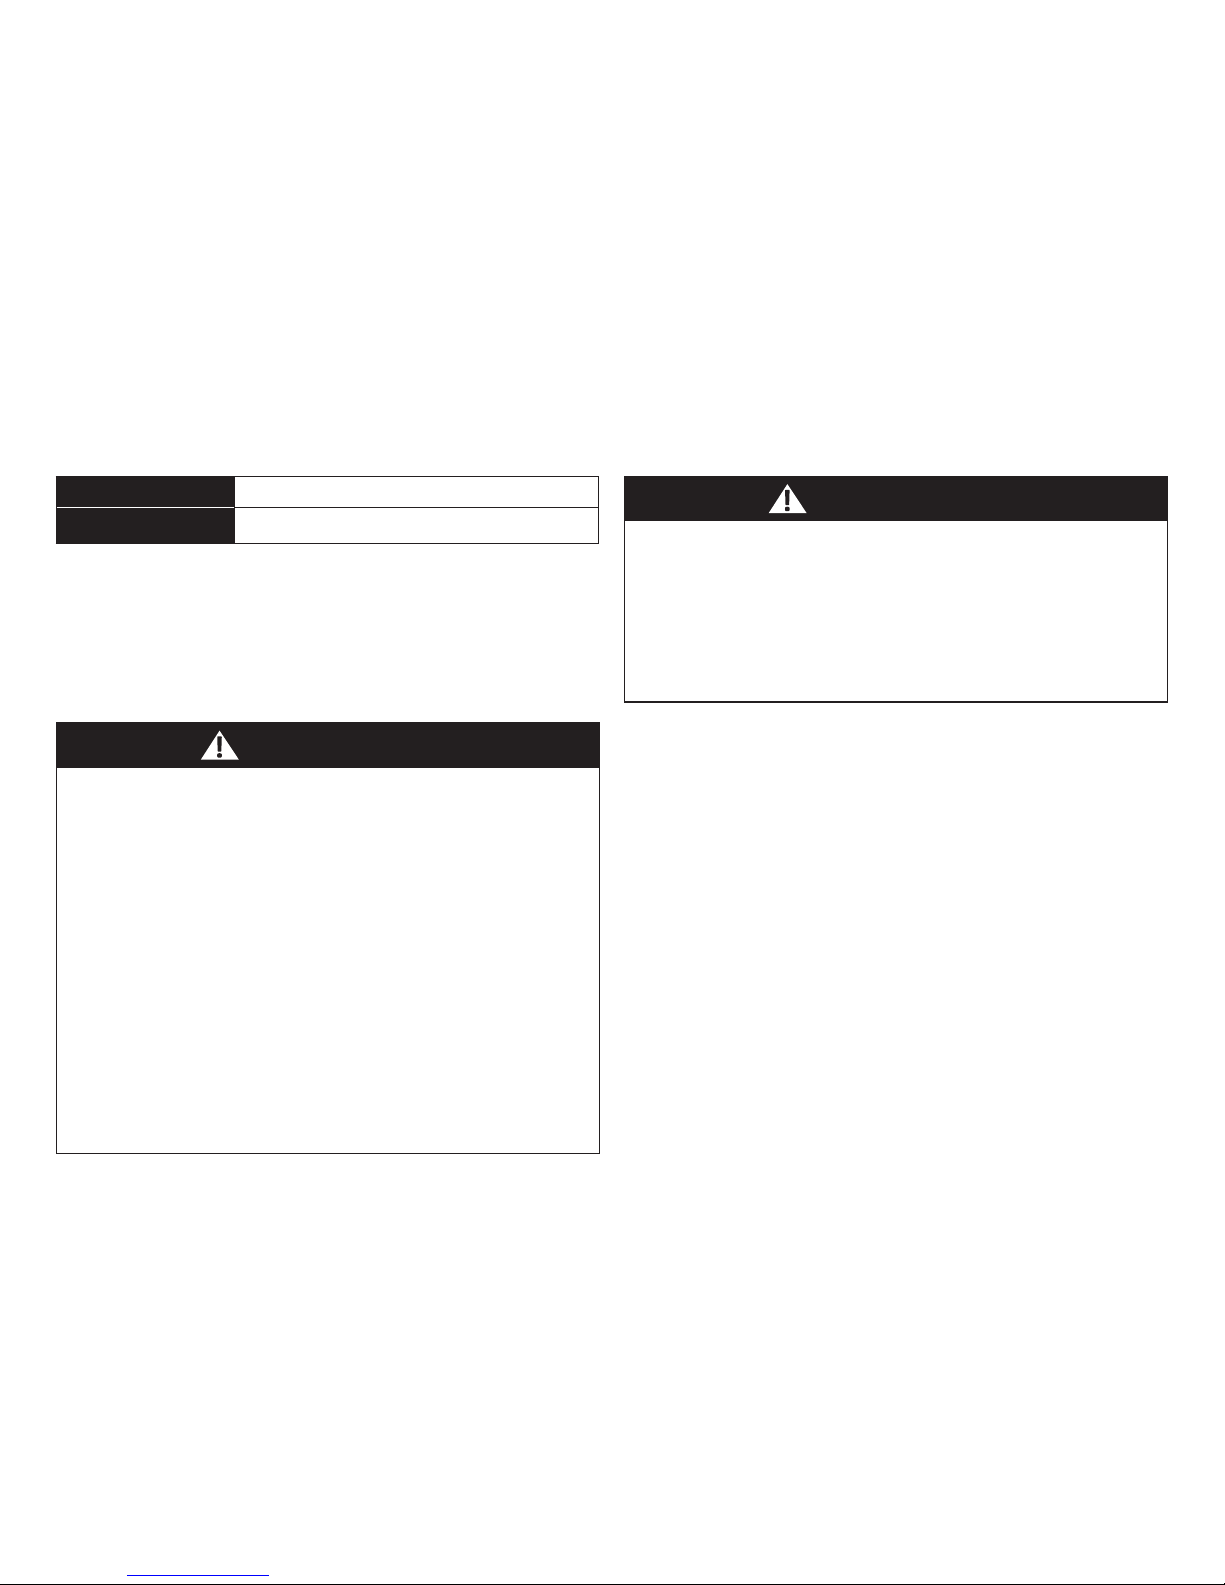
Volkswagen KT1134WM User manual

Volkswagen
OWNER’S MANUAL
The owner’s manual contains assembly, use and maintenance instrucons. The vehicle must be assembled by an adult who has read
and understands the instrucons in this manual. Keep the packaging away from children and dispose of all packaging before use.
Trademarks, design patents and copyrights are used with the approval of the owner Volkswagen AG
Styles and colors may vary.
Made in China
Ride-on Toy Car
KT1134WM, KT1134I, KT1134,
KT1173WM, KT1174, KT1172

Thank You
For purchasing the Volkswagen ride-on toy car. Features include;
Power Trax™ rubber tracon strips on the res, a 12 volt baery
with Kid Trax Direct Connect™ one step charging system,
working radio, lights, horn and engine sounds. We hope your
child will have years of riding enjoyment with our products. We
appreciate your business. Please call us at Kid Trax Toys
Consumer Relaons with quesons or comments at:
Phone: 1-877-741-6154
The Web: www.kidtraxtoys.com
Email: customerservice@kidtraxtoys.com
Address: 4902 Hammersley Road, Madison, WI 53711
Important!
Do not return the product to the store. Please contact customer
service at 1-877-741-6154 for assistance and replacement parts.
2

Contents
1 SAFETY. . . . . . . . . . . . . . . . . . . . . . . . . . . . . . . . . . . . . . . . 4
Baery Warnings . . . . . . . . . . . . . . . . . . . . . . . . . . . . . . 5
User Requirements and Warnings ................ 6
Care Warnings ................................ 6
2 PARTS ......................................... 7
3 ASSEMBLY ..................................... 8
Aach the Rear Bracket ......................... 8
Aach the Rear Assembly to the Body ............ 9
Aach the Dashboard to the Windshield. . . . . . . . . . 10
Aach the Dashboard Assembly. . . . . . . . . . . . . . . . . 10
Insert the Steering Rod ........................ 11
Aach the Steering wheel. ......................12
Aach the Wheels ............................ 13
Aach the Mirrors ............................ 14
Aach the Spoiler ............................ 14
Connect the Baery to the Motor ............... 15
Aach the Seat. . . . . . . . . . . . . . . . . . . . . . . . . . . . . . . 15
4 USE . . . . . . . . . . . . . . . . . . . . . . . . . . . . . . . . . . . . . . . . . . 16
Charging the baery .......................... 16
Operang the Vehicle ......................... 17
Re-Charge Interval and Time ................... 18
Baery Storage .............................. 18
Baery Replacement and Disposal. . . . . . . . . . . . . . . 19
5 MAINTENANCE ............................... 20
6 TROUBLESHOOTING GUIDE .................... 21
7 SERVICES, REPAIRS AND PARTS. . . . . . . . . . . . . . . . . 24
8 WARRANTY .................................. 25
9 CONTACT INFORMATION ...................... 26
3

1
WARNING!
4
• Using the vehicle in unsafe condions such as snow, rain,
loose dirt, mud, sand or ne gravel may result in
unexpected acon such as p over and skidding, and
damage to the electrical system and baery.
• Using the vehicle in an unsafe manner. Examples include
but are not limited to:
Pulling the vehicle with another vehicle or similar
device
Allowing more than two riders
Pushing the user from the back
Traveling at an unsafe speed
Always use common sense and safe pracces when using the
vehicle.
This product contains or emits chemicals known to the state
of California to cause cancer or birth defects or other
reproducve harm.
The following safety hazards may result in serious injury or
death to the user of the vehicle:
• This product contains small parts that are for adult assembly
only. Keep small children away when assembling. Remove
and dispose of all protecve material and poly bags before
assembly. Be sure to remove all packaging materials and
parts from underneath the vehicle body.
• Baery posts, terminals and related accessories contain
lead and lead compounds (acids) chemicals known to the
state of California to cause cancer, reproducve harm, and
are toxic and corrosive. Never open the baery.
• Body parts such as hands, legs, hair and clothing can get
caught in moving parts. Never place a body part near a
moving part or wear loose clothing while using the vehicle.
Always wear shoes when using the vehicle.
• Using the vehicle near streets, motor vehicles, drop-os
such as: steps, water (swimming pools) or other bodies of
water, sloped surfaces, hills, wet areas, ammable vapors, in
alleys, at night or in the dark could result in an unexpected
accident. Always use the vehicle in a safe, secure
environment with connuous adult supervision.

BATTERY WARNINGS
WARNING!
5
• Liquids on the baery may cause re or electric
shock. Always keep all liquids away from the
baery and keep the baery dry.
• Contact or exposure to baery leakage (lead acid)
may cause serious injury. If contact or exposure
occurs immediately call your physician. If the
chemical is on the skin or in the eyes, ush with
cool water for 15 minutes. If the chemical was
swallowed, immediately give the person water or
milk. Do not give water or milk if the paent is
voming or has a decreased level of alertness. Do
not induce voming.
• Baery posts, terminals and related accessories
contain lead and lead compounds (acid), chemicals
known to the State of California to cause cancer,
reproducve harm and are toxic and corrosive.
Never open the baery.
• Tampering or modifying the electric circuit system
may cause a shock, re or explosion and
permanently damage the system. Exposed wiring,
circuitry in the charger may cause electric shock.
Always keep the charger housing closed.
The following safety hazards may result in serious injury or
death to the user of the vehicle:
• Use of a baery or charger other than the supplied
Kid Trax Toys 12V rechargeable baery and charger
may cause a re or explosion. Only use the supplied
Kid Trax Toys 12V rechargeable baery and charger
with the vehicle.
• Using the Kid Trax Toys 12V rechargeable baery
and charger for any other product may result in
overheang, re or explosion. Never use the
KidTrax Toys 12V rechargeable baery and charger
with another product.
• Explosive gases are created during charging. Charge
the baery in a well venlated area. Do not charge
the baery near heat or ammable materials.
• Contact between the posive and negave
terminals may result in re or explosion. Avoid
direct contact between the terminals. Picking up
the baery by the wires or charger can cause
damage to the baery and may result in a re.
Always pick up the baery by it’s case or handles.

WARNING!
6
• Only use the vehicle under adult supervision.
• Always sit in the seat when using the vehicle.
• Keep your hands, hair and clothes away from moving parts.
• Always wear shoes when using the vehicle.
• Only two riders are allowed in the vehicle at a me
• Children under 3 years of age cannot use the vehicle.
• Only drive on level ground.
• Do not go near swimming pools or other bodies of water,
drop-os or up and down steep inclines.
• Do not drive the vehicle into loose dirt, mud, sand or ne
gravel.
• Do not drive the vehicle on streets or near cars.
• Park the vehicle indoors or cover it with a tarp to protect it
from wet weather.
• Do not leave the vehicle in the sun for long periods of me
or fading may occur. Store in shade or cover with tarp.
• Do not wash the vehicle with a hose.
• Do not wash the vehicle with soap and water.
Age Range 3 - 8 years (maximum)
Weight Range No more than 130 lb (59 kg)
CARE WARNINGSUSER REQUIREMENTS AND WARNINGS
Before using the vehicle the child should understand the vehicle
controls and safety issues. They must also demonstrate the
capability to handle the vehicle and operate its controls. It is the
responsibility of the adult to educate the child and supervise the
vehicles use. Read the following safety warnings to any child
using the vehicle before riding.
WARNING!

2Parts
7
Vehicle body Includes
12 volt baery, two
working doors and lights
Steering wheel
Hubcap (4)
MP3 Cord
Rear wheel (2)
Note: the back side
of the rear wheel,
has a gear shape
Spoiler
Baery charger
Seat
Steering rod
Rear bracket
Mirror screw and nut
(1 per mirror)
Small washer (4)
Retainer nut (4) Rear body
Hex wrench
Steering wheel
nut and screw
Dashboard
Dashboard
screws (2 )
Windshield
Mirror (2)
Large washer (2)
Front wheel (2)
Rear bracket screws (4)
Rear body
screws (8)
Important! Check that you have all parts before assembly.

8
3Assembly
ATTACH THE REAR BRACKET
Carefully turn the rear body assembly over so the underside
is facing up.
Tip! To keep from scratching the assembly pieces, place
on a so surface such as the cardboard packaging.
Insert the rear bracket into the bracket slot located at the
front of the rear assembly. Be sure the screw holes in the
rear bracket align with the screw holes in rear bracket slots.
Insert a screw into each screw hole located on the rear
bracket slot (two total) and ghten the screws into the rear
assembly.
1
2
3
Two rear
bracket screws
are needed for
this step.

9
ATTACH THE REAR ASSEMBLY TO THE BODY
Carefully turn the vehicle body over so the underside is
facing up.
Align the tabs coming from the rear body assembly with the
slots on the back of the vehicle body.
Slide the two pieces together, making sure the holes in the
rear assembly are aligned with the holes in the vehicle body.
Insert a screw into each hole locaon (eight total) and
ghten the screws into the vehicle body.
Insert a screw into each of the rear bracket hole locaons
(two total), and ghten the screws into the vehicle body.
1
23
Two screws needed on
each side of rear body.
4
4
5
4
4
4
4
4
4
Four screws needed in
the middle of the rear body.
Two small
screws needed
for rear bracket.

10
ATTACH THE DASHBOARD TO
THE WINDSHIELD
Insert the two tabs coming from the front of the dashboard
into the slots at the boom of the Windshield.
Turn the dashboard assembly over, and insert a screw into
the two screw locaons. Tighten the screws.
ATTACH THE DASHBOARD ASSEMBLY
While holding the dashboard assembly together, align the
two tabs from the dashboard assembly with the two slots
located at the front of the dashboard area.
Route the wire coming from the side of the dashboard down
into the hole on the right side of the dashboard area, and
connect it with the wire under the wheel well.
11
334
Two screws are
needed for this step.
22

11
INSERT THE STEERING ROD
Insert the long end of the steering rod through the steering
rod hole on the underside of the vehicle body up through
the steering wheel opening in the dashboard.
Insert the short, curved end of the steering rod through the
at part of the front axle.
Slide the dashboard assembly into the dashboard slots on
the vehicle body.
Connect the wires coming from the underside of the
dashboard assembly with the wires coming from the middle
of the vehicle body.
Insert a screw into each of the holes located on the sides of
the dashboard assembly (two total), and ghten the screws.
Two screws are needed for this step.
7
7
5
5
6
2
1
Tip! Insert a screw through the
hole at the end of the steering
rod to help keep it
from slipping out.

12
ATTACH THE STEERING WHEEL
Remove the screw and nut from the steering wheel.
Connect the wires coming from the steering wheel opening
with the wires coming from the boom of the steering
wheel.
Orient the steering wheel so the tab at the top of the
steering wheel base aligns with the slot in the steering
wheel opening, and insert the steering wheel into the
opening.
Align the holes at the end of the steering rod with
the holes in the steering wheel.
Insert the screw completely through the hole in the steering
wheel and steering rod.
Fasten the nut on the end of the screw and ghten the nut.
Screw and nut is needed
for this step.
1
3
2
4
5
6

13
ATTACH THE WHEELS
Remove the nuts and washers from the
end of the axles, and keep them handy for the following
assembly steps.
Slide the large washer over the axle unl it hits the stop on
the axle. Note: the rear wheel does not get a larger washer
for this step.
Slide the wheel onto the axle unl it stops at the washer.
Note: The rear wheels have a gear shape that ts into the
axle of the gear box. The front wheels do not have the gear
shape on the back side.
Insert the second washer over the axle unl it stops at the
wheel.
Insert the retaining nut over the end of the axle, and ghten
the nut using the hex wrench provided in the hardware
packet.
Align the ve tabs on the back of the hubcap with the slots
in the wheel, and push the hubcap into the wheel unl it
snaps into place.
Repeat steps 1-5 for the remaining wheels.
3
1
2
4
5
Back side of the
rear wheels t into
the gear box.
Front wheel assembly Rear wheel assembly

14
ATTACH THE MIRRORS
Remove the screw and nut from the mirrors.
Place the mirror over the mirror bracket on the dashboard.
Be sure to align the hole on the mirror with the hole on the
mirror bracket.
Insert the screw completely through the mirror bracket.
Fasten the nut on the end of the screw and ghten the
screw.
Repeat steps 2 - 4 for the opposite mirror.
ATTACH THE SPOILER
Align the two small prongs on the sides of the spoiler and
the three tabs with prongs with the ve slots in the spoiler
area of the vehicle body.
Press down rmly on each side of the spoiler unl it snaps
into place.
3
2
4
6
7
3
2
4

15
CONNECT THE BATTERY TO THE MOTOR
Aach the blue baery connector coming from the baery
to the blue connector coming from the electrical box.
Note: You will only need to make this connecon one me.
IMPORTANT! Only use the KidTrax toys 12V charger included
with this vehicle (Input: AC 120V, 60Hz Output: DC 12V).
ATTACH THE SEAT
Insert the hooks on the back of the seats into the slots on
the back of the vehicle body seat area.
Rotate the seat down into place.
Using a at-head screwdriver or a coin, turn the seat lock to
the lock posion.
1
22
33

4Use
16
Open the Direct Connect charger port cover (gas cap)
located above the right rear wheel.
Insert the baery connector into the charger port.
Plug the charger into a standard 120V wall outlet.
Note: The charger may feel warm during charging. This is
normal and not a cause for concern.
Aer charging is complete, unplug the charger from the
wall outlet and unplug the baery connector from the
charger port.
First charge 14 hours. Do not charge more than 24 hours
Normal charge
10-14 hours. Do not charge for more than 24 hours
CHARGING THE BATTERY
Important! Before using the vehicle for the rst me the baery
needs to be charged for at least 24 hours. Only an adult who has
read and understands the safety warnings should handle,
charge or recharge of the baery.
1
2
3

17
OPERATING THE VEHICLE
Rear View Mirrors: Adjustable mirrors for viewing behind
the vehicle
Steering wheel: Use to steer the vehicle right or le. Hold
onto the steering wheel at all mes.
Press le steering wheel buon for horn sound eect.
Press right steering wheel buon for engine sounds.
Power switch: Rotate the knob to turn the power on and
o. The lights will turn on when the power is turned on.
Plug your MP3 player in here.
Applies power (speed) to the vehicle. To slow
down or stop, li your foot o the pedal.
Changes the direcon the vehicle moves from
forward to reverse. Press and hold the lever in the down
posion for reverse.
Tip! You may remove the small screw at the base of the
shi handle for higher speeds.
Seat lock: Unlock to access the baery compartment
open to access Direct Connect one
step baery charger.
3
ab
4
5
2
1
6
1
Shi
base
screw
7
8
7

18
Important!
• Damage to the baery may occur if it is allowed to drain
completely. Do not allow the baery to drain completely.
• Check the baery and charger (supply cord, connector) for
wear and damage before charging. Do not charge the baery
if damage has occurred. Only replace with a Kid Trax Toys 12V
rechargeable baery and charger.
On average you will need to charge the baery between 10 and
14 hours. Do not charge the baery for more than 24 hours.
Failure to charge the baery as directed could cause permanent
damage to the baery and void the warranty.
BATTERY STORAGE
Do not leave the baery connected in the vehicle for long
period of mes while not being used. This may drain the baery
completely and cause permanent damage. Disconnect the
baery connectors from the baery when the vehicle is not
going to be used for a long period of me.
It is best to leave the baery in the baery compartment when
the vehicle is being stored for long periods.
Follow these guidelines if the baery is removed:
• Store the baery where temperatures are between -10° F
(-24° C and 75° F (24° C).
• Store the baery on a wood surface. Do not place the baery
on cement oors for extended periods. This will result in
baery discharge.
• Wipe the baery clean with a dry cloth prior to storage.
• Charge the baery once every month for 8 to 16 hours.

11
19
BATTERY REPLACEMENT AND DISPOSAL
The Kids Trax Toys 12V 12Ah baery will eventually lose the
ability to hold a charge. Depending on the amount of use, and
varying condions, the baery should operate for one to three
years. Follow these steps to replace and dispose the baery:
Unlock the seats and remove the seat.
Disconnect the blue baery connectors.
Remove the screw from the baery bracket and remove the
bracket.
Carefully remove the baery.
• Depending on the condion of the baery (i.e.: leakage)
you may want to wear protecve gloves before removal.
• Do not li the baery by its connectors or cables
Place the dead baery in a plasc bag.
Important! Recycle the dead baery responsibly. The baery
contains lead acid (electrolyte) and must be disposed of properly
and legally It is illegal in most areas to incinerate lead acid
baeries or dispose of them in landlls. Take it to a federal or
state-approved lead acid baery recycler, such as a Kid Trax Toys
authorized service center or your local automove baery
retailer. Do not throw the baery away with your regular
household trash!
Replace the baery with a Kid Trax Toys 12V 12Ah baery.
Reconnect the blue baery connectors.
Fasten the baery bracket into place and ghten the screw.
Replace the seat, and lock it into place.
2
3
4

5Maintenance
20
• Check the ghtness of the fasteners before each use.
• Check the ghtness of the wheels.
• Ensure the baery is securely in place before use
• Occasionally use lightweight oil to lubricate moving parts such as wheels and steering linkage. Do not use oil on plasc or nylon
parts. No lubricaon is required.
• Store the vehicle indoors or cover it with a tarp to protect it from the wet weather. Keep it away from sources of heat, such as
stoves and heaters.
• Clean the vehicle with a so, dry cloth. To restore shine to plasc parts, use a non-wax furniture polish. Do not use car wax,
abrasive cleaners or wash the vehicle with soap and water. Water will damage the motor, electrical system and baery.
• KidTrax Toys recommends that you take the vehicle to an authorized service center for periodic maintenance and service. Call Kid
Trax Toys Consumer Relaons at 877-741-6154 for an authorized service center.
This manual suits for next models
5
Table of contents