manuals.online logo
Brands
  1. Home
  2. •
  3. Brands
  4. •
  5. BLOTZ
  6. •
  7. Toy
  8. •
  9. BLOTZ Old West Store #7 User manual

BLOTZ Old West Store #7 User manual

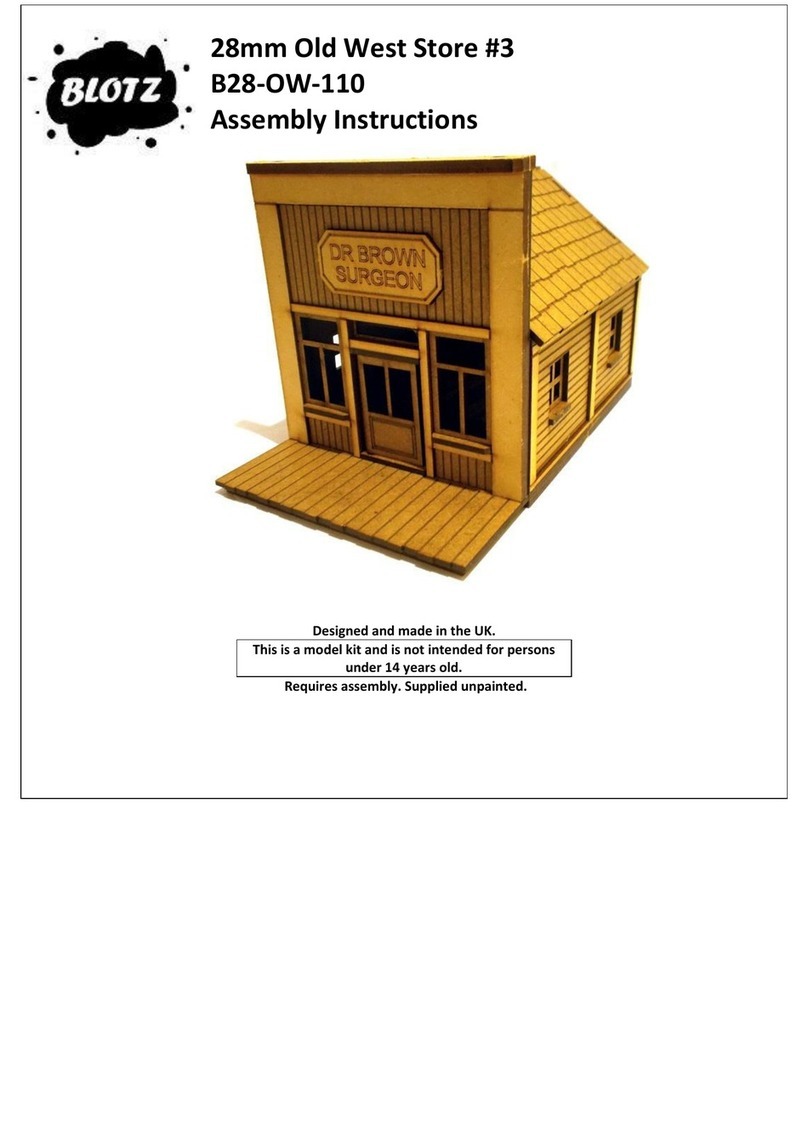
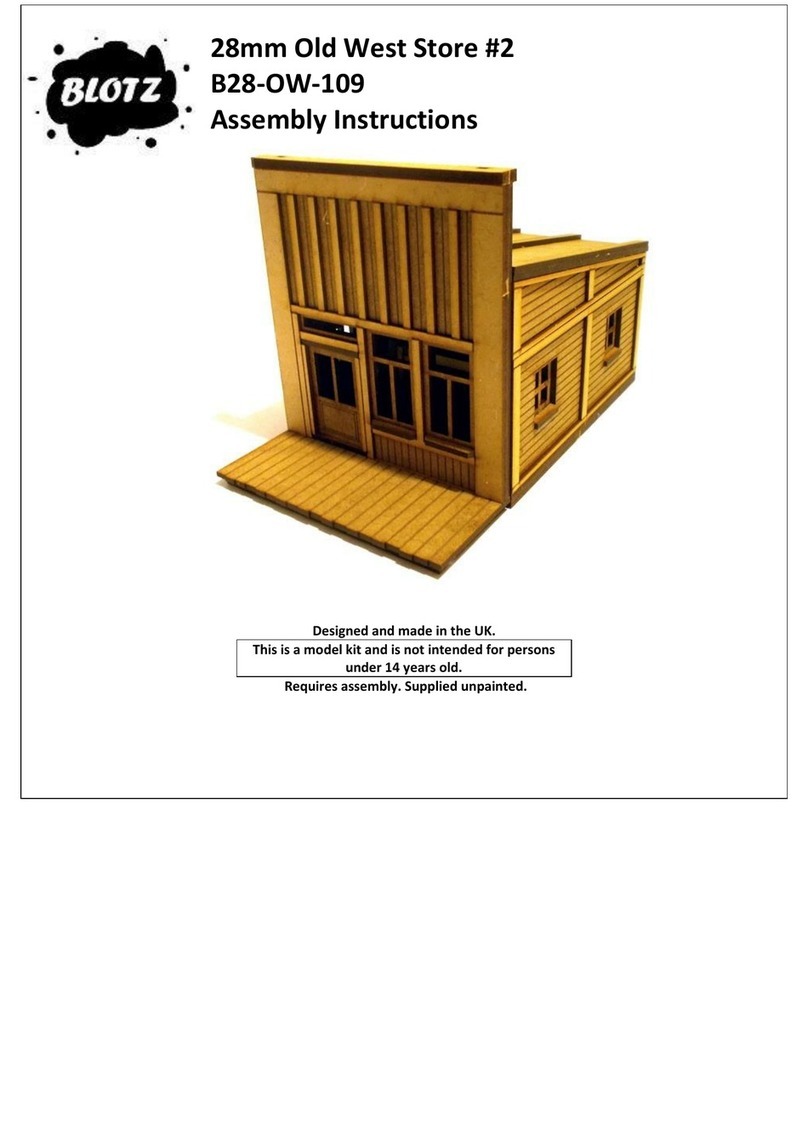
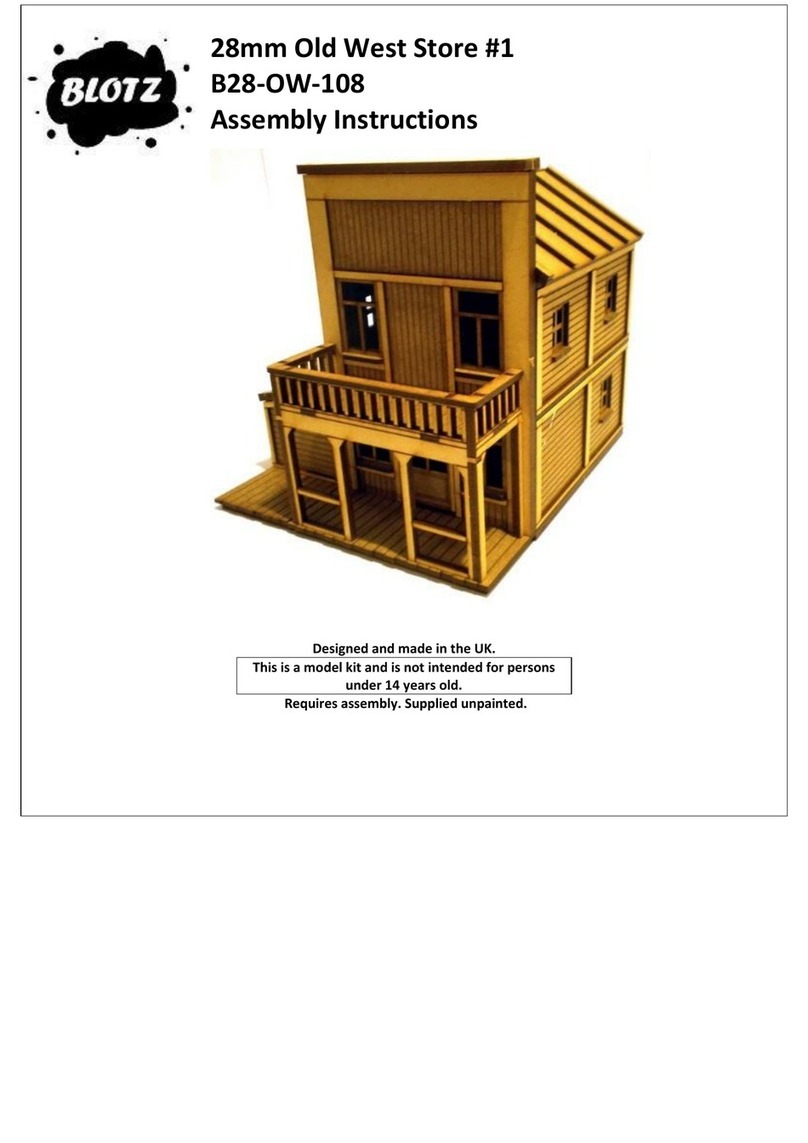
28mm Old West Store #7
B28-OW-114
Assembly Instructions
Designed and made in the UK.
This is a model kit and is not intended for persons
under 14 years old.
Requires assembly. Supplied unpainted.
28mm Old West Front #4
B28-OW-403
Please read these instructions fully before starting construction.
PVA or equivalent glue will be required to stick sections together.
Sand paper can be used to gently clean any joints.
A sharp modelling knife will be required to remove sections from the sprue. Please use knives with due care and remember
to cut away from yourself at all times.
During the construction of this model, you may find it convenient to use pegs / elastic bands to hold pieces in place while
you allow glue to dry.
Remove the two base pieces and the frame from the
sprue.
Glue the frame to the plank section, then glue the
other base section under it using the lugs to align
them.
Glue the rear plate into place.
While the assembly dries, place it against a rear
section to ensure it doesn’t tilt forwards.
Take the insert pieces from the sprue.
Glue these into the gaps in the framework.
The windows and sill.
Glue the sill into place at the bottom of the window
gap, then glue the window into place, along with the
one above the door.
Take the door and supports from the sprue.
Glue the lower support into place. Allow to dry.
Place the lower lug of the door into the lower support,
then sit the upper support onto the top lug before
gently easing it into place (see example pic).
Apply some glue to the upper support and then slide
it completely into position.
The decorative supports.
Glue these into the holes in the top of the frame.
The top bar and signs.
Glue your desired sign and top bar into position.
The completed front.
28mm Old West Rear #2
B28-OW-501
Please read these instructions fully before starting construction.
PVA or equivalent glue will be required to stick sections together.
Sand paper can be used to gently clean any joints.
A sharp modelling knife will be required to remove sections from the sprue. Please use knives with due care and remember
to cut away from yourself at all times.
During the construction of this model, you may find it convenient to use pegs / elastic bands to hold pieces in place while
you allow glue to dry.
Remove the two base pieces and the inner walls from
the sprue.
Glue the walls to the planked base so that all etched
detail Is facing inwards (see pic).
Note: Two lugs will extend through the floor.
Glue the base plate into position, using the lugs to
align it.
Take the frame pieces from the sprue.
Glue the end frame into place, followed by the side
frames. The thinner part of the frame (with the
sprue points on it) should be at the bottom.
The insert panels for the sides.
Pop these into position.
The insert panels for the end.
Glue these into place.
Take the door and supports from the sprue.
Glue the lower support into place. Allow to dry.
Place the lower lug of the door into the lower support,
then sit the upper support onto the top lug before
gently easing it into place (see pic).
The window sills.
Glue a sill below each window.
The completed rear.
28mm Old West Roof #4
B28-OW-603
Please read these instructions fully before starting construction.
PVA or equivalent glue will be required to stick sections together.
Sand paper can be used to gently clean any joints.
A sharp modelling knife will be required to remove sections from the sprue. Please use knives with due care and remember
to cut away from yourself at all times.
During the construction of this model, you may find it convenient to use pegs / elastic bands to hold pieces in place while
you allow glue to dry.
Remove the pieces shown above from the sprue.
Glue the support bars through the holes in the roof
plate.
Glue the end pieces and ridge bar into place.
The end “frames”
The blank “frame” goes at the end nearest the support
bars. The open frame goes in the other end (see pic)
Add the insert pieces into the frame.
Glue the roof pieces into place.
The completed roof.

This manual suits for next models

1

Other BLOTZ Toy manuals

BLOTZ B06-CS-010 User manual

BLOTZ

BLOTZ B06-CS-010 User manual

BLOTZ B10-MW-110 User manual

BLOTZ

BLOTZ B10-MW-110 User manual

BLOTZ B28-ME-009 User manual

BLOTZ

BLOTZ B28-ME-009 User manual

BLOTZ B10-CS-202 User manual

BLOTZ

BLOTZ B10-CS-202 User manual

BLOTZ B10-MW-114 User manual

BLOTZ

BLOTZ B10-MW-114 User manual

BLOTZ B10-MW-005 User manual

BLOTZ

BLOTZ B10-MW-005 User manual

BLOTZ B00-RT-229 User manual

BLOTZ

BLOTZ B00-RT-229 User manual

BLOTZ 10mm Skyscraper Dice Tower User manual

BLOTZ

BLOTZ 10mm Skyscraper Dice Tower User manual

BLOTZ B28-VSF-013 User manual

BLOTZ

BLOTZ B28-VSF-013 User manual

BLOTZ B06-CS-003 User manual

BLOTZ

BLOTZ B06-CS-003 User manual

BLOTZ B28-DA-008 User manual

BLOTZ

BLOTZ B28-DA-008 User manual

BLOTZ B28-WW2-101 User manual

BLOTZ

BLOTZ B28-WW2-101 User manual

BLOTZ B15-MC-005 User manual

BLOTZ

BLOTZ B15-MC-005 User manual

BLOTZ B28-SF-226 User manual

BLOTZ

BLOTZ B28-SF-226 User manual

BLOTZ B06-CS-100 User manual

BLOTZ

BLOTZ B06-CS-100 User manual

BLOTZ B28-SF-229 User manual

BLOTZ

BLOTZ B28-SF-229 User manual

BLOTZ B20-ST-111 Instructions for use

BLOTZ

BLOTZ B20-ST-111 Instructions for use

BLOTZ B06-CS-006 User manual

BLOTZ

BLOTZ B06-CS-006 User manual

BLOTZ B28-ME-008 User manual

BLOTZ

BLOTZ B28-ME-008 User manual

BLOTZ Middle Eastern Building 9 User manual

BLOTZ

BLOTZ Middle Eastern Building 9 User manual

BLOTZ B10-CS-102 User manual

BLOTZ

BLOTZ B10-CS-102 User manual

BLOTZ Onaga Rocket Kohaya User manual

BLOTZ

BLOTZ Onaga Rocket Kohaya User manual

BLOTZ B28-WF-110 User manual

BLOTZ

BLOTZ B28-WF-110 User manual
BLOTZ B28-ST-105 User manual

BLOTZ

BLOTZ B28-ST-105 User manual

Popular Toy manuals by other brands

Creative Park Japan Nagoya Castle Assembly instructions

Creative Park

Creative Park Japan Nagoya Castle Assembly instructions

Fisher-Price V3711 instructions

Fisher-Price

Fisher-Price V3711 instructions

Accucraft D&RGW C-16 instruction manual

Accucraft

Accucraft D&RGW C-16 instruction manual

REVELL F-14D Super Tomcat Last Flight Assembly manual

REVELL

REVELL F-14D Super Tomcat Last Flight Assembly manual

LEGO 76035 instructions

LEGO

LEGO 76035 instructions

Kadee 708 Assembly & instruction manual

Kadee

Kadee 708 Assembly & instruction manual

Lionel NW2 owner's manual

Lionel

Lionel NW2 owner's manual

Enabling Devices Baby Pug 3929 user guide

Enabling Devices

Enabling Devices Baby Pug 3929 user guide

Eduard Yamato railings new tool Assembly instructions

Eduard

Eduard Yamato railings new tool Assembly instructions

marklin 73400 instruction manual

marklin

marklin 73400 instruction manual

Carson Speed Shark Brushless instruction manual

Carson

Carson Speed Shark Brushless instruction manual

Barbie 17027 instruction manual

Barbie

Barbie 17027 instruction manual

MTHTrains Premier SD60E Operator's manual

MTHTrains

MTHTrains Premier SD60E Operator's manual

AquaCraft Rescue17 instruction manual

AquaCraft

AquaCraft Rescue17 instruction manual

Eduard Zoom Spitfire Mk.Vb interior S.A. manual

Eduard

Eduard Zoom Spitfire Mk.Vb interior S.A. manual

Faller MODERN SHOPPING CART ROOFING quick start guide

Faller

Faller MODERN SHOPPING CART ROOFING quick start guide

marklin 37667 user manual

marklin

marklin 37667 user manual

THUNDER TIGER DGA Series Assembly manual

THUNDER TIGER

THUNDER TIGER DGA Series Assembly manual

manuals.online logo
manuals.online logoBrands
  • About & Mission
  • Contact us
  • Privacy Policy
  • Terms and Conditions

Copyright 2025 Manuals.Online. All Rights Reserved.