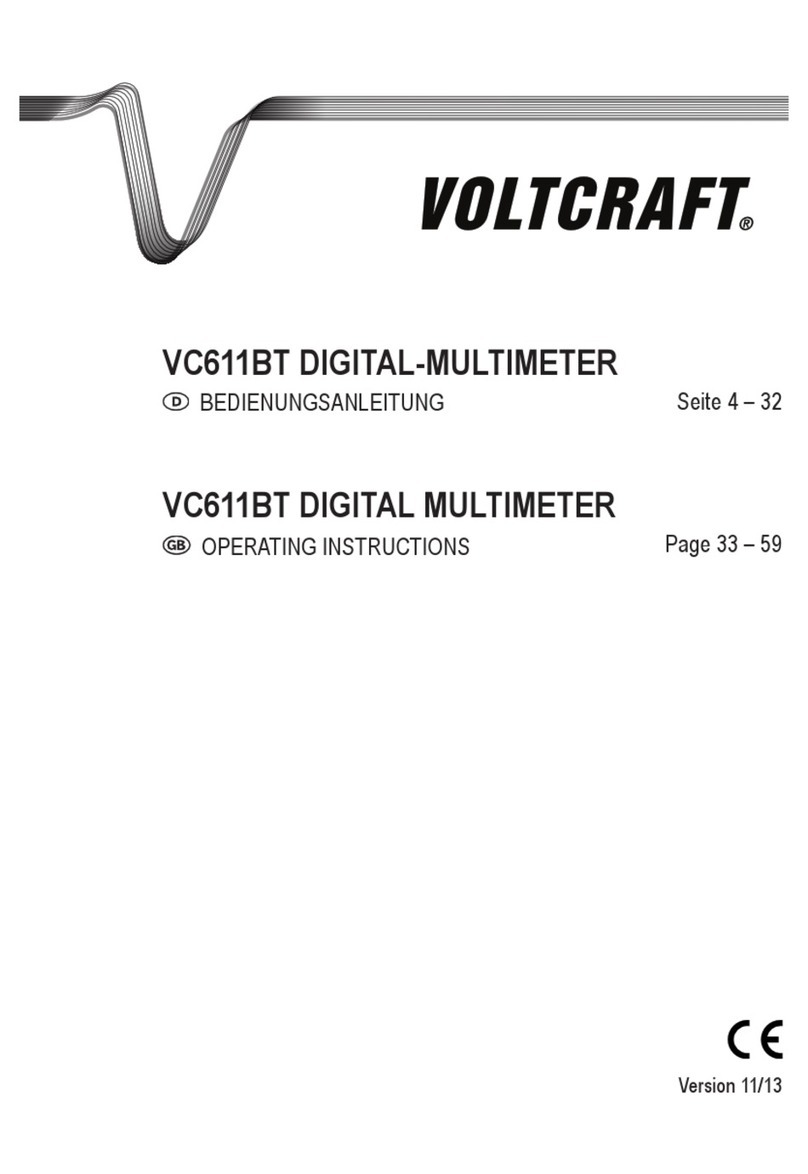
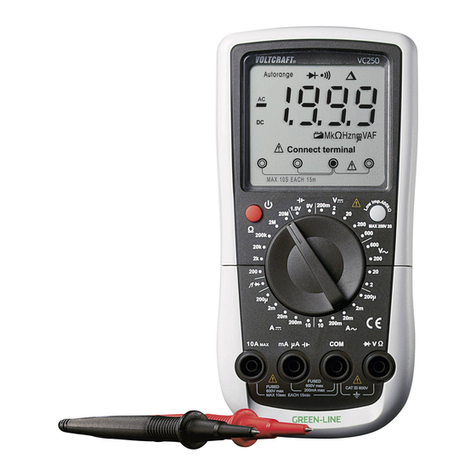
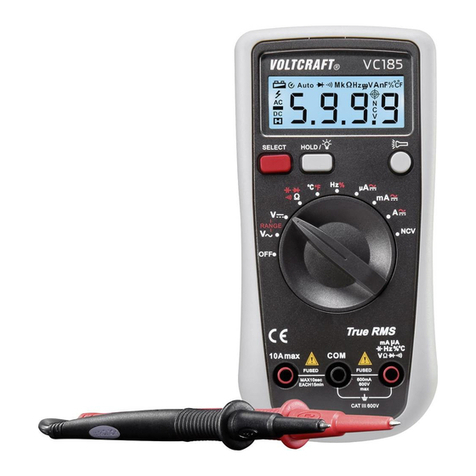
VOLTCRAFT VC-7200BT User manual
Other VOLTCRAFT Multimeter manuals
VOLTCRAFT
VOLTCRAFT VC-11 User manual
VOLTCRAFT
VOLTCRAFT VC 870 User manual
VOLTCRAFT
VOLTCRAFT 23 87 82 User manual

VOLTCRAFT
VOLTCRAFT VC610BT User manual
VOLTCRAFT
VOLTCRAFT VC232 User manual
VOLTCRAFT
VOLTCRAFT VC-740E User manual
VOLTCRAFT
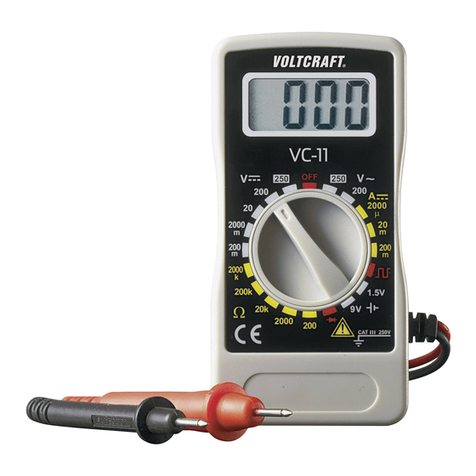
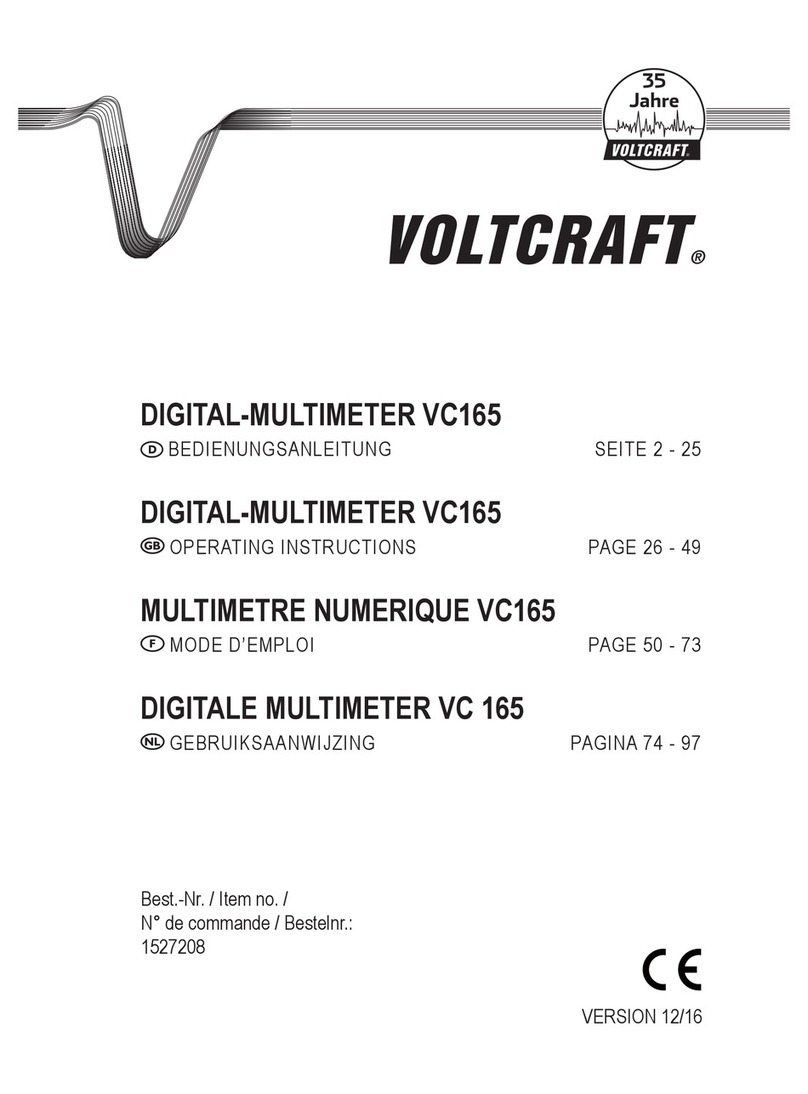
VOLTCRAFT VC165 User manual
VOLTCRAFT
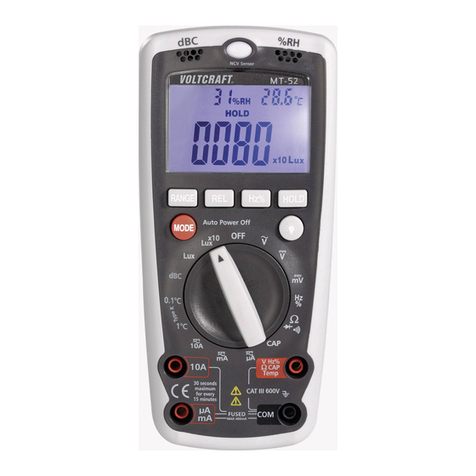
VOLTCRAFT MULTI-DMM MT-52 - V09-10 User manual
VOLTCRAFT
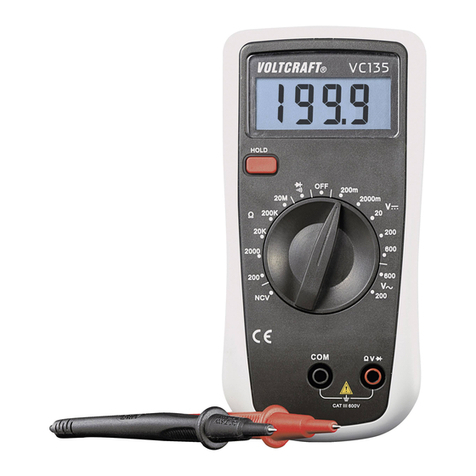
VOLTCRAFT VC135 User manual
VOLTCRAFT
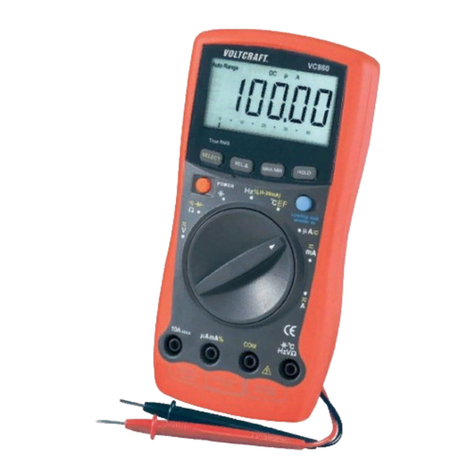
VOLTCRAFT vc-860 User manual
VOLTCRAFT
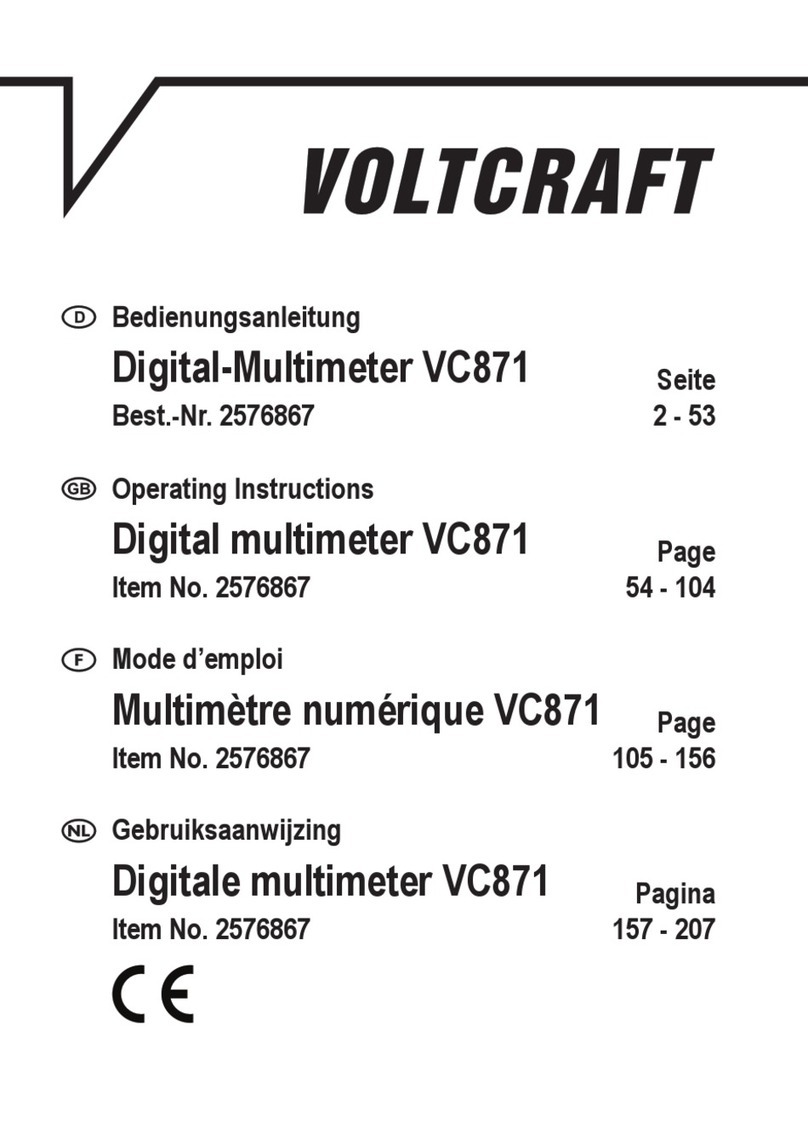
VOLTCRAFT VC871 User manual
VOLTCRAFT
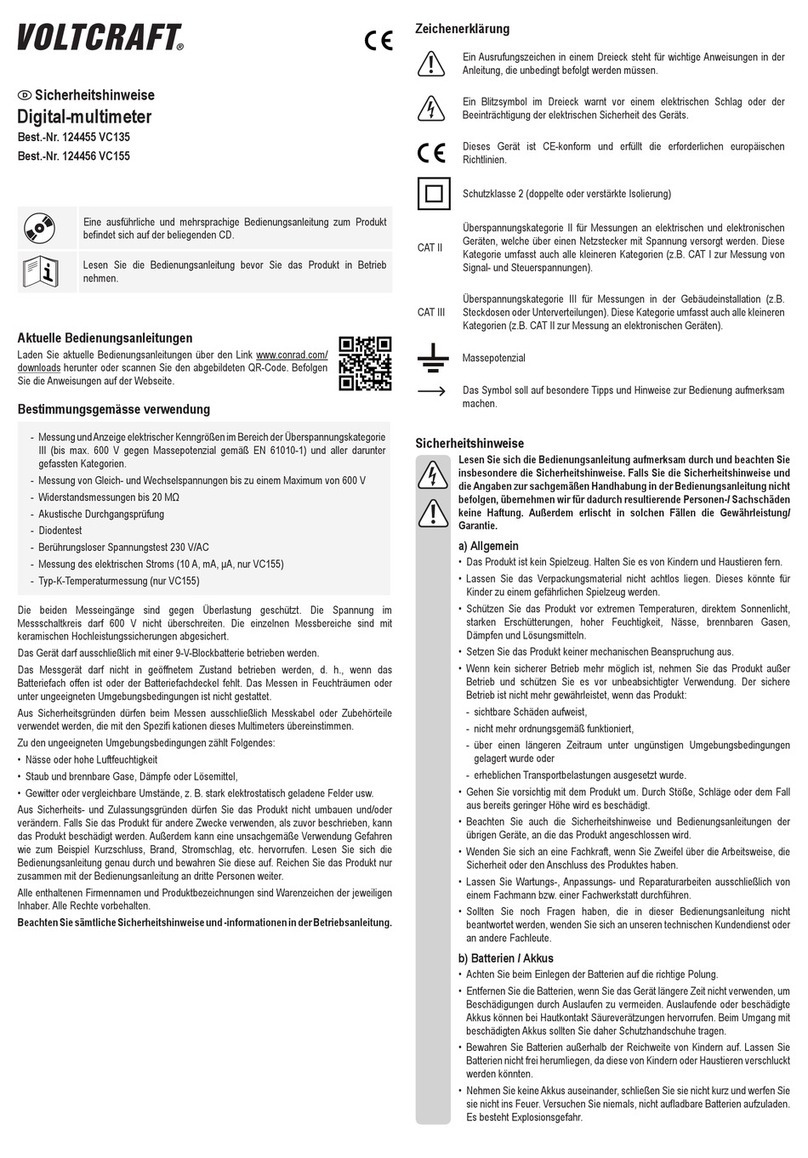
VOLTCRAFT VC135 Installation instructions
VOLTCRAFT
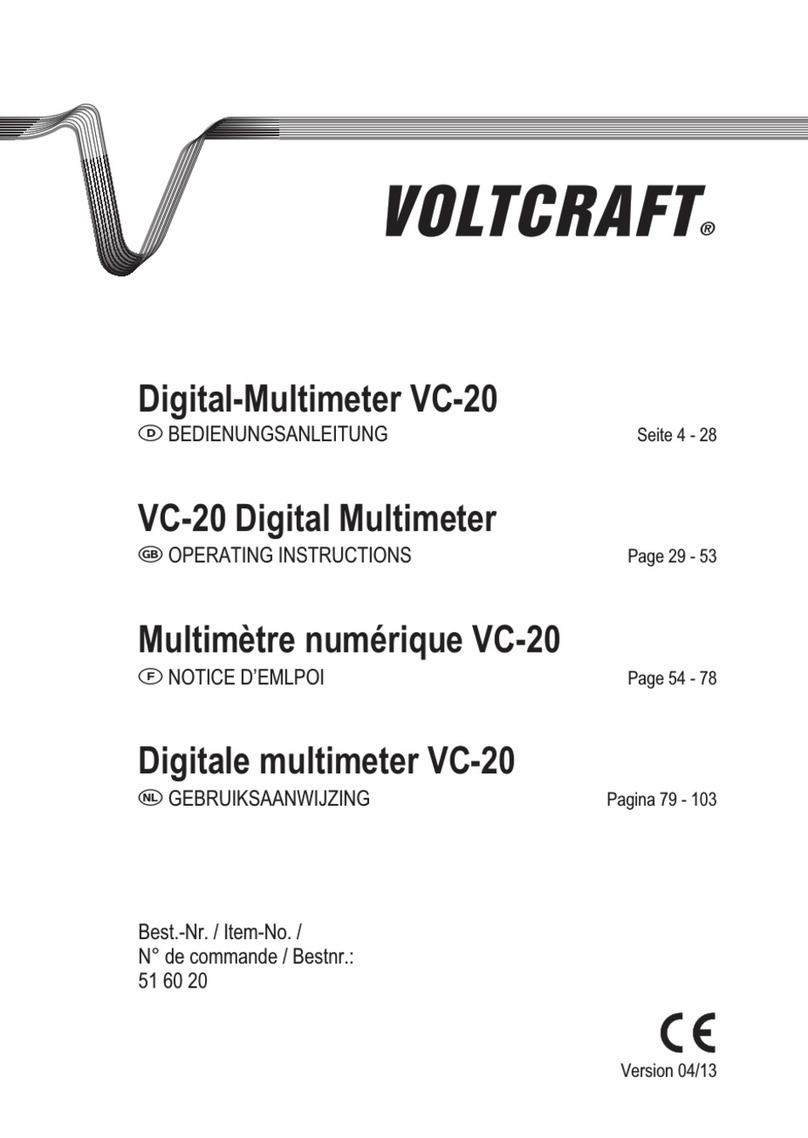
VOLTCRAFT VC-20 User manual
VOLTCRAFT
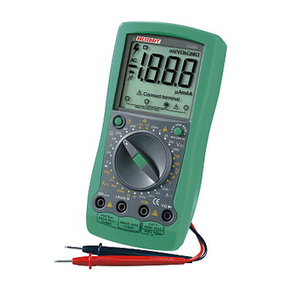
VOLTCRAFT VC 220 User manual

VOLTCRAFT
VOLTCRAFT 2446476 User manual
VOLTCRAFT
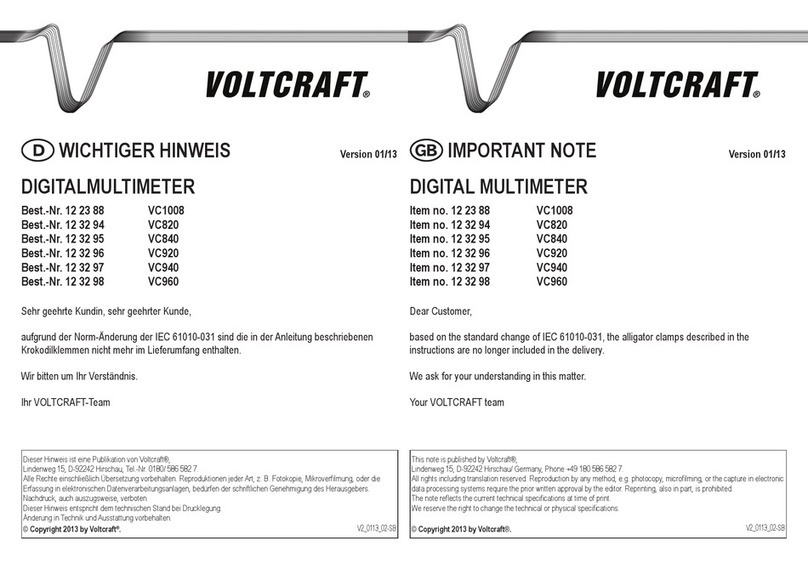
VOLTCRAFT 12 23 88 Quick start guide
VOLTCRAFT
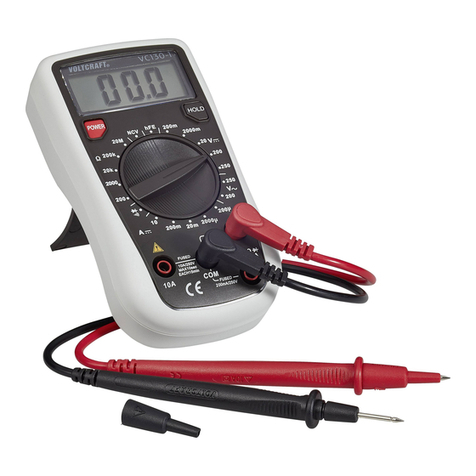
VOLTCRAFT VC130-1 User manual
VOLTCRAFT
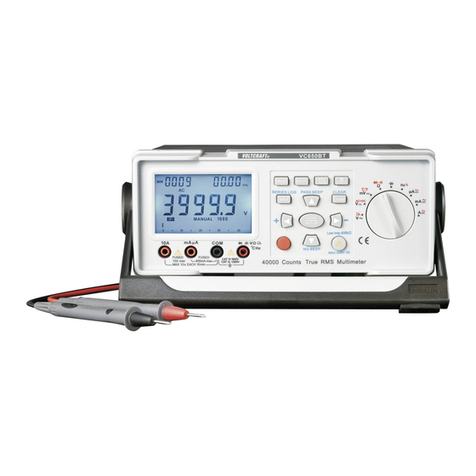
VOLTCRAFT vc650bt User manual
VOLTCRAFT
VOLTCRAFT 2576862 User manual
VOLTCRAFT
VOLTCRAFT VC271 SE User manual
Popular Multimeter manuals by other brands

Gossen MetraWatt
Gossen MetraWatt METRAmax 6 operating instructions

PeakTech
PeakTech 4000 Procedure of calibration

YOKOGAWA
YOKOGAWA 90050B user manual

Gossen MetraWatt
Gossen MetraWatt METRALINE DMM16 operating instructions

Fluke
Fluke 8846A Programmer's manual

Tempo Communications
Tempo Communications MM200 instruction manual
