GB GB
Retro Mk II Operation Guide
17
Retro Mk II Operation Guide
16
Important Safety Information – please read
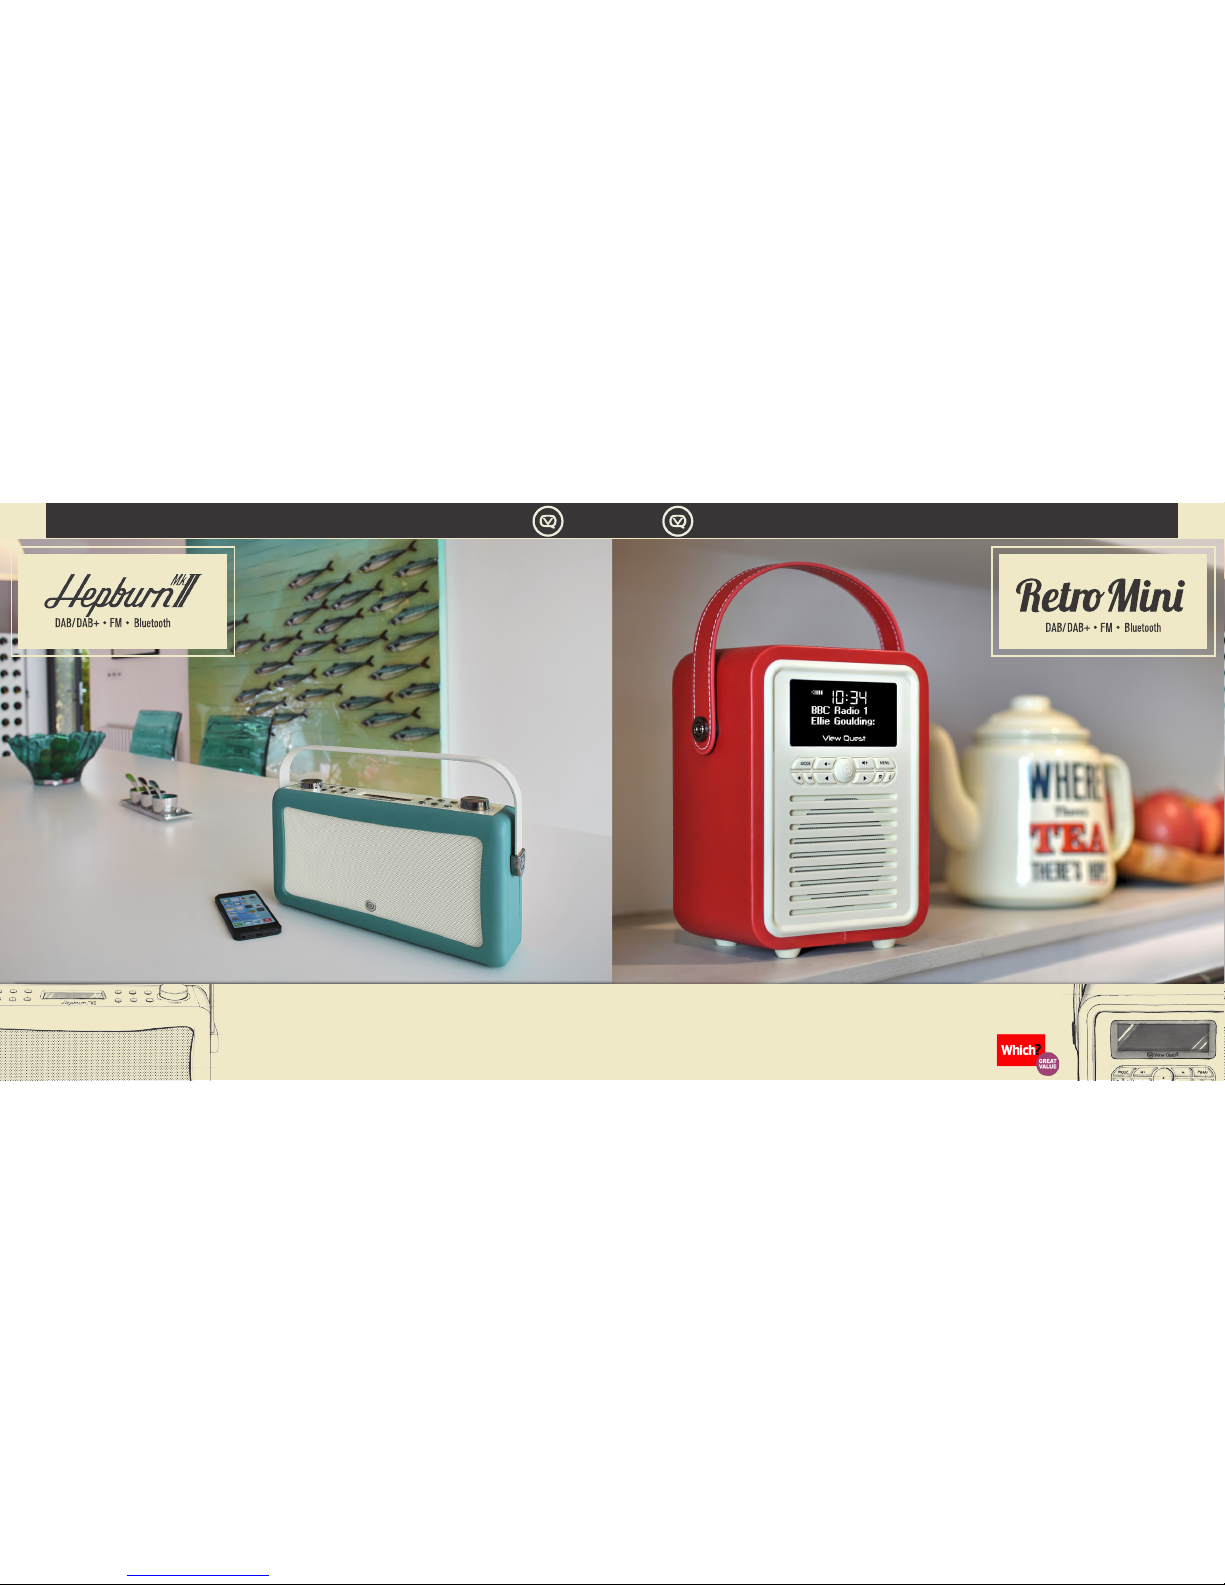
VQ Retro Mk II Operation Guide
Please read this guide before using your unit – it contains guidance and recommendations that can help
ensure long-lasting, trouble-free, safe operation. Please keep this guide for future reference.
Be careful. Avoid:
• Liquids: don’t expose your unit to drips or splashes, and don’t put liquid containers like vases on it or
near it.
• Humidity or moisture: humid or moist places like outdoors, bathrooms and steam rooms need
specially-designed equipment.
• Heat: don’t expose your unit to direct sunlight or heat from radiators or other heat sources. Audio/
video devices can generate a lot of heat; don’t put your unit on top of such devices. Don’t use naked
ames anywhere near your unit either.
• Dust and restricted airow: make sure your unit is in free-owing air to avoid overheating.
• Vibration: constant vibration can cause damage.
• Extreme climates: this unit is designed for operation in moderate climates.
IMPORTANT:
• DO NOT listen at high volume: High volumes can permanently damage hearing.
• DO NOT use equipment, especially headphones, when it could distract you from activities that require
attention to safety.
• DO NOT use equipment that is not working normally or you suspect may be faulty or damaged.
• DO NOT leave equipment switched on when it is unattended unless it is specically stated that it
is designed for unattended operation. Switch off using the switch on the equipment and make sure
that your family knows how to do this. Special arrangements may need to be made for inrm or
handicapped people.
Always:
• Operate all controls as instructed in the manual.
• Ensure that all electrical connections (including the mains plug, extension leads and inter-connections
between the pieces of equipment) are properly made and in accordance with the manufacturer’s
instructions. Switch off and withdraw the mains plug before making or changing connections.
CAUTION: TO REDUCE THE RISK OF ELECTRIC SHOCK DO NOT REMOVE COVER (OR BACK), NO
USER SERVICEABLE PARTS INSIDE, REFER SERVICING TO QUALIFIED SERVICE PERSONNEL.
DANGEROUS VOLTAGE Dangerous Voltages, that may be of sufcient magnitude to constitute
a risk of electric shock to persons is present within this product’s enclosure.
ATTENTION The owner’s manual contains important operating and maintenance instructions,
for your safety, it is necessary to refer to the manual.
WARNING: TO PREVENT FIRE OR SHOCK HAZARD, DO NOT EXPOSE
THIS APPLIANCE TO DRIPPING OR SPLASHING.
Note: This unit will become warm when used for a long period of time. This is normal and does not indicate a problem
with the unit.
Battery safety guidelines
• Be sure to insert batteries of the correct type and ensure correct polarity (+/-).
• To insert batteries, remove the battery compartment cover and insert batteries observing polarity.
• Ensure the cover is secure and remove batteries in a safe manner
without the use of metallic or other conductive objects
• Batteries should not be replaced by children
• Never dispose of batteries in re as they may explode
• Batteries should not be exposed to excessive heat such as sunshine, re or naked ame.
• Only use batteries of the same type
• Do not mix old and new batteries and do not mix alkaline and rechargeable batteries
• Do not attempt to charge non-rechargeable batteries
• If the radio is not going to be used for a long period of time, remove
the batteries from the battery compartment
• Always remove spent batteries from the battery compartment and
dispose of them responsibly to protect the environment
Note: For battery operation, please switch off the mains adaptor and remove the mains power plug from the back
of the radio.’