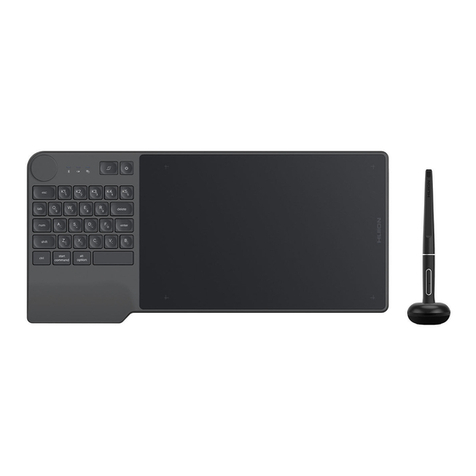
VSON WP9612 User manual

WP9612 Graphics Tablet User Guide
1/22
CONTENT
CONTENT......................................................................................................................1
Chapter 1 Product Overview.................................................................................. 2
Chapter 2 Product Introduction.............................................................................3
2.1 Product View.................................................................................................. 3
2.2 System Requirement.................................................................................... 3
2.3 Tablet Introduction....................................................................................... 3
2.4 Pen Introduction............................................................................................4
Chapter 3 Driver Installment...................................................................................7
3.1 Download and Install Driver...................................................................... 7
3.2 Unload Driver............................................................................................... 11
Chapter 4 USES in the Windows Operating System......................................11
4.1 How to connect........................................................................................... 11
4.2 Device connection prompt.......................................................................12
4.3 LED Indicator Light..................................................................................... 12
4.4 Work Area Settings.....................................................................................13
4.5 Press Keys Settings..................................................................................... 15
4.6 Pen Settings.................................................................................................. 17
4.7 About Export and Import......................................................................... 19
Chapter 5 Question and Answer...................................................................... 20

WP9612 Graphics Tablet User Guide
2/22
Chapter 1 Product Overview
This product can be connected to the computer through the USB cable,
with the function of handwriting input, ,it can be online teachingwith the
teaching software;this product also has the function of pressure senstivity.
When using this product for drawing, the handwriting will change thickness
or light as you control the size of the pressure applied by the pressure pen,
which is the so-called function of pressure senstivity.If combined with
appropriate drawing software, such as Photoshop, Painter, SketchBook, etc.,
you can simulate pencil, marker, watercolor pen, brush, oil brush and other
strokes, and the effect will be the same as that of drawing on paper or
canvas.This product is suitable for many applications such as signature,
drawing and computer.
In order for you to better understand and use your graphics tablet,
please be sure to read this manual carefully before use.Our goal is to
continuously improve the quality and user experience of our products.

WP9612 Graphics Tablet User Guide
4/22
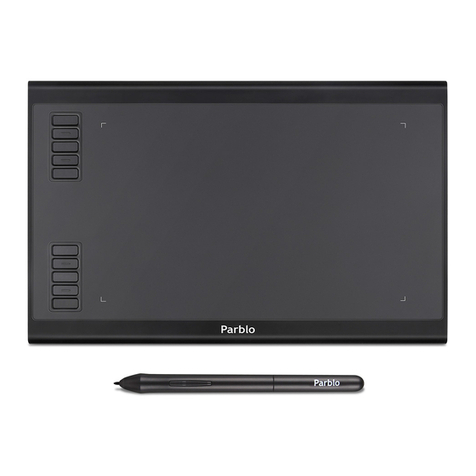
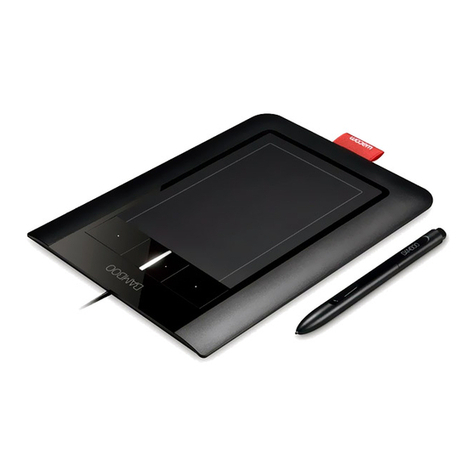
In the effective working area of the tablet, the mouse cursor can be
directly controlled to move to any position on the corresponding screen by
the movement of the pressure-sensitive pen.If beyond the work area,
invalid.
2.3.2 Hardware keys Function
The keys on the tablet are similar to those on the keyboard, with three
default keys. You can also customize any key function or key combination on
the keyboard.
When three keys are pressed on the tablet, the computer screen will
remind them of the key code value.
2.3.3 Pressure Sensitivity
Pressure sensitivity feature is characterized by the use of a drawing tool
to lightly touch or press the tip of the pen to produce thick or light
handwriting lines of different thickness.
2.4 Pen Introduction
2.4.1 The tip double-click
Double-click the pen on the effective working area of the tablet is
equivalent to double-click the function of the left mouse button. When you
touch the pen for the first time, please execute another pen touch as soon as
possible.

WP9612 Graphics Tablet User Guide
5/22
2.4.2 Hardware button Function
The pen button is similar to the mouse button function. This function is
realized by the pen tip and two keys. The pen tip is the function of the left
mouse button.The first button defaults to the letter E, and the second button
defaults to the right mouse button.
2.4.3 Page Scrolling Function
The pen has the same page scrolling function as the general mouse. Set
the first button as the middle button of the mouse to scroll the page by
moving the pen in the effective working area of the tablet.
2.4.4 Placement of Pen
When the pen is not in use, do not let the nib touch anything, especially
do not let the nib face down in the pen holder or other container, because
the nib has a precise sensing structure, touch can easily cause damage to the
internal precision components.
When not in use, place the pen in the pen socket or flat on the desk.
Placing a pen on a tablet when not in use can interfere with the use of
other on-screen cursor positioning devices and may prevent your computer
from going to sleep.
※ Do not use more than two devices at the same time to avoid mouse cursor
confusion or no movement.

WP9612 Graphics Tablet User Guide
6/22
2.4.5 Charging for Pen
Unplug the silicon USB cover and then connect one end of USB cable to
the pen charging port, the other end to PC. When charging, the red indicator
light is on; if complete charged the indicator light goes off.
2.4.6 Sleep and Awake
If out-of use about 4 minutes, the pen will go asleep. You can draw again
to awake it.
2.4.7 Calibration Guide
1) When the tablet is connected to PC,use the pen tip touch the tablet
screen to make sure the pen is working;
2) Hold the three buttons on the table at the same time until the red
indicator light highlights. Loosen the button, the pen entering
calibration status;
3) Put the pen tip near the tablet screen as close as possible but not
touch the surface of screen;
4) If the red high light turns green highlight once, then normal green, it
means the calibration is successful;
5) If the red highlight becomes red highlighted flash five times, it means
the calibration fails, please follow steps 1.2.3 and calibrate again.

WP9612 Graphics Tablet User Guide
7/22
2.4.8 Replace the refill
Chapter 3 Driver Installment
3.1 Download and Install Driver
3.1.1 Download the Driver
Download the driver of graphics tablet through the link below:
http://9612.myvsoncloud.com
Please select the right driver version according to your computer system.
3.1.2 How to install the Driver

WP9612 Graphics Tablet User Guide
8/22
Windows installation:
1)Please make sure that there is no driver of other brand’s graphic tablet in
your computer.
2)Close all painting software and anti-virus software before installation.
3)Double-click to run the driver , and click next step in turn according
to the prompt.
4)Restart the computer after the driver instaled.

WP9612 Graphics Tablet User Guide
9/22
Mac installation:
1)Double-click to run the driver, and drag the Graphics Tablet directly to
Applications, then Go -Applications, here is Graphics Tablet Driver.

WP9612 Graphics Tablet User Guide
10/22
2)Restart the computer after the driver installed.
3)Please check the the System Preferences - Security & Privacy - Privacy, and
allow Graphics Tablet to control your computer.
Table of contents

