2
Content
1.
How to understand this instruction manual .................................. 4
1.1
Markings on the device ..................................................................... 4
1.2
Markings in the instruction manual ................................................... 4
2.
Important safety notes.................................................................. 5
3.
Unpack and check the device ........................................................ 5
4.
Overview about the parts ............................................................. 7
5.
Quick-start guide ........................................................................... 7
6.
Preparation for operation ............................................................. 7
6.1
Connect the receiver with the studio flash and power supply .......... 7
6.2
Adjust frequency................................................................................
6.3 Connect the transmitter with camera ...............................................
7.
Operation of the device ................................................................ 9
7.1
Trigger test button ............................................................................. 9
8.
Solve problems ............................................................................. 9
9.
Maintenance ............................................................................... 10
9.1
Continuous inspections ................................................................... 10
9.2
Cleaning ........................................................................................... 10
9.3
Change battery ................................................................................ 11
10.
ccessories and options .............................................................. 11
11.
Disposal and environment protection ......................................... 11
12.
Technical specifications ............................................................... 12
11
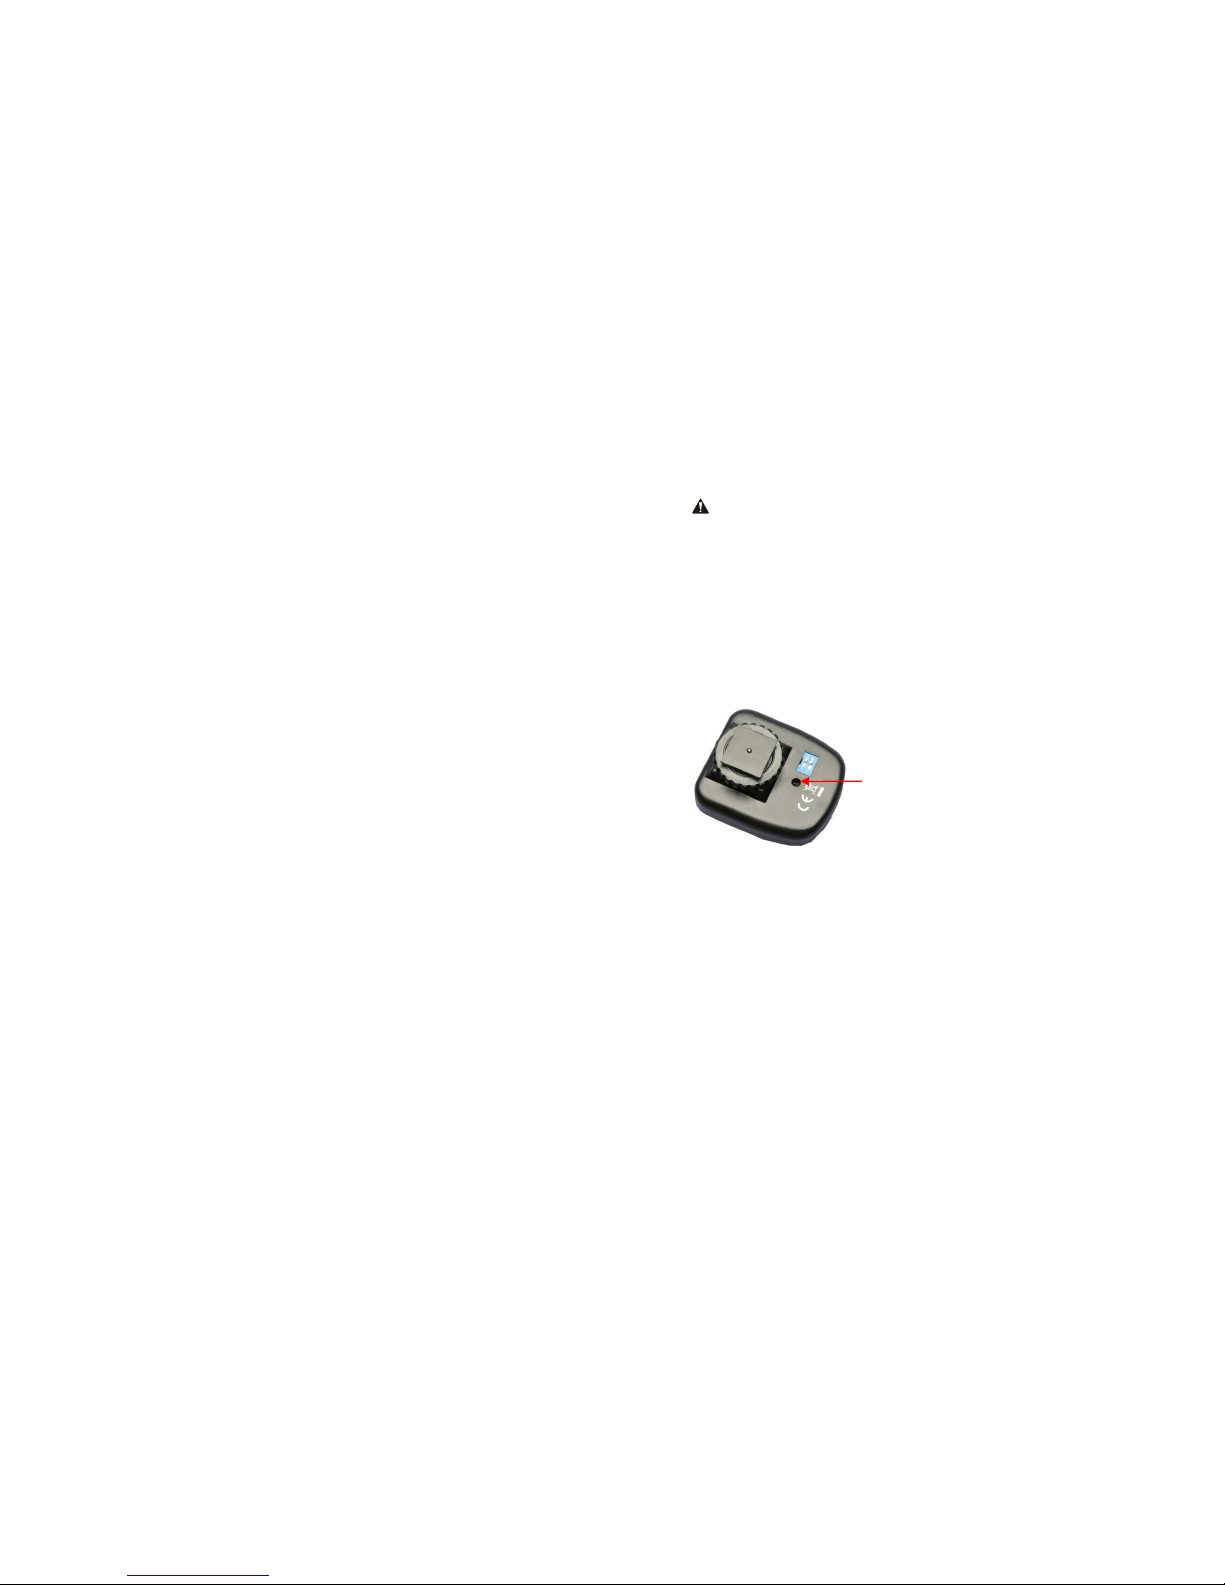
9.3 Change battery
W RNING
Please just use batteries, which comply with the required specifications.
See Technical Specifications.
1.Use a Phillips screwdriver to loose the screw on the bottom side of the
transmitter.
2.Take off the top side of the housing.
3.Change the battery. Pay attention to the right polarity.
4.Screw up the housing again.
10. ccessories and options
You can find extensive accessories for your device in our webshop.
11. Disposal and environment protection
Your device should be disposed free of charge at the local disposal points.