6
humidity or moisture. A short-circuit can warm up the conductors, so that
there isolation will melt or even melt thoroughly. This could lead to fire.
−Please just use the original cables, which are included in delivery.
They are aligned for your device and guarantee the necessary safety
for you and your device.
−Don´t operate the device with wet hand or feet.
−Operate the device only in dry rooms.
−Don´t operate the device outdoors.
−Please only follow this instruction manual for cleaning the device.
−Make sure, that cables and conductors won´t be damaged. Damages
could be caused through heat impact, chemical influence or through
mechanical impacts as rubbing, bending, tearing, rolling over or
nibbling animals.
−Prevent your device for falling-off.
In case of falling-off, please let an electrician check the device before
switching on again.
−If your device should be damaged or defect or if you notice a burning
smell:
Disconnect the power supply by pulling out the power cord
immediately. Never operate your device with damaged housing,
damaged reflector, defect lamps or damaged power cord. Don´t open
the device. Never repair the device on your own. The device should
only be repaired by electricians.
−Please follow this instruction manual for maintaining your device.
−Please just use spare parts, which are conform to the required
specifications.
See Technical Specifications.
WARNING
Fire danger through overheating
The device can overheat, if you operate it with covered ventilation slots.
The accessories can overheat, if it does not comply with the necessary
specifications.
The device itself, accessories and easily inflammable materials in close
distance could catch fire.
15
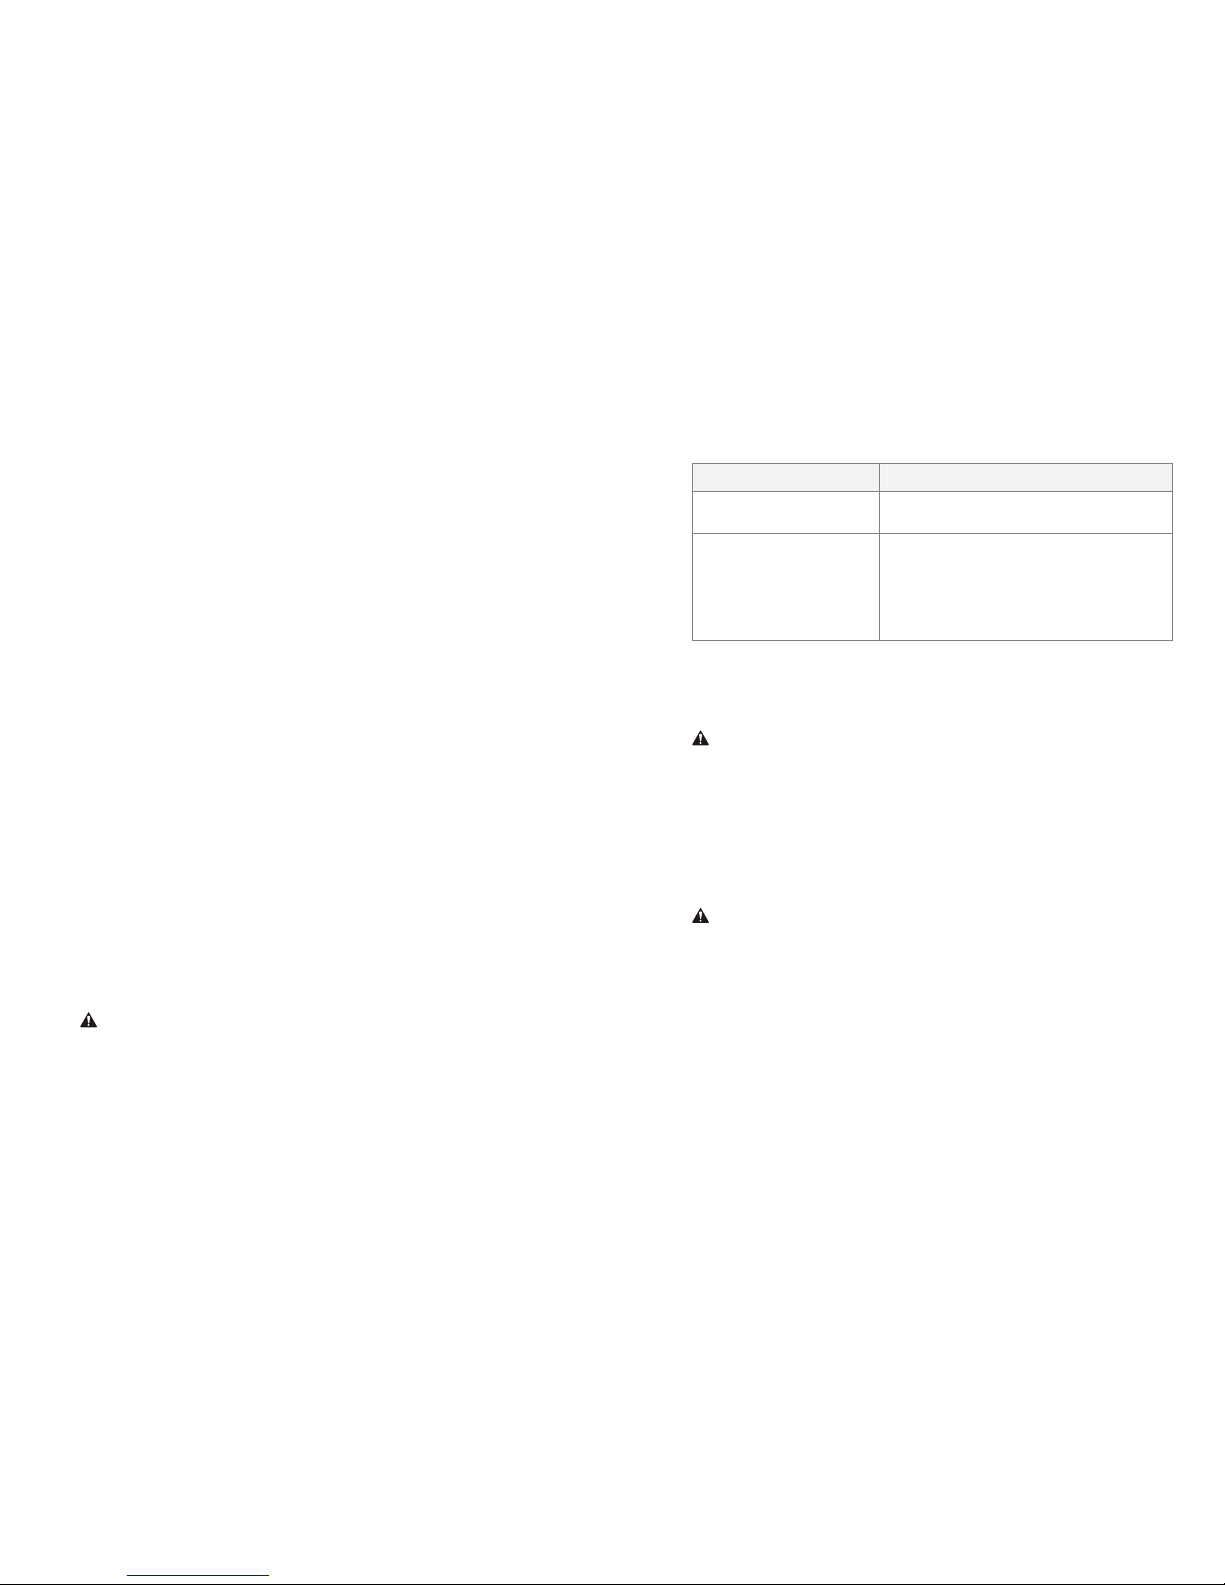
Daylight 450 Cleaning
Housing Use a microfiber cloth to remove light and
stubborn dirt
Lamps Wipe off with dust brush or dry, soft cloth
ADVICE:
Don´t clean the lamps with water. Even
small residues on the lamps could lead to
bursting
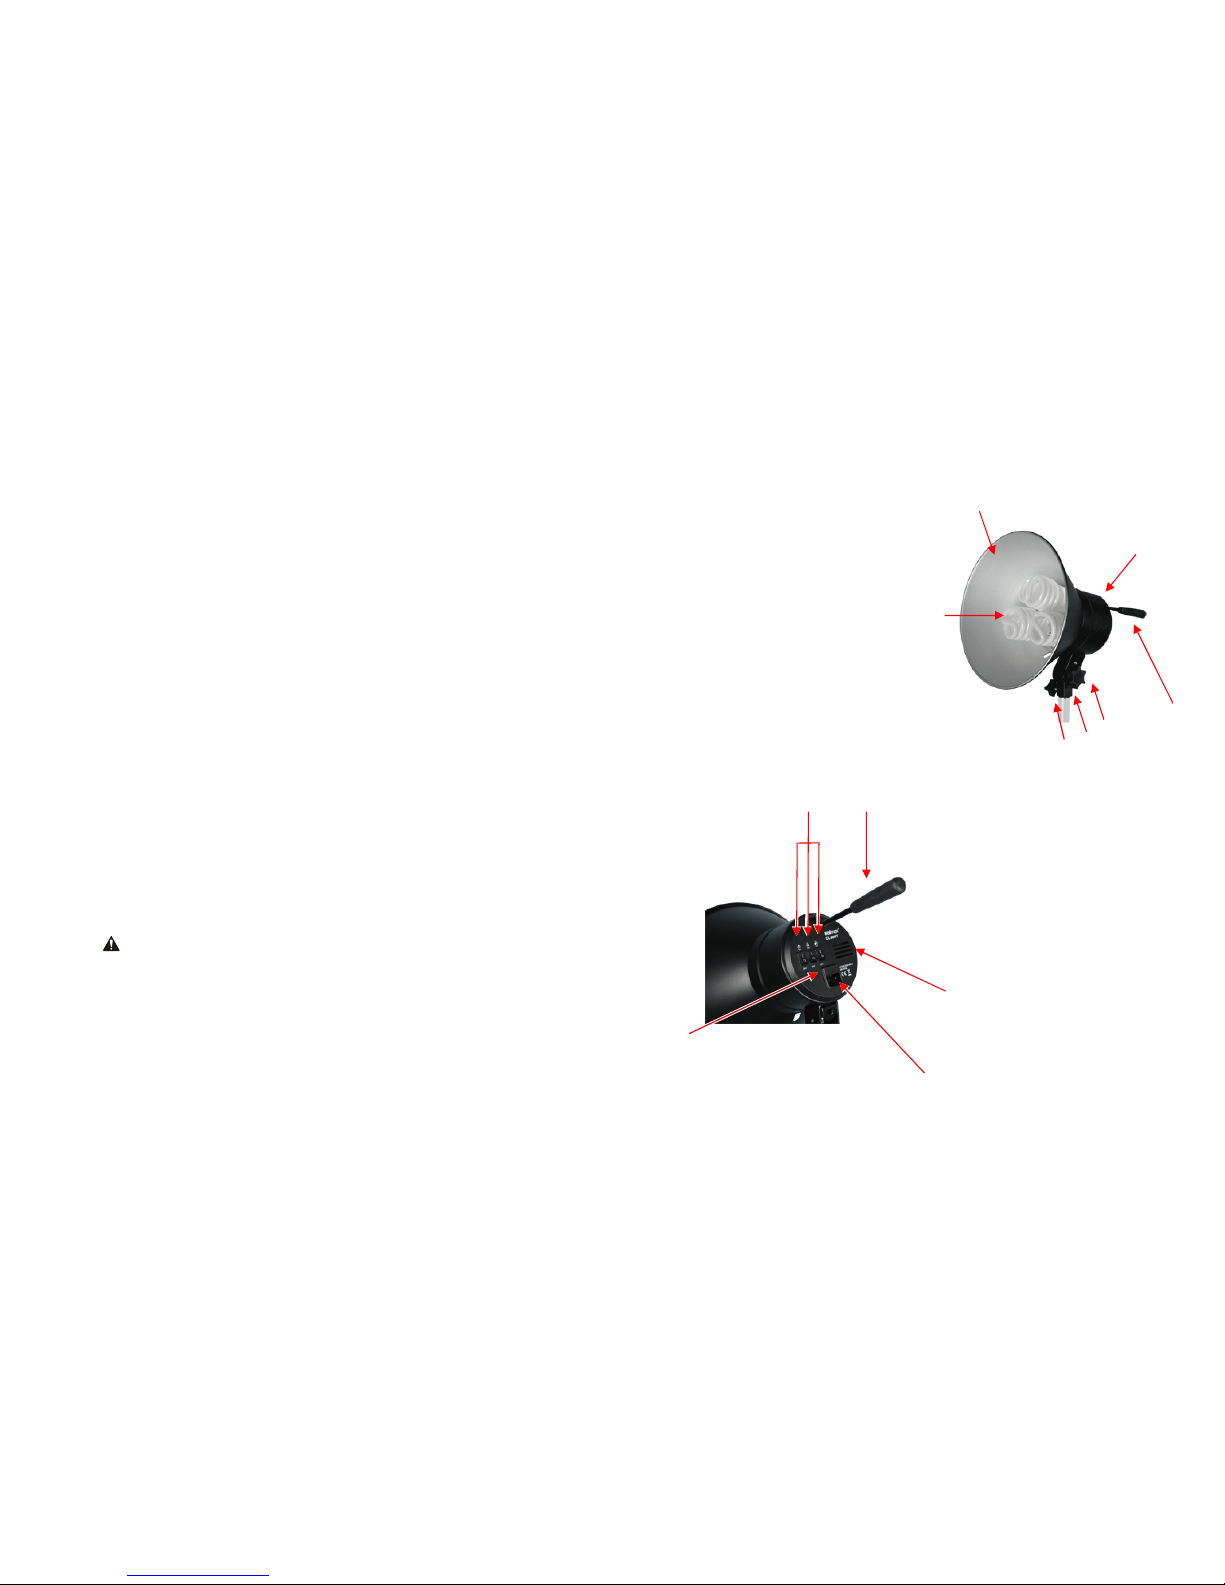
10.3 Change lamps
WARNING
Please just use lamps, which are conform with the required
specifications.
See Technical Specifications.
1. Screw lamps out and in.
See Screw in and out of lamps.
10.4 Change micro-fuse
WARNING
Danger of electric shock and fire through short-circuit
A micro-fuse, which is not conform with the required specifications,
doesn´t protect against the overloading of the device.
Please just use a micro-fuse, which is conform with the required
specifications. See Technical Specifications.
ADVICE:
he fuse holder keeps a spare fuse.
1. Switch off device.
See Switch on and off of the device.
2. Disconnect from power supply
Unplug power cord.