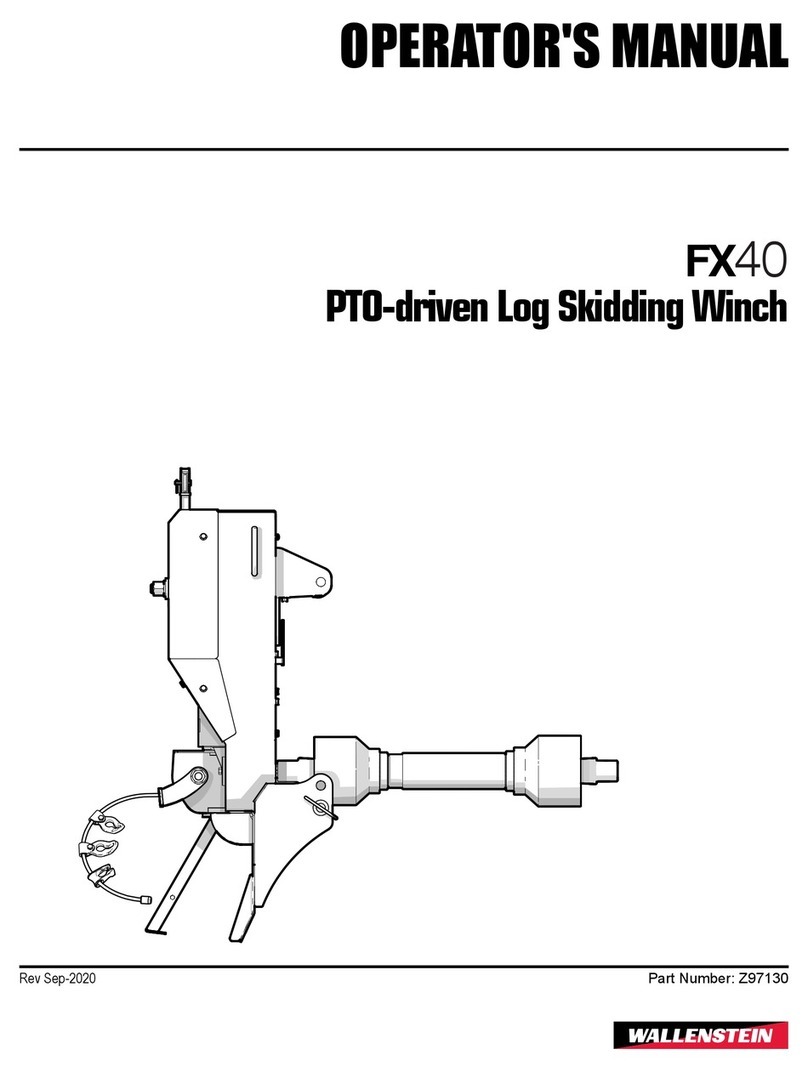
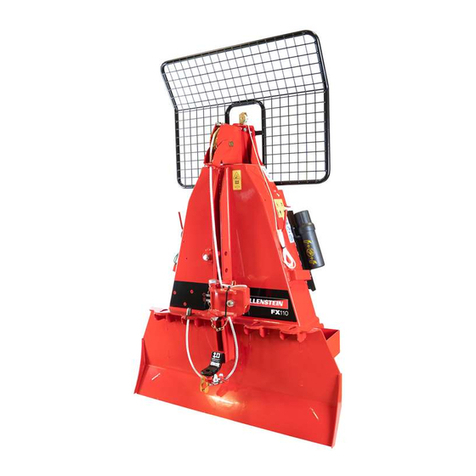
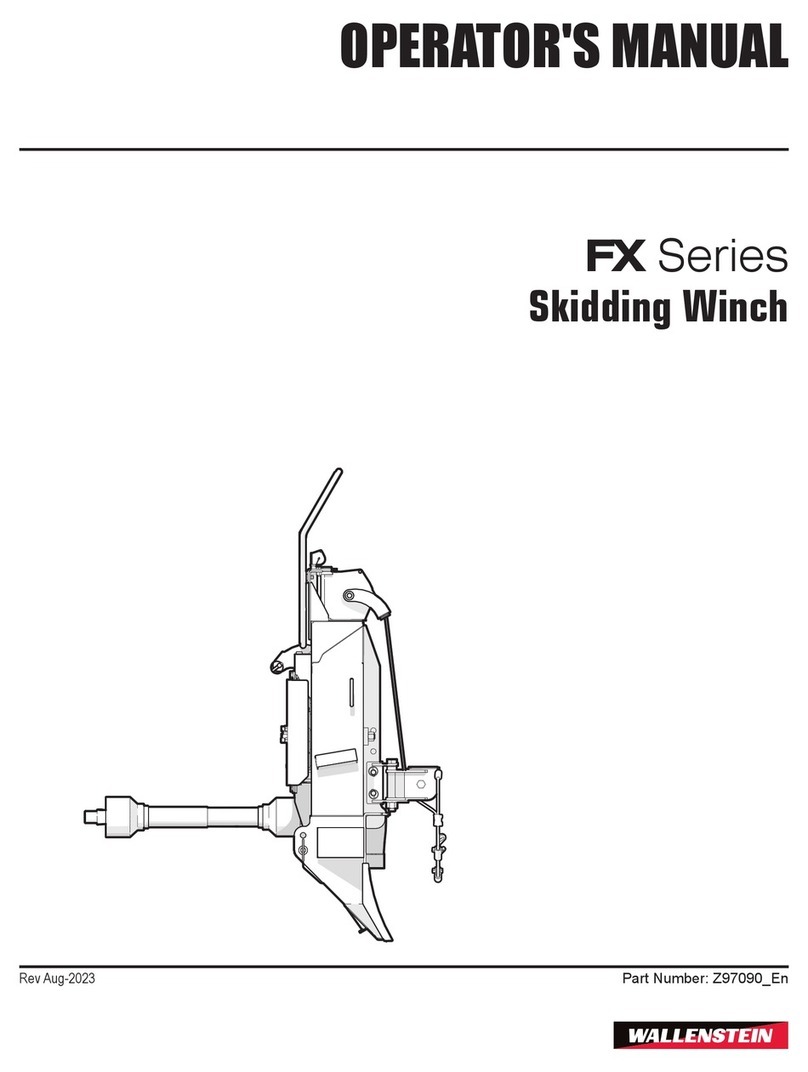
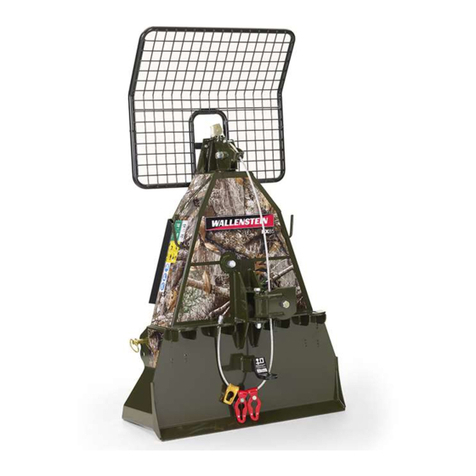
Wallenstein FX8000 Installation and maintenance instructions

1
Models: FX8000 & FX12000
Log Skidding Winch
Operator’s Manual
and Parts List

2
Table of Contents
Important References
Contents
Warranty 3
Features 4
Cautions 5
PTO shaft 6
Before Operationg 8
Operating Tips 9
Clutch Adjustment 9
Roller Chain Adjustment 10
Winching 11
Schematic & Parts
Front Assembly 12
Front Assembly Parts 13
Back Assembly 14
Back Assembly Prats 15
Cable Drum Assembly 16
Cable Drum Assembly Prats 17
Important Information for your Records 18

3
WARRANTY
This product is warranted to be free of defects in materials and work-
manship under normal use and service, for a period of one year from the
date of purchase, when operated and maintained in accordance with the
Operating and Maintenance Instructions supplied with this unit. This
warranty does not cover misuse or negligence.
Under no circumstances will the manufacturer be liable for any conse-
quential damage or expense of any kind, including loss of prots. The
manufacturer is under no circumstances liable for tractor damage of any
kind. The manufacturer is not liable for the maintenance of the product.
This warranty is extended only to the original purchaser. Warranty is
void if repairs are attempted by anyone other than an Authorized Service
Centre.
If a difculty develops with the product, you should contact your near-
est Authorized Repair Centre, or distributor. Only these locations are
authorized to make repairs to the product or affect the replacement of
defective parts, which will be done at no charge within a reasonable time
after the receipt of the product. Units or parts should be returned at the
customer’s expense to the nearest repair location or Authorized Service
Centre. Pack unit in a strong carton and pad tightly to avoid damage.
Damage in-transit is not covered by warranty. Include original purchase
receipt with any claim (keeping a copy for your les).
The distributor’s liability under warranty is limited to repair of the prod-
uct and/or replacement of parts and is given to the purchaser in lieu of
all other remedies including incidental and consequential charges. There
are no warranties, expressed or implied other than those specied herein.
For the nearest Authorized Service Centre call the manufacturer. For
Honda engine service contact your local Honda dealer or www.honda.ca .
EMB MFG INC.
4144 Boomer Line,
St. Clements, ON
NOB 2M0 Canada
Phone: 519-699-9283 Fax:519-699-4146

4
FX Series Winch Features
• Five year parts warranty on clutch.
• Lower snatch block is open on one side to allow cable to be
removed or installed on snatch block.
• Lower snatch block is adjustable in height.
• Drawbar is standard—to allow towing of a small wagon or trailer
behind winch.
• Drum brake holds drum from free wheeling, yet releases cable
as soon as cable is pulled. This mechanism also helps guide
the cable onto the drum.
• Safety screen is standard for operator protection. (Must always
be used when winching from the tractor seat—if a cable breaks,
it could y toward the ends on both side of the break.
• 3/8” galvanized aircraft cable (more exible), 165’ length, has
three keyhole sliders, and one hook. Cable is clamped together
to allow eld repair.
• Drum locks up so logs can be skidded using tractor.
Multiple logs can be attached to winch for skidding (one on cable
hook, 3 on the keyhole sliders, and choker chains can be hooked
into back plate)
•

5
• Do not operate winch until you have read and understood operating
instructions in Operators Manual.
• Never allow children or anyone incompetent to operate the winch.
• Keep hands, feet, clothing, and hair away from moving parts.
• Keep children, pets, and bystanders away from area of operation.
• Never operate winch without checking that all workers are away from
machinery and cables in a safe area.
• Check for loose pins, bolts, and shields before each operation.
Tighten or repair as required. Ensure winch is properly attached to
tractor.
• Wear safety boots and protective clothing as well as eye and ear
protection. Always wear heavy gloves suitable for handling the steel
cable.
• Check cable condition before using the winch. Never operate the
winch if the cable is corroded, knotted, or has broken strands or
sharp kinks. Operating with faulty cable could cause the cable to
break and fatally injure the operator.
• Stand at least 8 feet to the side of the winch to pull control rope while
operating winch. Do not operate winch from tractor seat unless
protective shield is in place.
• Never stand directly in line with cable while pulling.
• Operator incompetency can be fatal! Do not operate machine when
tired or under the inuence of alcohol, drugs, medication or other
substance.
• Park tractor and winch on a level location for winching. Always lower
winch blade to ground when winching to anchor the tractor.
• Always winch with cable in line with machine. Do not exceed a
winching angle of more than 25 degrees. Always winch up a slope—
to avoid tractor rollover never winch across a slope.
• Never handle cable while winch is in operation.
• Before servicing winch, disengage PTO, stop tractor, and remove
key to prevent accidental start up.
• Keep cable as short as possible when towing logs. To prevent
tractor roll over, use only a tractor with an approved ROPS with
an appropriate counter weight on the front. Keep winch as low to
ground as possible.
• This winch is designed for winching and skidding only. Never
attempt to use it as a hoist or for lifting purposes.

6
The winch is designed for 3 point hitch mounting, and is powered by the
tractors Power Take Off.
NOTE: If the PTO shaft is too long, the winch bearings or the tractor’s
transmission may be damaged if winch is lifted and the shaft is under
pressure from being too long. However, shaft must have adequate over-
lap on telescoping tube. (see instructions below)
Mount the winch to the tractor’s three point hitch.
The PTO shaft may be too long and may need to be cut to length
during initial installation. When shortening shaft: (a) cut the same
amount off of each end of PTO shaft (b) there should be approxi-
mately 1/2” of clearance in PTO shaft when winch and tractor are a
nearest point. (c) remove burrs from shaft before assembling PTO
shaft.
1.
2.

7
Installing Cable On Drum
Feed cable through the eye of cable guide and down into drum. Cable
must be routed under roller on drum band coiler. Insert cable into hole in
drum and tighten clamp.
NOTE!
On rst use, pull cable out all the way and wind up cable under load. If
cable is loosely wound, it may become tangled while pulling out or while
winching.

8
BEFORE OPERATING CHECK:
Cable:
Kinks or frays
Proper routing and installation
Check for frays or week spots
Check cable clamps and condition of choker chains and accessories
Correct Mounting
Check all pins for correct installation and lynch pins
PTO shaft for correct length (not too long or short)
Sway bars are correctly adjusted for the application
Winch
Check all pins and lynch pins
Roller chain (drum drive) is correctly adjusted
Clutch adjustment
Proper maintenance and lubrication
•
•
•
•
•
•
•
•
•
•
•

9
Operating Tips:
Cable must be under tension when winding onto drum Failure to do so may
result in cable tangling
Don’t use a longer cable than necessary
Winch has peak pulling performance on a nearly empty spool
Do not run tractor at full throttle when winching
Fully release clutch when not winching. If clutch is overloaded and begins to
slip release to avoid heat build up
The winch drum can be locked for skidding purposes by pulling the drum brake
rope until it locks up. It will then stay locked until clutch is engaged slightly to
release tension on the drum and the brake.
Clutch Adjustment
Clutch free play is adjusted by loosening the jam nuts and tightening or loosening
the bolts. To set up clutch:
Loosen jam nuts.
Turn bolts in by hand until they contact the pressure plate.
Tighten bolts equally until desired amount of free play is felt on clutch lever.
When lever is disengaged, drum should not “creep” or try to pull cable. Set-
ting clutch too loose may produce clutch slippage when winching.
Tighten jam nuts and check operation.
•
•
•
•
•
1.
2.
3.
4.

10
Roller Chain Adjustment:
Loosen bolts A & B. Chain is tightened using an eccentric tightner. Ro-
tate “A” until chain is correctly tensioned. Tighten both A & B.
Maintenance
Grease all grease ttings every 50 hours of use or twice a year.
Store winch in a dry location to keep cable and winch from rusting.
Replace cable if frayed or damaged.
Keep all shields in place.
•
•
•
•

11
Winching
Park the tractor and winch on level, stable ground. Set parking brake on
tractor, lower 3 pth winch to ground so dozer blade anchors in ground.
Before using winch ensure that cable is free of cuts and kinks,(cable may
break if cut or damaged).
This skidding
winch is controlled by a clutch, which is engaged by pulling on the rope.
Winch will stop when rope is released.
When operating winch the safest place to stand is the back left side of
the winch.
Always wear safety goggles, safety boots and heavy gloves suitable for
handling steel cable when operating winch.
Bystanders should always stand back in case of cable breakage.
Avoid winching sideways at more than a 25 degree angle, wincing at too
great an angle can cause tractor rollover.
Before operating winch check upper and lower snatch block to ensure
they operate freely.
Draw bar can be used for towing small wagon or trailer.

12

13
Description Part #
1LEFT LEG LW1101
2 RIGHT LEG LW1102
3 PTO SHIELD LW1103
4 BOLT LW1104
5BOLT LW1105
6 LOCKWASHER LW1106
7 GUARD LW1107
8 FORMED BRACKET LW1108
9 NYLON PULLEY LW1109
10 PIN LW1110
11 BOLT LW1111
12 RETAINER LW1112
13 PIN LW1113
14 NYLON PULLEY LW1114
15 FORMED BRACKET LW1115
16 PIN LW1116
17 TOP PULLEY FRAME LW1117
18 TOP PULLEY LW1118
19 BUSHING LW1119
20 CABLE GUIDE LW1120
21 NUT LW1121
22 WASHER LW1122
23 CABLE GUIDE EYELET LW1123
24 MAIN WINCH FRAME (FX8000) LW1124
25 MAIN WINCH FRAME (FX12000) LW1125

14

15
Description Part #
141 NUT **
142 PULLEY LW1302
143 SNATCHBLOCK SWIVEL LW1303
144 BOLT **
145 NUT **
146 LOCK WASHER **
147 DRAWBAR LW1307
148 BOLT **
149 NUT **
150 NUT **
151 LOCK WASHER **
152 BOLT **
153 SNATCHBLOCK BASE LW1308

16

17
Description Part #
** Complete clutch assy. (excl. pto shield) LW1200
81 NUT LW1201
82 BOLT LW1202
83 JAM NUT LW1203
85 PLATE LW1205
86 ENGAGMEMENT PLATE LW1206
87 BALL LW1207
88 ENGAGMEMENT PLATE/LEVER LW1208
89 BOLT LW1209
90 CABLE CLAMP LW1210
91 THRUST BEARING LW1211
92 CABLE DRUM (FX8000) LW1212
CABLE DRUM (FX12000) LW1235
93 BUSHING LW1213
94 SHAFT LW1214
95 CLUTCH PAD LW1215
96 SPROCKET LW1216
97 BUSHING LW1217
98 THRUST BEARING LW1218
99 NUT LW1219
100 SPACER LW1220
101 BRAKE PAD LW1221
102 CLAMP LW1222
103 DRUM LOCK LW1223
104 CABLE GUIDE/BRAKE LW1224
105 CABLE CAGE LW1225
106 BOLT LW1226
107 MOUNT LW1227
108A PTO INPUT SHAFT <Seririal Number LW1228
108B PTO INPUT SHAFT >Serial Number
109 BOLT LW1229
110 BRACKET LW1230
111 ECCENTRIC CHAIN TIGHTNER LW1231
112 LOCK NUT LW1232
113 WASHER LW1233
114 PTO SHIELD LW1234
115A Snap Ring <Seririal Number LW1240A
115B 2 Bolt Clamp Collar >Serial Number LW1240B
116 Bearing (6207RS) LW1241
117 Roller Chain LW1239
118 Pin LW1242
119 Roller LW1243
120 Spring LW1235

18
Important Information for your Records
Date of Purchase: ______________________________
Selling Dealer: _________________________________
Model Number: ________________________________
Serial Number:_________________________________
Notes:

19

20
Manufactured by:
EMB MFG INC.
4144 Boomer Line
St. Clements, Ontario
Canada, N0B 2M0
Tel: 519-699-9283
Fax: 519699-4146
This manual suits for next models
1
Table of contents
Other Wallenstein Winch manuals
Popular Winch manuals by other brands

EIVA
EIVA Ocean Enviro 10.4 user manual

Comeup
Comeup CWS-230 quick start guide

Koshin
Koshin RES-2512 Operation manual

Harken
Harken Performa Winch 70.3 STP Installation and maintenance manual

Ingersoll-Rand
Ingersoll-Rand 200A40 Parts, operation and maintenance manual

Ingersoll-Rand
Ingersoll-Rand FA2.5A Series Parts, operation and maintenance manual