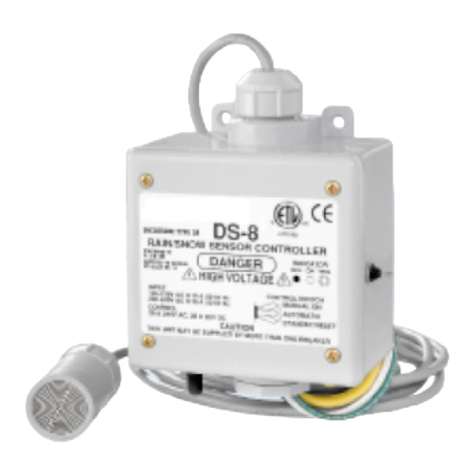
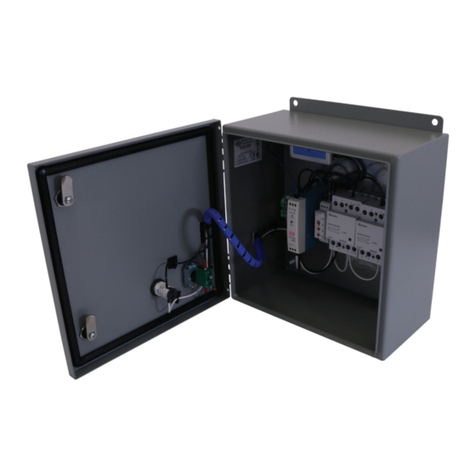
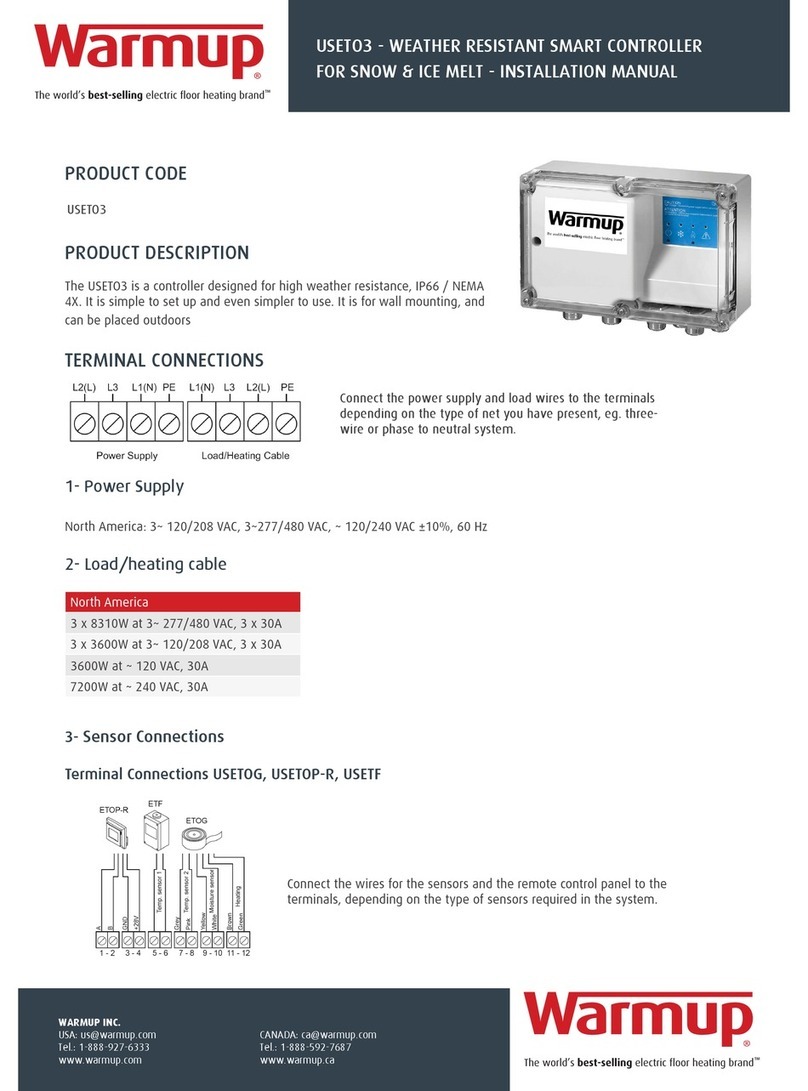
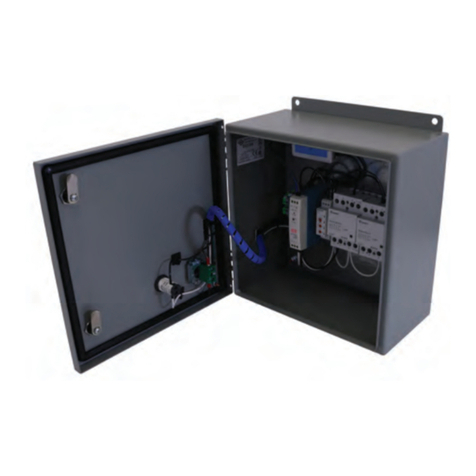
Warmup ETO2 User manual

English
Type ETO2
Controller for ice
and snow melting
MANUAL
GREEN COMFORT
Maximum comfort with low energy consumption
The world’s best-selling electric floor heating brand
@2011 Warmup Inc.

CONTENTS
Glossary.............................................Page 2
Introduction...........................................Page 3
Startup .............................................Page 4
Operation............................................Page 6
Mainmenu ...........................................Page 6
Displaytexts...........................................Page 7
Applicationinfo.........................................Page 8
Settings.............................................Page 9
Offsetcalibration........................................Page 13
Factorysettings.........................................Page 14
Troubleshooting.........................................Page 15
Illustrations...........................................Page 69
GLOSSARY
Zone 1, 2: Independent heating zones in which ice and snow can be melted.
Encoder button: Button which can be turned or pressed to easily configure the settings.
ETOG-55: Ground sensor for detecting moisture and temperature.
ETOR-55: Gutter sensor for detecting moisture.
ETF-744/99: Outdoor sensor for detecting temperature.
Y/∆:Advanced 2-stage control of electric heating systems.
Afterrun: The heat provided by the system, for a specified length of time, after the
moisture/temperature signal has been eliminated by a heating cycle.
EnglishETO2
2

INTRODUCTION
Type ETO2 is an electronic controller for fully automatic, economical ice and snow melting on outdoor areas
and in gutters. Ice forms due to a combination of low temperature and moisture. ETO2 detects both
temperature and moisture and the heating system will only be activated if a possibility of snow or ice is
indicated by both parameters.
An easily operated encoder button and backlit graphic display ensure quick and easy configuration and
simple indication of temperature, status, etc.
ETO2 is suitable for controlling electric heating cables in 1 or 2 zones. It also features advanced two-stage
output control for economic operation.
In hydronic mode, the supply sensor maintains the required supply water temperature while the system is
active. When heat is demanded, the circulation pump is activated and the valve is opened 20% for 1 minute
to let the system stabilise. The main pump is then activated.
When there is no need for melting, the system activates the circulation pump for 1 minute every 15 minutes
to check whether the return water temperature has dropped below the required “idle temp.” If this is the
case, the system fully activates to increase the return water temperature to the required level.
EnglishETO2
3

SENSOR 2:
OFF
ETOG
ETOR
When ETO2 is switched on for the first time, Celsius or Fahrenheit must be selected.
Turn the encoder button until the required temperature scale is highlighted. Then OK
the selection by pressing the encoder button.
SENSOR 1 is shown on the display, allowing the type of sensor connected for input 1
to be selected:
ETOG : Ground sensor
ETOR : Gutter sensor + outdoor sensor
Then OK the selection by pressing the encoder button.
SENSOR 2 is then shown on the display, allowing the type of sensor connected for
input 2 to be selected. If none sensor is connected for input 2, OFF must be selected.
EnglishETO2
4
SELECT SCALE:
CELCIUS
FAHRENHEIT
SENSOR 1:
ETOG
ETOR
STARTU

Select if outdoor sensor ETF is connected terminals 31-32.
If none sensor ETF is connected, OFF must be selected. Press encoder button for OK.
Select the application type by turning the encoder button and pressing OK.
ELECTRIC 1-ZONE : 1 zone electric heating control/simple waterbased.
ELECTRIC 2-ZONE : 2 zones individual electrical heating control/simple waterbased.
ELECTRIC 2-STEP : Advanced 2-stage electric heating control (Y/Δ) for 1 zone.
WATERBASED : 1 zone waterbased heating control with supply water control.
Select the appropriate option and press OK. The system is now set up, and will begin operating fully
automatically, in accordance with the pre-configured standard program, see FACTORY SETTINGS.
Alternative settings can also be made, see SETTINGS.
Status and afterheat data for zones 1 and 2 are now shown on the display.
OUTDOOR SENSOR:
OFF
ETF
A LICATION:
ELECTRIC 1-ZONE
ELECTRIC 2-ZONE
ELECTRIC 2-STE
WATER BASED
ZONE 1 HEAT OFF
ZONE 2 HEAT OFF
AFTERRUN 1 0.00
AFTERRUN 2 0.00
STANDBY OFF
EnglishETO2
5

O ERATION
ETO2 is equipped with an easily operated encoder button (turn and press) and a display which describes the
current situation. The display is backlit and is illuminated by pressing the encoder button (OK). The
illumination is automatically switched off after 30 seconds.
Press the encoder button and the main menu will be shown on the display.
Turn the button to scroll through the options. Not all the options are shown on the display at once, but they
can be accessed by turning the encoder button.
Press OK to select a highlighted option.
MAIN MENU
EnglishETO2
6
ZONE 1 OFF
ZONE 2 OFF
SENSOR 1 ##.#°C
SENSOR 2 ##.#°C
MOIST 1 NO
MOIST 2 NO
OUT. TEM ##.#°C
SU LY W. ##.#°C
RETURN W. ##.#°C
ALARM NO
SHOW INFO
SETU
RESTART
EXIT

DIS LAY TEXTS
eating zone 1 active (ON) or inactive (OFF)
eating zone 2 active (ON) or inactive (OFF)
Sensor 1 (heated sensor) core temperature. Applies only when ETOG sensor is
connected. NOTE: Not ambient temperature!
Sensor 2 (heated sensor) core temperature. Applies only when ETOG sensor is
connected. NOTE: Not ambient temperature!
Sensor 1 moisture status. YES / NO / Blank. Blank will be shown if temperature is
above Set Temp or the system is in Afterrun mode.
Sensor 2 moisture status. YES / NO / Blank. Blank will be shown if temperature is
above Set Temp or the system is in Afterrun mode.
Ambient outdoor temperature. Applies only when ETF sensor is connected.
Supply water temperature, only waterbased application
Return water temperature, only waterbased application
EnglishETO2
7
ZONE 1 OFF
ZONE 2 OFF
SENSOR 1 ##.#°C
SENSOR 2 ##.#°C
MOIST 1 NO
MOIST 2 NO
OUT TEM ##.#°C
SU LY W. ##.#°C
RETURN W. ##.#°C

Fault message, fault type will be displayed. Red LED on front of unit will flash.
A LICATION INFO
Application type: electric or water-based heating
Software version
Sensor type, sensor 1
Sensor type, sensor 2
ETF sensor connected
Return to main menu
EnglishETO2
8
SHOW INFO
A : E. 1-ZONE
SW VERSION 1.00
SENSOR 1 ETOG
SENSOR 2 OFF
SENSOR ETF OFF
EXIT
ALARM NO

SETTINGS
Please note that incorrect sensor setup may lead to poor or lacking ice and snow melting.
Press OK and a submenu will be shown on the display.
Select the parameter to be set and press OK.
Manual start of forced heat. Press OK and select ON to start Forced heat.
ETO2 controller will heat in the pre-programmed afterrun time, see AFTERRUN
1 and 2.
Whether temperature is to be displayed in Celsius (C) or Fahrenheit (F) can be
selected here. Select the required scale and press OK. Press OK to return to the
SETUP menu.
EnglishETO2
9
SETU
FORCE HEAT OFF
SELECT SCALE C

Set temperature for Zone 1: The temperature at which the ice and snow melting
system will become active can be set here. The temperature setting can be
adjusted from +50 / -20°C (122 / -4°F). Set the required temperature and press OK.
Set temperature for Zone 2: The temperature at which the ice and snow melting
system will become active can be set here. The temperature setting can be
adjusted from +50 / -20°C (122 / -4°F). Set the required temperature and press OK.
The lowest operating temperature for Zone 1 can be set here. Below this tempera-
ture, the system will enter standby mode. The adjustment range goes down to
-20°C/OFF (-3.9°F/OFF). OFF = no limit. To change the minimum cut-off tempera-
ture, press OK, turn the encoder button to the desired value and confirm with OK.
The lowest operating temperature for Zone 2 can be set here. The adjustment
range goes down to -20°C/OFF (-3.9°F/OFF). OFF = no limit. To change the
minimum cut-off temperature, press OK, turn the encoder button to the desired
value and confirm with OK.
Afterrun time Zone 1 : An afterheat duration of between 0 and 18 hours can be set
here. The system will continue to provide heat for the specified time after the
moisture/temperature signal has been eliminated by a heating cycle. Use the
encoder button to set the required afterrun time and press OK.
EnglishETO2
10
SET TEM 1 3.0C
SET TEM 2 3.0C
AFTERRUN 1 2:00
OFF TEM 1 OFF
OFF TEM 2 OFF

EnglishETO2
11
11
Afterrun time Zone 2 : An afterheat duration of between 0 and 18 hours can be
set here. Use the encoder button to set the required afterrun time and press OK.
Zone 1 temperature can be calibrated here. With ETOG-55 sensor, the
temperature shown on the ETO2 display is always the core temperature of the
sensor. For calibration, please see page 13.
Zone 2 temperature can be calibrated here. With ETOG-55 sensor, the
temperature shown on the ETO2 display is always the core temperature of the
sensor. For calibration, please see page 13.
Outdoor temperature can be calibrated here. The temperature, recorded by the
ETF outdoor sensor, can be adjusted so that the exact temperature is displayed
on ETO2. Measure the temperature beside the sensor using a thermometer.
Adjust the necessary offset using the encoder button. Press OK.
The minimum return water temperature can be set here. Set the required
minimum temperature and press OK.
This menu option is only available when water-based heating is used.
The maximum supply water temperature can be set here. Set the required
maximum temperature and press OK.
This menu option is only available when water-based heating is used.
OFFSET T2 0.0C
OFFSET OUT. 0.0C
MIN WATER 5.0C
MAX WATER 55.0C
OFFSET T1 0.0C
AFTERRUN 2 2:00

EnglishETO2
In auto mode, sensor heating is switched off during periods when snow melting
is active. In special options or extreme cold weather the sensor heat can be
selected on continuously. Select ON and press OK.
The moist control on sensor can be switched off here. The termostat will only
control snow and ice melting after the set temperature, see SET TEMP. Select
OFF for switching off the moist control and press OK.
Note that energy consumption/costs will rise with lacking moisture control.
Sensor sensitivity can be adjusted in 5 steps: MIN - LOW - NORM - IG -
MAX. To change sensitivity, press OK, turn the encoder button to the desired
setting and confirm with OK.
All ETO2 factory settings can be restored here. Selecting this option deletes all
customised settings.
Whether setup failure in startup menu, or new hardware connection has been
done, The primare setup must be changed in STARTUP menu. Select
PASSWORD and turn the encoder button to the factory code (1202) The
controller will then return to the startup menu, see STARTUP.
Select this option and press OK to return to the main menu.
12
MOIST CTRL ON
SENSOR HEAT AUTO
FACTORY RESET
REINSTALL
REINSTALL
PASSWORD XXXX
EXIT
SENSITIVITY NORM

EnglishETO2
13
RESTART Restart operation. Keeping your current settings. The ETO2 will go to the initial
status display.
RESTART
When changing the settings or require a new process start, the ETO2 can be restarted in this menu.
OFFSET CALIBRATION
If it is necessary to calibrate the temperature measured by the ETOG sensor, please follow the steps
below:
1. Disconnect the sensor from terminals 11 and 12 (sensor heating) of the ETO2.
2. Wait a few hours until the sensor has acquired the same temperature as the ground.
3. Measure the real ground/sensor temperature and compare it with the temperature shown on the
ETO2 display.
4. Program the offset for the sensor concerned to match the difference between the two
temperatures (displayed/real). Adjust the necessary offset using the encoder button. Press OK.
5. Reconnect the sensor to terminals 11 and 12 of the ETO2.
NOTE: With ETOG-55 sensor, the temperature shown on the ETO2 display is always the core
temperature of the sensor.

14
FACTORY SETTINGS
SETU FACTORY SETTINGS OWN SETTINGS
Application Electric
Zone 1 ETOG
Zone 2 OFF
Select scale Celsius
Afterrun time Zone 1 2.00 hours
Afterrun time Zone 2 2.00 hours
Temp. offset Zone 1 0.0°C / 0.0°F
Temp. offset Zone 2 0.0°C / 0.0°F
Temp. offset ETF 0.0°C / 0.0°F
Temperature setpoint Zones 1+2 3.0°C / 37.4°F
OFF temperature Zones 1+2 OFF
Sensor heating Zones 1+2 AUTO
Moisture control Zones 1+2 ON
Sensitivity Zones 1+2 NORM
Min. water temperature 5°C / 41°F
Max. water temperature 55°C / 131°F
EnglishETO2

EnglishETO2
15
TROUBLESHOOTING
By errors in the snow melting system, it is recommendable to check the setup of the ETO2. Activate the
menu by pressing the adjustment knob, press S OW INFO and readout the programmed application. By
errors in the setup, activate REINSTALL with factory code 1202.
Check that all connections are placed correctly, and that cables are fastened in the clamps.
For more information on FAQ, see our website www.ojelectronics.com / support / FAQ - Snowmelting.
Ice/snow does not melt
•Does the display show HEAT ON in zone 1 / 2?
YES:
o Wait 1-2 hours.
o Check under the snow, if the snow is beginning to melt the system is OK.
o Check heating cables for defects, bad connections, incorrect connections.
o It is too cold for snow melting (power/m2) or undersized heating cables/ water heating system.
English

16
•Does the display show HEAT ON in zone 1 / 2?
NO:
o The temperature is higher than SET TEMP. Adjust SET TEMP to higher temperature.
o The snow around the ground sensor is melting/drifting snow has exposed the sensor.
AFTERRUN time must be increased. Alternatively, FORCED EAT can be activated.
o Igloo effect around the sensor. The ground sensor has melted an insulated hollow under the snow.
Activate FORCED EAT or, alternatively, set MOIST SENSOR to OFF.
o The temperature is lower than the OFF TEMP setting.
Depending on dimensioning, the system has a lower temperature limit, at which the system can
melt the snow. Try melting the snow with FORCE EAT, before OFF TEMP is changed.
The heat does not shut off after ice/snow melting
o Afterrun time is too long – reduce AFTERRUN time and activate RESTART in the menu.
o Moisture detection in the ETOG/ETOR sensor is turned off – set MOIST CTRL to ON in the menu.
EnglishETO2

English
17
If the ALARM button flashes red, one of the following errors has occurred. This can be displayed under the
menu: ALARM.
"RETURN TEM LOW" - Water temperature on return pipe is too low.
"SU LY TEM HIGH" - Water temperature on supply pipe is too high.
"RETURN SENSOR" - Return sensor defective.
"SU LY SENSOR" - Supply sensor defective.
"TEM SENSOR 1" - Temperature sensor in ground or roof sensor 1 defective.
"TEM SENSOR 2" - Temperature sensor in ground or roof sensor 1 defective.
"OUTDOOR SENSOR" - Outdoor sensor defective.
"SENSOR HEATER" - Short circuit of heating element in ground or roof sensor.
"FROST ROTECT" - Active frost protection due to low return temperature
(waterbased systems only)
English
17
ETO2

ETO2
69
Fig. 1 ETOG-55 Installation Fig. 2 ETOR-55 Installation

ETO2
70
Fig. 3 Ele tri 1-zone with ETOG-55 sensor Fig. 4 Ele tri 1-zone with ETOR-55 / ETF

ETO2
71
Fig. 5 Ele tri 2-zone with ETOG, ETOR and ETF
BR978A05c
© 2010 OJ Electronics A/S
Fig. 6 ETOG-55 onne tions
Other Warmup Controllers manuals
Popular Controllers manuals by other brands

MORITEX
MORITEX MLEK-A080W1LR instruction manual

Dieffematic
Dieffematic LINEA Series INSTRUCTIONS AND RECOMMENDATIONS FOR THE INSTALLER

NOVAK
NOVAK GTB 4-CELL - INSTRUCTION ADDENDUM Instruction

Mitsubishi Electric
Mitsubishi Electric CR750 Series instruction manual

Warner Instruments
Warner Instruments CL-200 manual

Stamford
Stamford AS440 Conversion instructions