manuals.online logo
Brands
  1. Home
  2. •
  3. Brands
  4. •
  5. WATERGUARD
  6. •
  7. Plumbing Product
  8. •
  9. WATERGUARD Solo User manual

WATERGUARD Solo User manual

Water Leak Detection
Equipment
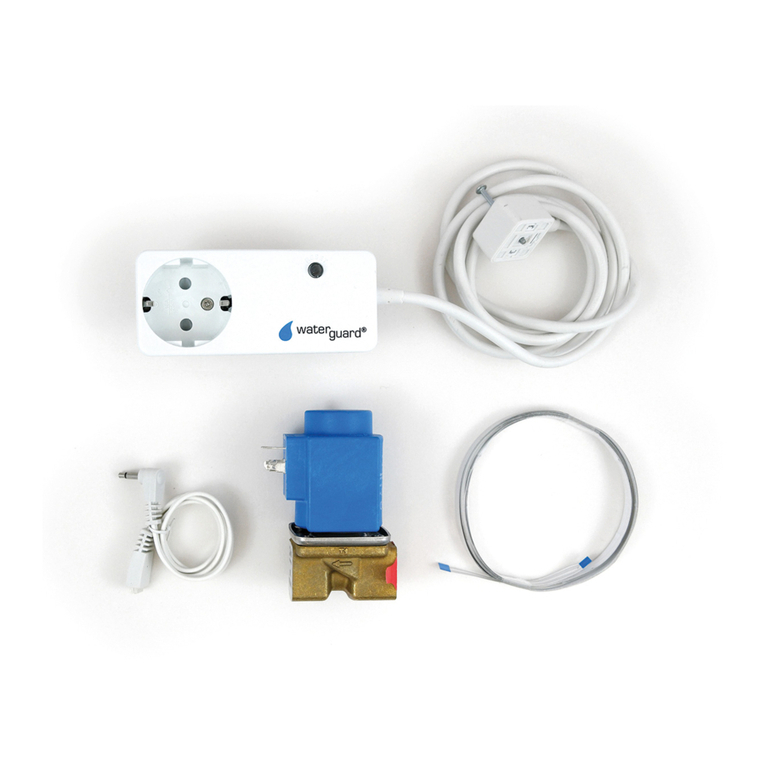
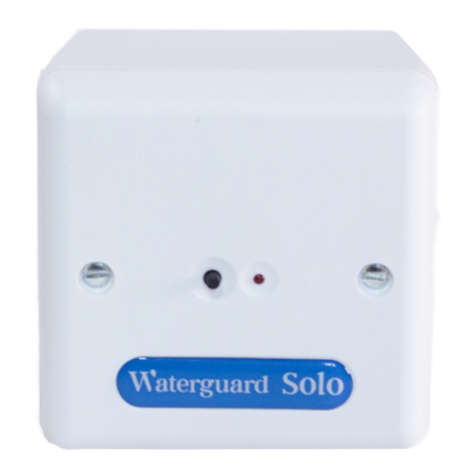
Waterguard Solo
User Guide V21
© 2021 Waterguard Services Limited, All Rights Reserved
Waterguard Services Limited. Registered address: 22 Oakwell Business Centre, Oakwell View, Barnsley, South
Yorkshire, S71 1HX. - 01226 244200 - [email protected] –www.waterguard.co.uk
Contact Us….
If you require any further assistance operating the Waterguard Home or if the Home is not
functioning correctly, please call our friendly customer service team on 01226 244200.
Home Maintenance….
The valve doesn’t open or close…………………….
If all controls are functioning as normal but the valve is failing to close, please see Routine
Maintenance below as the valve assembly may be blocked up.
How to manually bypass the valve to allow water flow…………………….
WARNING The manual bypass must only be used in an emergency to restore the water
supply when the controller is damaged or there has been a long term loss of mains power.
Rotate the whole coil head as shown.
NOTICE: THIS WILL DEACTIVATE WATER LEAK PREVENTION AND MAY INVALIDATE
YOUR BUILDINGS INSURANCE.
Battery Information….
The Solo Controller contains a 3V backup battery. This will provide power for up to 1 month if
mains power is disconnected. Ensure to replace the battery (Size Code: CR123) after
prolonged power loss. The Solo Controller will also close the valve before complete power
loss.
VALVE
NORMAL
VALVE ON
BYPASS
To familiarise yourself with your installed Waterguard System please read this user guide in full. If
you have any further questions, please contact the office on 01226 244200.
Routine Maintenance….
This system requires minimal maintenance and will only require the following:
•In hard water areas it is recommended that the valve assembly is dismantled and
cleaned with limescale remover every 12 months as build up can cause the unit to fail.
•After continued power loss the controller back up battery will need replacing. It is
recommended that a suitably qualified engineer changes the battery (3V lithium, size
code: CR123) after firstly turning off mains power to the unit.
Waterguard Services Limited: 22 Oakwell Business Centre, Oakwell View, Barnsley, South Yorkshire, S71 1HX. Tel: 01226 244200. Email: [email protected]. ©2021 Waterguard Services Limited, All Rights Reserved
System Profile….
This system protects properties by monitoring water usage from the incoming water mains
using a flow sensor that allows continuous water flow for a limited time before the controller
suspects a leak and automatically shuts off the water with a solenoid valve.
The Waterguard Solo has one level of guard (maximum time of continuous flow) which is
usually set by the installer, landlord or concierge with the controls often located in riser
cupboards or basements.
Understanding the Controls….
LED Indicator
Meaning
Solid red
Unit operating normally
Normally off, followed by brief
flashes when button pressed
Device running on battery backup. Please see, the Home
Maintenance section
Equal intermittent flashes
A leak has been detected and the valve driver has closed the
valve. Please see, the Operating the Controls section.
Solid red followed by brief
flashes
The valve driver has closed the valve as the battery backup
requires replacing. Please see, the General Maintenance
section. To reinstate the water supply, bypass the valve
manually. Please see, the Home Maintenance section.
2 brief flashes every 1/4
second, repeating every 2
secs
This indicates that water is flowing and will continue until the
water is shut off.
Immediate flash then 2 very
short flashes, repeating every
2 secs
This is an activity indication and will continue whilst the solo is
busy, eg, opening the valve.
Operating the Controls….
Button Press
Command
Single short press when
valve is closed
This will open the valve and reset the guard time, confirmed
by a singular flash.
Single short press when
valve is open
This closes the valve, confirmed by equal intermittent
flashes.
Press and hold the button for
5 to 6 seconds
The LED will flash to indicate the current time limit:
1 flash = 10 mins, 2 flashes = 20 mins, 3 flashes = 30 mins
Solo Button –
Operates
system functions
Solo LED -
Indicates status of
system
Power Loss….
In the event of any mains power loss the Solo has an integrated back up battery that will power
the controller for up to 1 month. If power is completely lost, please see General Maintenance.
No setup is required but it is advised to test the Solo once power is restored.
Test….
To check the operation of the Solo firstly change the maximum continuous flow allowance to
10 minutes using the setup instructions. Run the water in the property and if the water supply
is cut off after 10 minutes the installation of the Solo is complete. Ensure to change the
settings back to the preferred time once testing is complete.
If connected to a Waterguard DataCom, an SMS stating “LEAK Detected” will also be sent to
all registered personnel.
Technical Support….
If you discover that the Solo has shut off your water supply, please in the first instance check
for leaks around the property and contact your landlord, concierge or facilities manager where
applicable.
Technical support is available for controls only on 01226 397895 during office hours. Please
contact a local plumber and/or electrician for any issues with your valve assembly.
Setup….
All Waterguard Solo controls are pre-set to allow a maximum of 30 minutes continuous water
flow unless an alternative time is requested at time of purchase. To change this default setting,
follow the instructions below:
Press and hold the valve driver button for 25 seconds, the valve driver is now in set up mode.
Ensure you do not release the button after the initially 25 seconds and the valve driver will
flash as below in 5 second intervals.
•1 flash = 10 minutes
•2 flashes = 20 minutes
•3 flashes = 30 minutes
Release the valve driver button once the LED indicator has shown the required number of
flashes for the time limited required. Set up complete.
Other manuals for Solo

5

Other WATERGUARD Plumbing Product manuals

WATERGUARD Smart Stop 5648191 Manual

WATERGUARD

WATERGUARD Smart Stop 5648191 Manual

WATERGUARD Solo User manual

WATERGUARD

WATERGUARD Solo User manual

WATERGUARD Solo User manual

WATERGUARD

WATERGUARD Solo User manual

Popular Plumbing Product manuals by other brands

Franke F3EV1001 Installation and operating instructions

Franke

Franke F3EV1001 Installation and operating instructions

Federal Process Corporation Noble Company FreeStyle Linear Drain installation instructions

Federal Process Corporation

Federal Process Corporation Noble Company FreeStyle Linear Drain installation instructions

Gessi OXYGENE 35045 installation manual

Gessi

Gessi OXYGENE 35045 installation manual

Nobili ACQUERELLI J AJ93130/30 quick start guide

Nobili

Nobili ACQUERELLI J AJ93130/30 quick start guide

Santeg Flexconnect installation guide

Santeg

Santeg Flexconnect installation guide

Conti+ CONFREE manual

Conti+

Conti+ CONFREE manual

KEUCO IXMO 59502 012000 Mounting instruction

KEUCO

KEUCO IXMO 59502 012000 Mounting instruction

Toto 0G3861Y Instructions for Construction

Toto

Toto 0G3861Y Instructions for Construction

Sterling Plumbing 26110 Specification sheet

Sterling Plumbing

Sterling Plumbing 26110 Specification sheet

Glacier bay HD67099-0B01 Installation and care guide

Glacier bay

Glacier bay HD67099-0B01 Installation and care guide

Schell WBD-E-V 01 822 00 99 Assembly instructions

Schell

Schell WBD-E-V 01 822 00 99 Assembly instructions

Hans Grohe Raindance Select Showerpipe 240 27117000 Instructions for use/assembly instructions

Hans Grohe

Hans Grohe Raindance Select Showerpipe 240 27117000 Instructions for use/assembly instructions

Hans Grohe AXOR Massaud 18113180 Assembly instructions

Hans Grohe

Hans Grohe AXOR Massaud 18113180 Assembly instructions

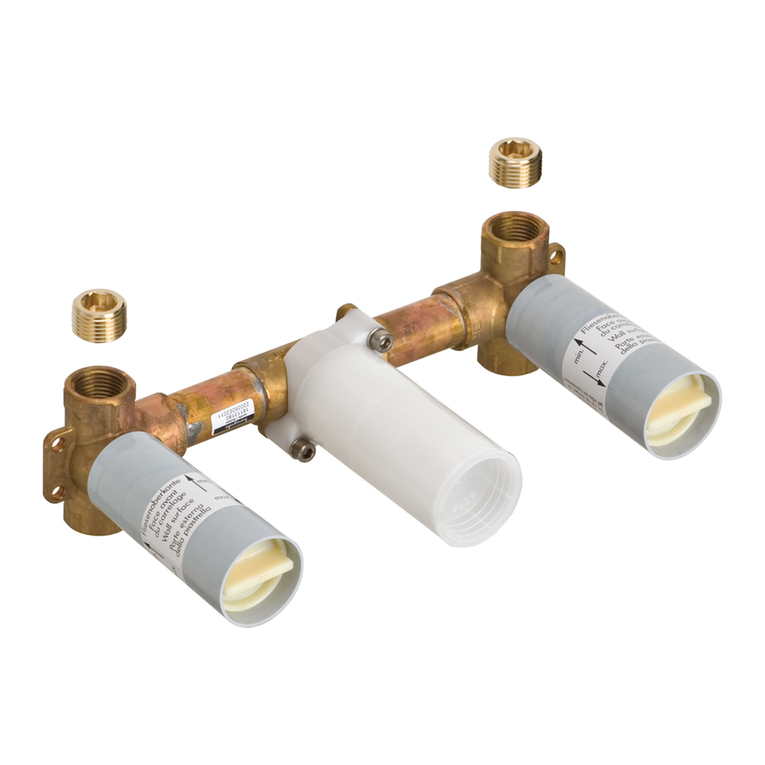
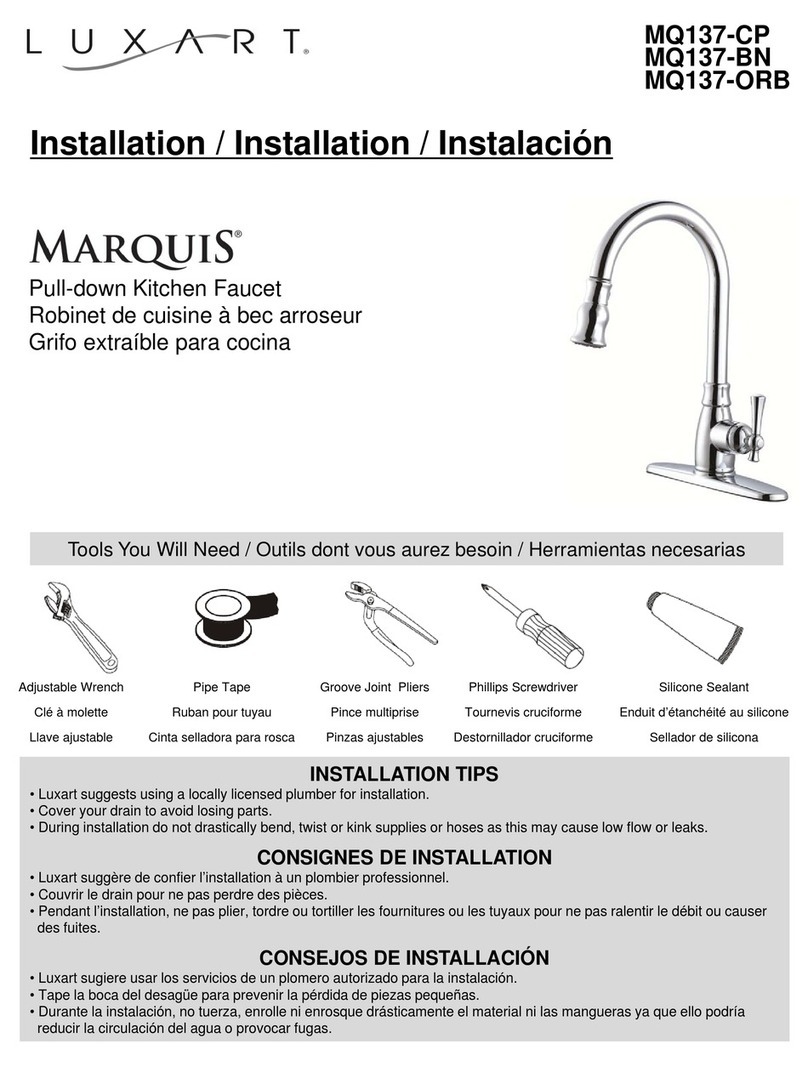
Luxart MARQUIS MQ137-CP Installation

Luxart

Luxart MARQUIS MQ137-CP Installation

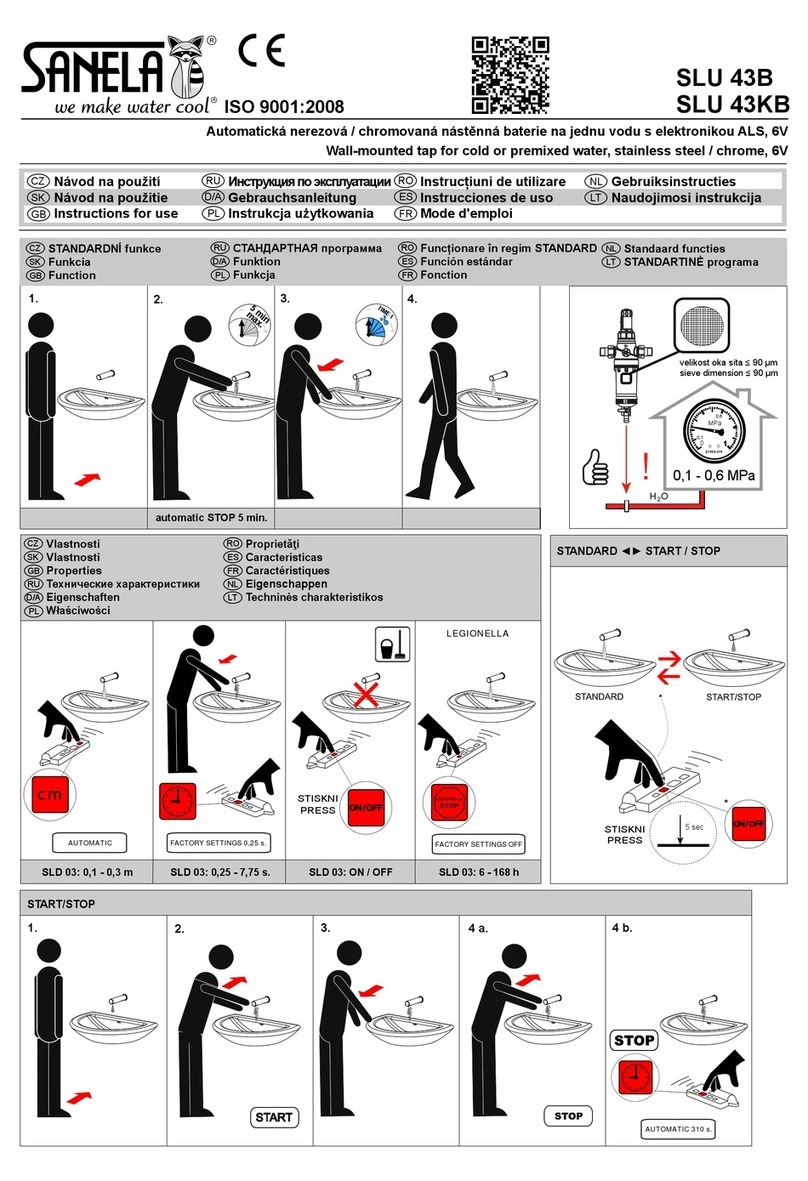
Sanela SLU 43B Instructions for use

Sanela

Sanela SLU 43B Instructions for use

Franke FF6000 instruction manual

Franke

Franke FF6000 instruction manual

Danze FP4AF244 manual

Danze

Danze FP4AF244 manual

Hans Grohe AXOR Massaud 18443001 Installation/User Instructions/Warranty

Hans Grohe

Hans Grohe AXOR Massaud 18443001 Installation/User Instructions/Warranty

manuals.online logo
manuals.online logoBrands
  • About & Mission
  • Contact us
  • Privacy Policy
  • Terms and Conditions

Copyright 2025 Manuals.Online. All Rights Reserved.