Advantust 3 Systems Advantust 6 Systems
Foam Tank Hose Connection,
1/2 in. NPT
Foam Tank Hose Connection,
1 in. NPT
Inject/Bypass Valve
In-line
Strainer
In-line
Strainer
IL2959
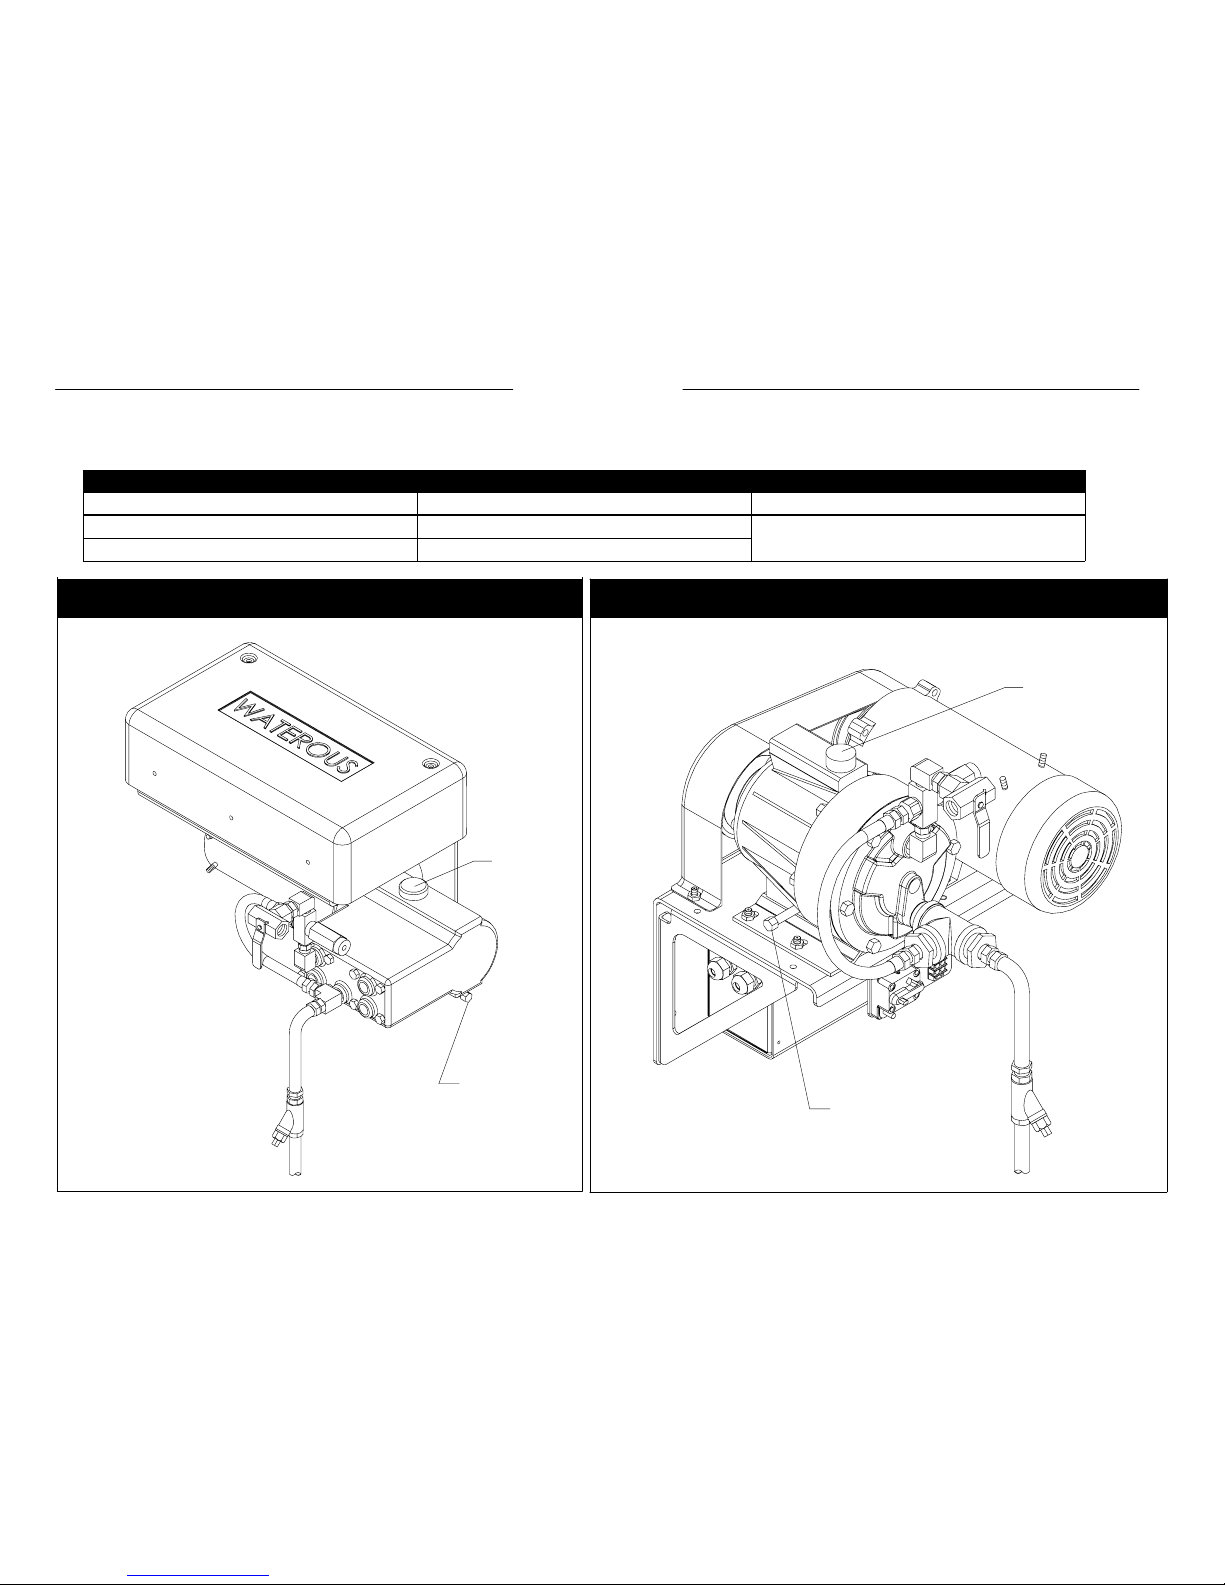
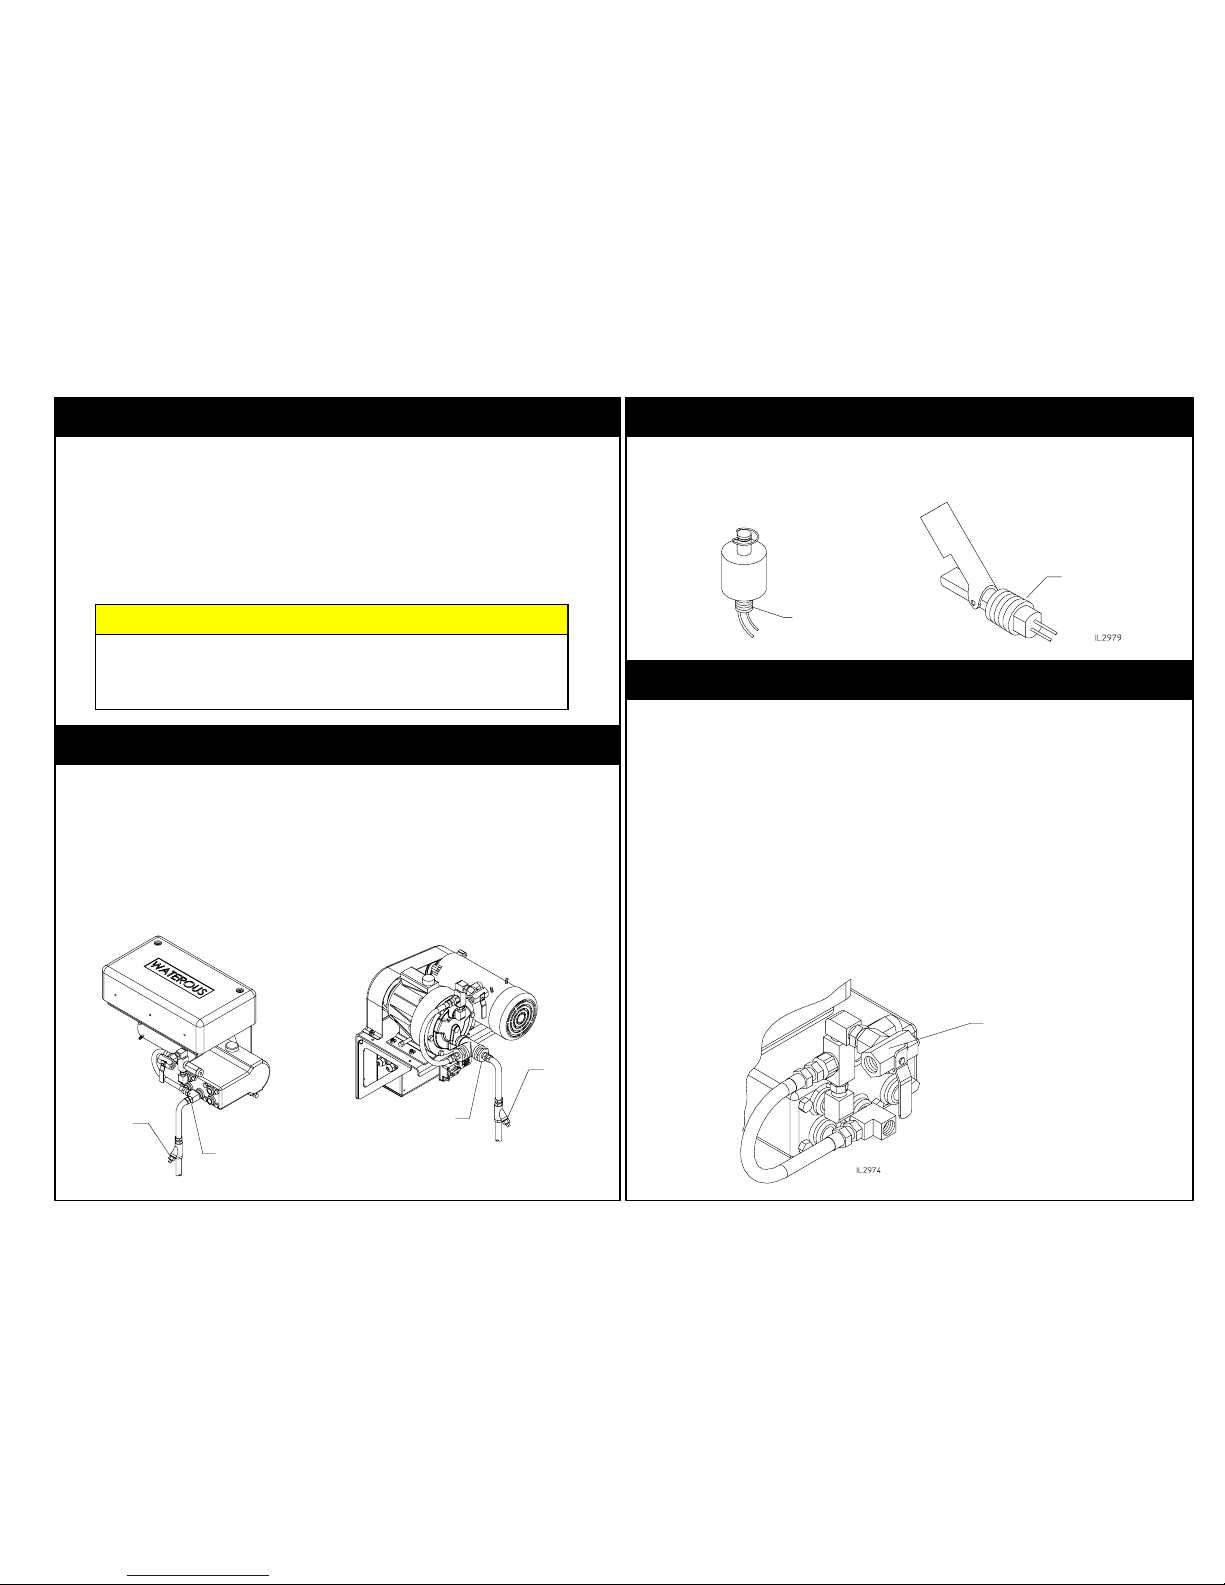
Foam Tank Connection to Advantus®Foam Pump
Flexible hose is required to make the hose connections from the foam pump to
the foam tank. Note hose from the foam tank to the foam pump is not fur
nished by Waterous. The in-line foam concentrate strainer must be installed in
the line and be accessible for maintenance.
To ensure adequate concentrate supply, size hose as follows:
·Advantus 3 - minimum of 3/4 inch ID tubing
·Advantus 6 - minimum of 1 inch ID tubing
Foam Tank Connection to Advantus®Foam Pump
When specifying an integral foam tank, make sure provisions are made for in
stallation of the optional low tank level sensor as well as foam suction connec
tions and tank drainage according to NFPA.
Most water tank manufacturers will build the foam tank into the booster tank.
1. Place the foam tank so that refilling can be done safely.
2. Foam concentrates should gravity feed to the foam pump inlet from the foam
tank. However, the systems are capable of drafting up to 1 meter vertically.
Foam Tank - Not Furnished by Waterous
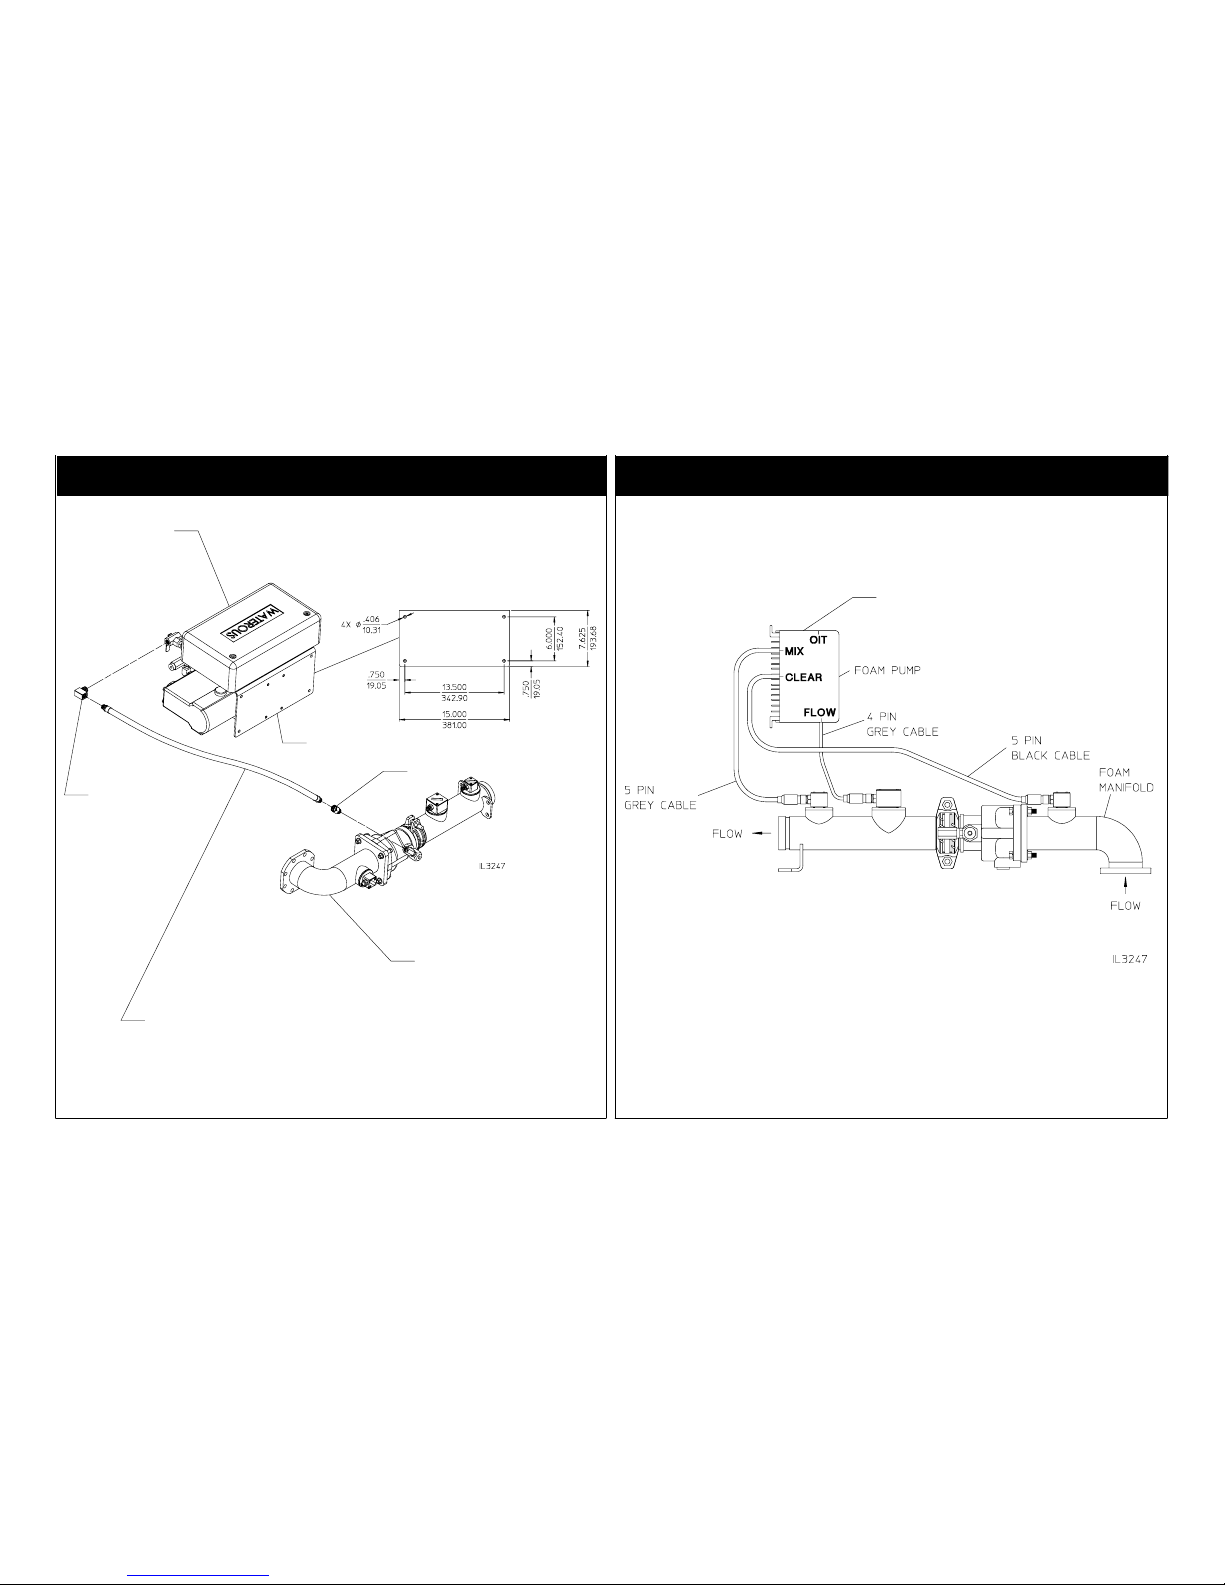
Foam Concentrate Connection
Optional Foam Tank Level Switch
Inject / Bypass Valve
Waterous offers two types of tank level switches as shown below.
1. Install in tank according to NFPA (see Page 15 for wiring details).
Side MountBottom Mount
1/2 in. NPT
1/8 in. NPT
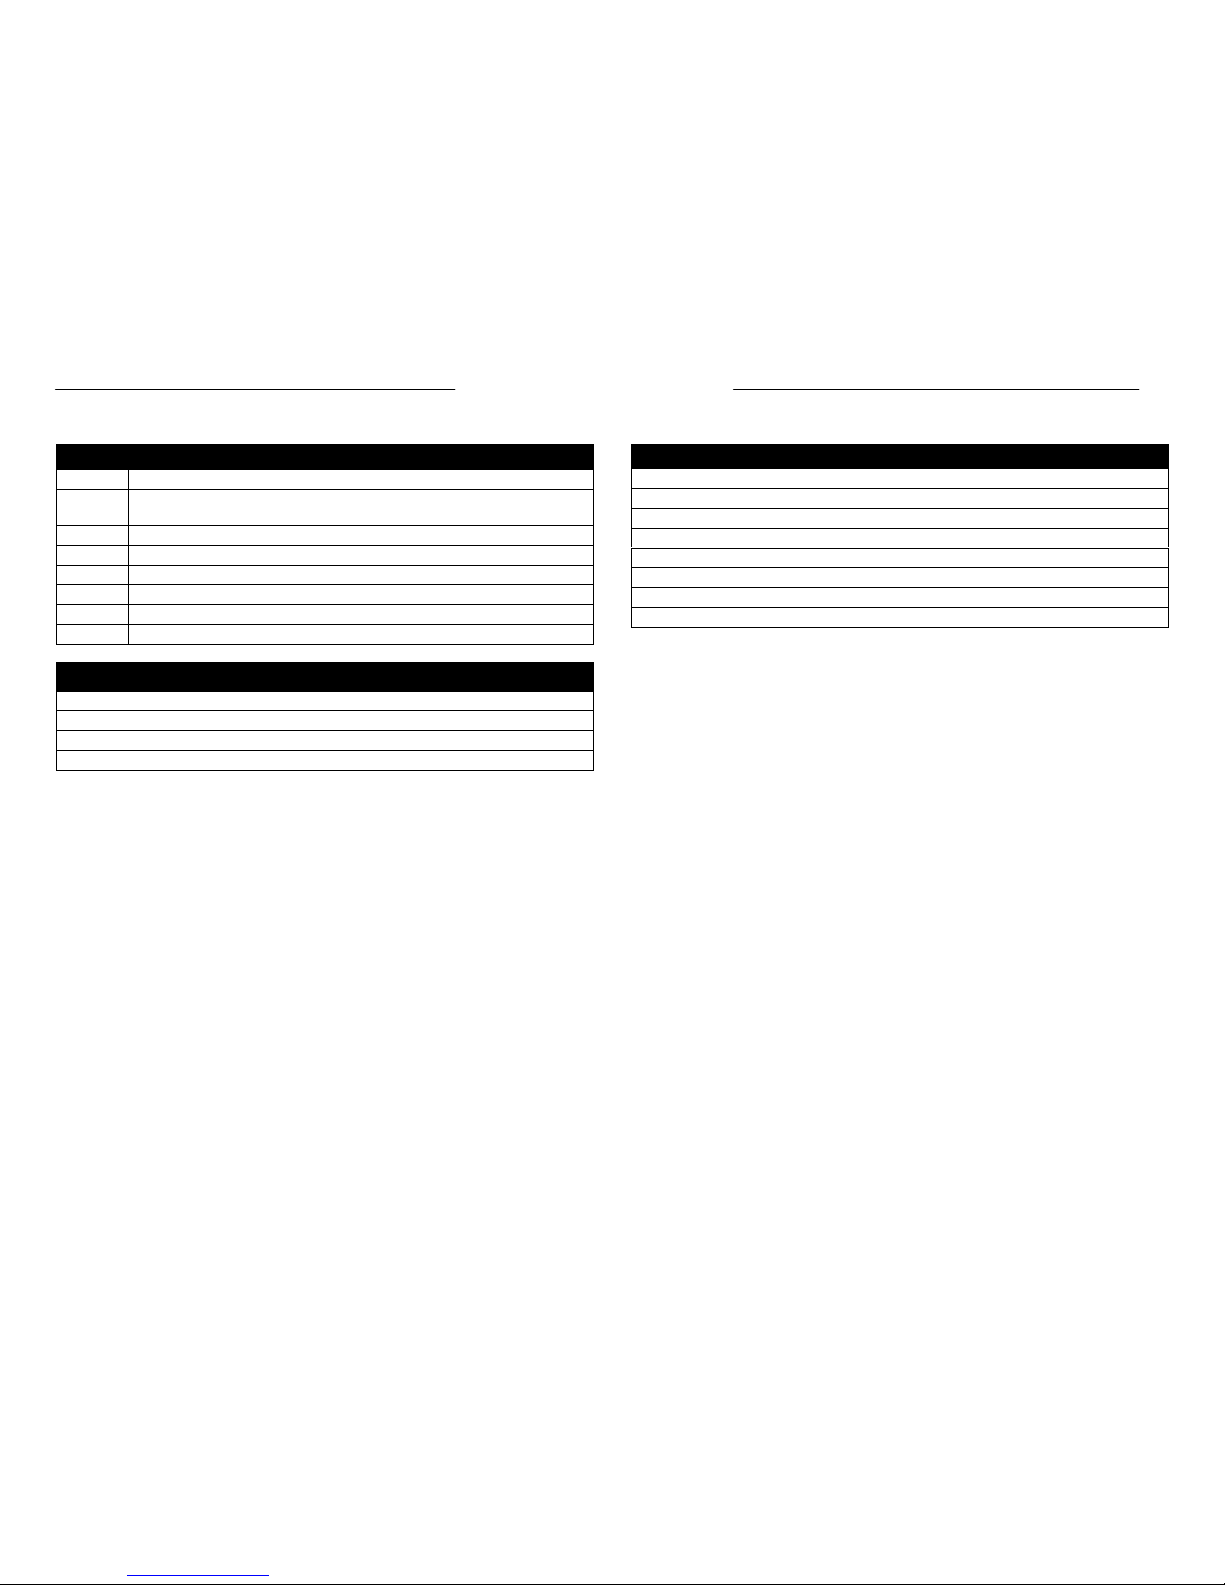
The Inject / Bypass valve is mounted on the discharge side of the foam pump.
This valve shall be accessible by the pump operator during normal operations.
The valve is a 3-way directional valve that selects where the output of the foam
pump will go.
Check to make sure the valve is installed properly. look at the ports as you move
the handle. The flow should go from the center port to each of the other ports.
The hose and fittings from the inject port to the foam injector fitting should have
a minimum rating of 3/8 of the maximum fire pump discharge pressure.
The hose from the bypass port may have a lower pressure rating since it is
plumbed to the atmosphere and will not receive high pressures. This hose is
used for pumping the concentrate into a container to empty the tank or to assist
in priming of the foam pump. The hose from the bypass port must be long
enough to reach a container outside the truck. This hose must be coiled for
storage when not in use.
F-1031, Section 3026 Page 10 of 17
CAUTION
Shut-Off Valves. May cause damage to the foam pump.
Never install shut-off valves between the pump and discharge
pressure regulator or in the regulator bypass line.