manuals.online logo
Brands
  1. Home
  2. •
  3. Brands
  4. •
  5. Waterworks
  6. •
  7. Plumbing Product
  8. •
  9. Waterworks EMAT20 Instruction sheet

Waterworks EMAT20 Instruction sheet

Empire Corner Airtub And Drain Assembly
5/03 WATE RWORK S
These guidelines have been prepared for the professional contractor to aid in the installation of:
EMPIRE CORNER AIRTUB AND DRAIN ASSEMBLY
(EMAT20/EMAT20I/EMAT30/EMAT30I/EMDR01)
All dimensions are based on original specifications and are subject to change and variation.
Please consult your Design Associate for current specifications.
Installation Guidelines
1
Left Hand
EMAT20 (white)/EMDR01
EMAT20I (ivory)/EMDR01
Right Hand
EMAT30 (white)/EMDR01
EMAT30I (ivory)/EMDR01
INSTALLATION GUIDELINES:
Immediately after receiving the bathtub and removal of packing, INSPECT
the unit for freight damage. Any claims for damage, whether apparent or
hidden, must be made to the carrier immediately in order for them to
assume all associated costs. Should inspection reveal any defect in the
finish, do not install the bath. Damage or defect to the finish claimed after
the bathtub is installed is excluded from the warranty.The warranty
DOES NOT cover labor or materials to remove or reinstall the bathtub.
PRIOR TO INSTALLATION, CHECK TO ENSURE THAT:
➢The installation will be in compliance with all applicable federal, state, and
local building codes and regulations.
➢The unit is the correct model and there is no shipping damage.
➢The installer has read and thoroughly understands "notice" or "warning" tags
on the bathtub.
➢The tub is free of leaks (see "Testing System Operation")
➢All necessary precautions have been taken to keep the tub protected during
installation.
➢The finished floor is is installed and level in both directions.
ROUGH-IN:
➢Using the specifications provided determine the correct location for the
drain assembly.
➢The trap should be well supported to eliminate the possibility of shifting.
➢Terminate with a 11/2" coupling adaptor 2" below the finished floor
➢Apply clear adhesive silicone to the outside of the 11/2" TY seal (provided
with the drain assembly) and slide into the coupling adaptor.
➢A minimum 12" x 12" opening for blower access is required. Must be
covered with a decorative return grill to provide sufficient air movement.
BATHTUB AND DRAIN INSTALLATION:
➢Check to see that the finished floor is level in both directions where the tub is to be
located.
➢Clean the drain hole area in preparation of setting the drain.The area
should be dry and free of any debris and oils.
➢Apply a bead of clear adhesive silicone around the drain collar and pass it
through the drain hole.
➢Apply a generous bead of silicone to the drain collar and surrounding area on the
underside of the tub and secure with the gasket and locking nut provided.
➢Clean any excess silicone from the tub’s interior.
➢Using the nut and gasket provided, assemble the tailpiece to the end of the
drain (DO NOT OVERTIGHTEN).
➢Pass the plug and chain screw through the center of the overflow cover and
thread the locking bar onto the end.
➢Tighten screw until the overflow cover is locked firmly against the tub wall
(DO NOT OVERTIGHTEN).
➢Apply clear adhesive silicone to the inside of the TY seal (below the floor)
to provide lubrication and create a bond. Set the bathtub in place with the
tailpiece inserted into the TY seal below the floor. Check to ensure it is level
in both directions.
(continued on reverse side)
(Tile Flange)
3/4"
1/8"
(Tile Flange)
1/8"
(Tile Flange)
661/2"
653/4"
171/8"
4"
241/4"
341/4"
27"
59"
33/4"
33/4"
2"
23"
50"
25"
91/4"
access
panel
air control
10"
10"
10"
12"
24
1
/
4
"
66
1
/
2
"
(Tile Flange)
3
/
4
"
17
1
/
8
"
1
/
8
"
(Tile Flange)
1
/
8
"
(Tile Flange)
25"
65
3
/
4
"
34
1
/
4
"
4"
1
7
/
8
"
27"
59"
3
3
/
4
"
3
3
/
4
"
2"
23"
50"
9
1
/
4
"
access
panel
air control
10"
10"
10"
12"
BATHTUB AND DRAIN INSTALLATION: (continued)
➢Pre-drill the tile flange on the centers of each framing stud. Secure the
tub to the wall using drywall screws or galvanized roofing nails.
(DO NOT OVERTIGHTEN)
➢Fill the tub with water to the overflow and then drain while inspecting the
waste connections below the floor for leaks. Access from below the floor
will be necessary for this step.
➢Run a bead of tub and tile caulk around the bottom edge of the bathtub
where it meets the finished floor. Wipe away any excess caulk with a wet
paper towel.
➢Cover the bathtub surface with a bathtub liner or other form of
protection until construction is completed.
➢If further assistance is required, please contact Product Support at1-800-
927-2120 (8am-7pm EST).
ELECTRICAL REQUIREMENTS:
➢Airtub Blower: 120 volt / 15 amp GFCI protected, dedicated line.
➢To test the GFCI, do the following: (1) Plug power cord(s) into electrical
outlet (2) Push the test button; check that the power has been
interrupted, and (3) Push to reset button; check that the power has been
restored.
➢IF THE GFCI DOES NOT OPERATE PROPERLY DURING THE TEST,
THERE IS A GROUND CURRENT FLOWING, WHICH INDICATES
THE RISK OF ELECTRICAL SHOCK.
DO NOT USE THE BATHTUB, DISCONNECT THE BATHTUB
IMMEDIATELY AND HAVE THE POWER SOURCE SERVICED BY
QUALIFIED PERSONNE.L.
CLEAN-UP AFTER INSTALLATION:
➢When cleaning up after installation, do not use abrasive cleaners as they
may scratch and dull the surface. Use warm water and a liquid non-
abrasive detergent to clean the surface.
➢Stubborn stains, paint, or tar can be removed with turpentine based
cleaner such as “Goof Off ”. Do not allow cleaners containing petroleum
distillates to remain in contact with the bathtub surface for long periods
of time. Plaster can be removed by scraping with a wood edge. Do not
use metal scrapers, wire brushes, or other metal tools. One of the
powder-type detergents may be used on a damp cloth to provide mild
abrasive action to remove the residual plaster.
TESTING SYSTEM OPERATION:
➢Remove all debris and residue before filling th tub with water.
➢Fill the tub with water approximately halfway and examine the tub and
system carefully for leaks.
➢Check all three functions of the airtub system in accordance with the
operating instructions.
➢Allow water to sit for 10 minutes and check for leaks.
➢Open drain, empty tub, and wipe up excess water with a soft damp
sponge.
TECHNICAL SERVICE:
➢Read the product identification tag (located on bathtub near blower).
This tag includes all pertinent information specific to your product,
including the model, size, date of manufacture and ID number.
➢Have information available when contacting Waterworks Product
Support at 1-800-927-2120 (8am - 7pm EST).
OPERATING INSTRUCTIONS:
Controlled by 3-function control pad.
➢On/off function, first touch turns on the system, second touch turns off
the system.
➢Speed function, first touch increases the rate of bubbles, second touch
decreases the rate of bubbles.
➢Pulsating function, first touch starts slow pulsating cycle, second touch
starts quick pulsating cycle, third touch turns off pulsating cycle.
A 30 second dying cycle will automatically start 20 minutes after the air system
is turned off or the sensor has detected that there is no more water
remaining in the bathtub.
WARNINGS:
The following basic safety precautions should always be followed when
using your bathtub.
➢CAREFULLY READ AND FOLLOW ALL INSTRUCTIONS BEFORE
ATTEMPTING TO OPERATE YOUR BATHTUB.
➢Caution should always be exercised when entering or leaving the
bathtub.
➢DANGER:To reduce the risk of injury, do not permit children or persons
with a disability to use this unit unless they are closely supervised at all
times.
➢This product is intended for indoor use only. Use the bathtub only for its
intended purpose and do not use attachments or accessories that are
not recommended by the manufacturer.
➢Never drop or insert any objects into any openings.
➢The bathtub must be connected to an electrical supply circuit that is
protected by a ground fault circuit interrupter (GFCI), which is provided
by the installer.The GFCI should be tested periodically to ensure that it is
working properly.
➢Keep all electrical appliances, such as radios and hairdryers, a safe distance
from the bathtub.
➢Failure to comply with all instructions, requirement, and warnings
contained in this manual create a serious hazard to the bathtub user and
may result in serious personal injury.
➢Do not use the bathtub when sleepy or drowsy, under the influence of
alcohol or prescription medications, or when overheated. Pregnant
women and persons with medical conditions should consult their
physicians for advice before use.
Care and Warranty
WATE RWORK S
Empire Corner Airtub And Drain Assembly
Save These Instructions.


This manual suits for next models

2

Other Waterworks Plumbing Product manuals

Waterworks EALS01 User manual

Waterworks

Waterworks EALS01 User manual

Waterworks PTWO04 Instruction sheet

Waterworks

Waterworks PTWO04 Instruction sheet

Waterworks On Tap OTKM10 Instruction sheet

Waterworks

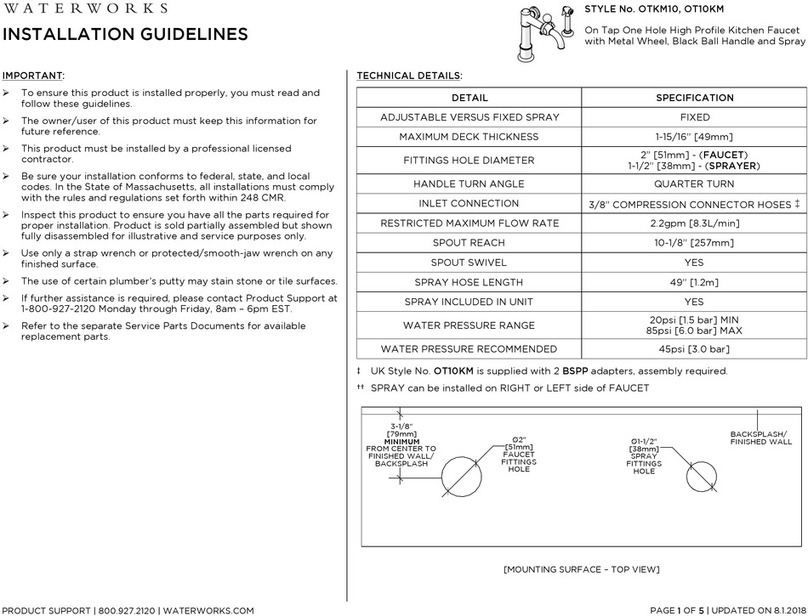
Waterworks On Tap OTKM10 Instruction sheet

Waterworks HIGHGATE HGPB10 User manual

Waterworks

Waterworks HIGHGATE HGPB10 User manual

Waterworks Henry HNKM70 Instruction sheet

Waterworks

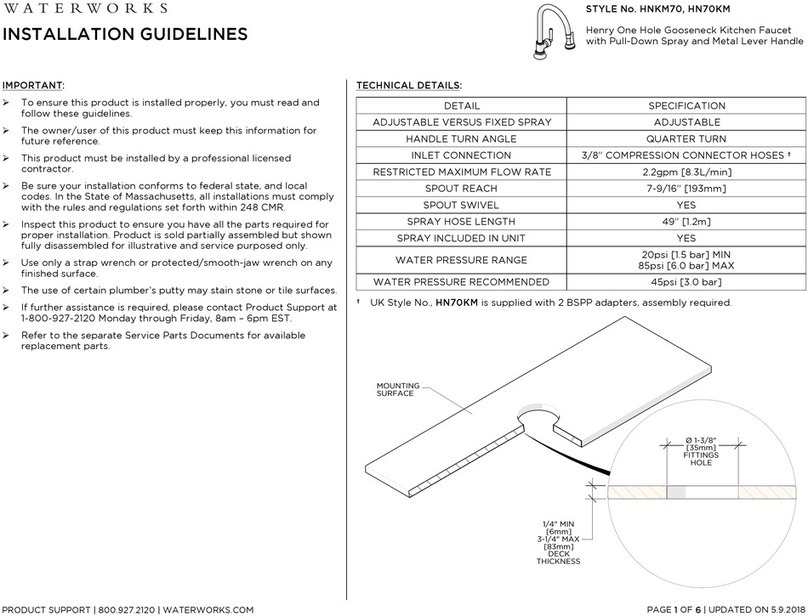
Waterworks Henry HNKM70 Instruction sheet

Waterworks HENRY HNLS20 User manual

Waterworks

Waterworks HENRY HNLS20 User manual

Waterworks HNWS03 Instruction sheet

Waterworks

Waterworks HNWS03 Instruction sheet

Waterworks UNWO20 Instruction sheet

Waterworks

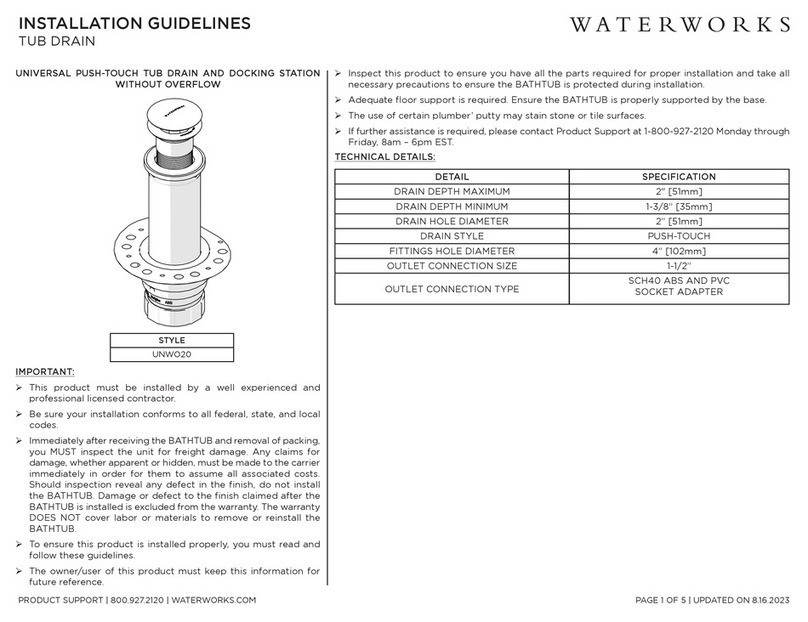
Waterworks UNWO20 Instruction sheet

Waterworks HIGHGATE HGPB30 Instruction sheet

Waterworks

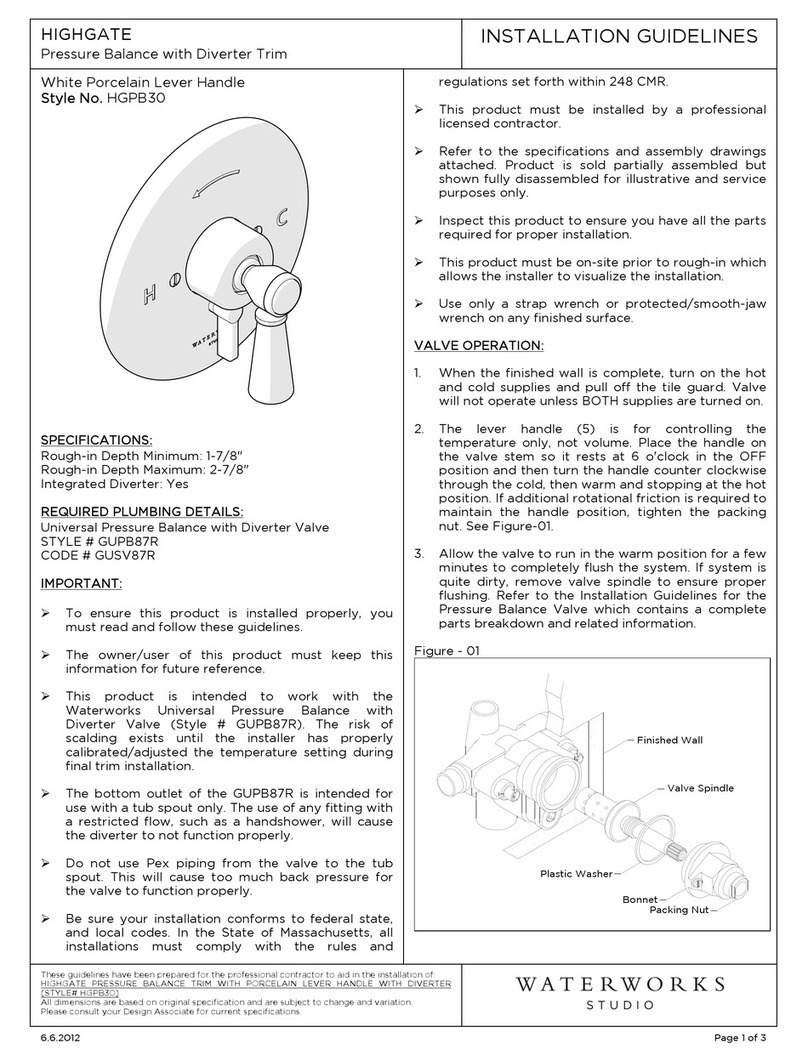
Waterworks HIGHGATE HGPB30 Instruction sheet

Popular Plumbing Product manuals by other brands

Graff 7030 installation instructions

Graff

Graff 7030 installation instructions

Grohe Essence 19 408 installation instructions

Grohe

Grohe Essence 19 408 installation instructions

Toto Guinevere TL970dD Installation and owner's manual

Toto

Toto Guinevere TL970dD Installation and owner's manual

Santec Widespread 9220ED installation instructions

Santec

Santec Widespread 9220ED installation instructions

Lefroy Brooks R1-4000 Installation, operating,  & maintenance instructions

Lefroy Brooks

Lefroy Brooks R1-4000 Installation, operating, & maintenance instructions

Kohler K-T10594 Homeowner's guide

Kohler

Kohler K-T10594 Homeowner's guide

Kohler K-8297TW-HC-0 Homeowner's guide

Kohler

Kohler K-8297TW-HC-0 Homeowner's guide

Kohler K-106 Installation and care guide

Kohler

Kohler K-106 Installation and care guide

Glacier bay HD67458-1408D2 Installation and care guide

Glacier bay

Glacier bay HD67458-1408D2 Installation and care guide

Kohler Centerset K-15241 Installation and care guide

Kohler

Kohler Centerset K-15241 Installation and care guide

Kohler STERLING 5300 Series Homeowner's guide

Kohler

Kohler STERLING 5300 Series Homeowner's guide

Toto USWN900 Series Instruction manual and warranty

Toto

Toto USWN900 Series Instruction manual and warranty

Grohe Blue Bio-Clean 40 434 installation instructions

Grohe

Grohe Blue Bio-Clean 40 434 installation instructions

Sunlighten SIGNATURE EURO 1 user manual

Sunlighten

Sunlighten SIGNATURE EURO 1 user manual

Price Pfister Pfirst Series 134 manual

Price Pfister

Price Pfister Pfirst Series 134 manual

Watts 15M2 Series installation manual

Watts

Watts 15M2 Series installation manual

Franke F3 ASSV1005 Installation and operating instructions

Franke

Franke F3 ASSV1005 Installation and operating instructions

Kohler K-812-H2 Homeowner's guide

Kohler

Kohler K-812-H2 Homeowner's guide

manuals.online logo
manuals.online logoBrands
  • About & Mission
  • Contact us
  • Privacy Policy
  • Terms and Conditions

Copyright 2025 Manuals.Online. All Rights Reserved.