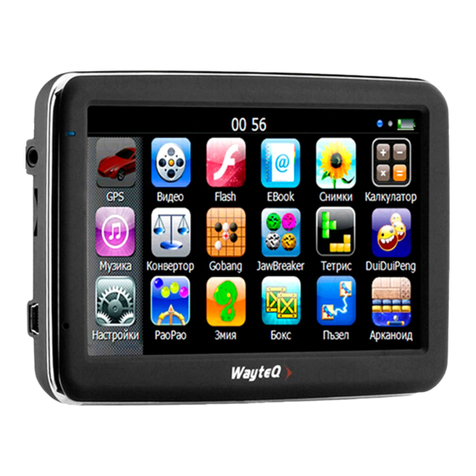
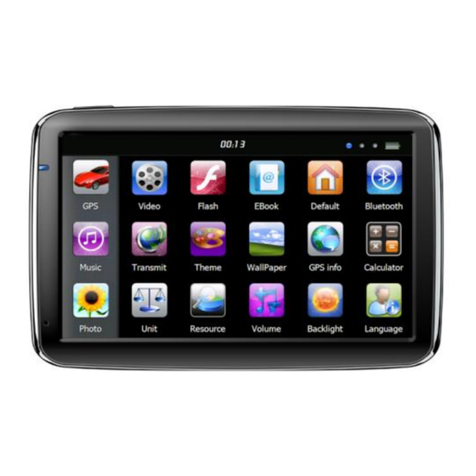
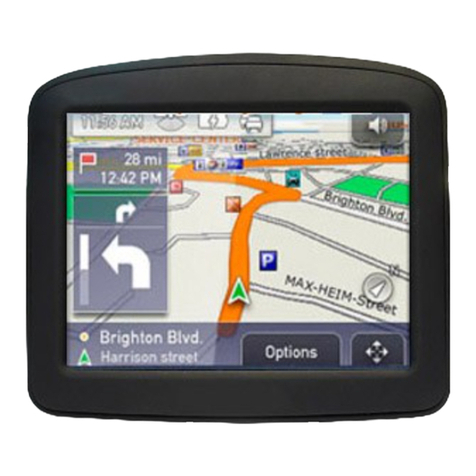
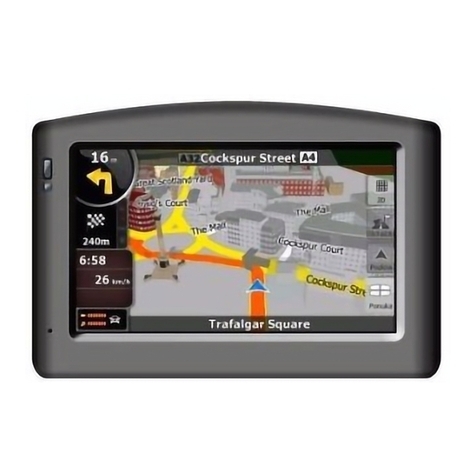
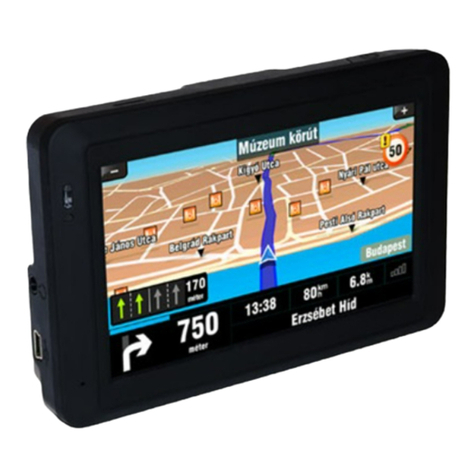
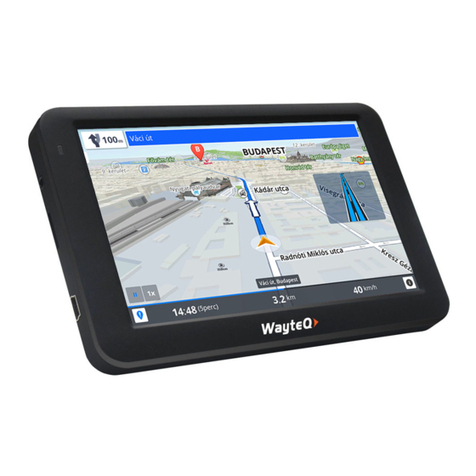
WayteQ G5 Series User manual

User Manual
User Manual
IMPORTER / DISTRIBUTOR / AUTHORIZED SERVICE:
WayteQ Rado Gladek s.p., Ljubljanska cesta 13D, 1236 Trzin, tel: +386 81 614888
e-mail:trgovina@wayteq.si
web: www.wayteq.si
MANUFACTURER: Marked on the packaging or on the product
SELLER: STAMP AND SIGNATURE:
NAME OF GOODS:________________________________________________________
DATE OF SALE:___________________________________________________________
INVOICE NR:_____________________________________________________________
WARRANTY PERIOD: ______________________________________________________
Thank you for having purchased our roduct. The Guarantee applies to your product. In case of any problem contact your local dealer who
will advise you of the procedures to be followed. If this is not successful, contact us at tr[email protected] We may request that you
send the defective product to a local Servicer or return of the defective product to us for repair.
Product(s) shipped for service should be packed securely and must be accompanied by a detailed explanation of the problem(s) requiring
service, together with the original or a copy of the bill of sale or other dated, proof-of-purchase document describing the product, as
evidence of warranty coverage.
Should any product submitted for warranty service be found ineligible therefore, an estimate of repair cost will be furnished and the
repair will be accomplished only if requested by you and upon receipt of payment or acceptable arrangement for payment.

User Manual
User Manual
6. Connecting to a computer
The device can be connected to the computer via the Mini USB cable.
1.
Please make sure the GPS navigator is turned on;
2.
Connect the Mini USB end ( ) of the USB cable to the Mini USB port on the left part of GPS device and the USB end ( ) to a
USB port of your computer;
3.
Remove the Mini USB cable when you are finished; the GPS navigator will return to the pre-connection interface.
The GPS navigator will switch tostorage mode, when connected to a computer. The following actions will interrupt the connec-
tion (the unfinished data will belost):
•
disconnecting the Mini USB cable;
•
turning the device off;
•
resetting the system.
Note: please, copy your data to an external storage device before you update the system data. Our company takes no responsibility for any data loss.
Introduction
Dear Customer!
Thank you for purchasing our G5 navigation device. Please read this User Manual carefully to learn how to operate the
device and ensure optimal performance. We recommend that you keep the User Manual for future reference.
1.
Package
The standard package includes the following items:
Troubleshooting
If your GPS navigator is not working properly, please, consult the table below.
Motorcycle chargeradapter Active cradle
User Manual
Problem
Cause
Solution
Cannot turn the navigator on
No charge left
Charge the battery
The device turns off suddenly
Low battery
Charge the battery
Cannot see the display clearly
The backlight is not bright enough
Adjust the backlight
The backlight has been turned off
Tap the display - the screen will turn
bright again
No response when tapping a button
The touch screen is not calibrated
Calibrate the touch screen
No sound
The volume is too low
Increase the volume
The earphones are not connected
properly
Connect the earphones
Cannot connect to the computer
The USB cable is not connected properly
Connect the USB cable
The map data is lost
Contact your distributor
No signal
The signal is weak
The device needs more than 3 minutes
to receive the signal
Device maintenance
GPS navigator will be a reliable navigation tool ifhandled properly. Follow the recommendations below to ensure that your GPS
navigator runs smoothly for a longtime:
•
Protect the display: don’t put too much pressure on the screen or you will damage it. Only use the stylus to operate the navigator,
and spray the glass cleaner on the soft cloth when cleaning the screen - don’t spray on the screen directly.
Note: make sure to turn the GPS navigator off before cleaning.
•
Do not drop or hit the device or you will cause damage to sensitive components.
Note
: accidental damage is beyond our responsibilities.
•
Avoid exposing the device to: abrupt temperature changes (high temperature - >60°, low temperature - <-10°), high voltage,
dust; avoid contact with any corrosive materials and don’t submerge the device into any liquids.
•
Avoid electromagnetic interference: EM interference from other electronic devices will affect the display; it will return to normal,
when the source of interference is suppressed or gone.
Note: if you take the device with you when travelling by plane, put it in your luggage before screening.
•
Avoid direct, intense light: don’t subject the GPS navigator to bright light and ultraviolet radiation.
GPS navigator
2.
Device layout
1
Motorcycle holder
USB cable
Installing a TF card
Insert the TF card as shown on the picture
4
1. Power button
Turns the device on/off
2. Touch screen
5" TFT touch screen display
3. TF card slot
Supports TF cards up to 64GB.
4. Mini USB port
USB Client 2.0
5. Charging port
For connecting the charger
6. Speaker
Provides audio output
7. Reset button
Reset
8. Screw Hole
Fix cradle

User Manual | 02
User Manual | 03
e
3.
Specifications of Model No. G5-AR/RC
Note
: this device uses built-in, unchangeable Lithium battery. Battery time may vary, depending on which functions are used. For example, bright
backlight will consume more energy, which will reduce battery time.
To avoid fire or explosion, please do not poke, bump or take the battery apart, and do not throw it into burning fire, or water.
1.2 Using the charger
Connect the red and black wires to the motorcycle’s electrical system. Connect the other part to the charging port of the device.
When you start the motorcycle, the GPS navigator will turn on automatically.
2.
Power on/off
2.1
Power on
Please, make sure that the battery has enough charge or is connected to an external power source.
Note
: when travelling, keep in mind that the device needs time to adapt to a different environment before you turn it on. Sudden increase or decrease in
humidity may cause the mainframe to short circuit.
2.2
Power off
Press the button at the top of the device to turn it off; the device will enter power saving mode. When turned on again, it will restore
its last state.
Specifications of Model No. G5-W
CPU
MSB2531 800MHZ
Memory
256MDDR, 8GB Flash
LCD display
5” TFT LCD display
Resolution:
800RGB(H)x480(V)
Touch screen
Durable high-precision touch
screen
USB
USB Client 2.0, Mini USB port
TF
TF slot, supporting TF cards
up to 16GB
Audio
A: Built-in high fidelity speaker
B: High fidelity stereo ear-
phones
GPS
Cold start <42s; hot start
<3s(in the open area); warm
start <36s
Using the device
1. Power supply and charging
1.1 Power supply
There are two types of power supply: battery and adapter. The GPS navigator uses its built-in Lithium battery when it is
not connected to an external power supply via the adapter; external power when it is connected to motorcycle or car.
The
icon in the upper right corner of the screen indicates the current battery charge.
3.
Resetting the system
If the device is not responding or is not working properly, you can reset it by using the stylus to press the reset button on the right
side of the device.
Note: the unsaved data will be lost if your reset the system while it is not responding. It is recommended to make regular backups.
4.
Mounting Instructions (Motorcycle):
How to install the external current supply:
1.
Put the control knob (pict.) into the right position.
2.
Collect the 4 screws.
3.
The arrows show the direction in which the screws have to be put into
the holder. Use the 4 screws for fastening the mounting plate with the
ball head to the backside of the holdingdevice.
4.
Now you can loosen the wing screw of the mounting block and put th
ball head into the holder. When the ball head is in the right position you
can fix it again.
(
seepicture
)
Installation at the Handlebars:
Put the holder into an appropriate and easily accessible position and then fix it with
the included hexagon screws.
Caution: When fixing the holder take care that the view of important
instruments will not be covered by the navigation device.
Connect the cable of the holder to the power cable and fix it with the
waterproof ring.
Connection of the device to the power supply of the motorcycle
Connect the ends of the external power supply to the battery of the motorcycle.
Take care that the black cable will be connected to the negative pole of the
battery and the red cable to the positive pole.(see picture)
5.
Stylus
(
for G5
-
W
&
G5
-
AR Only
)
The stylus isyour means ofinteracting with the device. Do not lose it.
1.
Single tap: tap the screen once with the point of the stylus.
2.
Double tap: tap the screen twice with the point of thestylus.
3.
Drawing: tap once, hold, and then move the stylus on the screen.
Note: a broken stylus, ball pen, or any other sharp or hard object will damage the LCD if you use it to operate the device.
CPU
MTK8163
/
MTK8127
Memory
1GB DDR, 16GB Flash
LCD display
5” TFT LCD display
Resolution:
800RGB(H)x480(V)
Touch screen
Durable high-precision touch
screen
USB
USB Client 2.0, Mini USB port
TF
TF slot, supporting TF cards
up to 32GB
Audio
A: Built-in high fidelity speaker
B: High fidelity stereo ear-
phones
GPS
Cold start <42s; hot start
<3s(in the open area); warm
start <36s
Battery
Built-in rechargeable Lithium
battery
Battery Charging port
DC 5V port
AC Charger
100/230V charger, 5V/1.5A
Car Charger
DC9-24V, 5V/1.5A
Operating System
Android 6.0/4.4
Navigation Software
In flash or SD card
Temperature
Operating Temperature: 0°C
to 60°C Storage
Temperature: -20°C to 60°C
Working humidity range
45% to 80%RH
Storage humidity range
30% to 90%RH
Atmospheric pressure
86KPa to 106KPa
Battery
Built-in rechargeable Lithium
battery
Battery Charging port
DC 5V port
AC Charger
100/230V charger, 5V/1.5A
Car Charger
DC9-24V, 5V/1.5A
Operating System
WinCE 6.0
Navigation Software
In flash or SD card
Temperature
Operating Temperature: 0°C
to 60°C Storage
Temperature: -20°C to 60°C
Working humidity range
45% to 80%RH
Storage humidity range
30% to 90%RH
Atmospheric pressure
86KPa to 106KPa
This manual suits for next models
3
Table of contents
Other WayteQ GPS manuals

WayteQ
WayteQ X960BT User manual

WayteQ
WayteQ X820 User manual

WayteQ
WayteQ X990 User manual

WayteQ
WayteQ N720B User manual

WayteQ
WayteQ WayteQx995 User manual

WayteQ
WayteQ X950BT User manual

WayteQ
WayteQ xRIDER User manual

WayteQ
WayteQ X950BT-HD User manual

WayteQ
WayteQ x985BT User manual

WayteQ
WayteQ x985BT User manual