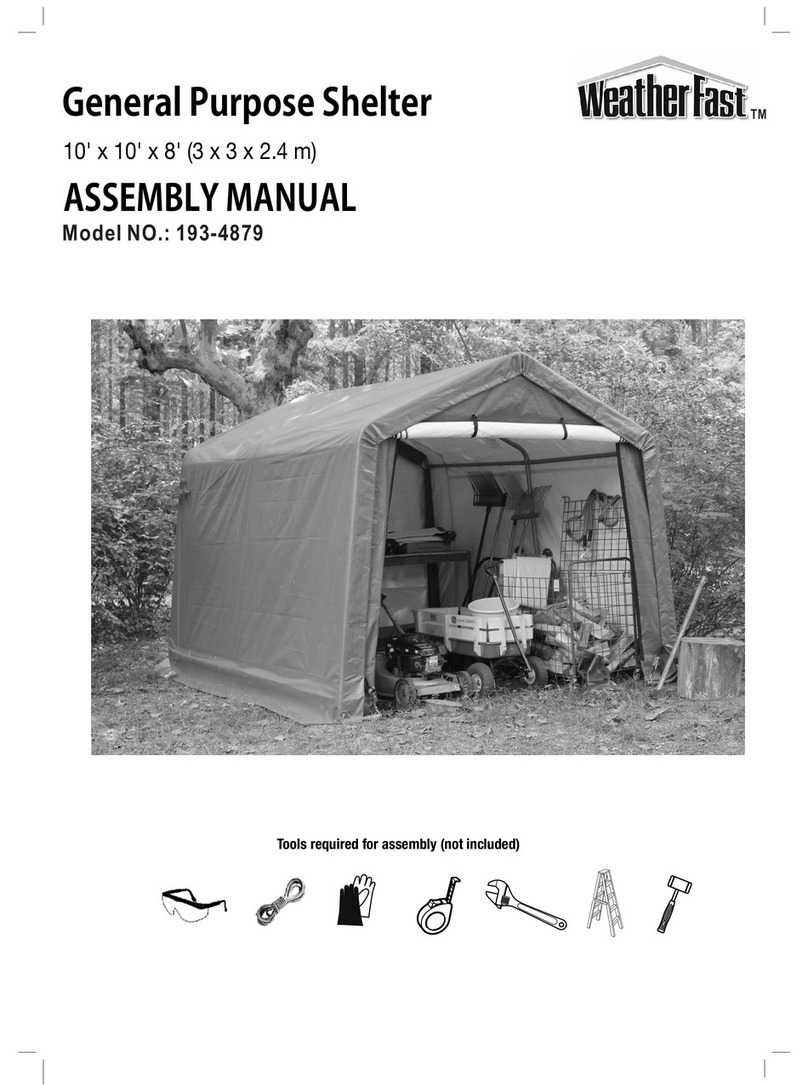
Weather Fast 1934796 User manual

ALL PURPOSE CANOPY
20' x 20' x 9'6" (6.1 x 6.1 x 2.9 m)
TM
Tools required for assembly (not included)
ASSEMBLY MANUAL
Model NO.: 1934796

TABLE OF CONTENTS
IMPORTANT SAFETY INSTRUCTIONS
WARNING!
To reduce the risk of serious injury, read the following safety instructions before assembling and using the product.
No responsibility is accepted for damages or injuries resulting from improper installation or noncompliance with these instructions.
Please note that the Manufacturer has no control over the elements such as wind, heavy snow or rain. The Manufacturer cannot
control the location or soil conditions into which the canopy is placed. The Manufacturer, without control of the elements, location
This product is a temporary structure and is not recommended as a permanent structure.
Choose your canopy’s location carefully. Install your canopy on flat horizontal ground only.
Ensure enough clearance around the product. Before assembling the product, find level ground not less than
6' (1.8 m) away from any structures or obstructions, such as fences, garages, houses, etc.
Check for overhead utility lines, branches, laundry lines, etc. Do not install near roofs or other structures that may
shed snow, ice canopyor excessive run-off onto your . Keep away from electrical wires!
Check municipal by-laws before setting up the product.
Get an overview of all parts before attempting installation. Make sure all components are present.
Do not use this product in environments for which it is not intended (i.e. extreme cold, high winds, extreme heat, heavy rainfall, etc.).
Always wear safety glasses when assembling this product. Wear gloves when working with tubing to prevent cuts or abrasions.
Any assembly or maintenance on the product must be carried out by adults only.
Make sure you have the necessary manpower when assembling or moving the product.
Keep children and pets away while setting up the product.
CAUTION! Always keep children under close supervision while they are using this product or are in its vicinity.
Never leave children unattended.
Proper anchoring, keeping the cover tight and free of snow and debris is the responsibility of the consumer. Damages caused by improper
anchoring are not included in the warranty.
WARNING! Keep all flames and heat sources away from this fabric canopy. The fabric will burn if left in continuous contact with a flame source.
Do not use hard-edged tools or instruments, such as rakes or shovels, to remove snow. These may puncture the cover.
This is canopy not meant to hold heavy snow or ice loads. Snow or ice accumulation may cause your canopy to collapse. To avoid overload,
brush snow and ice from the roof with a broom or mop.
NEVER clear the roof of snow or debris from inside the shed to avoid collapse, damage to property, personal injury and/or death.
Remove accumulated water from the roof immediately or disassemble the in order to avoid any damage.canopy
FOR FUTURE REFERENCE
INTENDED USE
This temporary is intended to offer protection from damages caused by the sun, light rain, light snow, tree sap, bird and animal excrements. canopy
or soil conditions, cannot be held responsible for damages caused by the shed to other items or damages to the shed itself.
Do not use alkaline detergent for cleaning. It will damage the polycarbonate material. Soap and warm water are recommended.
IMPORTANT! READ CAREFULLY AND RETAIN
Do not use it to shield goods from high winds, heavy snow or ice storms. Only use it for its intended use.
2
Important safety instructions ...................................................................................................................................................................................... 2
Parts list ....................................................................... ............................................................................................................................................ 3
Assembly preparation ....................................................................... ......................................................................................................................... 3
Assembly ....................................................................... ....................................................................................................................................... 4 - 7
Important notice ....................................................................... ..................................................................................................................................8
............................................................................................................................................................................................................ 2
Intended use

16
77.5” x 2” Pipe
9
77.5” x 1 1/2” Pipe
8
50” Swedge pipe
1
2
3
6
3-way connectors
4
6
4-way connectors
5
56
Ball tie downs
6
8 1
Green/White PE Cover with Leg Skirts
8
Foot pads
7
Part# Description Drawing Qty.
PARTS LIST
3
ASSEMBLY PREPARATION
●Place all parts from the packaging box in a cleared area and arrange them on the ground in front of you.
●Remove all packaging materials and place them back in the box. Do not dispose of the packaging materials until assembly is complete.
●Check for completeness and transport damages.
WARNING!
●Do not place the product under trees from which hard fruit such as apples, walnuts or heavy pine cones, etc., may fall. The shed’s
cover only protects against normal leaves and light debris, whereas large branches or other falling items may puncture or tear the
cover material.
●Keep children away during assembly. This product contains small parts which can be swallowed by children.
●Do not attempt to assemble the product if any parts are missing.
●At least 2 people are needed to complete the assembly as some of the steps require heavy lifting.

ASSEMBLY
4
Step 1
Lay out the roof frame parts as shown below.
5
5
44
4
3
1
2
31
22
2 2 2
2 2 2
5
5
55
444
3
131
3
131
3
131
31
24
5
5
4
4
4
4
4
5
5
5
5
4
2
2
2
2
2
2
2
21
1
1
1
1
1
1
3
3
3
●
Please note:
The Parts #2 are used to form the side and peak.
The parts #1&3 are used to form the roof rafter.
●
Start with the center and complete the center frame first,. Then assemble each side.
●

Step 2
1
1
1
Step 3
5
1
17
Connect 4 legs of one side to the 4-way and 3-way connectors.
ASSEMBLY
●
Unfold the cover with the grommets toward the cover's bottom and place the cover over the frame.
be located at each of the 4 corners of the frame.The flared edges should
●

6
Step 4
ASSEMBLY
●Connect the 4 legs for the other side the same way. And then attach the cover to the frame with ball tie downs.
To properly install a bungee and starting at the four corners of the cover:
Insert the ball tie down into the eyelets and wrap the cord around the tube and hook it over the ball.
●
6
Insert the eight legs into the foot pads. And then attach the S-hook of the leg skirt to the foot pads.
Step 5
●

7
Rope
ASSEMBLY
Step 5
ANCHOR KIT NOT INCLUDED
WITH THIS CANOPY
This canopy is designed for use as a temporary structure. After assembly, the canopy MUST BE securely an chored to the ground to prevent
damage from winds.
Tie anchor cable or rope around the connector at the top of each leg of the canopy.
Securely tie the other end of the cable or rope through the eye of the anchor and pull tight.
Now, continue to screw each anchor into the ground until the eye of the anchor is flush with the ground. This will secure the anchor rope even tighter.
NOTE: You should check and tighten the rope frequently to ensure maximum stability of your canopy and to protect against
wind damage.
●
●
●
Screw each anchor into the ground leaving 2in between the ground and the eye of each anchor.
●
●
●
●
●

IMPORTANT NOTICE: PLEASE READ CAREFULLY
PRECAUTIONS WHICH MUST BE FOLLOWED:
Keep all flame and heat sources away from this tent fabric. The tent fabric will burn if left in continuous
contact with any flame source.
DO NOT cook underneath or near canopy.
DO NOT store or use flammable liquids underneath or near canopy.
DO NOT ignite or store fireworks underneath or near canopy.
DO NOT use bleach to clean cover.
DO NOT dry clean cover.
DO NOT wash cover in washing machine or dry in dryer. Hand wash with mild soap and water only.
DO NOT allow rain water, snow or ice to accumulate on top of cover.
DO NOT hang or suspend anything from the frame, grommets, truss system or ball straps of the unit.
REMOVE canopy cover before a storm, or disassemble entire canopy unit if possible.
REMOVE rain water, snow and ice from canopy cover.
This is a temporary structure and is not recommended for use as a permanent structure.
Maintenance & Care:
Keep the cover on your shelter tight- doing so will reinforce the cover and give it longer life
and performance. A loose cover can cause the fabric to deteriorate quickly. Immediately
remove any ice or snow from the roof with a broom or mop, and use extreme caution.
Always remove from outside the structure, and do not use hard-edge or sharp tools, such as
rakes or shovels- they could puncture the cover. Do not use bleach or abrasive products to
clean the cover- you can easily clean your cover with mild soap and warm water.
Warranty:
This shelter has a 12-month limited warranty against defects or damage that may have been
caused in shipment. Weatherfast grants the original purchaser who has properly used,
installed, and maintained their shelter free replacements parts, including cover, end panels,
or framework pieces, for a period of 12 months after the original purchase date. All warranties
must have the original valid receipt- no registration is required to fulfill your warranty if
necessary.
Customer Service:
For questions, concerns, or to request replacement parts for warranties, please contact our
Customer Service line at (877) 898-3958.
8
IMPORTANT NOTICE
Table of contents
Other Weather Fast Tent manuals
Popular Tent manuals by other brands

ShelterLogic
ShelterLogic SUPERMAX 25770 Assembly instructions

Conway
Conway CardinaI Step by step instruction leaflet

MPTent
MPTent 5m Premium Series Assembly instructions

TerraNation
TerraNation HAREKOHU PLUS Disassembly instructions

Trekking
Trekking ORYX Assembly and care instructions

GigaTent
GigaTent GEN-040 owner's manual