manuals.online logo
Brands
  1. Home
  2. •
  3. Brands
  4. •
  5. Weber
  6. •
  7. Grill
  8. •
  9. Weber SPIRIT 320 User manual

Weber SPIRIT 320 User manual

Other manuals for SPIRIT 320

1

Other Weber Grill manuals

Weber Genesis Jr LP User manual

Weber

Weber Genesis Jr LP User manual

Weber Genesis 2300 NG User manual

Weber

Weber Genesis 2300 NG User manual

Weber E-4710 User manual

Weber

Weber E-4710 User manual

Weber SMOKEFIRE EX4 User manual

Weber

Weber SMOKEFIRE EX4 User manual

Weber Torch User manual

Weber

Weber Torch User manual

Weber genesis E/S 310 User manual

Weber

Weber genesis E/S 310 User manual

Weber SPIRIT EX 3 Series User manual

Weber

Weber SPIRIT EX 3 Series User manual

Weber 54329 User manual

Weber

Weber 54329 User manual

Weber Summit 625 User manual

Weber

Weber Summit 625 User manual

Weber COMPACT KETTLE 57854 User manual

Weber

Weber COMPACT KETTLE 57854 User manual

Weber 58444 User manual

Weber

Weber 58444 User manual

Weber Spirit E-330 User manual

Weber

Weber Spirit E-330 User manual

Weber 670 Series User manual

Weber

Weber 670 Series User manual

Weber Summit Series Guide

Weber

Weber Summit Series Guide

Weber GENESIS 55827 User manual

Weber

Weber GENESIS 55827 User manual

Weber Genesis 310 User manual

Weber

Weber Genesis 310 User manual

Weber PERFORMER 22 1?2 inch User manual

Weber

Weber PERFORMER 22 1?2 inch User manual

Weber Spirit II E310 User manual

Weber

Weber Spirit II E310 User manual

Weber Performer 78763 User manual

Weber

Weber Performer 78763 User manual

Weber Sumnnit E-420 User manual

Weber

Weber Sumnnit E-420 User manual

Weber Spirit E210 CLASSIC User manual

Weber

Weber Spirit E210 CLASSIC User manual

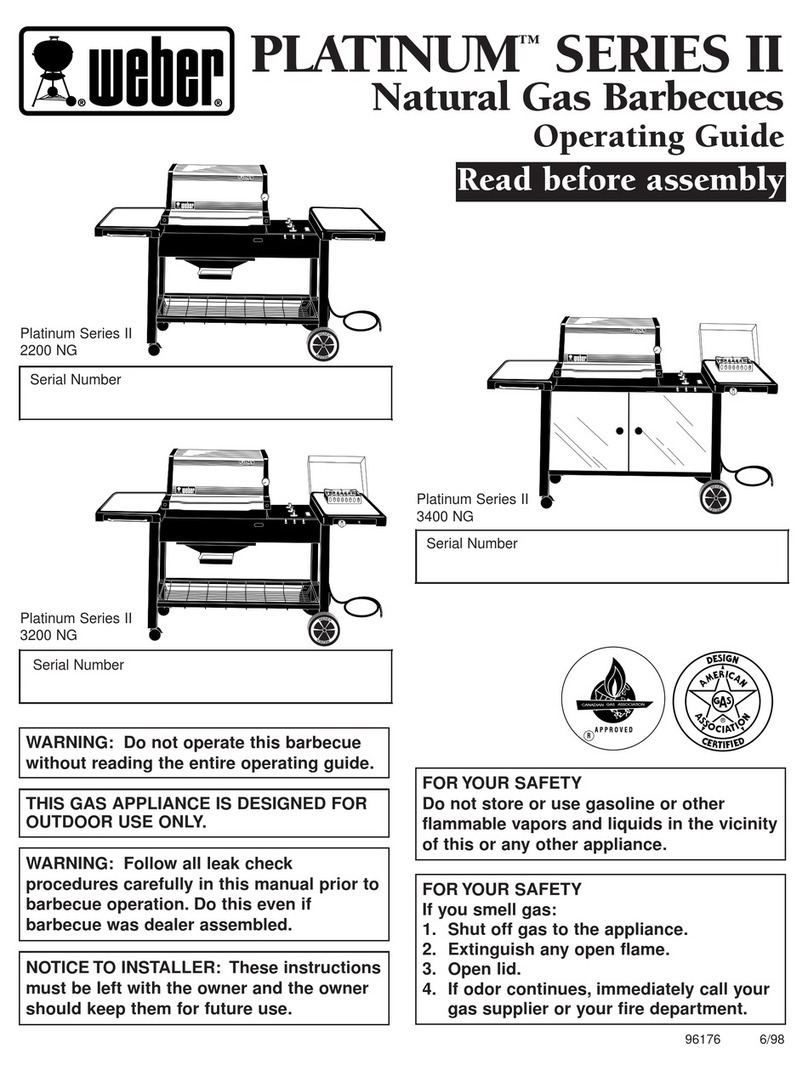
Weber PLATINUM SERIES II User manual

Weber

Weber PLATINUM SERIES II User manual

Weber GENESIS 1000 User manual

Weber

Weber GENESIS 1000 User manual

Weber 3400 Series User manual

Weber

Weber 3400 Series User manual

Popular Grill manuals by other brands

LMS BBQ08873P owner's manual

LMS

LMS BBQ08873P owner's manual

Cookworks LW-8010A Care & instruction manual

Cookworks

Cookworks LW-8010A Care & instruction manual

Campingaz CV Instructions for use

Campingaz

Campingaz CV Instructions for use

Metos XBL Series Installation and operation manual

Metos

Metos XBL Series Installation and operation manual

Fiesta ET34567 Use and care instructions

Fiesta

Fiesta ET34567 Use and care instructions

Mayer Barbecue BRENNA MKG-318A BASIC Assembly instructions

Mayer Barbecue

Mayer Barbecue BRENNA MKG-318A BASIC Assembly instructions

Landmann Avalon PTS Plus 5.1 Plus 12122 Assembly and operating manual

Landmann

Landmann Avalon PTS Plus 5.1 Plus 12122 Assembly and operating manual

Kenyon B70200 owner's manual

Kenyon

Kenyon B70200 owner's manual

Better Homes and Gardens GBC1486W owner's manual

Better Homes and Gardens

Better Homes and Gardens GBC1486W owner's manual

Orbegozo GR 2300 instruction manual

Orbegozo

Orbegozo GR 2300 instruction manual

bora PT11 Operating and installation instructions

bora

bora PT11 Operating and installation instructions

Klarstein 10031664 manual

Klarstein

Klarstein 10031664 manual

Garland MWE3W Installation and operation manual

Garland

Garland MWE3W Installation and operation manual

Char-Broil 463722714 Product guide

Char-Broil

Char-Broil 463722714 Product guide

MPM MOP-03 user manual

MPM

MPM MOP-03 user manual

Kenmore 415.16123800 Use and care guide

Kenmore

Kenmore 415.16123800 Use and care guide

Tucker Barbecues GTR Series Assembly, installation and operating instructions

Tucker Barbecues

Tucker Barbecues GTR Series Assembly, installation and operating instructions

Monogram ZGG540NCP1SS owner's manual

Monogram

Monogram ZGG540NCP1SS owner's manual

manuals.online logo
manuals.online logoBrands
  • About & Mission
  • Contact us
  • Privacy Policy
  • Terms and Conditions

Copyright 2025 Manuals.Online. All Rights Reserved.


1
6
7
3
9
13
12
19
16
14 15
21
24
20
22
10 11
13
18
17
12
5
2
8
23
320™
89943 US 06/25/10
LP
US ENGLISH
UNPACKING INSTRUCTIONS • INSTRUCCIONES DESEMPAQUETAR • INSTRUCTIONS POUR LE DEBALLAGE
TOOLS NEEDED:
HerramientaERRAMIENTAS REQUERIDAS:
OUTILS NECESSAIRES:
ASSEMBLY INSTRUCTIONS • INSTRUCCIONES DE
MONTAjE • INSTRUCTIONS DE MONTAGE
m
IMPORTANT: TO PROPERLY
ALIGN fRAME AND DOORS,
ASSEMBLE GRILL ON A fLAT
AND LEVEL SURfACE.
m
IMPORTANTE: PARA ALINEAR
CORRECTAMENTE EL
BASTIDOR Y LAS PUERTAS,
ARME LA BARBACOA SOBRE
UNA SUPERfICIE PLANA Y
HORIZONTAL.
m
IMPORTANT: POUR ALIGNER
CORRECTEMENT LE CHASSIS
ET LES PORTES, ASSEMBLEZ
LE GRILL SUR UNE SURfACE
PLANE ET A NIVEAU.

2 - 2 -
• Flip over frame assembly so the casters are on a flat surface.
• Voltee el ensamble del bastidor de manera que las ruedas
locas queden sobre una superficie plana y horizontal.
• Retournez l’ensemble du châssis de sorte que les roues
reposent sur une surface plane et à niveau.


LR
“L” “R”
a
b
c
e
f
d
h
g
i
j
14 - b
2 - b
2
3
5
4
1 - j
6 - j
6
4 - g
b
4 - g
b
8b
8a
7
10b
11 1 - f
2 - a
12a
12b
4 - c

92 - g
b
10a

Panneau de porte
gauche - 1
Panneau de porte droit - 1
Poignée de porte - 2
Coffrage droit - 1
Coffrage gauche - 1
Plateau de recueil
des gouttes - 1
Structure - 1
Tablette latérale
droite - 1
Tablette latérale
gauche - 1
Grille de cuisson - 2
Bouton - 3
Ecrou de verrouillage - 2
MATÉRIEL
Ensemble du boîtier
de cuisson - 1
Panneau avant - 1
Support du châssis avant - 1
Support du châssis arrière - 1
Plateau inférieur - 1
Panneau arrière - 1
Egouttoir - 1
Egouttoir jetable - 2
Barre Flavorizer® - 5
Ecrou - 2
Support de l’égouttoir - 1
Garniture gauche - 1
Brûleur latéral - 1
Garniture droite - 1
Grille de maintien
au chaud - 1
Matériel:
Boulons hexagonaux zinc
noir 1 pouce (25 mm)
(1/4 x 20 x 1 po) - 2
Boulons hexagonaux zinc
noir 1/2 pouce (12,7 mm)
(1/4 x 20 x 1/2 po) - 18
Rondelle/vis zinc noir
(1/4 x 14) - 8
Vis de mécanique
(8-32 x 5/16) - 10
Écrou keps - 1
Rondelle en nylon - 12
Anneau brisé -2
Goupille fendue - 2
Écrou à ressort en J - 7
Vis/rondelle en acier
inoxydable - 2
Panel de la puerta
izquierda - 1
Panel de la puerta
derecha - 1
Asa de la puerta - 2
Bastidor derecho - 1
Bastidor izquierdo - 1
Bandeja de goteo - 1
Defensa - 1 Mesa lateral
derecha - 1
Mesa lateral
izquierda - 1
Parrilla de
cocción - 2
Perilla - 3
Rueda loca con
traba - 2
Rueda loca - 2
HERRAJES
Ensamble de la caja
de cocción - 1
Panel delantero - 1
Soporte delantero del bastidor -1
Soporte posterior del bastidor -1
Bandeja del fondo - 1
Panel trasero - 1
Plato recolector - 1
Bandeja de goteo
desechable - 2
Barra Flavorizer® - 5
Sostenedor del
plato recolector - 1
Pieza de ajuste izquierda - 1
Quemador lateral - 1
Pieza de ajuste derecha - 1
Rejilla para
calentar - 1
Herrajes:
Perno hexagonal de cinc
negro de 1 pulgada
(1/4 x 20 x 1 In.) - 2
Perno hexagonal de cinc
negro de 1/2 pulgada
(1/4 x 20 x 1/2 In.) -18
Arandela/perno (1/4 x 14)
de cinc negro - 8
Tornillo de máquina
(8-32 x 5/16) - 10
Tuerca de
enclavamiento -1
Arandela de nilón - 12
Pasador de horquilla - 2
Clavija hendida -2
Grapa J -7
Arandela/tornillo
inoxidables - 2
Left Door Panel - 1
Right Door Panel - 1
Door Handle - 2
Right Frame - 1
Left Frame - 1
Front Frame Support - 1
Cookbox Assembly - 1 Front Panel - 1 Slide Out
Grease Tray - 1
Shroud - 1 Right Side Table - 1 Left Side Table - 1 Cooking Grate - 2
Knob - 3
Locking Caster - 2
Caster - 2
Catch-Pan Holder - 1
HARDWARE
Rear Frame Support - 1
Bottom Panel - 1
Rear Panel - 1
Catch-Pan - 1
Disposable Drip
Pan - 2
Flavorizer® Bar - 5
Left Trim Piece - 1
Side Burner - 1
Right Trim Piece - 1
Warming Rack - 1
Hardware:
1 Inch Black Zinc Hex Bolt
(1/4 x 20 x 1 In.) - 2
1/2 Inch Black Zinc Hex Bolt
(1/4 x 20 x 1/2 In.) - 18
Black Zinc Washer/Bolt
(1/4 x 14) - 8
Machine Screw
(8-32 x 5/16) - 10
Stainless Screw
& Washer - 2
Keps Nut - 1
Nylon Washer - 12
Clevis Pin -2
Cotter Pin - 2
J-Clip - 7
1
2
1
2
1
2
R
L
Matériel:
Herrajes:
Hardware:
1
2
1
2

1 -
WARNING: The side burner orifice (1)
must be parallel to the side burner
tube opening (2).
ADVERTENCIA: El orificio (1) del
quemador lateral debe de estar
paralelo a la abertura (2) del tubo del
quemador lateral.
MISE EN GARDE: L’orifice du brûleur
latéral (1) doit être
parallèle à l’ouverture du tube du
brûleur latéral (2).
3 -
12
• To adjust door:
• Para ajustar la puerta:
• Pour ajuster la porte:
1
2
Stainless Screw
& Washer - 2
Écrou keps - 1
Tuerca de
enclavamiento -1
Keps Nut - 1
Rondelle en nylon - 12
Arandela de nilón - 12
Nylon Washer - 12
Pasador de horquilla - 2
Clevis Pin -2
Clavija hendida -2
Cotter Pin - 2
Boulons hexagonaux zinc
noir 1 pouce (25 mm)
(1/4 x 20 x 1 po) - 2
Perno hexagonal de
cinc negro de 1 pulgada
(1/4 x 20 x 1 In.) - 2
1 Inch Black Zinc Hex Bolt
(1/4 x 20 x 1 In.) - 2
Boulons hexagonaux zinc
noir 1/2 pouce (12,7 mm)
(1/4 x 20 x 1/2 po) - 18
Perno hexagonal de cinc
negro de 1/2 pulgada
(1/4 x 20 x 1/2 In.) -18
1/2 Inch Black Zinc Hex Bolt
(1/4 x 20 x 1/2 In.) - 18
Rondelle/vis zinc noir
(1/4 x 14) - 8
Arandela/perno (1/4 x 14)
de cinc negro - 8
Black Zinc Washer/Bolt
(1/4 x 14) - 8
Machine Screw
(8-32 x 5/16) - 10
J-Clip - 7
Grapa J -7
e
f
a
b
c
d
h
i
j
g
16a
15
14 4 - 2 -
c
13d
2 - e
13c
2 - d
2 - d
13b
13a 16b
2 - d
17
18
19
21
20
22 2 - hi
24 2 - g
b
23d
23c
23b
23a
4 - d
Vis/rondelle en acier
inoxydable - 2
Vis de mécanique
(8-32 x 5/16) - 10
Anneau brisé -2
Goupille fendue - 2
Écrou à ressort en J - 7
Arandela/tornillo
inoxidables - 2
Tornillo de máquina
(8-32 x 5/16) - 10