Operating instructions, Piercing press, Weidmann Type MV5 Version: May 2019 Page 2
The purpose of these operating instructions
These operating instructions must be retained for the entire service life of the piercing press and must be
observed whenever any activities are undertaken in connection with the piercing press.
If you sell the piercing press on to a third party, you must hand these operating instructions over to the
purchaser concerned.
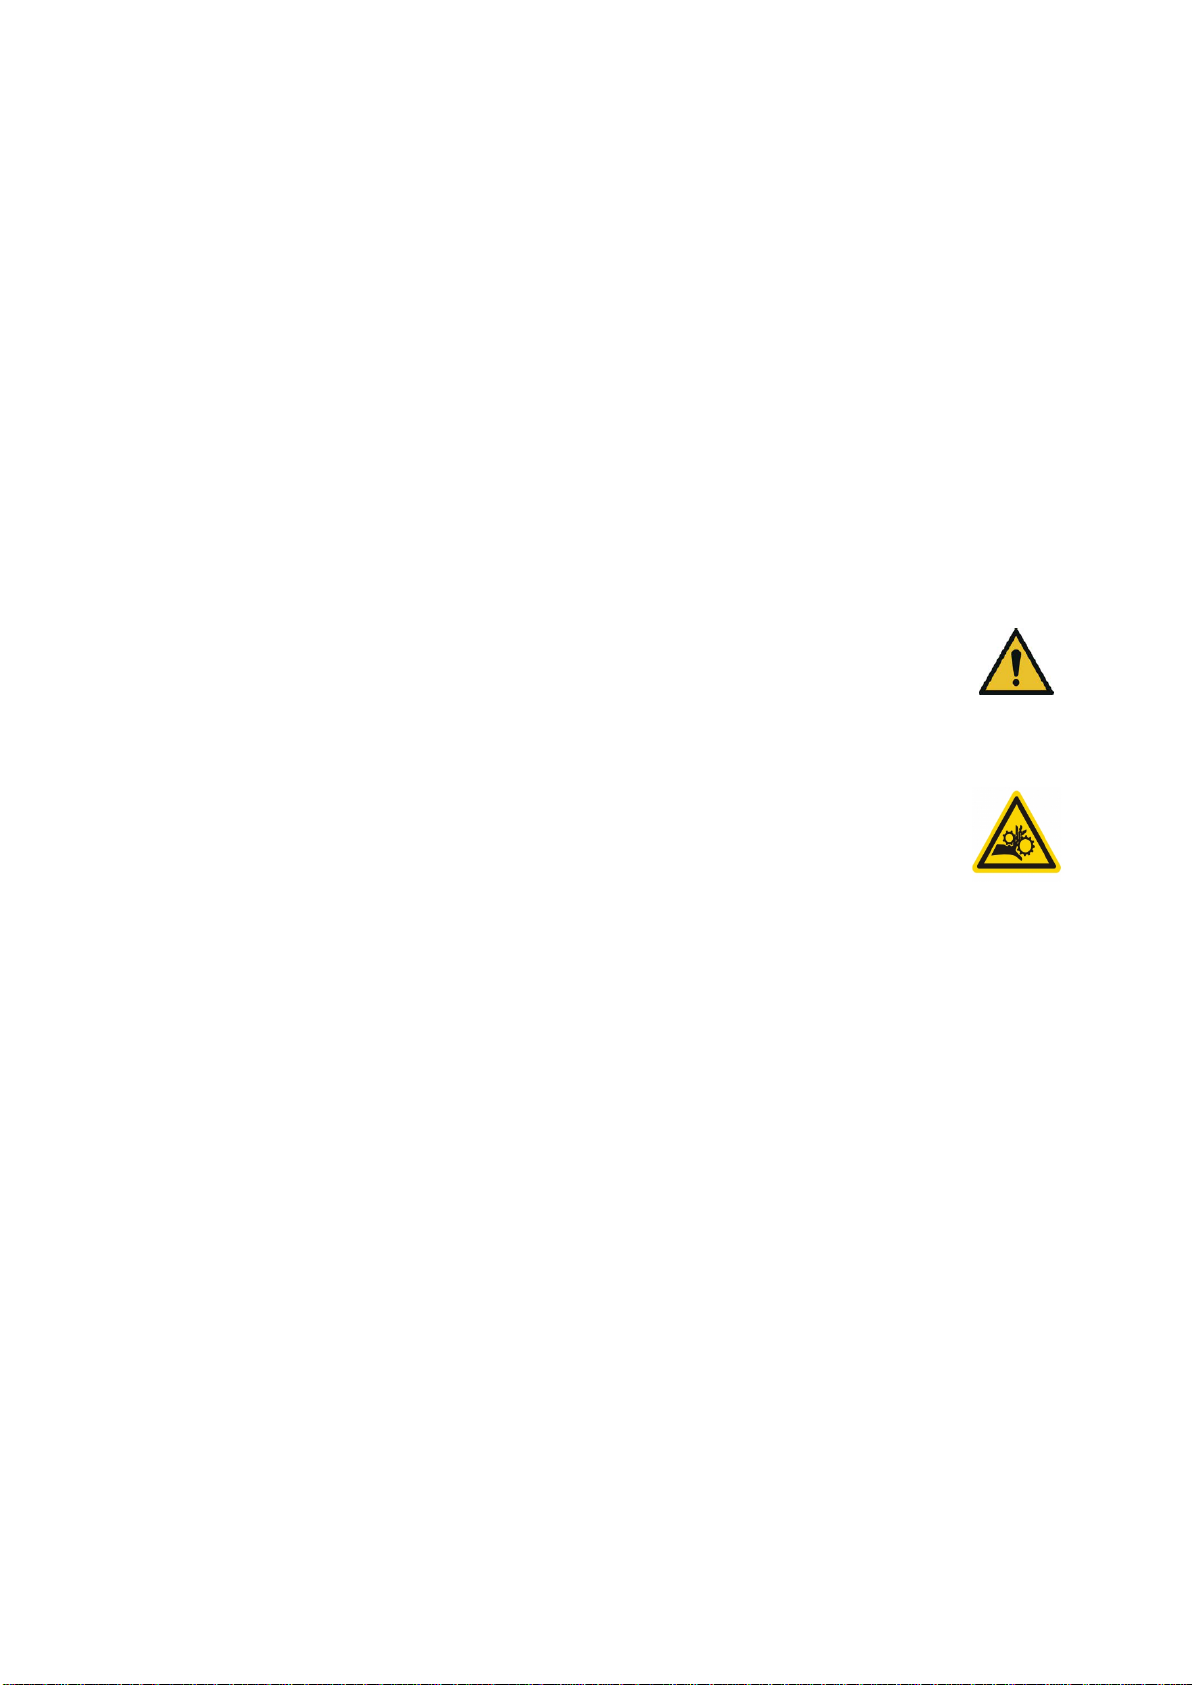
General safety information and general safety instructions
You may be exposed to the risks set out below whenever you use the piercing press, and you must therefore
take the following protective measures:
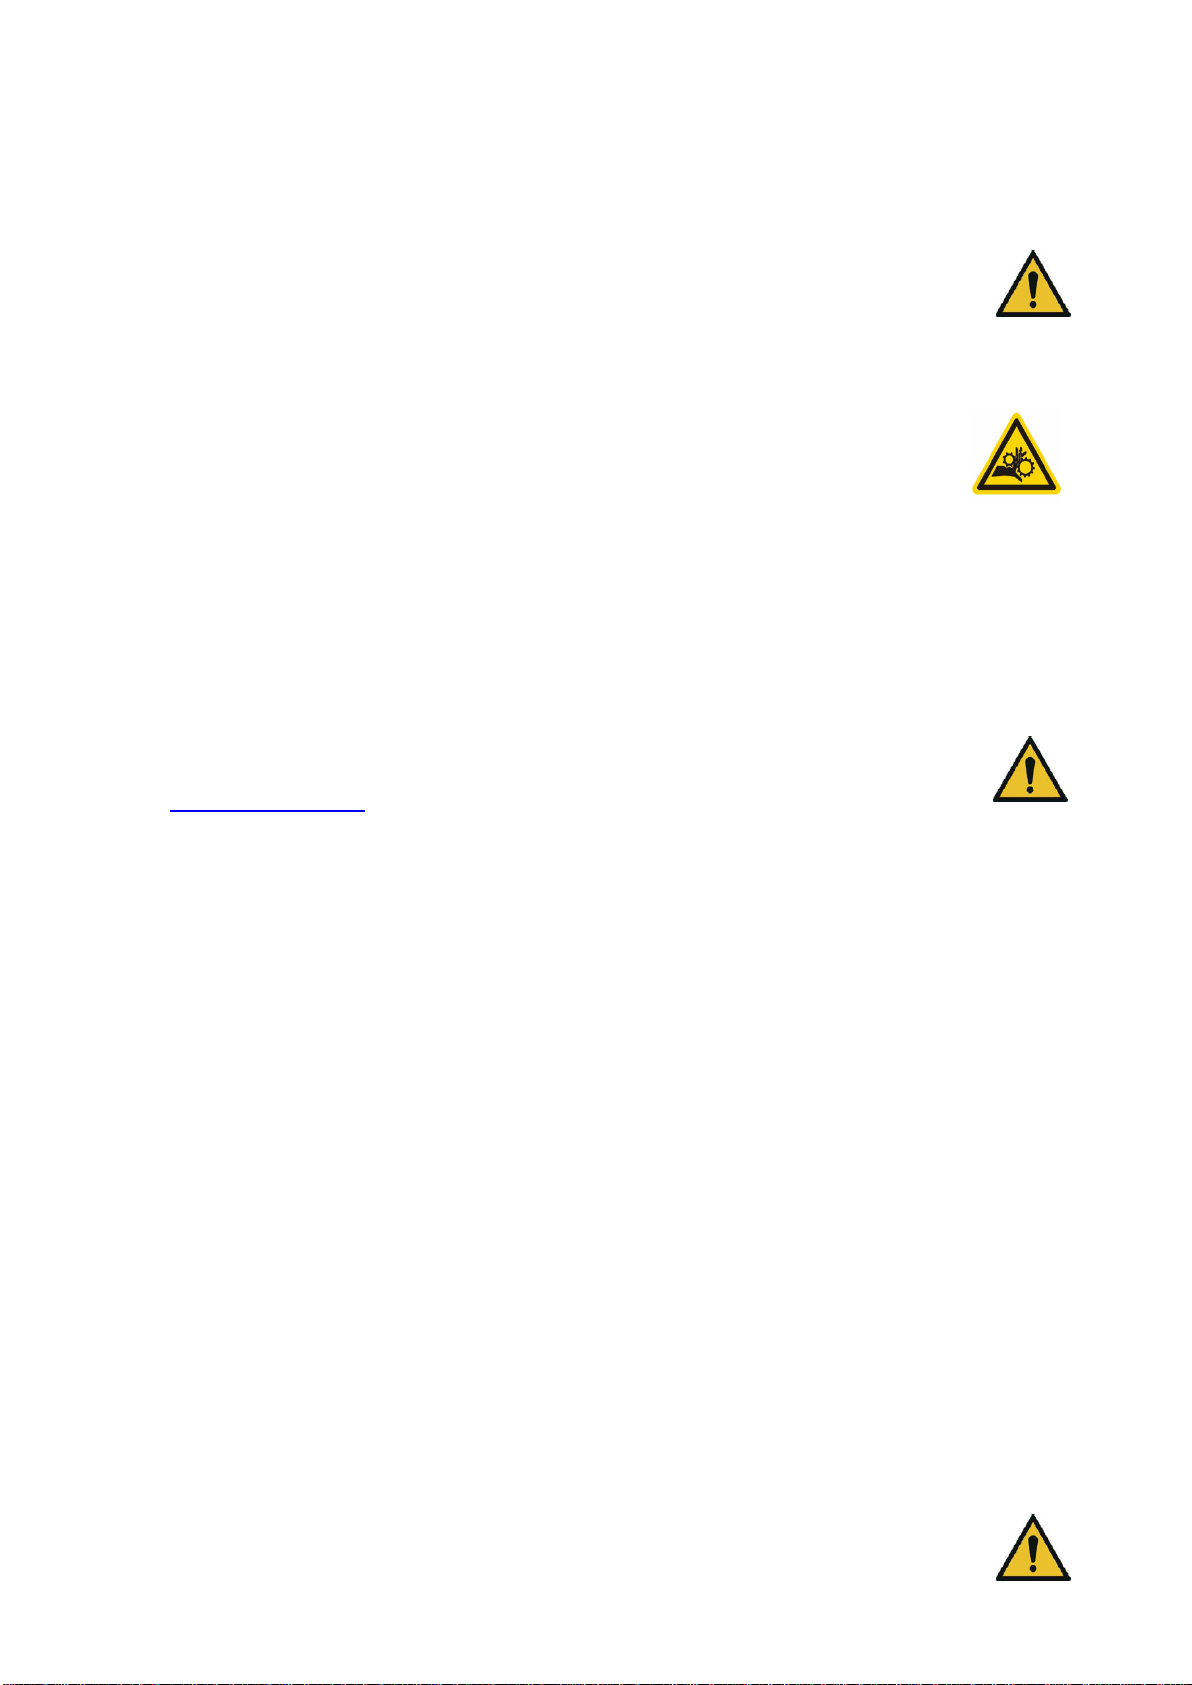
The spindle dropping down: Always be sure to apply the brake on the spindle ……………….
Parts falling off: Wear safety shoes in line with EN20345
Parts flying off: Wear safety goggles in line with EN166 and protective gloves
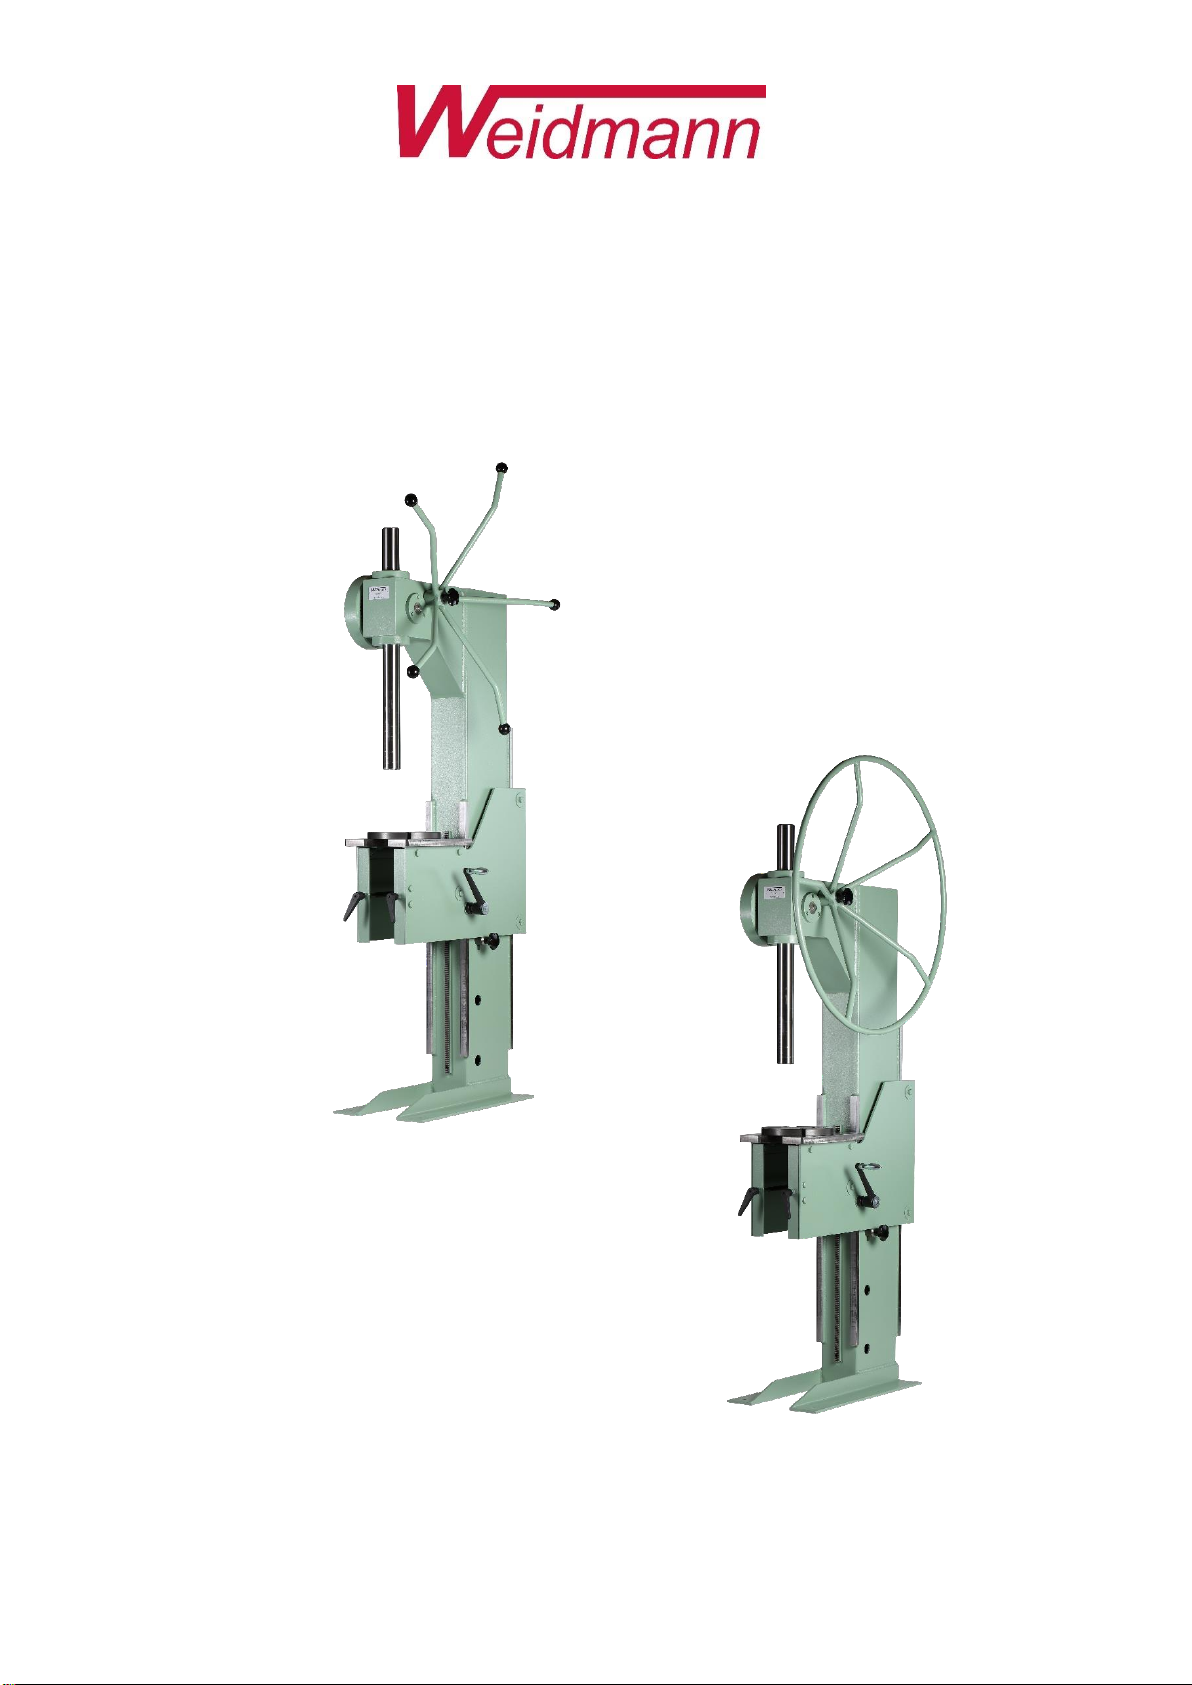
Description of the piercing press
Mechanical piercing press, manually operated, with an adjustable table.
The manufacturer rejects all liabilities for any defects that may arise as a result of any modification that may
have been made to the piercing press without the written approval of the manufacturer.
Intended use
This press is intended for use by adults within indoor spaces in trading and industrial premises.
These presses can be used for all pressing-in and pressing-out operations, at pressure forces of up to 5 tonnes.
The press is also suitable for the following tasks: broaching, straightening, pressing, bending, riveting,
embossing, stamping and assembly tasks.
The following are examples of improper use: splitting wood and the simultaneous operation of the hand wheel
by more than one person.
Only those people who have read the necessary information within the operating instructions may work with
the press,or interfere with the press or its operation.
Important information about the piercing press
The piercing press is constructed in line with the current status of technology and meets the requirements of
the Swiss Federal Law on Product Safety, as well as the Swiss Ordinance on Product Safety.
Dimension Diagram (Layout/Plan view), see Page 10
Drawing of Punch Insert, see Page 11
Illustration of All Parts /Replacement Parts, see Page 12
Datasheet for HSA Stud Anchors by Hilti, see Pages 13/14