Weistec 01-000-01914-6 User manual

______________________________________________________________________________
Phone 877-WEISTEC Fax 888-516-8219
www.weistec.com
1
Weistec Can-Am Maverick X3
Optima Battery Kit Installation Guide
•2016+ Can-Am Maverick X3
Product P/N: 01-000-01914-6

______________________________________________________________________________
Phone 877-WEISTEC Fax 888-516-8219
www.weistec.com
2
WEISTEC Can-Am Maverick X3 Optima Battery Kit
Thank you for your purchase of the Weistec Optima Battery Kit for the Can-Am Maverick X3
Vehicles. Please follow all directions, and keep a clean work space when commencing
installation.
Tools Required
•3/8" Drive Ratchet
•18mm 3/8” Drive Socket
•13mm 3/8” Drive Socket
•10mm 3/8” Drive Socket
•12mm 3/8” Drive Socket
•12" Long 3/8" Drive Extension
•3” Long 3/8” Drive Extension
•13mm Wrench
•10mm Wrench
Only Needed if installing for
Racing or Extreme Applications
•11/32” Drill Bit
•Power Drill

______________________________________________________________________________
Phone 877-WEISTEC Fax 888-516-8219
www.weistec.com
3
Installation
1. Rear Passenger side Seat Removal
a) Disconnect the top of the seatbelts from the behind the seat
b) Move the seat to the furthest back seating postion that it will go to, once
you do that you can look through the holes in the back of the seat and
see the tops of the 18mm nuts.

______________________________________________________________________________
Phone 877-WEISTEC Fax 888-516-8219
www.weistec.com
4
c) Remove 2- 18mm nuts from the rear of the seat.
d) Remove 2- 13mm bolt and nuts from the front of the seat
e) Remove the Seat from the car, the seat belts will come out with the seat.

______________________________________________________________________________
Phone 877-WEISTEC Fax 888-516-8219
www.weistec.com
5
2. Stock Battery Removal
a) There may be a door in place covering the battery area, please remove it.
b) Remove the single 10mm bolt holding the battery lug to the terminal on
both the positive and negative side of the battery.
c) Remove the 2- 10mm bolts holding the front of the stock battery in place.
3. Only For Racing and Extreme Applications, If you do not need to
do this step, proceed to Section 4.
a) Place the Weistec Battery cover in its place to use as a template, push the
top bolt into its hole on each side. The lower holes need to be drilled to
allow a fastener into them.Remove the single 10mm bolt holding the
battery lug to the terminal on both the positive and negative side of the
battery.

______________________________________________________________________________
Phone 877-WEISTEC Fax 888-516-8219
www.weistec.com
6
b) Mark the center of the non drilled hole on both sides.
c) Remove the Battery plate and then drill both holes at the marked
locations using an 11/32” Drill Bit and Power Drill

______________________________________________________________________________
Phone 877-WEISTEC Fax 888-516-8219
www.weistec.com
7
4. Wiring Preparation
a) Remove the wire FurTree holding the ground wire to the back of the
enclosure.
b) Set the Battery into the cubby with the Battery Posts facing outward.
c) Remove the stock rubber terminal cover over the Positive cable, feed the
new provided terminal covers onto both the negative and positive wires.
Connect the Can-Am wires to the Battery clamps using a 10mm(Bolt Side)
and 13mm(Nut Side) wrench or socket.

______________________________________________________________________________
Phone 877-WEISTEC Fax 888-516-8219
www.weistec.com
8
d) Using a 10mm socket, flip the lower wire on the starter solenoid so it is
facing backwards.
Before- Angled to the Right After- Aimed to the Left
e) Secure the battery clamps onto the battery using a 13mm socket or
wrench
f) Move the covers until they cover both battery terminals are sufficiently
covered.
Lower
Wire
Before
Lower
Wire
After

______________________________________________________________________________
Phone 877-WEISTEC Fax 888-516-8219
www.weistec.com
9
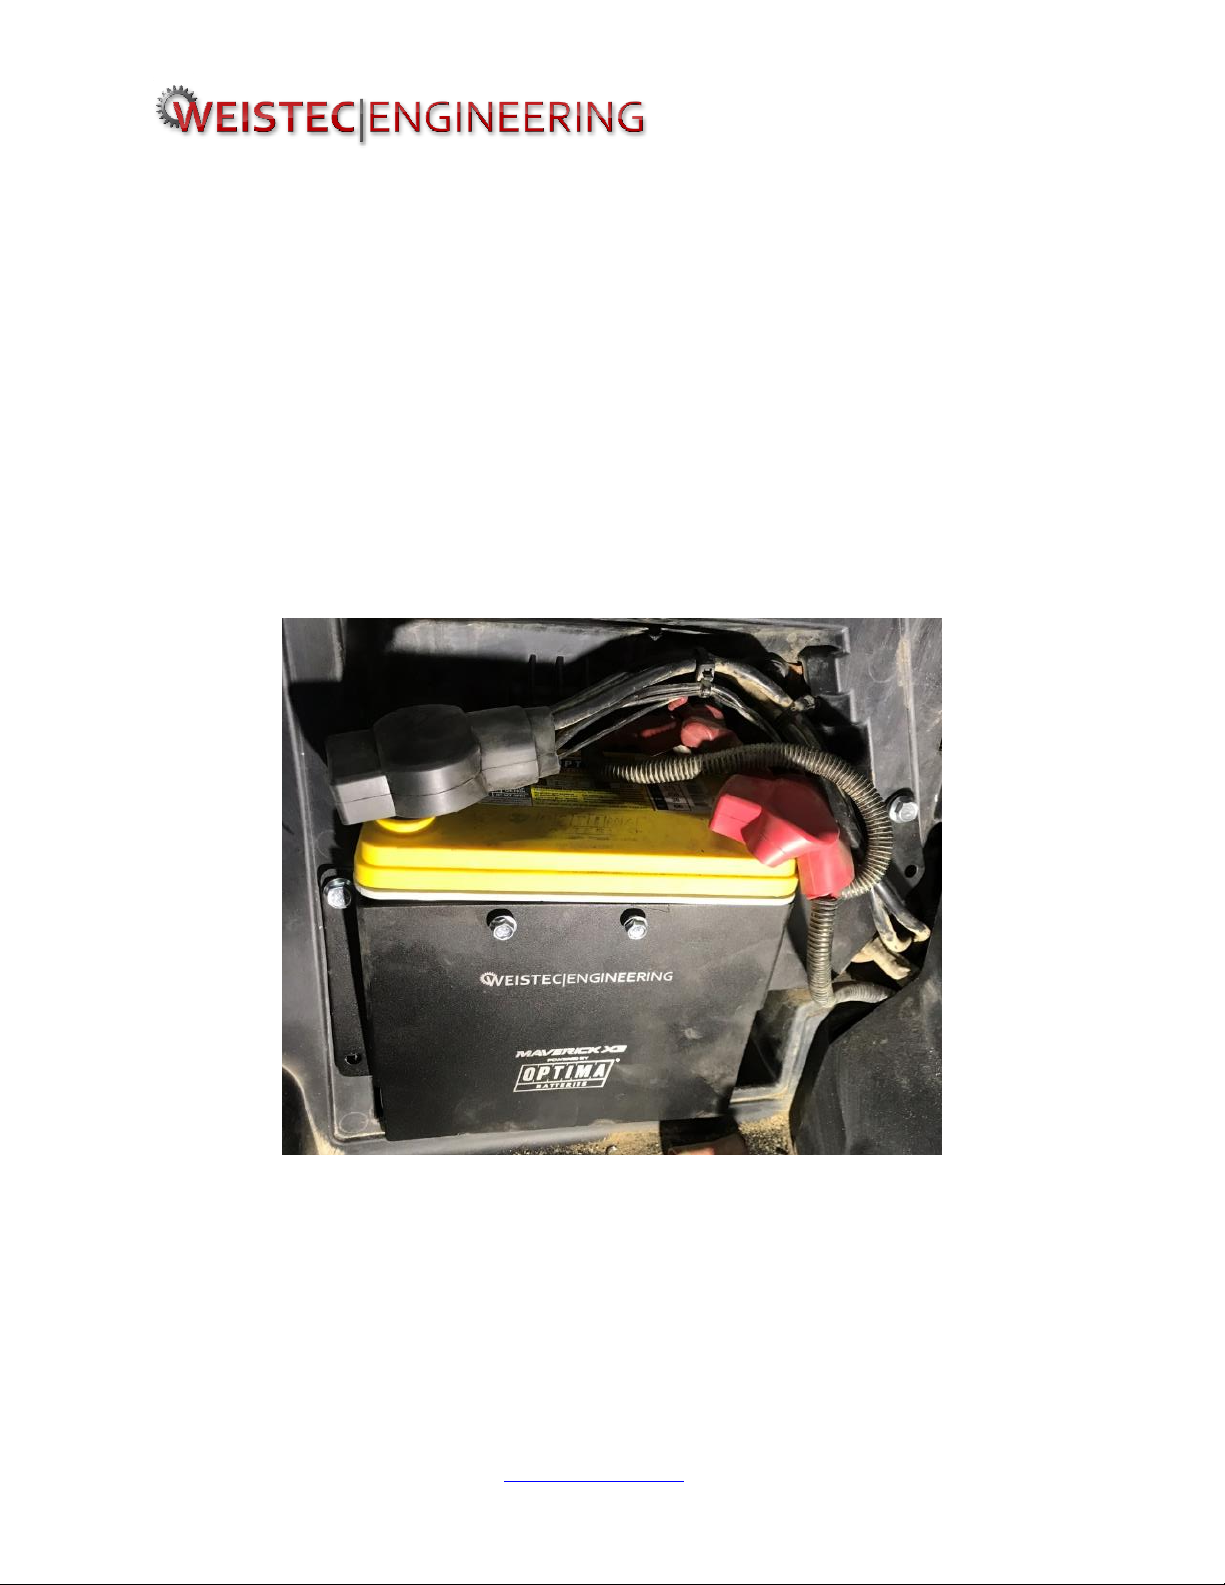
5. Mount Installation
a) Place the Front Battery mount into place and feed the bolts through the
top hole on each side of the mount.
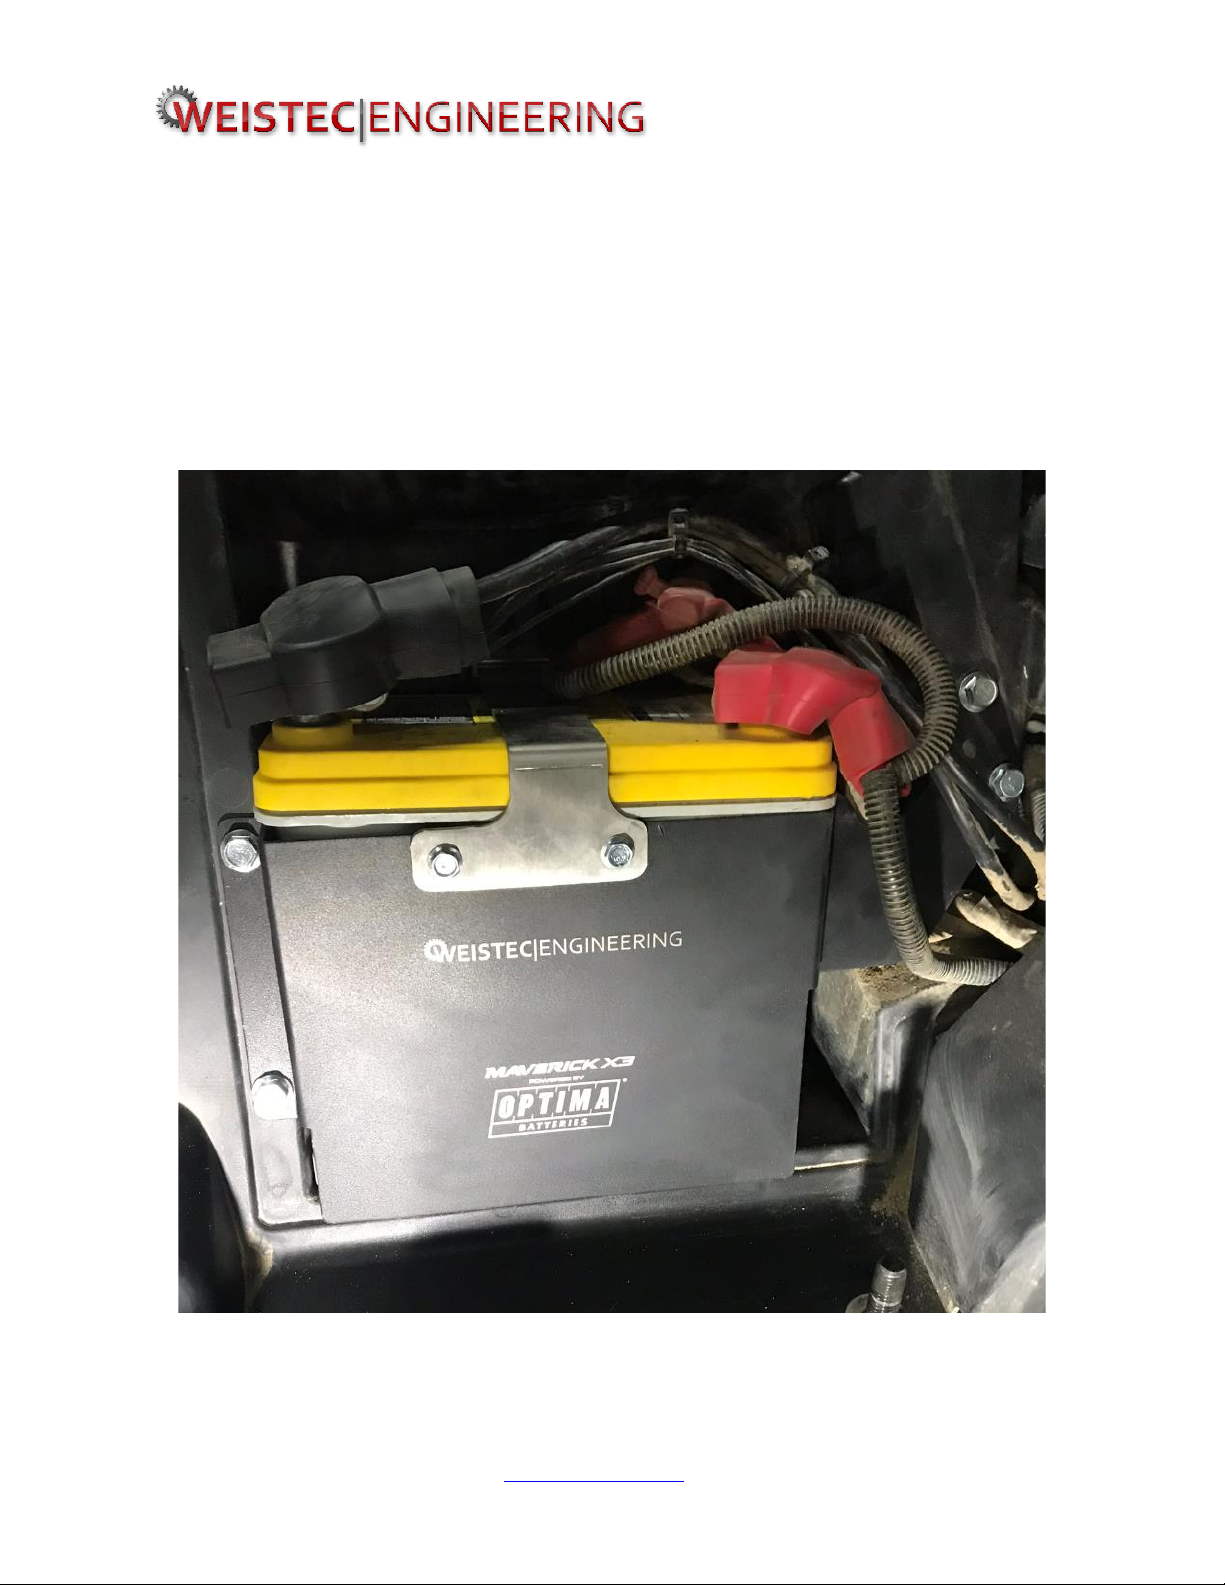
b) Using a 10mm socket, 3” 3/8” Drive Extension, and 3/8” Drive Ratchet on
the bolt side and a 13mm Wrench on the nut side tighten the side closest
to you, don’t sinch it completely down as you will need a slight amount of
play to ensure everything fits well.
c) Using the same technique, tighten the top bolt and nut on the inner side,
this one is rather difficult to get to and you will likely need another
person outside the vehicle to reach in from the drivers side to hold the
nut side. Don’t sinch this completely down as you will need a slight
amount of play to ensure everything fits well.
d) Only for Racing or Extreme Applications:
i. Using the same technique as the previous 2 bolts, press the lower bolt
through on the side closest to the center of the vehicle, you are going
to need a second person to hold the nut on the backside. Don’t sinch
this completely down as you will need a slight amount of play to
ensure everything fits well.

______________________________________________________________________________
Phone 877-WEISTEC Fax 888-516-8219
www.weistec.com
10
ii. Using the same technique as the previous 3 bolts, press the lower bolt
through on the side furthest from to the center of the vehicle, this one
can easily be done with one person.
e) Tighten all bolts holding the front housing in place, there is no torque
spec, however ensure all fasteners are snug.
f) Clip the front brace through the mount section in the rear of the battery
cubby.
g) Using a 10mm socket tighten the top brace to the front battery mount.
Enjoy your new Weistec Optima Battery Mount!!
Table of contents