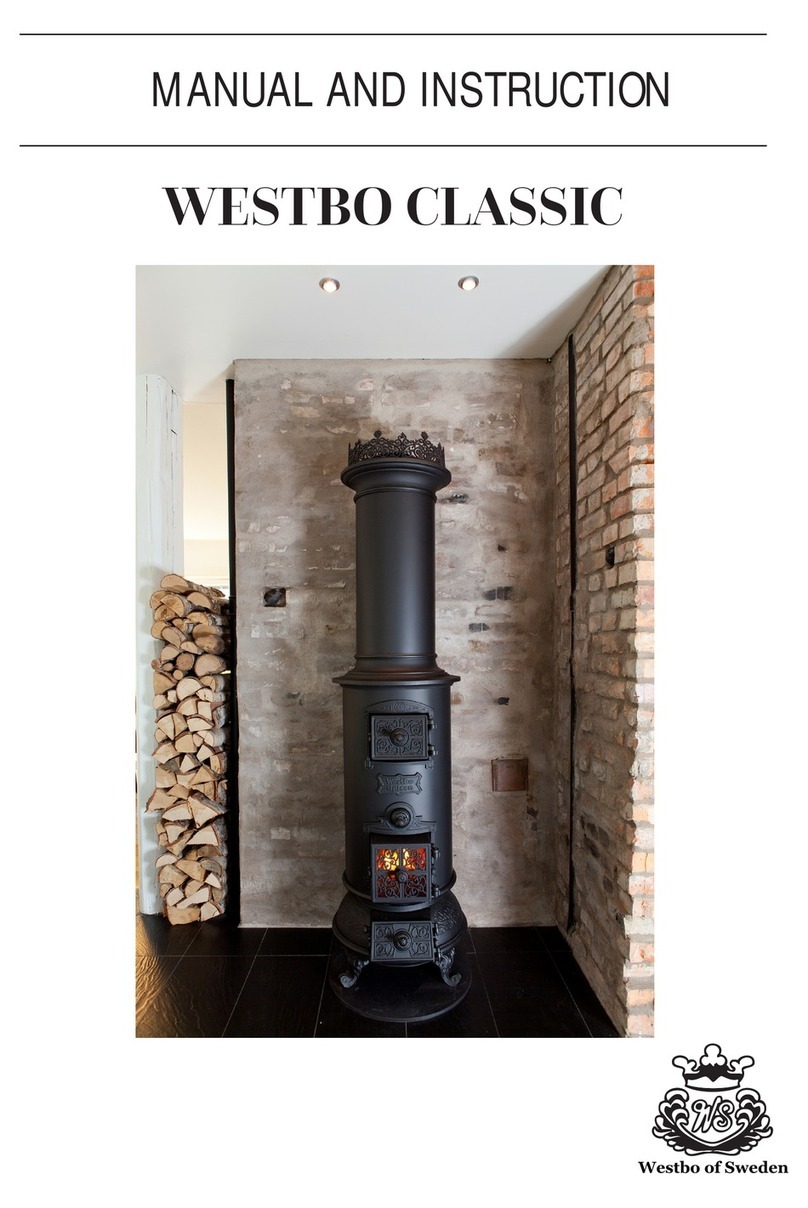
Westbo Carl 95 Manual

MANUAL AND INSTRUCTION
WESTBO CARL 95
Westbo of Sweden

Westbo of Sweden
Westbo Carl 95 General instructions
Building notication
Before installation of the re place and construction of a
chimney, it is a demand to do a building notication.
For piece of advise, contact your local authorities.
When receiving the stove
When the stove is received it is important to check the goods
to see that the stove is not damaged during the transport.
Damages should be notied to the freight company immedia-
tely.
Floor protection
The oor protection prevents the oor in front of the stove from
sparks. Check your local regulations by your domestic autho-
rites.The oor protection could consist of 0,7 mm metal sheet,
glass, tiles, natural stone etc.
Please read this folder carefully and also the
instruction from the chimney sweeper before the
assembling starts.
Good luck with your new
Westbo Carl 95
Westbo of Sweden
Cut the strap and remove the carton.
The Westbo Carl has
adjustable feets.

Westbo of Sweden
Westbo Carl 95 Preparation/connection to chimney
Preparation of the stove
Cut off the strap that holds the cardboard in place around the
stove. Lift off the cardboard box and check that the stove is
undamaged.
Transport damage must be reported direct to the transport
company.
Lift the stove off the pallet. The top plate is placed under the
stove.
The feets are adjustable and could be adjusted if the level differs
on the surface. Check this before doing the measurements for
hole making. Proceed to the next step.
Connection to new chimney
Follow the instructions from the chimney supplier.
The stove can only be connected backwards in the original
version, as optional it can be connected upwards.
Connection to existing chimney
Before starting interventions in the smoke channel, it is impor-
tant to let an expert check and inspect. This to be sure that it is
dense and properly dimentionated for the stove.
Westbo Carl 95 could be connected to the back as
original. Top connection can be purchased as extras.
Adapter is 120 mm in diameter.

Westbo of Sweden
Westbo Carl 95 Change of glass, handling of ashes
Change of front glass
Open the cover and remove the brackets in the corners inside
the stove.
The seal between the glass and the door must be checked.
In some cases it needs to be replaced.
Make sure that it is tight between the glass and the door.
Emptying the ashes
Pull out the ash tray and put the ashes in a non-com-
bustible container.
See picture 2.
NOTE!
The ashes could contain embers for several days after
nished ring.
Picture 1
Picture 2

Westbo of Sweden
Westbo Carl 95 Assembling/removal of vermiculite
Use this tting instruction if the vermiculite
details needs to be changed.
1. Remove the crown. 2. Remove the cooking plate and
the ring.
3. Remove the deector in steel and
the parts on the side (F), the front
smoke shelf (E) and nally the rear
smoke shelf (D).
4. Remove the three screws on each
side and pull the sheets towards the
front side of the stove.
5. Lift the vermiculite. (A)Then all
will be released.
A. Vermiculite, long
B. Vermikulite medium
C. Vermiculite, short
D. Smoke shelf, rear
E. Smoke shelf, front
F. Smoke shelf, side

Note!
It is important to get a quick ashover of the wood, do
not close the glass hatch before the wood has started to
burn.
If the re is smoldering it could in worse cases cause a
gas explosion, which coud damage your stove.
When rewood is replenished, carefully open the glass
hatch so that smoke rashes are avoided.
Never ll up the rewood as long as it burns well.
Recommended amount of wood
We recommend 1,5-2 kilo of wood. The maximum
allowable amount of wood is about 2 kg per hour
for dry chopped re wood.
Chimney re
In case of chimney re, all doors and air controls
must be closed. If necessary contact the authories.
After an eventual re, the chimney must be inspected
by the chimney sweeper.
Westbo of Sweden
Westbo Carl 95 General Instructions
How to use the stove
Air controls
The stove is equipped with a handle for air supply to the
combustion.
Emptying the ashes
The ash box is placed under the gap. See picture 2 on
previous side.
Open the grate with the handle in the grate. Use brush and
tool to get the ashes down in the box.
Never empty ashes in a combustible vessel, use a sheet metal
vessel with a tight lid instead. There can be embers left in the
ashes a long time after nished ring.
Cleaning
There are special detergents for cleaning the glass hatch at
your retailer. Do not use abrasive detergents. The sheet metal
plate is cleaned by a damp cloth.
Smell
At the rst ring, a certain smell might occur. This due to the
coating on the sheet metal is burnt off.
The smell disappears after a couple of bonres.
Fire up
We recommend that you use re starters that you nd at your
dealer. By using them it will be a quick re of the wood and a
cleaner combustion.
Never use ignition uid.
By the rst re the handle for air supply should be completely
open. When the handle is pulled to the right it will be open, and
when pulling it to the left the damper is closed.
See picture 3 and 4.
Use approximately 2 kilo wood logs (small wood logs) and add
two or three re starters on top and re up. Let the door on the
stove stand half open.
Close the door when the re starts. By doing this it will be a
quick ashover of the re which minimizes soot coating on the
glass.
Continuous ring
It is important to have a correct temperature in the stove to
get the most out of your product.
When the stove is used in the right way, the smoke should
not be visible.
Adjust the supply air slider relative to the chimney draft.
It should burn well, if it is strangled too much, there is a
risk of soot coating in the replace as well as soot on
the glass.
Picture 3
Picture 4

Westbo of Sweden
Westbo Carl 95 Wood handling
Preparation
We recommend a diameter of 6-10 centimetre and that the
wood logs are 6 centimetre shorter than the replace.
This will help the air to circulate in the best possible way. If the
diameter is bigger, the wood logs must be splitted. Wood logs
that are splitted will dry better.
Storage
The splitted wood logs should be stored for 1-2 years before
usage. If the wood is put in piles it will dry faster. Before use,
store the wood in room temperature. Please keep in mind that
the wood during Autumn and Winter absorbs moist from the
air.
Moisture
To avoid environmental problems and to get the best fuel-
ling economy, the wood logs must be dried before use. They
should contain maximum 21% moisture. Best performance
of the wood logs is achieved by a moisture level of 15-18%.
A simple test is to beat two wood logs against each other.
If a numb sound occurs, the wood contains too much moist.
By using moist wood logs, large amount of the heat will be
used to evaporate the water. The stove will therefore not be
warm. This is of course uneconomic and there will be soot on
the glass hatches, inside the stove and in the chimney. The
environment will also be contaminated.
What is correct amount of wood logs?
How much is a kilo of wood? Or how do you handle the wood
in a correct way? There are literature to buy regarding wood
knowledge. It is a good thing to acquire a little more knowled-
ge on the subject than what we communicate here.
It is absolutely forbidden to re:
Painted, pressure-treated or glued wood. Neither is chipboard,
plastic, or treated paper suitable to re. The substances con-
tained in these products are harmful both to the environment
and to the stove. Even the chimney can be attacked if you
use material mentioned above.
Simply put, re only clean wood logs.
Caloric wood value
The caloric wood value varies between wood species. On
some you need to put a bit more wood into the replace to get
the same amount of heat like other wood species. In our ring
instructions, we calculate with birch wood, which has a very
good caloric value and is the type of wood we recommend.
By burning oak or beech, keep in mind that these types of
wood have a higher caloric value than birch. Wood logs
must also be reduced so the stove won’t be damaged.
Pine and spruce have higher caloric value than birch.

Westbo of Sweden
Westbo Carl 95 Technical data
Technical data
Weight 65 kg
Height 9530 mm
Widh 443 mm
Deep 431 mm
Smoke channel 120 mm
Material Cast iron
Medium power 4,0 kW
Efcency 82%
Distance to combustable
wall/side 300 mm/450 mm
CE-approved According to EN 13240
431
855
300
354
845
865
118
953
48
64
2022/3/10
1 2
Carl 95
Drawn
Checked
Date
SAM
Size A4
SAM
Sheet
of
Doc.Nr

Westbo Carl 95 DOP

Westbo Carl 95 Product che

Westbo Carl 95 Technical documentation

Westbo Carl 95 Technical documentation

Westbo Carl 95 Technical documentation
Table of contents
Other Westbo Wood Stove manuals
Popular Wood Stove manuals by other brands

RAIS
RAIS attika NEXO 100 GAS installation guide

WoodPro
WoodPro WS-TS-1500 owner's manual

Contura
Contura C 586W installation instructions

Palazzetti
Palazzetti EVA GENERAL INFORMATION - WARNINGS - INSTALLATION - MAINTENANCE

Lopi
Lopi 1250 Republic owner's manual

Panadero
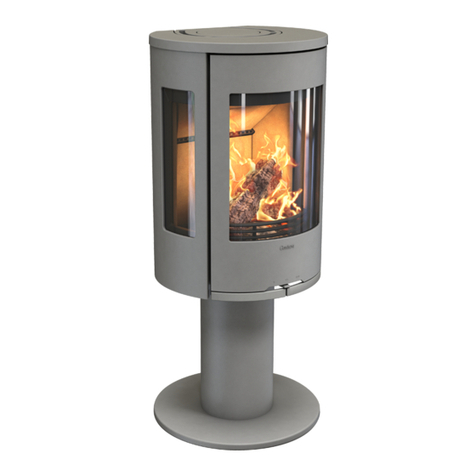
Panadero CAPRI 3V Usage and maintenance instructions