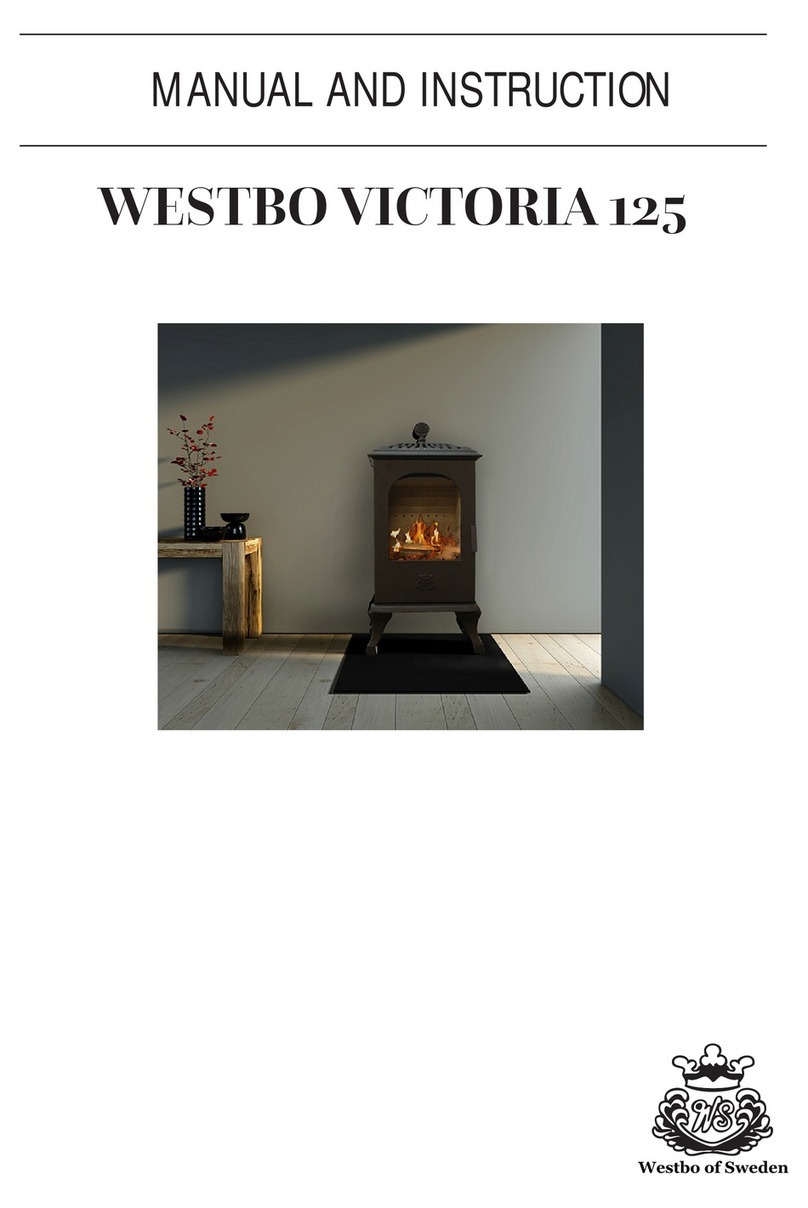
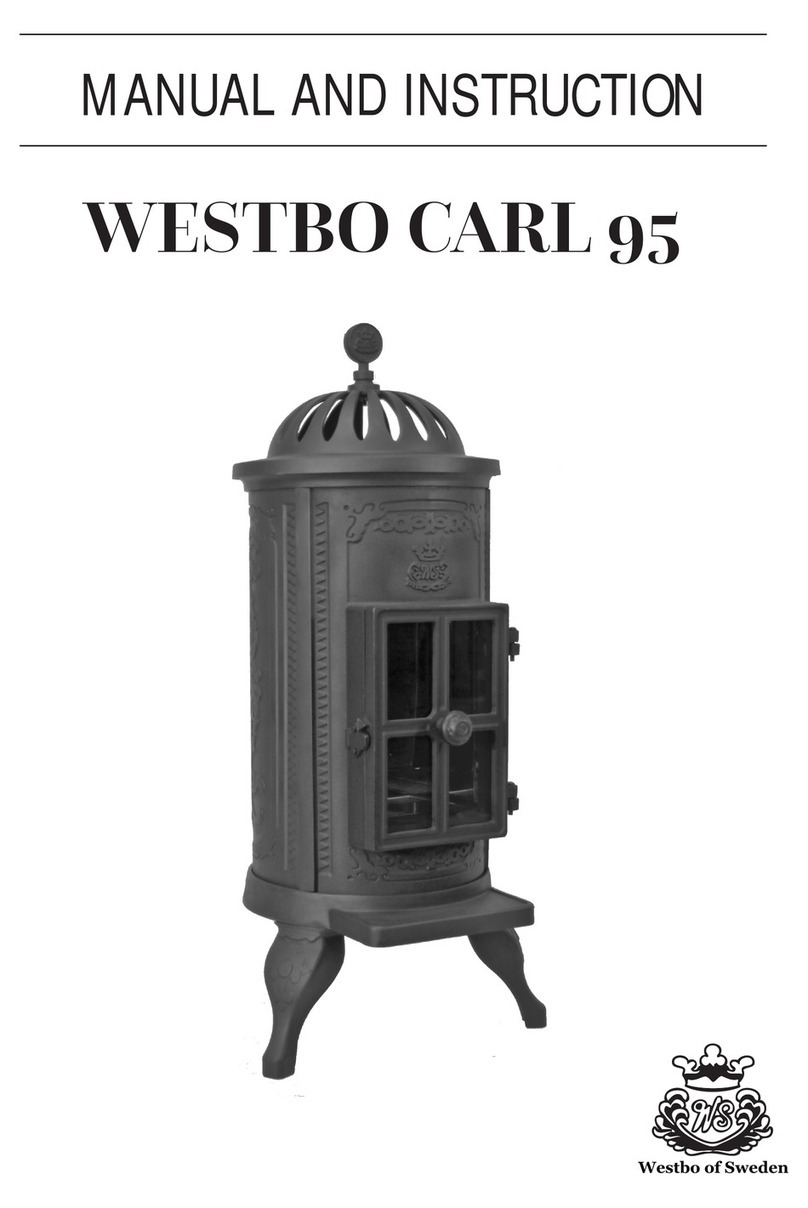
Westbo CLASSIC Manual

WESTBO CLASSIC
Westbo of Sweden
MANUAL AND INSTRUCTION

Westbo of Sweden
Westbo Classic General instruction/connection to
chimney
Preparation of the stove
Cut off the strap that holds the cardboard in place around
the stove. Lift off the cardboard box and check that the
stove is undamaged.
Transport damage must be reported direct to the transport
company.
Lift the stove off the pallet.
Connection to new chimney
Follow the instructions from the chimney supplier.
Before installation of the re place and construction of a
chimney, it is a demand to do a building notication.
For piece of advise, contact your local authorities.
Smoke channel
We recommend the ChimVision V25 and V50 sectional
chimney with a stainless steel and acid-proof inner sheath.
Read the chimney manufacturer’s installation instructions
carefully. We don’t recommend a ue length of less than 3.5
m from the connection of the stove.
Keep in mind that sharp bends and side pulls affect the
ue draft. If you are unsure, you can contact the Chimney
Sweepeer for a piece of advice.
Installation by authorised technician
This manual contains instructions how the stove must be
assembled and installed. To ensure the function and safety
of the stove, we recommend that the installation is carried
out by an authorised technician. Please contact your dealer
who can recommend suitable technicians.
Building application
Please ask your local dealer or authority for advice regar-
ding building regulations. Before installing a stove or chim-
ney it is necessary for you to make a building application
permission to your local authority.
Structural support
If you have wood joists please check so they are strong
enough to bear the weight of the stove and chimney.
Placement combustable wall
Please make sure you follow the distances to combustion
wall when you place the stove
You find them in this instruction.
Building notication
Before installation of the re place and construction of a
chimney, it is a demand to do a building notication.
For piece of advise, contact your local authorities.
Floor protection
The oor protection prevents the oor in front of the stove
from sparks. Check your local regulations by your domes-
tic authorites.The oor protection could consist of 0,7 mm
metal sheet, glass, tiles, natural stone etc.
Please read this folder carefully.
Good luck with your new
Westbo Classic.
Westbo of Sweden

Westbo of Sweden
Westbo Classic Preparations
Preparation
If you are installing your stove top, rst measure the
center of chimney and prepares cutout in the ceiling.
Be careful to follow the chimney supplier’s instructions.
Should you connect rear, follow the instructions bellow.
1. Measure out the center of the hole 1735 mm.
2. Use suitable tools to make the hole approximately
5,5-6 inch to t the spigot (ue pipe is 5 inch).
3. We recommend that you use a ue spigot.
4. Insert the ue pipe into the spigot then connect with
the stove seal between the spigot and ue pipe
(preferly seal rop).
The pipe should not go into the actual chimney, cut if
necessary.
Apply additional sealant for other joints.
5. Important! If your connection kit includes a rosette
collar to cover the hole in to the chimney put it on
before connecting the stove.
6. Contact the chimney sweeper for an inspection.

Westbo of Sweden
Westbo Classic Mounting instructions
Assembling
1. First unpack the stove and make sure everything
is delivered and that nothing is missing or damaged.
In case of damage please report to the carrier imme-
diately.
2. Remove the bottom part of the stove (main body)
from the pallet and put it in place. Then remove the
transportation lock. pic 1.
3. Place the upper smoke deector in steel on top of
the mainbody. pic 2.
4. Remove the upper part of the stove from the
pallet. pic 3
Save the bolts and braces for later.
5. Unscrew the smoke pipe from the pallet. pic 4
Place it on the mainbody against the sealing
rope. If you ordered the stove with adjustable ring
this is the step to assemble this. pic 5

Westbo of Sweden
Westbo Classic Mounting instructions
The threaded rods should go through the two holes
on the smoke pipe. pic 6.
Now you assemble the cast iron rings and the steel
tube as shown in pic 7 and 8.
7. Assemble the crown 6 pcs (if it is to be used) then
place the ring on top of the stove.
As showed in pic 9 and fasten it. In this step it is also
possible to adjust the outer body a little bit so the
stove is straight.
If distance to ceiling is more that 500 mm the steel
shield in pic 10 is not needed.
8. Place the lower smoke deector on the cast iron
rib as in pic 11 if taken away during unpacking.
9. If the lion emblem pic 8 is to used, assemble it by
drilling 2x3,5mm holes.
10. Finally connect the stove to the chimney.

Westbo of Sweden
Westbo Classic Wood and re handling
Air supply
Westbo Classic is equipped with 3 air controls.
Fire up
We recommend you to use re starters or equivalent that
you nd at your dealers.
By using them, you get a quick lit up of your wood and
cleaner combustion.
Never use lighter uid.
Place some thin wood together with a couple of re starters
in the burning chamber. Open the primary air control (2) on
the lower door or in some cases you may have to keep the
lower door open to get the re going.
Be aware to also have the grate open at this stage (lever on
the left).
Keep air control 1 closed and control 3 open (3-4mm)
Now lit up
After a while when burning well you can close the air supply
from underneath by closing the lower door, air control 2 and
the grate.
From now on you don’t need any air supply from underne-
ath the re to reach the best possible efciency and perfor-
mance of the stove.
Continuous ring
Operate the re with air control 3 and 1.
You will mainly control your rate of combustion with air
control 3.
The conditions for controlling combustion vary depending
on the temperature in the burning chamber and the draught
in the chimney.
This you will understand more after using the stove a couple
of times.
When the stove is getting hot you may open the air control
1 just a little 1-2mm to have the best possible efciency and
clean burning.
A recommended amount of wood per hour is 1.5 to 3 kg.
Smell
At the rst ring, a certain smell might occur. This depends
on the coating of the stove.
The smell disappears after a few res.
Emptying the ashes
The ashtray accessed by opening the lower door.
You can shake down the ash from the burning chamber
by using the grate lever on the left (this open and closes
the grate)
Empty the ash tray in a safe place.
NOTE! The ash can contain embers several days after
the re.
Cleaning glass
There are special glass cleaners from avalible at your
dealers.
Do not use abrasive cleaners.
Chimney re
In case of chimney re, all doors and air controls shall be
closed.
If necessary contact the authorities.

Westbo of Sweden
Westbo Classic Overview

Westbo of Sweden
Westbo Classic Technical data
Weight 230 kg
Material Cast iron
Medium power 7,0 kW
Efciency 82 %
CE-approved EN 13240
Distance to combustable:
Back 150 mm
Side 300 mm
Window in the front 800 mm
420
Ø 78

Westbo of Sweden
Westbo Classic Wood handling
Preparation
We recommend a diameter of 6-10 centimetre and that the
wood logs are 6 centimetre shorter than the replace.
This will help the air to circulate in the best possible way. If the
diameter is bigger, the wood logs must be splitted. Wood logs
that are splitted will dry better.
Storage
The splitted wood logs should be stored for 1-2 years before
usage. If the wood is put in piles it will dry faster. Before use,
store the wood in room temperature. Please keep in mind that
the wood during Autumn and Winter absorbs moist from the
air.
Moisture
To avoid environmental problems and to get the best fuel-
ling economy, the wood logs must be dried before use. They
should contain maximum 21% moisture. Best performance
of the wood logs is achieved by a moisture level of 15-18%.
A simple test is to beat two wood logs against each other.
If a numb sound occurs, the wood contains too much moist.
By using moist wood logs, large amount of the heat will be
used to evaporate the water. The stove will therefore not be
warm. This is of course uneconomic and there will be soot on
the glass hatches, inside the stove and in the chimney. The
environment will also be contaminated.
What is correct amount of wood logs?
How much is a kilo of wood? Or how do you handle the wood
in a correct way? There are literature to buy regarding wood
knowledge. It is a good thing to acquire a little more knowled-
ge on the subject than what we communicate here.
It is absolutely forbidden to re
Painted, pressure-treated or glued wood. Neither is chipboard,
plastic, or treated paper suitable to re. The substances con-
tained in these products are harmful both to the environment
and to the stove. Even the chimney can be attacked if you
use material mentioned above.
Simply put, re only clean wood logs.
Caloric wood value
The caloric wood value varies between wood species. On
some you need to put a bit more wood into the replace to get
the same amount of heat like other wood species. In our ring
instructions, we calculate with birch wood, which has a very
good caloric value and is the type of wood we recommend.
By burning oak or beech, keep in mind that these types of
wood have a higher caloric value than birch. Wood logs
must also be reduced so the stove won’t be damaged.
Pine and spruce have higher caloric value than birch.

Issue 23-03
Westbo of Sweden
Westbo Classic Warranty
Westbo of Sweden has a 15 year stove casting warranty and a 1 year
warranty concerning natural wear and tear of articles of consumption
such as firebricks, vermiculite, grates, glass, handles and rope seal.
The warranty is only valid if the stove has been used in a proper way
according to the instructions and will not be valid if any extreme or
careless handling has occurred like overheating, wrong fuel or too much
wood etc.
Westbo of Sweden is obligated to provide new parts/stove if any defects
covered by the warranty occurred, but takes no responsibility for removal
or installation costs for the exchange.
The warranty covers only the product and the buyer is not entitled to
compensation for any personal or property damage.
Yours sincerely
Mattias Gunnarsson
Managing director
WARRANTY
Issue 23-10
Table of contents
Other Westbo Wood Stove manuals
Popular Wood Stove manuals by other brands

Vermont Castings
Vermont Castings MONTPELIER II owner's manual

Alderlea
Alderlea T4 Installation & operation guide

Lincar
Lincar Regina Use and installation manual

Blaze King
Blaze King SIROCCO SC30L.NZ Operation & installation manual

SCAN
SCAN 5005 FRL Assembly and instruction manual

Varde
Varde Aura 1 Installation and user manual

Quadra-Fire
Quadra-Fire Topaz Cast Iron Brochure & specs

IronStrike
IronStrike Legacy S260 T-Top Installation and operation manual

Quadra-Fire
Quadra-Fire MILLENNIUM 2100 Series owner's manual

New Buck Corporation
New Buck Corporation 261 manual

Osburn
Osburn 2000 Installation and operation manual

HWAM
HWAM 3410S user manual