manuals.online logo
Brands
  1. Home
  2. •
  3. Brands
  4. •
  5. Westell
  6. •
  7. Network Hardware
  8. •
  9. Westell VE118-SCU8 User manual

Westell VE118-SCU8 User manual

Equipment Issue A
030-300612 Rev. A, May 2009
Section VE1-18S-CU8-30A
R
CopyrightE2009 Westell, Inc. All rights reserved. Page 1 of 2
0905IARA
Westellrand VirtualEdgerare registered trademarks of Westell, Inc. LGXris a registered trademark of Furukawa Electric North America, Inc.
Nylatchris a registered trademark of Hartwell-Dzus, Inc.
- Installation Guide -
VE118-SCU8 LGX-Type Panel with 8 SC/UPC Couplers
1. GENERAL DESCRIPTION
1.1 Document Purpose
This document provides installation information for the West-
ellrVirtualEdgerVE118-SCU8 LGXr-type panel with 8
SC/UPC-type couplers, which is typically installed in one LGX-
type position of a Westell VirtualEdge mounting. The panel is
shown in Figure 1.
- NOTE -
Hereafter, the VE118-SCU8 also may be commonly referred to as the
panel."
1.2 Document Status
Whenever this document is updated, the reason will be stated
in this paragraph.
1.3 Product Purpose & Mounting
The VirtualEdge (VE) VE118-SCU8 is a panel which contains
eight SC/UPC couplers secured in an LGX-sized faceplate that
can be installed in Westell VirtualEdge mountings. As shown
in Figure 2 and Figure 3, this panel mounts in a VirtualEdge
mounting or enclosure that contains LGX-sized cut-outs or
positions. Two provided snap-in Nylatchrfasteners are used to
secure the panel in the mounting. See Table 1 below for model
numbers of specific Westell VirtualEdge mountings which ac-
cept the panel.
Model # LGX
positions
Description
VEUP-30 3 1-RU high, 3-LGX-position mounting with
12 empty Keystone ports and rear tray,
for walls, 19" racks, or 23" racks.
VEUE-30 3Wall-mount locking enclosure with separ-
ate Network and subscriber doors, 3 LGX
positions (12 Keystone positions), fiber
spool, and space for 2 fiber splice trays.
VECE-30 3 Wall-mount locking enclosure with one
door, 3 LGX positions (12 Keystone
positions), 4 SC couplers, fiber spool,
fiber splice tray (space for 2), and special
cable (stub-to-4 SC/UPC connectors).
31EVE-20 2 Outdoor NID enclosure with 2 LGX
positions and 8 Keystone ports.
Table 1. Mountings for the Panel
- INSPECTION NOTE -
Visually inspect the product for damages prior to installation. If damaged
in transit, immediately report the damage to the transportation company
and to Westell (see Part 3 for telephone number).
Figure 1. VE118-SCU8 Panel
Figure 2. Installing VE118-SCU8 Panel in a VEUP-30
Insert coupler panel from the front of the mounting.
Rear Tray of VEUP-30
D-ring
(optional)
Empty
Mounting
Coupler Panel
Align Nylatch fasteners in the coupler panel with the
holes on either side of the mounting’s empty LGX-type
slot, then insert the fasteners until they snap in place.
LGX-type
Position
Ear
VE118-SCU8 Panel
8 SC/UPC
Couplers
(Provided)
Fastener
Nylatch r
Adjustable
- FIBER WARNINGS AND CAUTIONS -
Always follow proper fiber precautions whenever working with
fiber.
Carefully clean up any shards and loose fiber pieces and avoid
hand, skin, or eye contact with fiber shards.
Never look into the end of a live fiber strand and always wear protective
eyewear.
Always observe proper fiber cable bend radius guidelines; never kink or
excessively bend or loop fibers.
2. INSTALLATION
Always follow local company practices and procedures when instal-
ling equipment. If none exist, follow the steps below to install the
panel. Consult Figure 2 and Figure 3 as needed while performing
these steps.
1. Gather tools and supplies. The following tools and supplies
may be needed to install the panel.
SVirtualEdge mounting with LGXr-type cut-out slots
2. Align panel with the mounting. Locate the predrilled holes at
both ends of an empty LGX-type position in a VirtualEdge
mounting. Align the Nylatchrfasteners and holes at each side
of the panel with the holes in the empty LGX position in the
mounting.
Section VE1-18S-CU8-30A
030-300612 Rev. A
R
0905IARA
2
Doors
removed
in this
view
Divider wall screw
Nylatch fastener (align with
Divider wall
Divider wall guide
Lip
2-piece fiber spool
Figure 3. Installing Panel Inside a VEUE-30 Enclosure
VE118-SCU8 Panel
Closed View
of Enclosure
Opened View
of Enclosure
holes in divider wall then
snap into place)
(pull out from
enclosure for
easy handling)
3. Secure panel with fasteners. Insert the Nylatch fasteners at
both sides of the panel through the holes provided for them in
the mounting or enclosure, and press or snap them into place
(fasteners also can be easily pulled out to remove them).
4. Test . Attempt to move the panel to verify a snug fit.
5. Route and connect cables. Route then connect the SC/UPC
cables to the SC/UPC couplers on the panel, per company
practice. Connect out" or downstream equipment to the front
connectors of the panel, and in" or upstream equipment to
the rear connectors.
6. Perform cable management. Carefully and gently loop and
manage any excess cable slack using the cable tie-downs on the
mounting or using any installed D-rings or front tray.
7. Site clean-up. Carefully clean up the installation site.
3. CUSTOMER & TECHNICAL SERVICES
If technical or customer assistance is required, contact Westell by
calling or using one of the following options:
Voice: (800) 377-8766
email: [email protected]
4. WARRANTY & REPAIRS
4.1 Warranty
Westell warrants this product to be defect free at shipment time, and
warrants the product to be fully functional for the time period speci-
fied by the terms and conditions governing the product sale.
Equipment repairs/modifications by unauthorized persons will void
the warranty.
4.2 Repair and Return
Westell will repair or replace this unit without cost during the war-
ranty period if the unit is defective for any reason other than abuse,
improper use, or improper installation. To return defective equip-
ment, request a Return Material Authorization (RMA) number
from Westell (calling or use one of the options shown below), then
once an RMA number is obtained, send the defective unit (freight
prepaid) and a brief problem description to the address we will pro-
vide to you when you contact us.
Voice: (630) 375-4457
email: rgmdept@westell.com
Westell will continue to repair/replace faulty equipment beyond the
warranty time for a nominal charge. Call Westell for details.
5. SPECIFICATIONS
The physical specifications are shown in Table 3.
To order panels, call the telephone number shown in Part 3and
please specify the panel part number shown in Table 2.
Part # Description
A90-VE118SCU8 WestellrVirtualEdger8-coupler SC/UPC
panel. Includes two Nylatch fasteners.
Mounts in empty
LGX-position in
a VirtualEdge
mounting.
8 SC/UPC
Options, Accessories, and Additional Panels
A90-VE118SCA8 Panel with
eight SC/APC
couplers.
8 SC/APC
A90-VE118SCU6 Panel with
six SC/UPC
couplers.
6 SC/UPC
A90-VE118SCA6 Panel with
six SC/APC
couplers.
6 SC/APC
A90-VE118BNC6 Panel with
six BNC
couplers.
6 BNC
A90-VE118BNC2P Panel with two
surge-protected
BNC couplers.
2 BNC,
Surge Protected
Table 2. Ordering and Option Information
Feature U.S. Metric
Height 1.12 inch 2.8 cm
Width 5.1 inches 13 cm
Width, between mounting holes 4.64 inches 118 mm
Depth 1.1 inches 2.8 cm
Operating Temperature -40°to 149°F-40°to +65°C
Humidity 0 to 95% (non-condensing)
Table 3. VE118-SCU8 Physical Specifications

Other Westell Network Hardware manuals

Westell Noran Tel SITE VU MINI N04005-SVU/L0806 User manual

Westell

Westell Noran Tel SITE VU MINI N04005-SVU/L0806 User manual

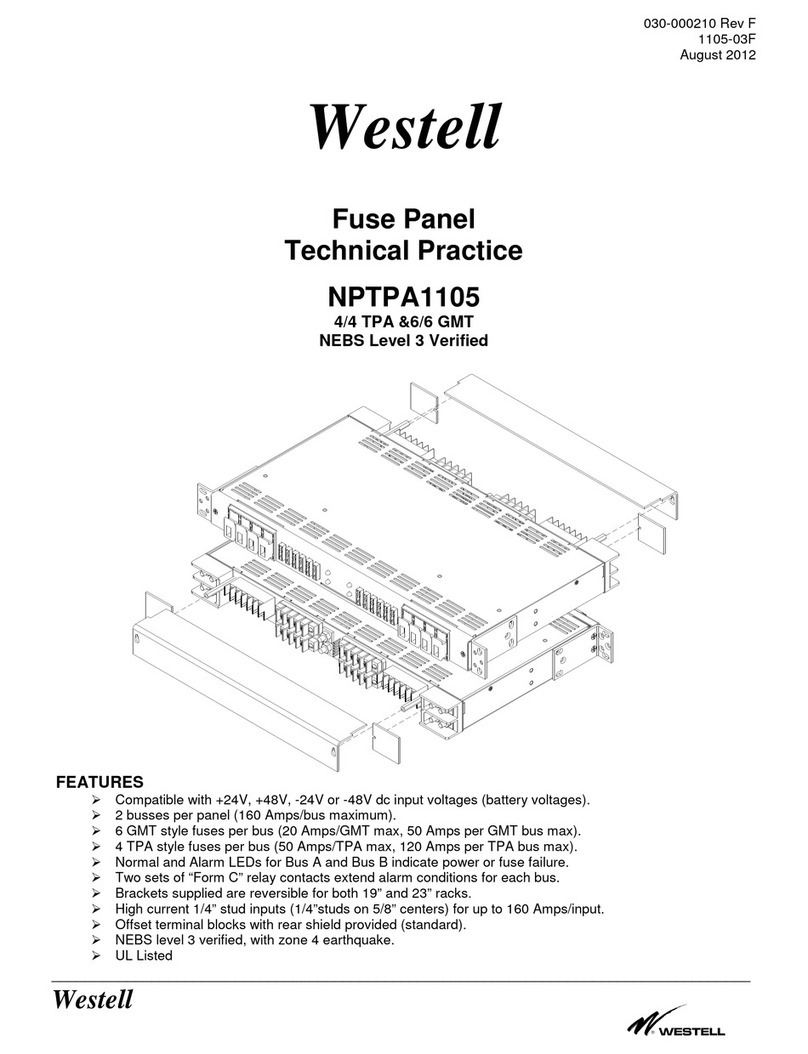
Westell NPTPA1105 Instructions for use

Westell

Westell NPTPA1105 Instructions for use

Westell NPGMT1122 Instructions for use

Westell

Westell NPGMT1122 Instructions for use

Popular Network Hardware manuals by other brands

Advantech MIC-730IVA user manual

Advantech

Advantech MIC-730IVA user manual

Huawei RT-FIC-1AE3 Specifications

Huawei

Huawei RT-FIC-1AE3 Specifications

Smartenit ZBRE quick start guide

Smartenit

Smartenit ZBRE quick start guide

CORNING PCH-96F-01U manual

CORNING

CORNING PCH-96F-01U manual

ZyXEL Communications NSA-220 Plus user guide

ZyXEL Communications

ZyXEL Communications NSA-220 Plus user guide

STONEFLY ISC-1208s Setup guide

STONEFLY

STONEFLY ISC-1208s Setup guide

Fortinet FortiOS 3.0 Administration guide

Fortinet

Fortinet FortiOS 3.0 Administration guide

Avanu WebMux A400X user manual

Avanu

Avanu WebMux A400X user manual

Draytek Vigor2927 Series quick start guide

Draytek

Draytek Vigor2927 Series quick start guide

Ericsson Marconi OMS 1200 Product description

Ericsson

Ericsson Marconi OMS 1200 Product description

ADTRAN Total Access 372E manual

ADTRAN

ADTRAN Total Access 372E manual

evertz 7700 Series manual

evertz

evertz 7700 Series manual

Patton electronics ForeFront 2616RC user manual

Patton electronics

Patton electronics ForeFront 2616RC user manual

Cisco Versatile Interface Processor (VIP6-80)... Installation and configuration guide

Cisco

Cisco Versatile Interface Processor (VIP6-80)... Installation and configuration guide

CORNING EDGE 1U quick start guide

CORNING

CORNING EDGE 1U quick start guide

PMC-Sierra PM5350 Features

PMC-Sierra

PMC-Sierra PM5350 Features

TP-Link M7350 Quick installation guide

TP-Link

TP-Link M7350 Quick installation guide

Paradyne MIM-4000F installation instructions

Paradyne

Paradyne MIM-4000F installation instructions

manuals.online logo
manuals.online logoBrands
  • About & Mission
  • Contact us
  • Privacy Policy
  • Terms and Conditions

Copyright 2025 Manuals.Online. All Rights Reserved.