4UHC9Westward Operating Instructions and Parts Manual
80 Lb. Walk Behind Spreader
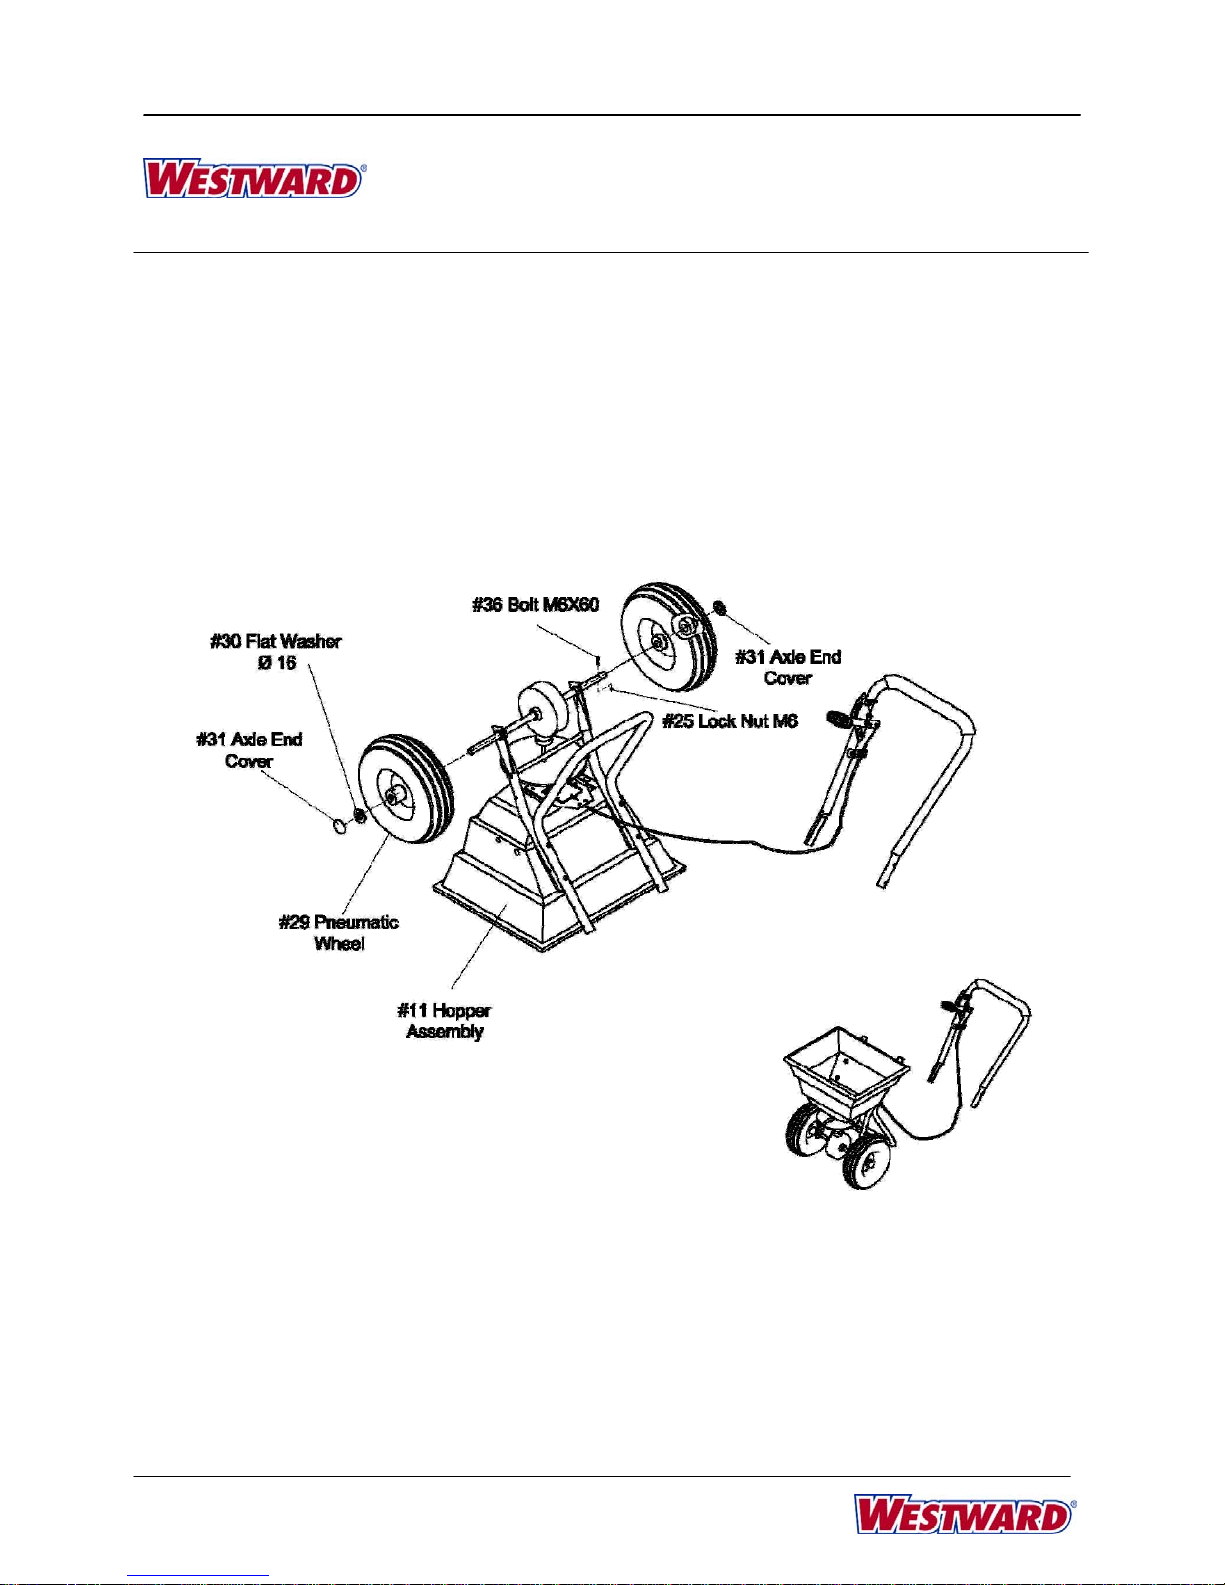
Using Your Spreader
READ ALL STEPS COMPLETELY BEFORE
STARTING
1. Inspect your spreader before each use.
Make sure the wheels turn easily, and the
impeller still moves when the spreader is
pushed. The hopper should be clean and
free from cracks.
2. Determine approximate square footage of
the area to be covered and estimate amount
of material required. Please refer to the
spreader setting instructions on the next
page to obtain the proper spreader setting.
3. Spreader is useful for spreading a range of
materials (Ice Melt, Fertilizer, and Grass
Seed). Materials such as Powder, Manure,
Top Soil, Gravel, and Mulch have the wrong
physical characteristics and should not be
used with these spreaders.
4. Before filling the hopper, make sure that the
flow control lever is in the “0” position and
the flow control plate is closed.
5. Make sure the R pin is installed in the
hopper before using the spreader.
6. Break up any lumpy fertilizer as you fill the
hopper.
7. Once you have determined your proper
spreader setting and are using the spreader,
keep the following thoughts in mind to
optimize spreading results: Always set the
adjustable stop with the flow control to the
“0” position and continue moving one more
stride whenever you are about to stop or turn
the spreader. This action will close the flow
control plate and stop the dispersing of
material, which will result in reduced waste
and avoid damaging the lawn with
oversaturated material.
8. To maintain the same coverage when
walking at a different speed, adjust the flow
rate. Reduce the flow setting for slower
speeds and increase the flow setting for
higher speeds.
9. Keep the impeller plate horizontal when
operating the spreader. Tilting the spreader
will result in uneven coverage.
10. Always start walking prior to opening the flow
control closure plate.
11. If spreading material is accidentally
deposited too heavily in a small area, soak
the area thoroughly with a garden hose or
sprinkler to prevent burning of the lawn.
12. To insure consistent coverage, make sure
each scatter pattern slightly overlaps the
previous scatter pattern as shown in figure
below. The approximate scatter widths for
different materials are shown on Chart B.
13. When scattering spreading material, make
sure the scatter pattern does not hit
evergreen trees, flowers or shrubs.
14. Make sure you are appropriately dressed,
including sturdy footwear. Protect yourself by
wearing gloves and a dust mask when
handling chemical lawn products that contain
pesticides and herbicides.
15. Do not over apply spreading material. Follow
the recommended coverage rate for each
product. Over application will lead to lawn
damage and contamination.
6