manuals.online logo
Brands
  1. Home
  2. •
  3. Brands
  4. •
  5. Westwood Design
  6. •
  7. Indoor Furnishing
  8. •
  9. Westwood Design Donnington User manual

Westwood Design Donnington User manual

westwood design
ey
DONNINGTON
Convertible Crib / Lit Transformable
Assembly Instruction
Instructions d'assemblage
WARNING
FAILURE TO FOLLOW THESE WARNINGS AND ASSEMBLY INSTRUCTIONS COULD RESULT
IN SERIOUS INJURY OR DEATH.
• READ ALL INSTRUCTIONS BEFORE ASSEMBLING CRIB. KEEP INSTRUCTIONS FOR
FUTURE USE.
• TO REDUCE THE RISK OF SUDDEN INFANT DEATH SYNDROME (SIDS), PEDIATRICIANS
RECOMMEND HEALTHY INFANTS BE PLACED ON THEIR BACKS TO SLEEP, UNLESS
OTHERWISE ADVISED BY YOUR PHYSICIAN.
•
PREVENT BURNS. KEEP CRIB AWAY FROM OPEN FIRES AND OTHER HEAT SOURCES.
• ANY MATTRESS USED IN THIS CRIB MUST BE AT LEAST 27-1/4 IN. (69 CM.) BY 51-5/8 IN.
(131 CM.), WITH A THICKNESS NOT EXCEEDING 6 IN. (15 CM.). THE DIMENSIONS OF THE
MATTRESS SHOULD BE TAKEN FROM SEAM TO SEAM.
•
DO NOT USE A WATER MATTRESS WITH THIS CRIB.
• NEVER USE PLASTIC SHIPPING BAGS OR OTHER PLASTIC FILM AS A MATTRESS COVER
BECAUSE THEY CAN CAUSE SUFFOCATION.
•
IF REFINISHING, USE A NON-TOXIC FINISH SPECIFIED FOR CHILDREN'S PRODUCTS.
•
FOLLOW WARNINGS ON ALL PRODUCTS IN CRIB.
SUFFOCATION HAZARD:
•
INFANTS CAN SUFFOCATE IN GAPS BETWEEN A MATTRESS THAT IS TOO SMALL OR TOO
THICK AND CRIB SIDES.
•
INFANTS CAN SUFFOCATE ON SOFT BEDDING. NEVER ADD A PILLOW OR COMFORTER.
NEVER PLACE ADDITIONAL PADDING UNDER AN INFANT.
STRANGULATION HAZARD
• STRINGS CAN CAUSE STRANGULATION! DO NOT PLACE ITEMS WITH A STRING AROUND
CHILD'S NECK, SUCH AS HOOD STRINGS OR PACIFIER CORDS. DO NOT SUSPEND
STRINGS OVER A CRIB OR ATTACH STRINGS TO TOYS.
•
TO PREVENT STRANGULATION, TIGHTEN ALL SCREWS AND BOLTS. A CHILD CAN TRAP
PARTS OF THE BODY OR CLOTHING ON LOOSE SCREWS AND BOLTS.
• DO NOT PLACE CRIB NEAR A WINDOW WHERE CORDS FROM BLINDS OR DRAPES MAY
STRANGLE A CHILD.
FALL HAZARD
•
WHEN CHILD IS ABLE TO PULL TO A STANDING POSITION, SET MATTRESS TO LOWEST
POSITION AND REMOVE BUMPER PADS, LARGE TOYS AND OTHER OBJECTS THAT
COULD SERVE AS STEPS FOR CLIMBING OUT.
• WHEN CHILD IS ABLE TO CLIMB OUT OR REACHES THE HEIGHT OF 35 IN. (89 CM), THE
CRIB SHALL NO LONGER BE USED.
IMPORTANT!
• CHECK THIS CRIB FOR DAMAGED HARDWARE, LOOSE JOINTS, MISSING PARTS OR
SHARP EDGES BEFORE AND AFTER ASSEMBLY AND FREQUENTLY DURING USE. DO NOT
USE CRIB IF ANY PARTS ARE MISSING OR BROKEN. ASK YOUR DEALER OR CONTACT
WESTWOOD DESIGN: 635 N. BILLY MITCHELL RD., STE. B, SALT LAKE CITY, UTAH 84108,
PHONE: 1-908-719-4707, EMAIL: [email protected];
FOR REPLACEMENT
PARTS AND INSTRUCTIONAL LITERATURE IF NEEDED. DO NOT SUBSTITUTE PARTS.
LE NON RESPECT DES MISES EN GARDE ET DES INSTRUCTIONS D'ASSEMBLAGE POURRAIT RÉSULTER
EN DES BLESSURES GRAVES OU MORTELLES.
lLIRE TOUTES LES INSTRUCTIONS AVANT D'ASSEMBLER LE LIT DE BÉBÉ. CONSERVER LES INSTRUCTIONS
POUR UN USAGE ULTÉRIEUR.
lPOUR RÉDUIRE LE RISQUE DU SYNDROME DE MORT SUBITE DU NOURISSON, LES PÉDIÂTRES
RECOMMANDENT QUE LES NOUVEAUX-NÉS SOIENT PLACÉS SUR LEUR DOS POUR DORMIR, SAUF AVIS
CONTRAIRE DU MÉDECIN.
lPRÉVENEZ LES BRÛLURES. GARDEZ LE LIT DE BÉBÉ LOIN DU FEU ET DES SOURCES DE CHALEUR.
lTOUT MATELAS UTILISÉ DANS LE LIT DE BÉBÉ DOIT MESURER AU MOINS 69 CM. (27 ¼ '') PAR 131 CM. (51
5/8 ''), AVEC UNE ÉPAISSEUR QUI NE DÉPASSE PAS 15 CM. (6''). LES DIMENSIONS DU MATELAS DOIVENT
ÊTRE PRISES DE COUTURE À COUTURE.
lNE PAS UTILISER DE MATELAS D'EAU AVEC CE LIT DE BÉBÉ.
lNE JAMAIS UTILISER UN SAC DE PLASTIQUE D'EMBALLAGE OU UNE AUTRE PELLICULE DE MATIÈRE
PLASTIQUE COMME HOUSSE DE MATELAS CAR CELA POURRAIT CAUSER LA SUFFOCATION.
lEN CAS DE RETOUCHES DE LA FINITION, UTILISEZ UN FINI NON-TOXIQUE SPÉCIFIQUE AUX PRODUITS
POUR ENFANTS.
lSUIVRE LES MISES EN GARDE POUR TOUS LES PRODUITS UTILISÉS DANS LE LIT DE BÉBÉ
RISQUES DE SUFFOCATION
lLES BÉBÉS PEUVENT SUFFOQUER DANS LES ESPACES ENTRE UN MATELAS TROP PETIT OU TROP ÉPAIS ET
LES CÔTÉS DU LIT DE BÉBÉ.
lLES BÉBÉS PEUVENT SUFFOQUER SUR UNE LITERIE ÉPAISSE. NE JAMAIS AJOUTER D'OREILLER OU DE
DOUILLETTE. NE JAMAIS PLACER DE REMBOURRAGE ADDITIONNEL SOUS UN BÉBÉ.
RISQUE D'ÉTRANGLEMENT
lLES FICELLES PEUVENT CAUSER L'ÉTRANGLEMENT! NE PAS PLACER D'OBJET AVEC FICELLE AUTOUR DU
COU DU NOURRISSON, COMME UN CAPUCHON AVEC CORDE OU UNE SUCE AVEC CORDON. NE PAS
SUSPENDRE DE FICELLE AU-DESSUS DU LIT DE BÉBÉ NI ATTACHER DE CORDE SUR UN JOUET
lPOUR PRÉVENIR L'ÉTRANGLEMENT, RESSERRER TOUTES LES VIS ET LES BOULONS. UN ENFANT PEUT
COINCER UNE PARTIE DE SON CORPS OU DE SES VÊTEMENTS SUR DES VIS OU DES BOULONS MAL SERRÉS.
lNE PAS PLACER LE LIT DE BÉBÉ PRÈS D'UNE FENÊTRE OÙ DES CORDONS DE STORES OU DE RIDEAUX
POURRAIENT L'ÉTRANGLER.
RISQUE DE CHUTE
lQUAND L'ENFANT EST EN MESURE DE SE METTRE DEBOUT, PLACEZ LE MATELAS DANS LA POSITION
INFÉRIEURE ET RETIREZ LES COUSSINS DE LA LITERIE, LES GRANDS JOUETS ET TOUT AUTRE OBJET POUVANT
SERVIR À GRIMPER HORS DU LIT.
lDÈS QUE BÉBÉ PEUT GRIMPER HORS DU LIT DE BÉBÉ OU QU'IL MESURE 90 CM. (35 PO.), LE LIT DE BÉBÉ NE
DEVRAIT PLUS ÊTRE UTILISÉ.
IMPORTANT!
lINSPECTER CE LIT DE BÉBÉ POUR DÉCELER TOUTE PIECE DE QUINCAILLERIE ENDOMMAGÉE, TOUTE
ARTICULATION RELÂCHÉE, TOUTE PIÈCE MANQUANTE OU TOUTE ARÊTE COUPANTE AVANT ET APRÈS
L'ASSEMBLAGE, ET FRÉQUEMMENT PENDANT L'UTILISATION. NE PAS UTILISER LE LIT DE BÉBÉ SI L'UNE DE SES
PIÈCES EST MANQUANTE OU BRISÉE. DEMANDER À VOTRE MARCHAND OU COMMUNIQUER AVEC
WESTWOOD DESIGN: 635 N. BILLY MITCHELL RD., STE. B, SALT LAKE CITY, UTAH 84108, TÉLÉPHONE : 1-
908-719-4707; COURRIEL : SUPPORT@WESTWOODBABY.COM; POUR UN REMPLACEMENT DE PIÈCE OU DE
DOCUMENT D'INSTRUCTIONS SI NÉCESSAIRE. NE PAS SUBSTITUER DE PIÈCE.
MISE EN GARDE
A
B
D E
F
HJ
Parts & Hardware Included / Pièces et matériel inclus
K
Headboard / Tête de lit x 1
Footboard / Pied de lit x 1
Mattress Support / Support de matelas x 1
Crib End (Left) x 1
Lit Fin (Gauche) x 1
Crib End (Right) x 1
Lit Fin (Droite) x 1
Day Bed Cap, Left x 1
Cap de Lit jour, Gauche x 1
Day Bed Cap, Right x 1
Cap de Lit jour, Droite x 1
Allen Wrench x 1
Clé Allen x 1
Were you expecting more hardware?
This crib uses Westwood’s ground-breaking Always There Hardware system. The hardware is permanently contained inside the crib, so it is easier to
assemble, there is no hardware to misplace if you put the crib into storage, and no chance of using the wrong bolt in the wrong location.
We believe this is perhaps the easiest convertible crib in the world to assemble, but if any part of these instructions is unclear, please contact your
retailer or Westwood for help. For general support and help questions, you can contact Westwood directly by calling 1-908-719-4707, or emailing
support@westwoodbaby.com.
The screws and bolts on your crib are equipped with a locking mechanism under the head to help prevent loosening, but it’s still a good idea to check
them once in a while and tighten them if needed.
vous êtes-vous attendus à plus de matériel ?
Ce lit utilise Westwood est facile à assembler système matériel. Le matériel est en permanence figurant à l'intérieur de la crèche, de sorte qu'il est
plus facile à monter, il n'y a pas de boulonnerie égarer si vous placez le lit de bébé dans le stockage, et aucune chance d'en utilisant le boulon
incorrect dans le mauvais emplacement.
Nous pensons que ce n'est peut-être le moyen le plus simple convertible en lit d'enfant dans le monde pour les assembler, mais si une partie
quelconque de ces instructions n'est pas claire, veuillez contacter votre détaillant ou Westwood pour obtenir de l'aide. À l'appui général et aide aux
questions, vous pouvez contacter Westwood directement en appelant 1-908 -719-4707, ou courrier électronique support@westwoodbaby.com .
Les vis et les boulons de votre bébé sont équipés d'un mécanisme de verrouillage sous la tête pour aider à empêcher le desserrage, mais c'est
toujours une bonne idée de les vérifier une fois de temps en temps et les serrer si nécessaire.
Headboard / Tête de lit
Crib End (Left)
Lit Fin (Gauche)
Crib End (Right)
Lit Fin (Droite)
Required Parts / Pièces nécessaires
Step 1 / Etape 1
These holes should face the inside the crib.
Ces trous doivent faire face à l'intérieur de la crèche.
Thread and tighten all 3 bolts (both sides)
Enfiler et serrer les 3 boulons (des deux côtés)
Required Parts / Pièces nécessaires
Step 2 / Etape 2
There are three possible height settings. The mattress support should be at the highest setting
for a newborn, then adjust to the lower position as the child grows and becomes mobile. Once the child is
able to stand, adjust to lowest position.
Il ya trois réglages de hauteur possibles. Le support de matelas doit être à la position la plus élevée pour
un nouveau-né, puis ajuster la position inférieure que la crèche se développe et devient mobile. Une fois
que l'enfant est capable de setenir debout, s'adapter à la position la plus basse.
Required Parts / Pièces nécessaires
Step 3 / Etape 3
Footboard / Pied de lit
Thread and tighten all 3 bolts (both sides)
Enfiler et serrer les 3 boulons (des deux côtés)
Required Parts / Pièces nécessaires
For Day Bed / Pour Day Bed
Remove the footboard with the
Allen wrench.
Keep the footboard for future use.
Retirez le pied de lit avec une clé Allen.
Gardez le pied de lit pour une utilisation future.
Attach the day bed cap Left (H) and Right (J) into the crib end.
Tighten with Allen wrench.
Fixez le capuchon de lit de jour
gauche (H) et de droite (J) dans la fin de crèche.
Serrer avec une clé Allen
Day Bed Cap, Left
Cap de Lit jour, Gauche
Day Bed Cap, Right
Cap de Lit jour, Droite

Other manuals for Donnington

2

Other Westwood Design Indoor Furnishing manuals
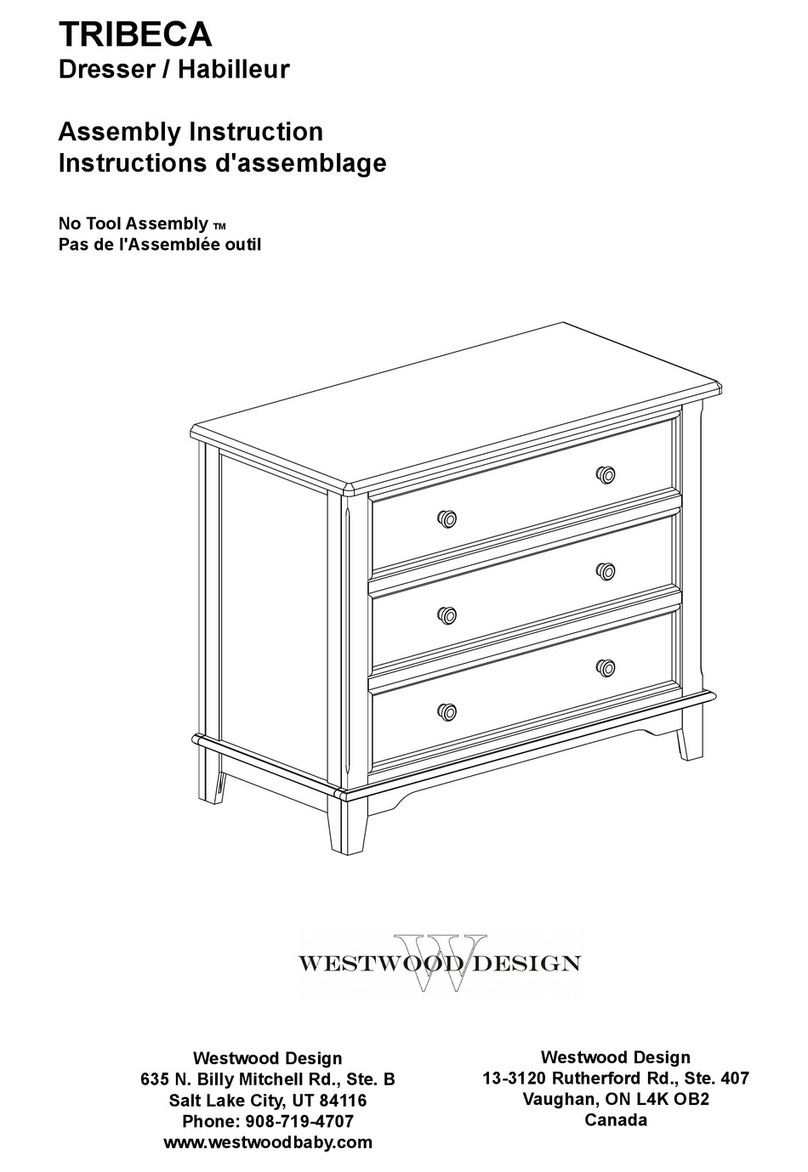
Westwood Design TRIBECA User manual

Westwood Design

Westwood Design TRIBECA User manual

Westwood Design WYATT User manual

Westwood Design

Westwood Design WYATT User manual

Westwood Design TRIBECA User manual

Westwood Design

Westwood Design TRIBECA User manual

Westwood Design REESE User manual

Westwood Design

Westwood Design REESE User manual

Westwood Design WYATT User manual

Westwood Design

Westwood Design WYATT User manual

Westwood Design VIOLA User manual

Westwood Design

Westwood Design VIOLA User manual

Westwood Design Donnington User manual

Westwood Design

Westwood Design Donnington User manual

Westwood Design AVALON User manual

Westwood Design

Westwood Design AVALON User manual
Westwood Design PRINCESS PN-CR-7908NR-SIL User manual

Westwood Design

Westwood Design PRINCESS PN-CR-7908NR-SIL User manual

Westwood Design Tribeca Dresser User manual

Westwood Design

Westwood Design Tribeca Dresser User manual

Westwood Design RILEY Hutch User manual

Westwood Design

Westwood Design RILEY Hutch User manual

Westwood Design Pine Ridge Hutch User manual

Westwood Design

Westwood Design Pine Ridge Hutch User manual

Westwood Design Meadowdale Convertible Crib User manual

Westwood Design

Westwood Design Meadowdale Convertible Crib User manual

Westwood Design WOODLAND ADVENTURES DP-CR-3101NR-ELM User manual

Westwood Design

Westwood Design WOODLAND ADVENTURES DP-CR-3101NR-ELM User manual

Westwood Design Jonesport Convertible Crib User manual

Westwood Design

Westwood Design Jonesport Convertible Crib User manual

Westwood Design RILEY User manual

Westwood Design

Westwood Design RILEY User manual

Westwood Design ECHO User manual

Westwood Design

Westwood Design ECHO User manual

Westwood Design REESE User manual

Westwood Design

Westwood Design REESE User manual

Westwood Design HAYDEN User manual

Westwood Design

Westwood Design HAYDEN User manual

Westwood Design COTTAGE COLORS CC-TR-2409GR-WHT User manual

Westwood Design

Westwood Design COTTAGE COLORS CC-TR-2409GR-WHT User manual

Westwood Design ROWAN User manual

Westwood Design

Westwood Design ROWAN User manual

Westwood Design WYATT User manual

Westwood Design

Westwood Design WYATT User manual

Westwood Design WOODLAND ADVENTURES DP-TR-3109GR-ELM User manual

Westwood Design

Westwood Design WOODLAND ADVENTURES DP-TR-3109GR-ELM User manual

Westwood Design PINE RIDGE User manual
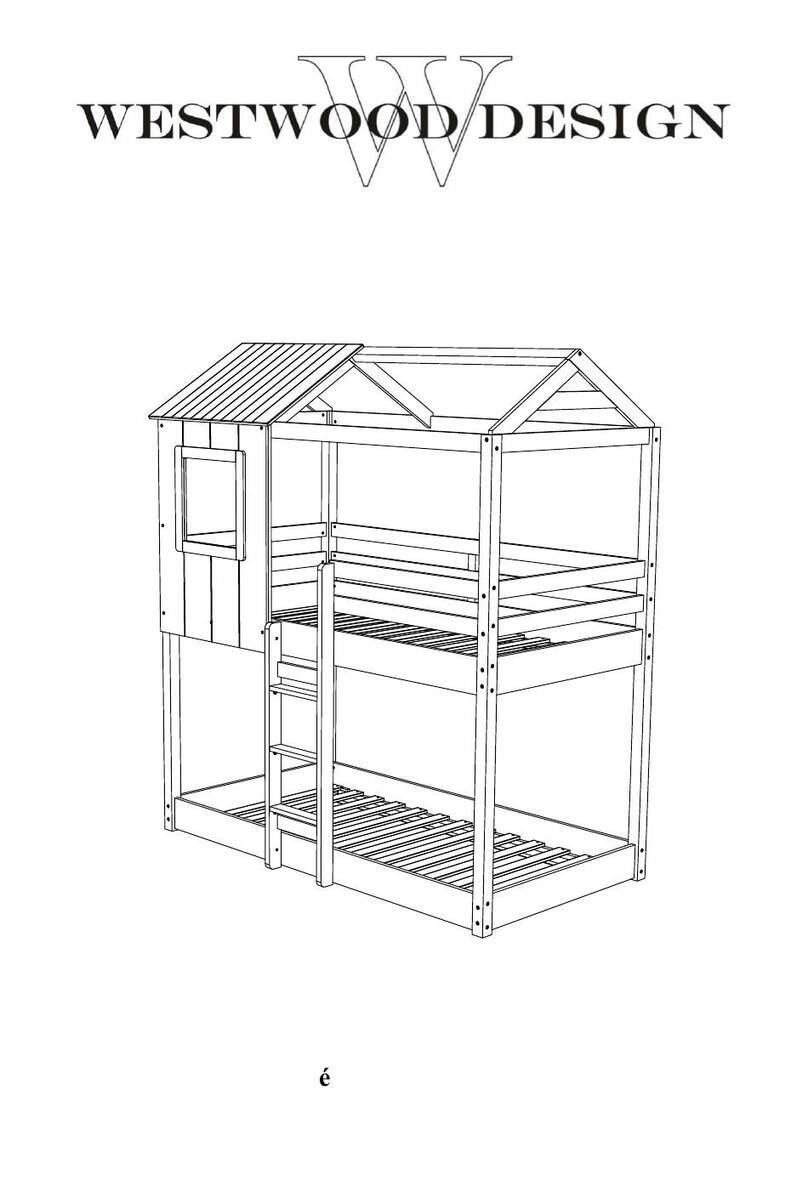
Westwood Design

Westwood Design PINE RIDGE User manual

Popular Indoor Furnishing manuals by other brands

PB iMPB installation manual

PB

PB iMPB installation manual

Micasa FlexCube Assembly instructions

Micasa

Micasa FlexCube Assembly instructions

Alera ALE-SH7059 Assembly instructions

Alera

Alera ALE-SH7059 Assembly instructions

DDUUEETT sonia Fom HZ-3705 manual

DDUUEETT

DDUUEETT sonia Fom HZ-3705 manual

FJK home products 49" BLOW MOLED SQUARE PICNIC TABLE... Assembly instructions

FJK home products

FJK home products 49" BLOW MOLED SQUARE PICNIC TABLE... Assembly instructions

Furniture of America CM6496CH Assembly instructions

Furniture of America

Furniture of America CM6496CH Assembly instructions

BOMBAY OUTLET 1888807 quick start guide

BOMBAY

BOMBAY OUTLET 1888807 quick start guide

JWA VERBENA 68477 Assembly instruction

JWA

JWA VERBENA 68477 Assembly instruction

mothercare Bedguard user guide

mothercare

mothercare Bedguard user guide

Moderno OLIER BIURKO OL-01-B Assembly instruction

Moderno

Moderno OLIER BIURKO OL-01-B Assembly instruction

ekomia Levi manual

ekomia

ekomia Levi manual

Matt Blatt Recap Coffee Table (Oak) user guide

Matt Blatt

Matt Blatt Recap Coffee Table (Oak) user guide

Moments Furniture Echo care relax user manual

Moments Furniture

Moments Furniture Echo care relax user manual

Guide Gear 716493 quick start guide

Guide Gear

Guide Gear 716493 quick start guide

KI Pirouette Assembly instructions

KI

KI Pirouette Assembly instructions

Great Little Trading L5124 quick start guide

Great Little Trading

Great Little Trading L5124 quick start guide

Hay STEFAN DIEZ BOA instruction manual

Hay

Hay STEFAN DIEZ BOA instruction manual

TOV GALAXY TOV-OC18296 Assembly instructions

TOV

TOV GALAXY TOV-OC18296 Assembly instructions

manuals.online logo
manuals.online logoBrands
  • About & Mission
  • Contact us
  • Privacy Policy
  • Terms and Conditions

Copyright 2025 Manuals.Online. All Rights Reserved.