Ifcodespermitandaseparategroundwireisused,itis
recommendedthataqualifiedelectricalinstallerdeterminethat
thegroundpathandwiregaugeareinaccordancewithlocal
codes.
Checkwithaqualifiedelectricalinstallerifyouarenotsurethe
rangeisproperlygrounded.
Thisrangemustbeconnectedtoagroundedmetal,permanent
wiringsystem.
Besurethattheelectricalconnectionandwiresizeareadequate
andinconformancewiththeNationalElectricalCode,ANSI/
NFPA70-latesteditionorCSAStandardsC22.1-94,Canadian
ElectricalCode,Part1andC22.2No.O-M91-1atestedition,and
alllocalcodesandordinances.
Acopyoftheabovecodestandardscanbeobtainedfrom:
NationalFireProtectionAssociation
1BatterymarchPark
Quincy,MA02169-7471
CSAInternational
8501EastPleasantValleyRoad
Cleveland,OH44131-5575
Electrical Connection
To properly install your range, you must determine the type of
electrical connection you will be using and follow the instructions
provided for it here.
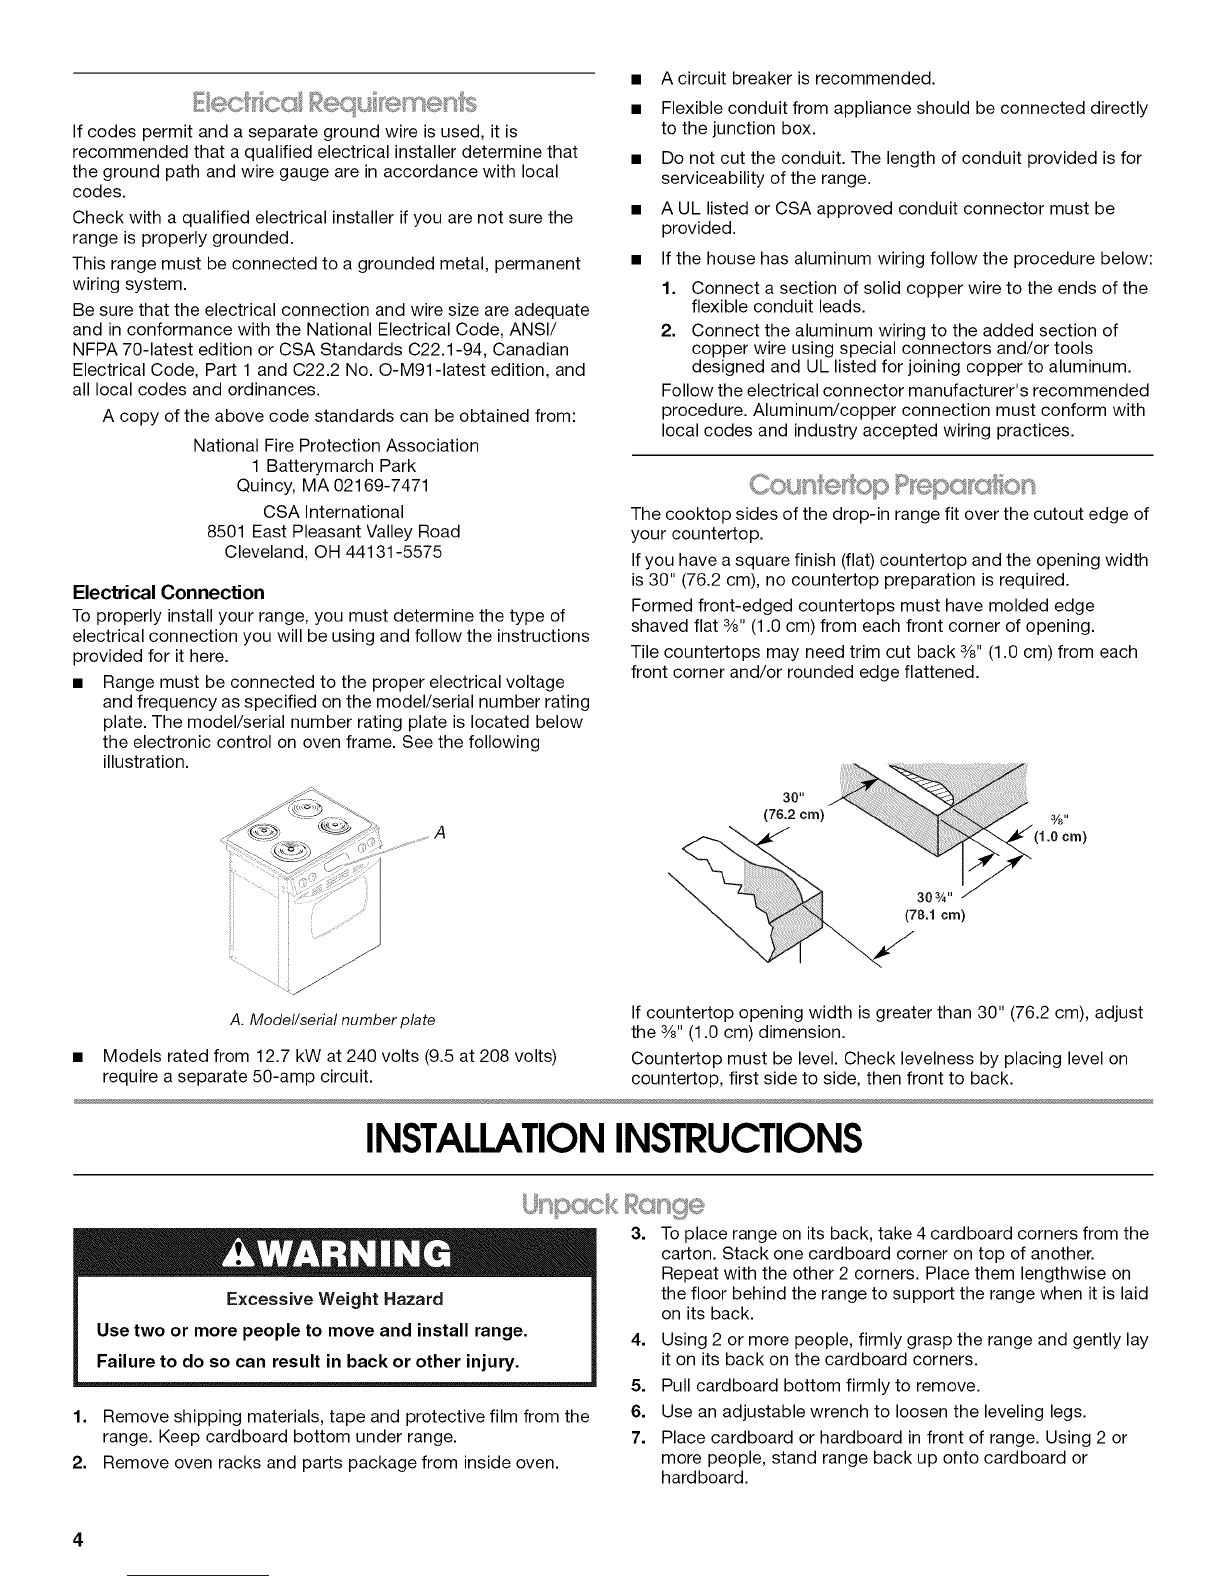
•Range must be connected to the proper electrical voltage
and frequency as specified on the model/serial number rating
plate. The model/serial number rating plate is located below
the electronic control on oven frame. See the following
illustration.
A. Model/serial number plate
Models rated from 12.7 kW at 240 volts (9.5 at 208 volts)
require a separate 50-amp circuit.
• A circuit breaker is recommended.
• Flexible conduit from appliance should be connected directly
to the junction box.
• Do not cut the conduit. The length of conduit provided is for
serviceability of the range.
• A UL listed or CSA approved conduit connector must be
provided.
• If the house has aluminum wiring follow the procedure below:
1. Connect a section of solid copper wire to the ends of the
flexible conduit leads.
2. Connect the aluminum wiring to the added section of
copper wire using special connectors and/or tools
designed and UL listed for joining copper to aluminum.
Follow the electrical connector manufacturer's recommended
procedure. Aluminum/copper connection must conform with
local codes and industry accepted wiring practices.
The cooktop sides of the drop-in range fit over the cutout edge of
your countertop.
If you have a square finish (flat) countertop and the opening width
is 30" (76.2 cm), no countertop preparation is required.
Formed front-edged countertops must have molded edge
shaved flat 3/8"(1.0 cm) from each front corner of opening.
Tile countertops may need trim cut back 3/8"(1.0 cm) from each
front corner and/or rounded edge flattened.
30 It
(76.2 crn)
(1.o_om)
303A ''
(78.1 crn)
If countertop opening width is greater than 30" (76.2 cm), adjust
the 3/8"(1.0 cm) dimension.
Countertop must be level. Check levelness by placing level on
countertop, first side to side, then front to back.
INSTALLATIONINSTRUCTIONS
Excessive Weight Hazard
Use two or more people to move and install range.
Failure to do so can result in back or other injury.
1. Remove shipping materials, tape and protective film from the
range. Keep cardboard bottom under range.
2. Remove oven racks and parts package from inside oven.
3. To place range on its back, take 4 cardboard corners from the
carton. Stack one cardboard corner on top of another.
Repeat with the other 2 corners. Place them lengthwise on
the floor behind the range to support the range when it is laid
on its back.
4. Using 2 or more people, firmly grasp the range and gently lay
it on its back on the cardboard corners.
5. Pull cardboard bottom firmly to remove.
6. Use an adjustable wrench to loosen the leveling legs.
7. Place cardboard or hardboard in front of range. Using 2 or
more people, stand range back up onto cardboard or
hardboard.