different parameter interface as shown below. Then press UP or DOWN to revise the relative parameter , and
press ENTER to confirm. Users can speed or slow the DMX function by pressing the UP or DOWN continuously.
P.g.X.X. T.d.X.X.
S.O.N.D.
Parameter explanation:
Prg XX(01~9): to select the built-in program, there are nine programs to be chosen.
Stb XX(00~10): to select the built-in program, there are nine programs to be chosen
3、Slave Mode:
Press the MENU continuously,the working mode will change automatically, meanwhile the dot will flicker. When
the working mode turns to Slave mode, release the MENU, and enter slave mode, while the dot will off.
S.L.V.E.
4、Test Mode:
Press the MENU continuously,the working mode will change automatically, meanwhile the dot will flicker.
When the working mode turns to Test mode, release the MENU, and enter Test. Press MENU to confirm. Then
press UP or DOWN to revise the relative parameter, and press ENTER to confirm. Users can speed or slow the
DMX function by pressing the UP or DOWN continuously.
Function of Slave mode:Fixture can be slave d and work synchronously under Auto and Audio mode.
B. L.U.E.
G. R . E . E . W.I.T.E.
.R.E.D.T.E.S.T.
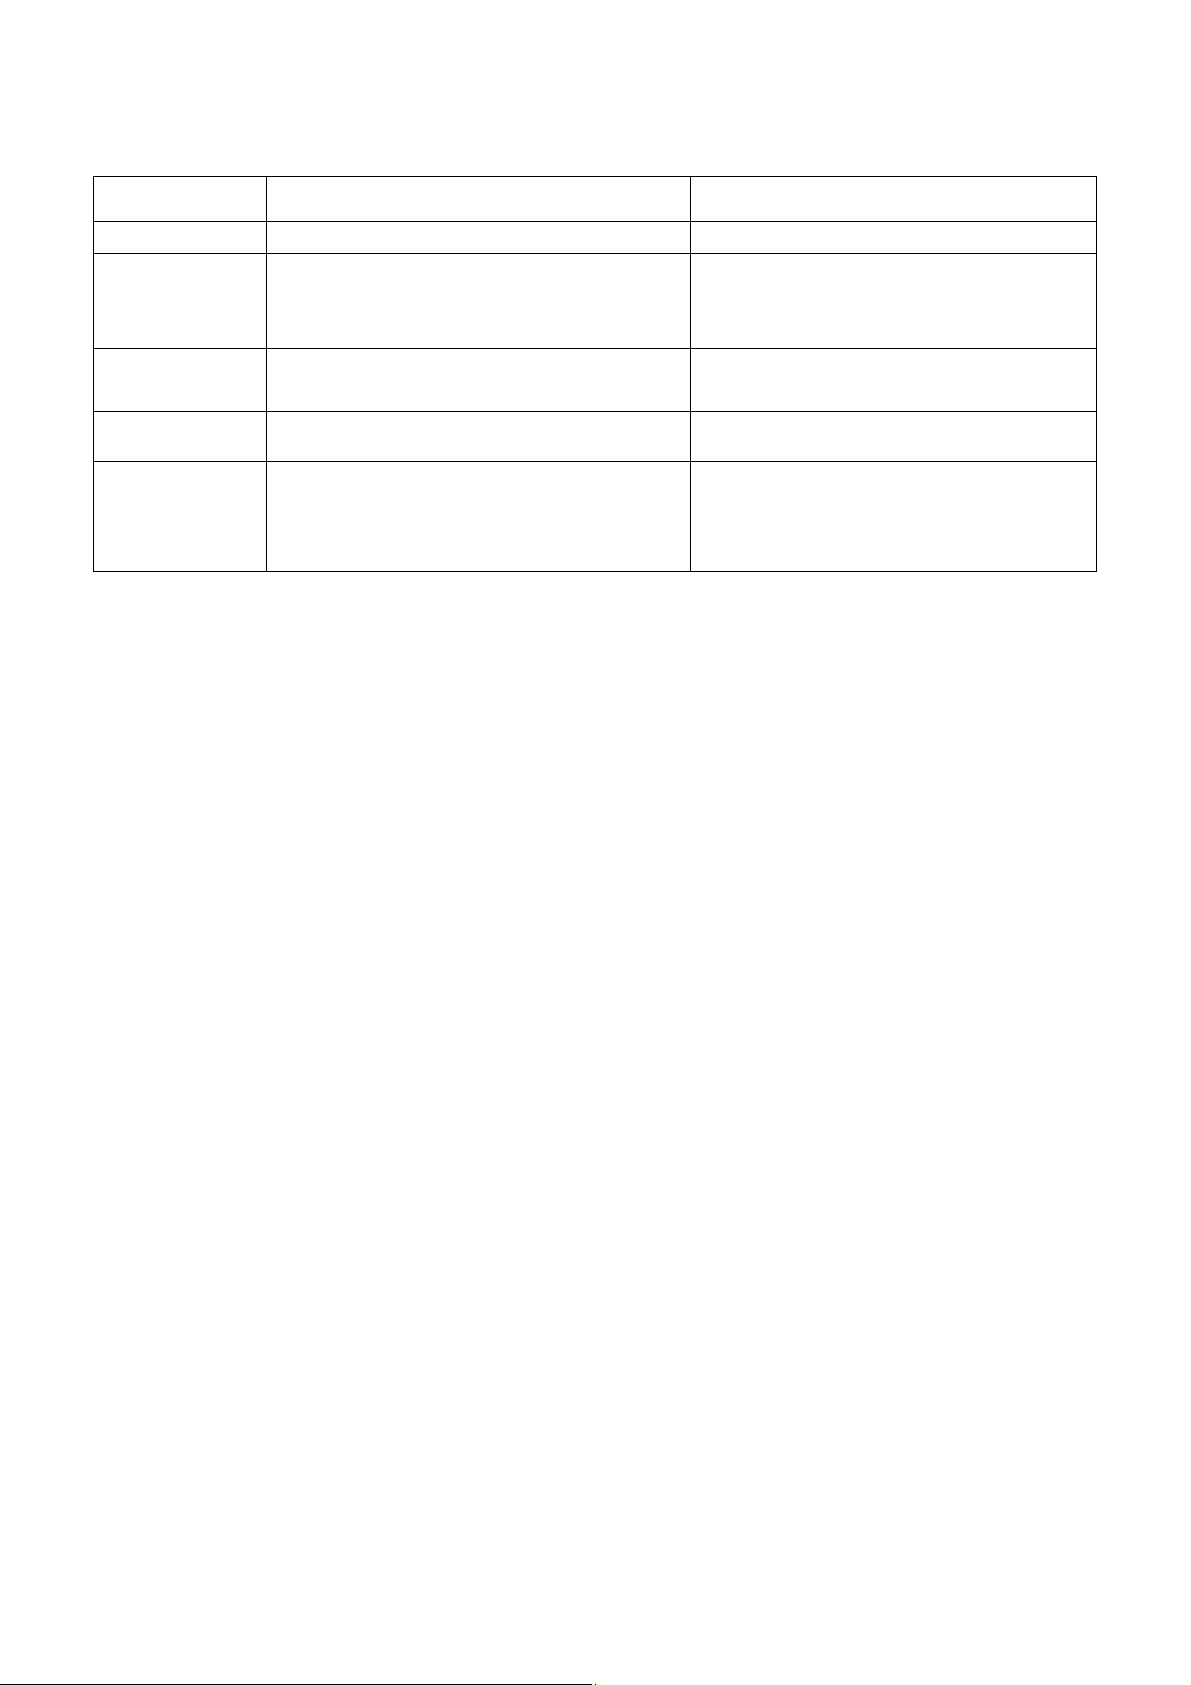
Installation
Hangingorhorizontalfixing
After handle firmly fixed, this fixture can be hang in the air. When hang in the air, users can fix the fixture by
holding the holes of the stand, user can also make it firm by using ropes. Be noted the rope must have the
capability to hold 10 times as heavy as the weight of the fixture suit.
Page 5 of 6