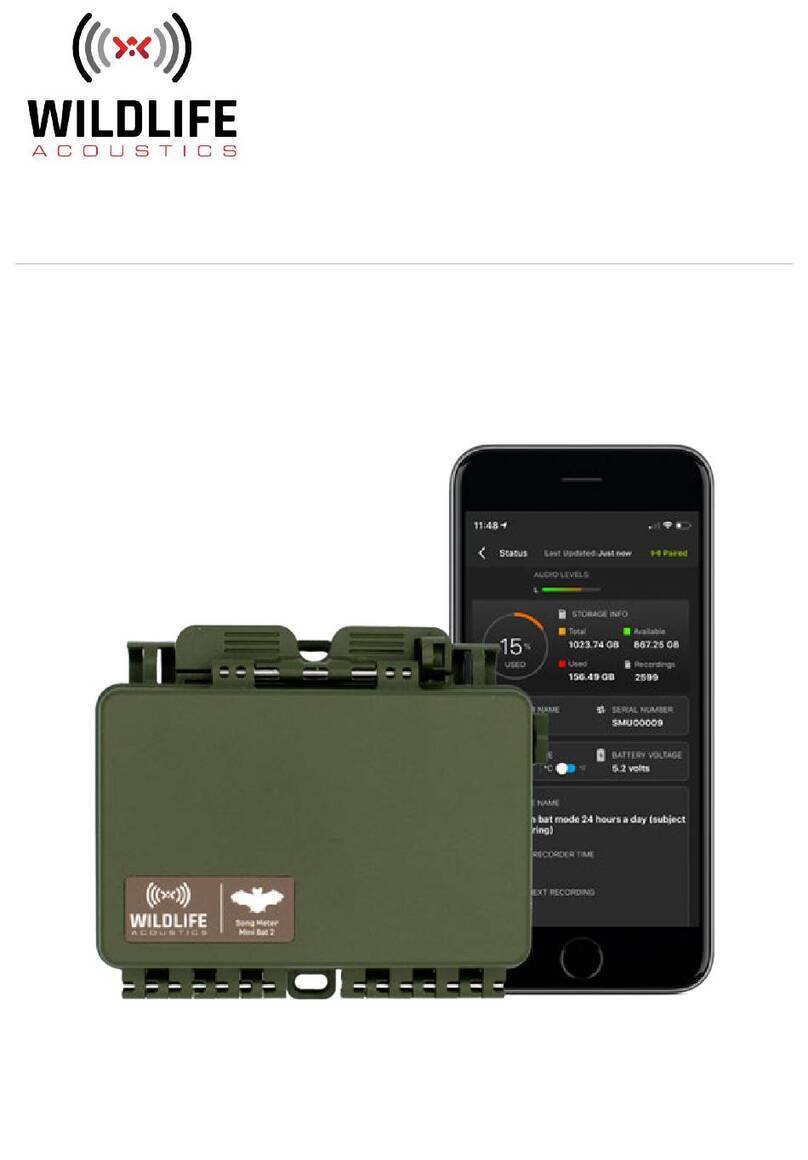
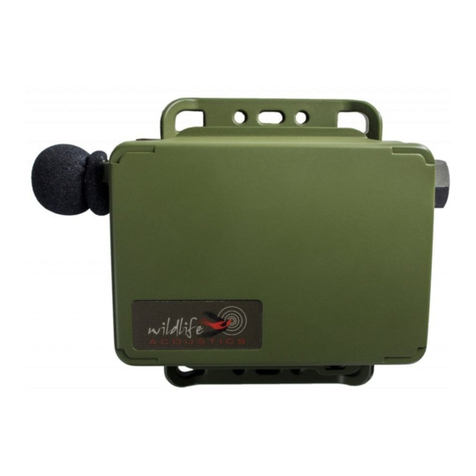
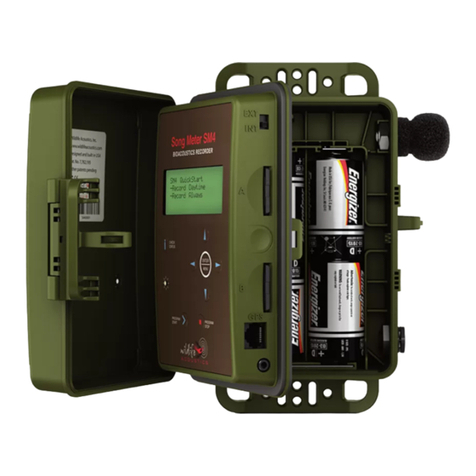
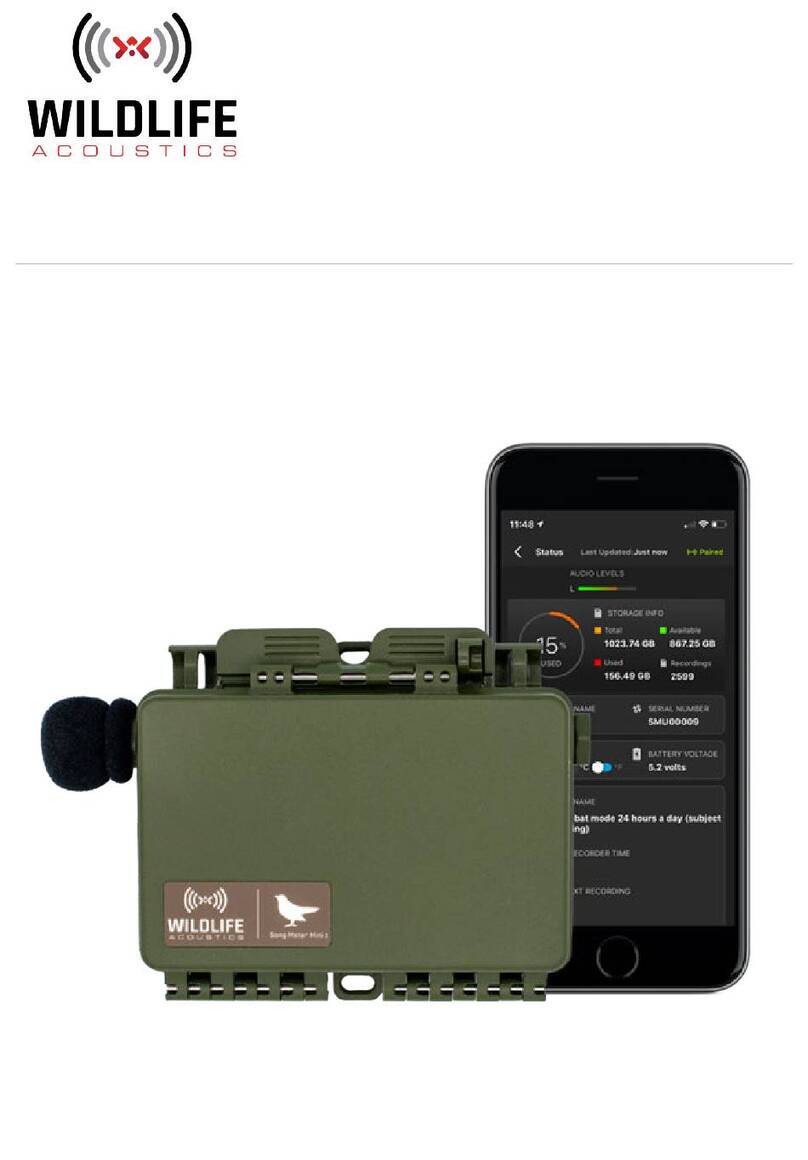
Wildlife Acoustics Song Meter Mini User manual

Introduction
Song Meter Mini Models
Recorder & Configurator App Setup
Installing Batteries
Installing the SD Memory Card
Installing the App
Bluetooth Connection
Select a Recording Schedule
Song Meter Mini Recorder
External Features
Internal Features
Adding a Second Microphone
Lithium-ion Battery Lid
Upgrading Firmware
Song Meter Mini Configurator App
Recorders Screen
Status Screen
Configure a Paired Recorder
Ultrasonic Settings Screen
Acoustic Settings screen
Set Location screen
Schedule Editor

Schedule Block Examples
Utilities Menu
Working with Configuration Files
Recording Files
WAV Files
Zero-Crossing Files
Metadata
Analysis Software
Kaleidoscope Pro
Third-Party Software
Specifications
Physical
Audio and Microphones
Battery Life
Warranty and Disclosures
Online User Guide
You can download the guide for printing at
www.wildlifeacoustics.com/resources/user-guides
Contacting Support
For issues or questions not addressed in this guide,
contact the Wildlife Acoustics Support Team:
•Email: support2020@wildlifeacoustics.com
•North America (toll-free): 1-888-733-0200
•Outside North America: US+1 978-369-5225 (Toll
charges may apply)

Introduction
Our smallest, lightest and most affordable wildlife audio
recorder, the Wildlife Acoustics Song Meter Mini recorders
provides researchers a simple, yet innovative tool for
recording bats, birds, frogs and other vocal wildlife.
Song Meter Mini Models
This manual covers both the Song Meter Mini and the Song
Meter Mini Bat models. Throughout this user guide, when
features of the two models are in common, the recorder will
be referred to as the Song Meter Mini. When there are
differences between the two models, the Song Meter Mini
and Song Meter Mini Bat will be described separately.
When mentioning frequency range this user guide will use the
word “acoustic” to describe frequencies generally considered
to be within the range of human hearing –generally up to
around 20,000 Hz. “Bat” or “Ultrasonic” will be used to
describe frequency ranges generally above 20,000 Hz.
Song Meter Mini

•The Song Meter Mini captures audio up to 48,000 Hz
frequency with its built-in acoustic microphone.
•The Song Meter Mini has the option to connect a
second acoustic microphone.
•When a second microphone is connected, the Song
Meter Mini can record in single channel or stereo mode.
•The Song Meter Mini records continuously according to
its recording schedule.
Song Meter Mini Bat
•The Song Meter Mini Bat records up to 250 kHz
frequency audio with its built-in ultrasonic microphone.
•An optional acoustic microphone can be connected.
Both microphones cannot be used at the same time,
however it is possible to have a recording schedule that
alternates between acoustic and ultrasonic recording.
•The Song Meter Mini Bat uses triggered recording
within its ultrasonic recording schedule and continuous
recording for a second acoustic microphone if
implemented.

Recorder & Configurator App Setup
Follow these instructions to use the Song Meter Mini for the
first time.
Installing Batteries
The Song Meter Mini can be powered by four AA batteries or
the optional lithium-ion battery lid.
•For use with the optional lithium-ion battery lid, please
refer to the installation instructions in this user guide.
•Follow these instructions for AA battery use.
NOTE: Energizer brand of alkaline batteries are recommended for
their superior performance.
1. Open the recorder.
2. Insert batteries with their polarity (+/-) orientation as shown
on the battery bay markings. The recorder uses four size AA
alkaline or NiMH batteries.
TIP:Prior to installation, we recommend that all batteries are tested
with a high-quality pulse load battery tester such as the ZTS MINI-
MBT.
WARNING! Do not mix batteries of different types, and do not
mix old and new batteries. Remove batteries before storing the
recorder for an extended time.
3. Make sure the power jumper is connected to the AA pin on
the left.
4. Set the power switch to On.

When not in use, set the power switch to Off to conserve
battery power.
The Song Meter Mini enters a low-power sleep state between
scheduled recordings to conserve energy and maximize
efficiency for long deployments.
TIP: Use the Song Meter Mini Configurator app to estimate the
recording requirements for your schedules including battery life and
memory storage.
Installing the SD Memory Card
The Song Meter Mini saves recordings to an SD memory card
installed in the memory card slot.
NOTE: Be sure the card’s write-protection switch is “off”. The Song
Meter Mini will not record to a write-protected card.
1. Insert the SD memory card into the slot. Push the card straight
in until it clicks into place.
2. To remove a card, push it in and release it. The spring-loaded
slot ejects the card so it is released from the slot.
Power jumper
block
Power switch
Battery polarity
mark

NOTE: Do not remove the SD memory card while the Song Meter
Mini is powered on. Power the recorder off before removing the SD
memory card
Installing the App
•The Song Meter Mini is programmed via the Song Meter
Mini Configurator app.
•The Song Meter Mini Configurator app is available for
Android and iOS.
•Download and install the Android version from Google
Play and the iOS version from the Apple App Store.
•The Song Meter Mini Configurator app requires a
minimum iOS version of 10.0.
•The Song Meter Mini Configurator app requires a
minimum Android version of 5.0.
•The Song Meter Mini Configurator app requires that the
host mobile device has a minimum Bluetooth chipset
version of 4.0.
Bluetooth Connection
•The Song Meter Mini recorder uses Bluetooth protocol
to communicate with the Song Meter Mini Configurator
app on an iOS or Android device.
•In factory default mode if the Song Meter Mini is
powered on and within Bluetooth range of the
iOS/Android device, the Configurator app will
automatically detect the recorder and display it in the
Recorders screen.
•Once detected, the Song Meter Mini will upload its
current status to the Configurator app. Tap the Status
icon to display the current status of the recorder.

Pair the Song Meter Mini with the Configurator app
•In order for the Configurator app to edit the schedule
and settings currently stored in the recorder, the
recorder must be paired with the app.
•Only one Song Meter Mini recorder can be paired with
the Configurator app at a time.
•If multiple recorders are within Bluetooth range, they
will each be listed in the Recorders screen.
•Pressing and holding the PAIR button on Song Meter
Mini recorder will make the recorder available for
pairing in the Configurator app.
1. Make sure Bluetooth is enabled on the iOS or Android device
2. Launch the Song Meter Mini Configurator app and display the
Recorders screen.
3. Remove the cover from the Song Meter Mini.
4. Turn the Power switch to On.
•If the recorder is powered on and in Bluetooth range,
and the Send Bluetooth Beacons? function is not
disabled, the Song Meter Mini will automatically appear
as a detected device in the Recorders screen of the
Configurator app.
•Initially the recorder will not be paired with the app.
Pairing must be done manually.
NOTE: The first time the Song Meter Mini is configured, or if the
batteries have been removed for an extended period of time, the
internal clock will not be set. This will result in the Bluetooth LED
flashing red. The clock must be set before the Song Meter Mini can
be used for recording. To set the internal clock, pair the Song Meter
Mini with the Configurator app.
5. Press and hold the PAIR button on the Song Meter Mini
recorder for three seconds. The Bluetooth LED on the

recorder will blink green, indicating the recorder is ready to
pair.
6. The Song Meter Mini recorder will now be available to pair
with the Configurator app. The Pair icon for the Song Meter
Mini will now be available in the Recorders screen.
7. Tap the Pair icon in the Recorders screen.
8. The Song Meter Mini will now be in full paired
communication with the Configurator app.
9. The programmed date and time of the Song Meter Mini
recorder will automatically be synchronized with the mobile
device.
•If the location and time zone of the Song Meter Mini
recorder do not match the location and time zone of the
mobile device, a window will open asking if those
parameters should be updated on the recorder to match
the mobile device.
•This allows pre-programmed remote location and time
zone to be preserved while editing other settings within
the Song Meter Mini recorder.
Select a Recording Schedule
1. Tap the Configure icon for the paired Song Meter Mini in the
Recorders screen.
2. The Paired Configuration Editor screen will open.
3. Select a preset recording schedule.
4. The preset recording schedule will be uploaded to the Song
Meter Mini recorder.
5. The Song Meter Mini is now ready to record!
Note: To create a custom recording schedule please reference
the Schedule Editor section of this user guide.

Song Meter Mini Recorder
The Song Meter Mini is a system that utilizes two components
- a hardware recording device and a software app. This
section will describe the hardware recording device.
External Features
•The Song Meter Mini recorder is designed for long-
term, outdoor deployment.
•The Song Meter Mini is made from durable
polycarbonate plastic and is UV resistant and
weatherproof.
•The recorder features mounting brackets on top and
bottom. Typical methods to mount the Song Meter Mini
include bungie cords or a cable lock. The cable lock
must be under 0.3 inches (7.6mm)
•A second acoustic microphone is an available option for
both the Song Meter Mini and Song Meter Mini Bat
•An optional Lithium-ion battery lid is available for
extended deployment times.
•A lockable security strap is available.
•The Song Meter Mini recorder consists of a main
enclosure and a snap-on cover. To remove the cover,
grasp the main enclosure and pull up on the sides of the
cover. This will expose the interior of the recorder.
Internal Features
The Song Meter Mini has many features and functions which
can be accessed directly from the hardware.

The following information is printed inside the lid
cover:
To Get Started
•How to download and install the Song Meter Mini
Configurator app
•Instructions to install batteries
•Instructions to pair the Song Meter Mini with the
Configurator app
Button Definitions
•On/Off Switch
•Pair/Status Button
•Function Button
Status LED Definitions
•Bluetooth
•Recording
•SD Card

User accessible features of the Song Meter Mini
recorder
Power source jumper
•The power source jumper is a block of plastic which
connects two points on the circuit board.
•The power source jumper can be moved between two
positions to connect either AA or Lithium-ion batteries.
Power source jumper
(currently set to AA)
Lithium-ion battery lid
connector

•The Song Meter Mini can be powered by internal AA
batteries or Lithium-ion batteries in the optional
Lithium-ion battery lid.
•The power source jumper determines which source will
be used.
•The jumper block connects the center pin to either the
left pin for AA battery use, or the right pin for lithium-
ion battery use.
NOTE: If the jumper is disconnected or inthe wrong position the Song
Meter Mini will not receive power and will be disabled.
Lithium-ion battery lid connector
When the lithium-ion battery lid is used, connect the cable
from the lithium-ion lid to the recorder. For additional details
regarding the lithium-ion battery lid please see the Lithium-
Ion Battery Lid section of this user guide.
Battery holder
The recorder uses four size AA alkaline or NiMH batteries.
Make sure the positive/negative polarity of the batteries are
correctly oriented.
NOTE: Energizer brand of alkaline batteries are recommended for
their superior performance.
Polarity label

On/Off Switch
On: Battery power is enabled. Schedule is started.
Off: Schedule is stopped. Battery power is disabled.
NOTE: When the Song Meter Mini is powered off, it goes through a
routine to end and save any current recording. This can take a few
seconds.
PAIR/STATUS button
•This is a dual function button. When the Song Meter
Mini is first powered on, the Status LEDs will show
Bluetooth, Recording, and SD Card status. If one minute
passes with no further activity, the Status LEDs will be
disabled.
•Press the PAIR/STATUS button once to re-activate the
Status LEDs.
•Press and hold the PAIR/STATUS button for three
seconds to make the Song Meter Mini available for
pairing with the Configurator app.
•The Bluetooth Status LED will show the pairing state
between the Song Meter Mini and Configurator app.
•Pairing does not happen automatically. Pairing must be
manually confirmed from the Configurator app.
•The Status LEDs will remain active as long as the Song
Meter Mini is paired with the Configurator app.
Status LEDs

Status LED definitions:
Bluetooth:
Off
Not paired
Green
Blinking
Pairing
Green Solid
Paired
Red Blinking
Clock needs to be set
Red Solid
Pair failed
Recording:
Green
Blinking
Recording (*Triggered)
Green Slow
*Armed & waiting for trigger
Green Solid
Waiting next recording
period
Red Solid
Can’t record
SD Card:
Off
No card detected
Green
Blinking
Card is active: do not eject
Green Solid
No activity: can be ejected
Red Blinking
SD card full
Red Solid
SD card issue
* Song Meter Mini Bat in Bat Mode only.
Function button and LEDs
•Press the FUNCTION button multiple times to cycle
through the functions.
•When the desired function LED is lit, press and hold the
FUNCTION button for 3 seconds to commence the
function.
Function LEDs

•The selected LED will blink green while the function is in
progress.
•When the function is completed all four LEDs will blink
green three times if the function is successful.
•If the function fails all four LEDs will blink red six times.
There are four available Functions:
Diags
Run diagnostics
•A diagnostic file describing the functions of the Song
Meter Mini will be written to the SD memory card.
•The file will have a file name of
Prefix_YYYYMMDD_HHMMSS.minidiags
•This function will also create a configuration file on the
SD card.
•The configuration file will have a file name of
Prefix.miniconfig
•The configuration file on the SD can be used to load the
configuration onto other Song Meter Mini recorders.
Load
Loads configuration file (.miniconfig) and/or firmware file
(.smm), if present, from the SD card. See Upgrading firmware
section for more information.
Defaults
Reset to factory defaults.
•Resetting factory defaults will clear all internal settings
with the exception of current date and time.
•Default values for all parameters are listed in the Song
Meter Mini Configurator app section of this user guide.
Format
Format SD card.

•This will erase all data on the SD card.
•In some cases, a corrupted SD memory card can be
reformatted to make it work again.
•If an SD card is reformatted and continues to have
problems, the card may be defective.
SD memory card slot
•The Song Meter Mini recorder saves recording files to
an SD memory card installed in the memory card slot.
•The SD card can be connected to a computer to transfer
recording files to the computer for analysis.
•To insert an SD card, slide it into the slot until it clicks
into place.
•To remove the SD card, gently press the card further
into the slot and then slide the card out.
•Only remove the SD card when the recorder is powered
off.
•To check the available recording space on the SD card,
check the status of the recorder in the Configurator app.
•The number of recordings that can be stored on an SD
memory card is variable based on card size, sample rate
of the recording and whether the recording is mono or
stereo (stereo recording available only with the Song
Meter Mini and second optional microphone
connected).

NOTE: Wildlife Acoustics recommends the SanDisk brand of memory
cards for their superior performance.
NOTE: Be sure the card’s write protection switch is “off”. The Song
Meter Mini will not record to a write-protected card
Right microphone connector
If a second acoustic microphone is connected to the Song
Meter Mini or Song Meter Mini Bat, this is the connection
point for the optional microphone.
Adding a Second Microphone
Song Meter Mini
•The Song Meter Mini in stock format features a single
built-in acoustic microphone.
•A second acoustic microphone can be connected. This
allows for single channel or stereo recording.
•The built-in microphone is referred to as the Left
Channel. The optional second microphone is referred to
as the Right Channel. It is not possible to connect a
second ultrasonic microphone to the Song Meter Mini
or Song Meter Mini Bat.
Song Meter Mini Bat
•The Song Meter Mini Bat in stock format features a
single built-in ultrasonic microphone.

•An optional acoustic microphone can be connected. This
allows for a recording schedule that alternates between
ultrasonic and acoustic recording
•The ultrasonic microphone and acoustic microphone
cannot be used at the same time.
•The ultrasonic microphone will create triggered
recordings within a schedule.
•The acoustic microphone will create continuous
recordings within a schedule.
Connect an optional second acoustic microphone to the
Song Meter Mini or Song Meter Mini Bat:
1. Open the cover to reveal the inside of the recorder. In the
upper right corner is a removable black plastic bolt. The bolt
threads though a black plastic nut.
2. Use a ¾” wrench or an adjustable wrench to gently unscrew
the bolt from the nut. When the bolt is removed the internal
nut will stay in place.

3. Thread the wire connector for the second microphone
through the hole. Do not connect the wire to the circuit board
yet.
4. Turn the second microphone clockwise to screw it into the
internal nut. Make sure the thread is not crossed. Tighten with
fingers or lightly with pliers. Do not over-tighten.
5. Now connect the wire from the second microphone to the
jack labelled “Right Mic” on the circuit board. Route the wires
to the right of the SD card to avoid physical interference or
electrical noise from the SD card.
Other manuals for Song Meter Mini
1
Table of contents
Other Wildlife Acoustics Measuring Instrument manuals
Wildlife Acoustics
Wildlife Acoustics SM4M User manual

Wildlife Acoustics
Wildlife Acoustics SMART MIC-1 User manual

Wildlife Acoustics
Wildlife Acoustics Song Meter SM4 User manual

Wildlife Acoustics
Wildlife Acoustics Song Meter Mini 2 User manual
Wildlife Acoustics
Wildlife Acoustics Song Meter Mini 2 User manual

Wildlife Acoustics
Wildlife Acoustics Song Meter Mini User manual

Wildlife Acoustics
Wildlife Acoustics Song Meter Mini Bat 2 User manual