1143500 Replacing SmartPAC PRO HMI Board
Instruction Sheet September 2018 1143500
Replacing SmartPAC PRO HMI Board Rev. A Page 5
Wintriss Controls Group 978-268-2700 toll free 800-586-8324
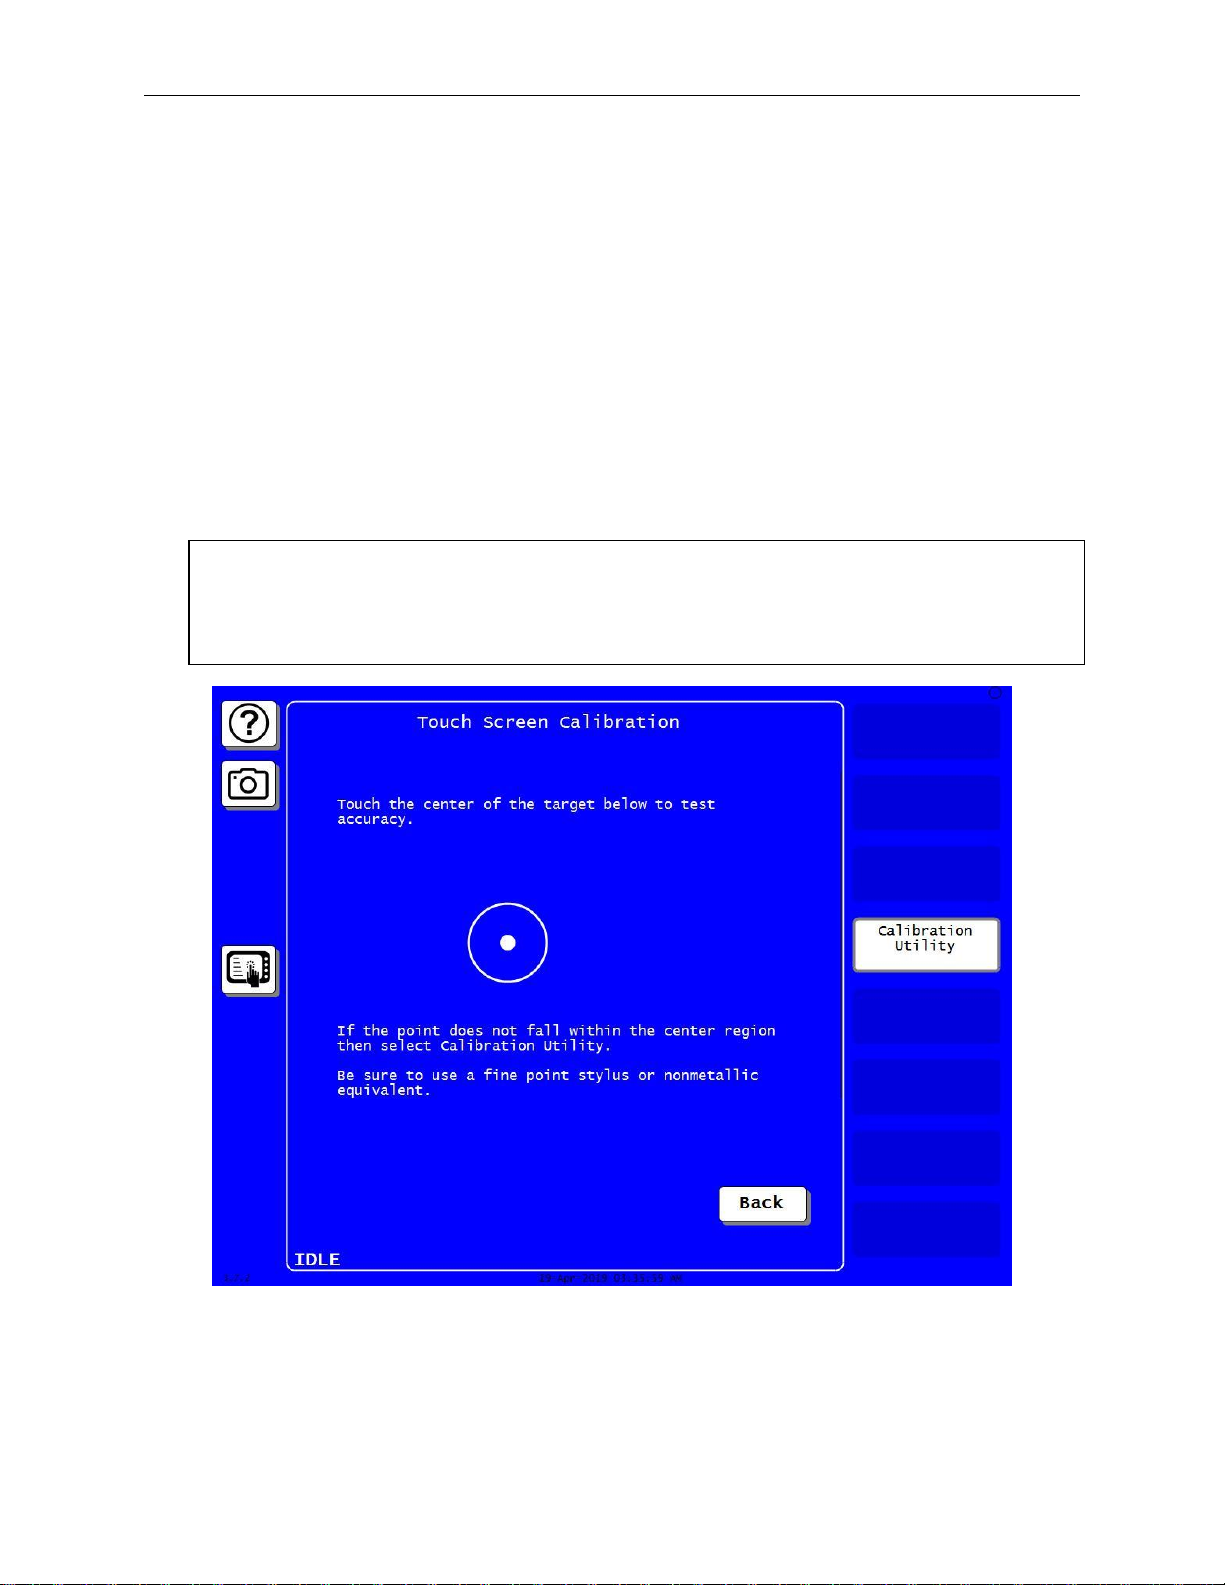
18. Follow the directions on the “Touch Screen Calibration menu. Note: Do not touch any
portion of the screen with any part of your hand etc., or the test will not work correctly.
19. Using a fine point stylus, touch the center of the target. If the small pink dot falls within the
center of the target the screen is calibrated (There is also an “On target” message). Press
the Back button a couple of times and then the Exit button to return to the main program
menu.
20. If you are unable to center the pink dot in the target, the screen needs to be calibrated.
Press the Calibration Utility button to calibrate. A yellow message box will appear with
instructions. Have your stylus and USB mouse plugged in and ready. Press the Yes button
to continue with the calibration. When the calibration is complete the SmartPAC PRO will
reboot on its own.
Board Exchange Only
21. Place the malfunctioning HMI board in the anti-static bag in which you received the
replacement board.
22. Place the anti-static bag with the old board in the box in which you received the
replacement board and ship it back to Wintriss Controls, using the shipping label with the
Return Authorization (RA) number. Contact Wintriss Tech Support if you have additional
questions 800-586-8324.
NOTICE
Before setting up and running a job, it is a good idea to test a few SmartPAC PRO modes and
menus to make sure the touch screen is properly calibrated and the unit is operating normally.
If you have swapped your SD card (Step 12, page 3) from the old board to the replacement
board it is a good idea to go into the Tool Manager (Program Mode) and verify that all your
tools have been restored. If you experience any problems, Contact Wintriss Tech Support
800-586-8324
NOTICE
If your SmartPAC PRO is networked you will need to reprogram its network settings back in.
To do this, go to the MAIN INITIALIZATION MENU, select SETUP NETWORK and then select
CHANGE NETWORK SETTINGS.