manuals.online logo
Brands
  1. Home
  2. •
  3. Brands
  4. •
  5. WIPCOOL
  6. •
  7. Water Pump
  8. •
  9. WIPCOOL P16 User manual

WIPCOOL P16 User manual

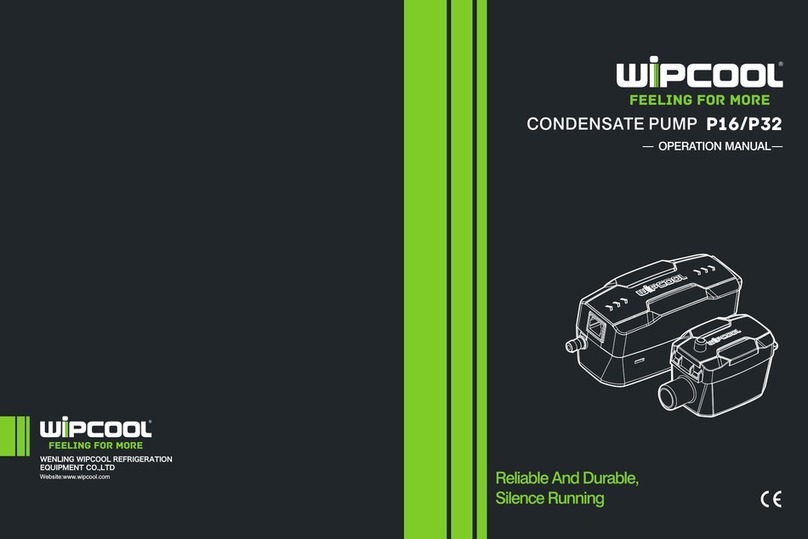
OPERATION MANUAL
feeling for more
Reliable And Durable,
Silence Running
P16/P32
CONDENSATE PUMP
01 02
feeling for morefeeling for more
P16
100V-230V~/50-60Hz
10m
32L/h(8.5GPH)
35ml
19dB(A)
0℃~50℃
45000btu/hr
21dB(A)
P32
12
10
8
7
6
2
0 5 10 15 20 25 30 35 40
P32
P16
4. Flow Rate Chart
P16
P32
0m
24
40
2m
20
36
4m
18
26
6m
16
22
8m
12
18
10m
8
14
1. Explosion Diagram
126
12 12
7
47
53
16
7
7
12
17
85
6
48.3
40
No.
1
2
3
4
No.
5
6
7
8
No.
9
10
11
Part Name
Water inlet pipe
Tank
Filter net
Upper cover
Part Name
Upper cover plate
Air hole(φ6x20)
Water pipe(φ6x1500)
Induction signal line
Part Name
Power cord
Water outlet pipe
Condensate pump
assembly
2. Dimension
3. Technical Data
Model
Voltage
Discharge head(Max.)
Flow rate(Max.)
Tank capacity
Mini splits up to
Sound level at 1m
Ambient temp.
Model
Performance(l/h@head)
Meters head(m)
Flow(L/h)
16L/h(4.2GPH)
30000btu/hr
feeling for more
05
5. Safety Instructions
1. Place the tank horizontal when installing, do not tilt the pump. Check whether
the level drop is centered; if there is tilt, adjust the water level before using it.
2. Do not place electrical appliances or valuables under the condensate pump
to avoid loss caused by power failure or water leakage.
3. Non - professional personnel should not install it to avoid danger.
4. The condensate pump is not waterproof. Do not place it in the open air,
outdoors or in a place prone to flooding.
5. The condensate pump power supply needs to be independent to maintain
permanent power supply. For details of connecting with air conditioning
system, please refer to the wiring diagram.
6. It is prohibited that the water inflow is bigger than our stated flow rate, which
will easily cause the motor to work continuously and fail. Instant big water
inflow will also cause the condensate pump fail to discharge water in time,
leading to water leakage.
feeling for more
6. Installation Procedure
(1) Make sure the probe in the tank is on the right side of the filter net, the filter net and
the upper cover are firmly mounted on the tank. (as shown below)
(2) Make sure the tank is placed smoothly and the outlet pipe of the air conditioner is
tightly connected with the water pipe of tank. (as shown below)
(3) Connect the vent pipe with the air hole. (as shown below)
1A
B
C
2
345
(4) Place the pump in the position beyond the ceiling. (as shown below)
(5) The use of shockproof materials, ensure the water tank and condensate pump stuck
firmly, low vibration to avoid noise.
(6) Pay attention to the direction of the water flow. (as shown below)
04
(7) Connect the water tank and pump with 6x9 silicone tube and fasten it with tie, make
sure the length of the water pipe is less than 2m ( as shown below )
2M
05 06
feeling for morefeeling for more
Green light on when working
Power Cord: (L) Fire Wire: Brown (N) Zero Line: Blue (E) Ground Wire: Flower
Signal Line: (NC) Normally Closed: Purple (COM) Common Line: Red
(NO) Normally Open: Green
(8) Connect the 6x9 water pipe to the water outlet, tie the water pipe, make sure that
the discharge head is less than 8m and the length of the water pipe is less than
25m. ( as shown below )
(9) The condensate pump is equipped with work indicating light. When the pump is
working normally, the green light is on. When the water level is in
alarm, the red light is on. (as shown below)
Red light on when alarm
If the air conditioner does not have a liquid
level switc, it can also connect to other alarm
devices or refer to fig.
Air Conditioner
Indoor Unit
Liquid Level Switch
Condensate
Pump
L N E
L N E L N E
L
N
E
N.C Purple
COM Red
N.O Green
Air Conditioner
Outdoor Unit
If there is no liquid level switch, it can also use an
appropriate AC contactor to control the air
conditioning power.
N.C Purple
COM Red
N.O Green
L N E
L
N
E
L N E
N E
AC Contactor
Condensate
Pump
Air Conditioner
Indoor Unit Air Conditioner
Outdoor Unit
2M 8M
(10) Power supply wiring, in order to avoid leakage of condensate pump, please
connect the alarm signal line and the "Normally Closed" and "Normally Open"
signal terminals according to the requirements of different working conditions
(as shown below).
Please pay attention to distinguish the power cord from the signal line,
incorrect wiring will cause damage to the condensate pump. Ensure the
voltage is consistent with pump.
(11) Pour some water into the evaporator tray to check whether the tray leaks and the
condensate pump works normally.
WARNING
1A
B
C
Pump runs
all the time
1. Installation is not horizontal
2. There is sludge inside tank
Problem Cause Action
Pump makes
loud noise
Pump can’t
start working
Adjust the tank make it level
Clean the inside of tank and probe surface
1. The water is siphoning back
in the pump
Check whether the outlet pipe is lower than
pump thus result in siphoning, raise the
condensate pump position
1. Installation is not horizontal
2. The power can’t reach pump
3. The voltage isn’t correct
1. Adjust the tank, check water level
2. Check power supply
3. Check the voltage
7. Troubleshooting
Note: Proper use and maintenance can improve the life of pump. We suggest to check
and clean the condensate pump before seasons changing or next year using.

This manual suits for next models

1

Other WIPCOOL Water Pump manuals

WIPCOOL R4 User manual

WIPCOOL

WIPCOOL R4 User manual

WIPCOOL P16 User manual

WIPCOOL

WIPCOOL P16 User manual

WIPCOOL P12 User manual

WIPCOOL

WIPCOOL P12 User manual

WIPCOOL P18 User manual

WIPCOOL

WIPCOOL P18 User manual

WIPCOOL R2 User manual

WIPCOOL

WIPCOOL R2 User manual

Popular Water Pump manuals by other brands

KSolare Mega Series Quick installation guide

KSolare

KSolare Mega Series Quick installation guide

Edwards EDS 200 instruction manual

Edwards

Edwards EDS 200 instruction manual

STERWINS 900 JET AUTO-3 manual

STERWINS

STERWINS 900 JET AUTO-3 manual

Vetus WP1208B Operation manual and installation instructions

Vetus

Vetus WP1208B Operation manual and installation instructions

Xylem e-IXP Installation, operation and maintenance instructions

Xylem

Xylem e-IXP Installation, operation and maintenance instructions

Biral T2 S Installation and operating instructions

Biral

Biral T2 S Installation and operating instructions

Grundfos UPE Series Installation and operating instructions

Grundfos

Grundfos UPE Series Installation and operating instructions

WELCH-ILMVAC DRYFAST 2014 owner's manual

WELCH-ILMVAC

WELCH-ILMVAC DRYFAST 2014 owner's manual

Ingersoll-Rand ARO PF20-B Series Operator's manual

Ingersoll-Rand

Ingersoll-Rand ARO PF20-B Series Operator's manual

Beckett CL201UL manual

Beckett

Beckett CL201UL manual

Dometic PS250 Installation and operation manual

Dometic

Dometic PS250 Installation and operation manual

Hayward Super II owner's guide

Hayward

Hayward Super II owner's guide

Kolmeks L Series manual

Kolmeks

Kolmeks L Series manual

SUNPUMPS SCS HP SERIES Operation and installation manual

SUNPUMPS

SUNPUMPS SCS HP SERIES Operation and installation manual

Server 07794 quick start guide

Server

Server 07794 quick start guide

DOSITEC SISTEMAS Multitec Series user guide

DOSITEC SISTEMAS

DOSITEC SISTEMAS Multitec Series user guide

Garland GEISER 421 QG instruction manual

Garland

Garland GEISER 421 QG instruction manual

Grundfos CH 2 Installation and operating instructions

Grundfos

Grundfos CH 2 Installation and operating instructions

manuals.online logo
manuals.online logoBrands
  • About & Mission
  • Contact us
  • Privacy Policy
  • Terms and Conditions

Copyright 2025 Manuals.Online. All Rights Reserved.