Section 2 - Installing the Flushing Valve
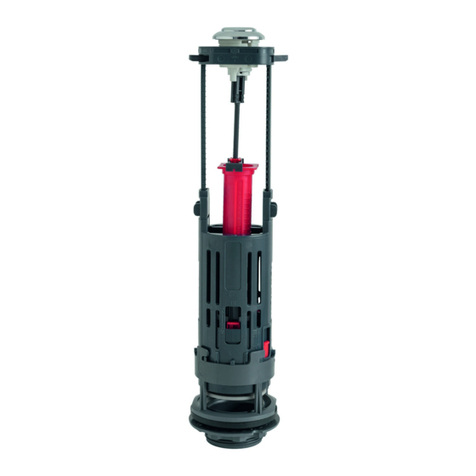
DSet the adjustable overflow that is fixed to the
top of the flushing valve, so that it is 20
millimeters above the water line. (The water line
should be marked on the inside wall of your
cistern).
Section 3 - Installing the Flush Sensor
Unscrew the blue no touch flush sensor plastic
cover, remove the black loose sensor plate
underneath the blue plastic cover and remove
the white silicon ring.
Tip! Leave these parts to one side as you will need them later.
Ensure that the JOLLYFILL inlet valve has been
fitted prior to fitting the flushing valve. This will
ensure that you can fit the flushing valve
without obstruction to the mechanisms. Place
the flushing valve through the cistern outlet
hole, ensuring that the washer is on the inside
of the cistern (Fig 1), facing the valve so that
the flushing valve mechanisms are free from
obstructions and that the cable to the sensor
will rest in a C shape once fitted. Once you are
satisfied that the valve is going to be located in
the correct manner, screw the back nut to the
threaded tail protruding out externally from the
bottom of the cistern, to secure the flushing
valve. The back nut should be screwed hand
tight initially and then a half turn with the
spanner included within the kit.
TIP! This product is designed for bottom entry cisterns only.
NB: PLEASE ENSURE THAT YOU HAVE TURNED OFF THE WATER
SUPPLY TO THE TOILET, EITHER VIA AN ISOLATOR VALVE OR BY
CLOSING THE WHOLE WATER SUPPLY TO THE HOUSEHOLD VIA
THE MAINS STOP COCK.
Fig 1.
Top View Of Cistern
Section 1 - Inlet Valve
Outlet Hole Inlet Hole
To fit the JOLLYFILL inlet valve, put threaded tail
through cistern inlet hole (Fig 1) making sure that the
washer is inside the cistern and fit back nut to the
threaded tail protruding out externally from the
bottom of the cistern, to secure the inlet valve. You
must ensure that the mechanism is free from
obstruction.
Set JOLLYFILL inlet valve to water line (the
water line should be marked on the inside
wall of your cistern). To do this you must lift
and turn at the same time, the telescopic
valve. The top of the floating cup must be at
the level of the water line.
Tip! Ensure back nut is fitted tightly with the spanner enclosed, to
eliminate water leakage.
Tip! Always make sure the inlet valve is locked in place after
adjustments have been made.
20mm
Critical level
28mm


