WIT-COLOR ULTRA 9600 User manual

1
z
ULTRA 9600
EPSON DX9

2
We’d like to express our sincere congratulations on your having a high capability
eco-solvent printer——Ultra 9600 1602S, and also appreciation for your support to
WIT-COLOR products. Please read this manual carefully,which can help you to solve the
problems encountered in the course. The table of contents can help you find the relevant
section needed.
Attention
WIT-COLOR is the trademark of Shanghai Wit-Color Digital Science &
Technology Co., Ltd. Wit-Color has the copyright of Ultra 1000,Ultra 2000, Ultra 3000,
Ultra 4000, Ultra 9000, Ultra 9100 ,Ultra 9200 solvent printer and eco-solvent printer,
including every spare parts, boards and software. Any copy by company or individual is
not allowed. Without authorization, this manual shall not be reprinted or propagated.
Ultra 9600 series printer has passed 3Q Conformity ofQuality Management System
Certification and ISO9001 Quality Certification. Ultra 9600 series printer is up to the
standard of printing equipment. Please pay attention to the following working
environment when you use the printer.
1. Please keep the printer away from electromagnetism environment: television,
high speed electric machine, high voltage cable, mobile phone, radio etc. These
equipments will produce magnetic interference.
2. Please keep the room temperature between 10 and 40 Celsius degree while printer
is working. Too high or too low temperature will reduce the printer’s using life and affect
the quality of the image.
3. The room should be in smooth ground with ground wire connection.
4. Please avoid direct sunlight and keep printer in ventilation and favorable
humidity.
5. Please keep the room clean, and avoid operating the machine under dust.
Displacement is inevitable during transportation. In this case, the engineer will
adjust it. You can not return or ask for compensation according to this issue.
Within the warranty time, WIT-COLOR provides maintenance and technical support
except the damage caused by human, bilging and thunderstrike. Please read the manual
carefully. Any question, please contact WIT-COLOR after-sales service department for
support.
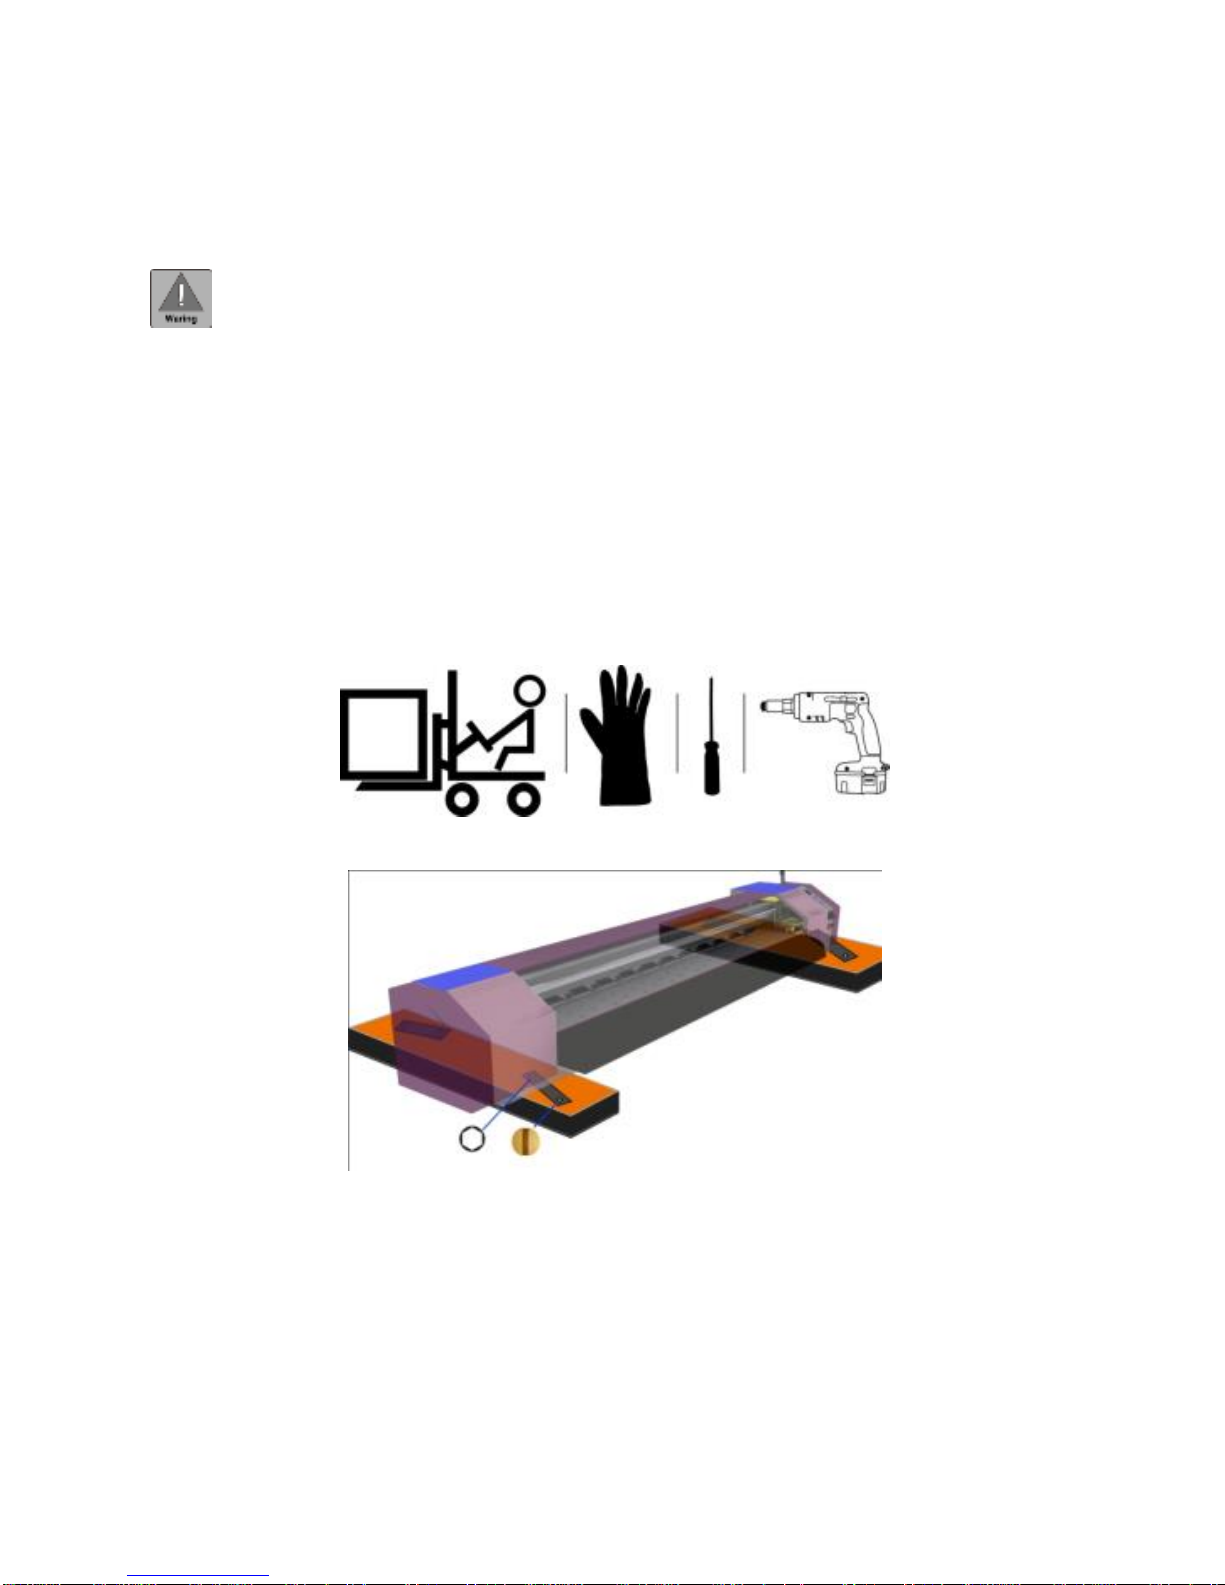
Please don’t dismantle the printer privately. When the printer is in high-speed
operation, please pay attention to the safety symbols to avoid unnecessary injury. Out of

3
WIT-COLOR also provide out-of-warranty printer maintenance according to the
agreement.
Specification is subject to change without prior notice.
The involved description, color and model of printer only takes the reference. The
exact configurations of equipment are subject to the real product.
Caution: Please obey the above description to avoid unnecessary issue.

4
TechnicalFeatures:
Epson generation 9th print head----DX9 print head
Ultra 9600 series printer adopts Epson DX9 print head which is newest four-in-one
EPSON PIEZO print head with 6 lines nozzles. Each line contains 180 nozzles with total 1080
nozzles. Upgraded on the basis of DX7 print head, DX9 print head possesses a higher fire
frequency and a more secure circuit design.
Gray Scale Variable Ink Drop Technology.
Ultra 9600 printers adopt Gray Scale controlling system which can generate 3 kinds of
drop volume with the minimum drop volume of 3.5pl. Thus the printing effect could be
more precise and vivid.
Fault-Tolerant Feather Technology
The most advanced fault-tolerate feather technology, developed by WIT-COLOR team,
realizes the gradient printing instead of linear printing. Due to the constitution of gradient
ink dot, fault-tolerant feather technology can effectively remove the stripe, thus
perfecting the picture.
LCD Control Panel
With LCD control panel, the printer could be operated to fulfill a series of convenient
maintenance like head-cleaning, ink-sucking, flashing media-feeding, media-retreating
and resetting.
USB Control Board
Equipped with USB control board and USB2.0, the printer is connected to the computer
via USB data cable. Meanwhile, the built-in memory chips of USB control board
improve the printing speed.
High-speed Motion System
The AC servo motor of the printer has a feature of high speed and high stability. In
mechanical part, the printer adopts imported linear rail, timing belt with steel wire and
copper gear. In the positioning system, the printer can achieve multiple 720 resolution
with180 DPI encoder stripe.
Rapid Heating and Drying System
The printer has two sets of heating system and one set of drying system. Pre-heating
contributes to absorption of ink by opening the coating of material. Post-heating
contributes to rapid coagulation of ink. In the collaboration of heating system and drying

5
system, each picture could be dried before collected.
Automatic media feeding and collecting system
The automatic media feeding system is designed with photoelectric control. The system
could bear large media like fabric and keep media moving in parallel. With passive media
collecting system, the printer achieves low energy consumption when bearing the light
media.

6
Symbols:
Please pay attention to the following symbols in the course of reading
Incorrect operation, which will result in serious problems. Please read
carefully to avoid incorrect operation.
Warning operation, which will damage printer. Please follow the
instructions carefully.
Hinting operation, which points out some details.

7
Chapter One
I
In
ns
st
tr
ru
uc
ct
ti
io
on
ns
s
b
be
ef
fo
or
re
e
I
In
ns
st
ta
al
ll
la
at
ti
io
on
n
Wooden Package Dimension:
Length*Width*Height: 2.82*0.82*0.80m
Printer Dimension:
Length*Width*Height: 2.70*0.72*1.30m
There must be enough space around the printer, at least 1.2meters for before and back, at
least 50 centimeter for left and right .
Power Supply:
1, Connect ground wire correctly. Use independent power supply and avoid sharing the
same ground wire or socket with other equipment
2, Power supply: AC supply 220V AC 50Hz (±10%)
3, Maximum power supply is 1200W; UPS power supply is more than 2000W.
4, Don’t use damaged wire line. The service power of wire line shall be above 3000W.
5, Don’t use extensive USB cable and the USB cable shall be screened.
6, Turn off all switches, and then connect the power supply cables or unplug the power .
Environment:
1, Please keep away from magnetic equipments and leave enough space around the
printer.
2, Please keep the room dust-free and suitable temperature.
3, The printer should be on the smooth ground. Do not tilt the printer, which will result in
deviation of media feeding.
4, Please avoid floors prone to vibration like aisle. Keep air in circulation.

8
5, Please keep away from direct sunlight or heat source. Stable temperature guarantee
stable chip operation.
6, Required temperature: 10-35℃; Required humidity: 30%-80%. Improper temperature
will reduce the printing effect.
7, Keep away from all the corrosive liquid and gas.
Please follow the correct operation.
Notice of Devanning
The equipment is packed in a wooden case. Qualified operator and Screwdriver are
required.
1, The gross weight of equipment is 300kg. Please remove with forklift.
2, Wear gloves when operating to avoid unnecessary injury.
3, Remove all the screws from up to down.
4, Do not discard screws.
Open the wooden package, and then unscrew the printer body to move the machine.
Cautions in moving printer
1, At least 6 people required.
2, Carry the body of the machine instead of bilateral chassis.
3, Do not left anything in the printer. Lock the side cover after checking.
4, Lift lightly with no collision.

9
Lift lightly to avoid printer deformation.
Notice of Ink:
1, Please keep the ink bottle away from the children, the pregnant and the elders.
2, If ink drops on the skin, wash with soap and water. If ink is splashed into eyes,
rinse immediately. Seek medical advice in time if feeling not good.
3, Store in a cool and dark environment.
4, Use ink in two month if the bottle is opened to achieve better printing effect.
5, Do not completely open the ink bottle. A small cut on the sealed bellows is enough.
6, Do not shake the ink bottle, or the ink will leak out.
7, Do not litter wastes.
8, Keep ink dust-free.
Do not litter ink wastes for the sake of others and environment.
Keep ink dust-free to avoid print head blocking.

10
Chapter Two
Details of Printer
Framework of printer

11

12
Specification
Model
Ultra 9600 1602S
Print head
Technology
EPSON PIEZO print head- DX9
Quantity
2Heads
Color
6 Colors: Cyan, Magenta, Yellow, Black, LM ,LC
Resolution
1440dpi\2160dpi\2880dpi
Injection
Distance
3~6 MM
Ink
Ink Type
WIT-COLOR ink: Black, Cyan, Magenta, Yellow
Ink Supply
Continuously automatic ink supply
Heating
& Drying
Heating System
Panel Heating: Temperature controller
30C°adjustable
Output Drying: 10~60C°adjustable
Drying System
External Drying Fan
Internal Radiating Fan
Media
Media Width
1520mm
Media Type
Photo paper, PP, Fabric, Adhesive vinyl etc.
Maximum load
100KG
Transmission
USB2.0
RIP Software
Maintop
Computer
System
WindowsXP\VISTA\7
Operation
Environment
Temperature:10℃~35℃
Humidity:30 ~80%

13
Power Supply
Rated Frequency: 50Hz
Rated Voltage: 220 AC(±10%)
Power
Max 1200W; Operating Power: 500W
Dimension
Length*Width*Height : 2.90*0.78*1.20m
Weight
220kg
Output
Mode
m2/h(2 heads)
4PASS
18
6PASS
12
InstallationCautions
Mechanical and Electronic Assembly
Assembly printer from foot to body. Shrapnel and gasket must be attached to all
the allen screw.
1, Frame Installation: Left foot
Recognize components position through screw hole.

14
Distinguish the front of the machine through screw hole.
2, Confirm the foot position, and then install the first crossbeam.
3, Install the second crossbeam and media collect motor.

15
4, Install media collect system.
5, Connect printer body and frame. The screw hole must correspond.
6, Open the right side cover and release the carriage.
7, Printer’s front view.

16
8, Install the tray to hold wasted ink box.
9, Insert ink cartridge: notice the position of needle and ink cartridge

17
Do not tighten the screw until all the screws are ready. If the screw is
sidetracked, please remove and screw again instead of pushing by force.
Inspection
1, The connection of encoder sensor and encoder stripe shall be accurate as shown in the
picture.
2, The distance between carriage and printing panel is about 3 mm. The height of
carriage can be adjusted by screws.

18
3, Move carriage and calibrate printing panel. The distance from the carriage bottom to
printing panel should be even from left to right. Adjustment can be made by propping
up and pulling down the screws(marked with red in picture).
4, Make sure the ground wire is connected.
5, Check all cables' connections in PCBs and drivers.

19
①Open the front protecting cover
②Check PCBs
Check slot and interface. (Examples for your reference)
If the slot or interface got loose, please tighten it and then close the cover.

20
6, Turn off all switches, and then connect the power supply cables. After turning on the
Circuit Leakage Protector's Swith, then turn on the Main Power Supply.
Self Inspection
Printer’s auto self inspection will be performed when restarted. The process is below:
Capping nozzles moving down→Carriage moving right→Carriage
replacement→Capping nozzles moving up
First, the print heads' scraper moves until reaching the Optical Couple Switch. (If the
scraper is in the position of Optical Couple Switch, and the scraper does not move
with the motor running, then it means the Couple Switch does not work well.)
Table of contents
Other WIT-COLOR Printer manuals
Popular Printer manuals by other brands

Canon
Canon PIXMA MP150 Installation/troubleshooting

Tektronix
Tektronix Phaser 780 Color supplementary guide

Seiko I Infotech
Seiko I Infotech IP-5620 user guide

Epson
Epson Stylus Pro 7880 ColorBurst Edition - Stylus Pro 7880... user guide

Reiner
Reiner jetStamp 1025 operating manual

Ricoh
Ricoh Aficio SP 1210N Quick setup guide