Woodrow Kilns CAHO SR-T4 User manual

Page 1of 7
31- 33 Hoskins Ave, Bankstown NSW 2200
PO Box 31 Manahan NSW 2200
Tel: 02 9790 2717
Fax: 02 9708 4875
www.kilns.com.au
ABN 64 086 103 415
CAHO SR-T4
Controller Manual
Single Program
Degrees Per Minute
Ramp Rate Controller with Soak
NOTE: Please read instructions before using your kiln.
Failure to do so may result in damage to the kiln and it’s contents.

Page 2of 7
CONTENTS
SECTION 1 - Getting to know your Controller.................................................................3
SECTION 2 –Programming your Controller....................................................................3
2.0 Turning the Kiln On.....................................................................................................3
2.1 Setting the Firing temperature.....................................................................................3
2.2 Setting the ramp rate (or Heating rate) .......................................................................3
2.3 Setting the Soak Period (soak time setting)................................................................4
2.4 CONVERSION TABLE ...............................................................................................5
SECTION 3 - Running the Kiln..........................................................................................6
3.1 To Start the Firing.......................................................................................................6
3.2 Completion of Firing....................................................................................................6
SECTION 4 - Firing Time ...................................................................................................7
4.1 Influences on Firing Time............................................................................................7
4.2 Firing Time - Influences on Firing Time.......................................................................7
SECTION 5 - Suggested Firing Ramp Rates and Soaks.................................................7

Page 3of 7
SECTION 1 - Getting to know your Controller
The Caho Digital Temperature controller is designed to allow automatic firing to a set temperature
at a set rate of rise. Once the Kiln has reached that temperature the Kiln can then Soak (dwell) at
the set temperature for a set number of minutes.
The Controller has two rows of the digital read out:
The Top row is the PV or Present Value
This represents the Temperature of the Kiln at that moment. This is the temperature being
measured at that moment by the Thermocouple (the internal thermometer that protrudes into
kiln).
The Bottom row is the SV or Set Value
This is the Set Value for either the Temp, Soak or Ramp Rate.
The button to the bottom left of the controller cycles through the three values. The "" or ""
arrows adjust the Set Value.
The Dot button is not used (Please don’t press this as it will likely cause issues)
The AL light indicates that the program has finished and the Kiln is cooling.
SECTION 2 –Programming your Controller
2.0 Turning the Kiln On
I. Turn power ON at the power point (if not already hardwired).
II. Turn the BLACK on/off Rocker switch on the front of the control panel to the ON position.
The “Cycle End” light should be illuminated.
2.1 Setting the Firing temperature
Set the Temperature you wish to fire to by pressing the "" or "" arrows on the front of the
digital controller. The longer you hold the buttons down the faster the setting changes (Like an
alarm clock).
2.2 Setting the ramp rate (or Heating rate)

Page 4of 7
Now press the Scroll Button in the bottom left corner of the controller again to advance to the
“rAnP” Ramp Rate setting. This is indicated when the controller displays “rAnP” in the top
display.
This is the rate at which the kiln heats to the desired firing temperature. This mean that for every
hour the kiln is running the temperature should increase by the rate set. To adjust this rate up or
down simply use the "" or "" arrows on the front of the digital controller.
Note: The controller is set up to show the ramp rate (rAnP) in Deg C/min.
You can now or at any time during the firing press the Scroll Button in the bottom left corner of
the controller to scroll through and see what settings you have programmed for the Temp, Soak
(tinE) Time of Ramp Rate (RAnP)
2.3 Setting the Soak Period (soak time setting)
Now press the Scroll Button in the bottom left corner of the controller to advance to the Soak
Point Timer. This is indicated when the controller display “tinE” in the top display (as shown
below) This Soak time is measures in Minutes of Soak Time required.
The range is from 1 to 999 minutes. (Mins)

Page 5of 7
2.4 CONVERSION TABLE DegC/Hr to DegC/Min
Deg C/hr
Deg C/min
Deg C/hr
Deg C/min
Deg C/hr
Deg C/min
6
0.1
96
1.6
186
3.1
12
0.2
102
1.7
192
3.2
18
0.3
108
1.8
198
3.3
24
0.4
114
1.9
204
3.4
30
0.5
120
2
210
3.5
36
0.6
126
2.1
216
3.6
42
0.7
132
2.2
222
3.7
48
0.8
138
2.3
228
3.8
54
0.9
144
2.4
234
3.9
60
1
150
2.5
240
4
66
1.1
156
2.6
246
4.1
72
1.2
162
2.7
252
4.2
78
1.3
168
2.8
258
4.3
84
1.4
174
2.9
264
4.4
90
1.5
180
3
270
4.5
If this is your first firing we would recommend you begin learning you kiln in the 1-1.5 Deg/min
range.
Green indicates recommended range for Bisque and Earthenware Firings

Page 6of 7
SECTION 3 - Running the Kiln
3.1 To Start the Firing
It is advised that you always turn the Kiln OFF and then back ON between or after each firing. This
resets the controller so it knows to begin a new firing and ensures it does not become confused.
To begin Firing Press the square RED Start Button.
The “Cycle End” light will turn off.
The controller will indicate that the kiln elements are being turned on by illumination of a small
square red indicator light (marked OP1) in the top right hand corner of the controller.
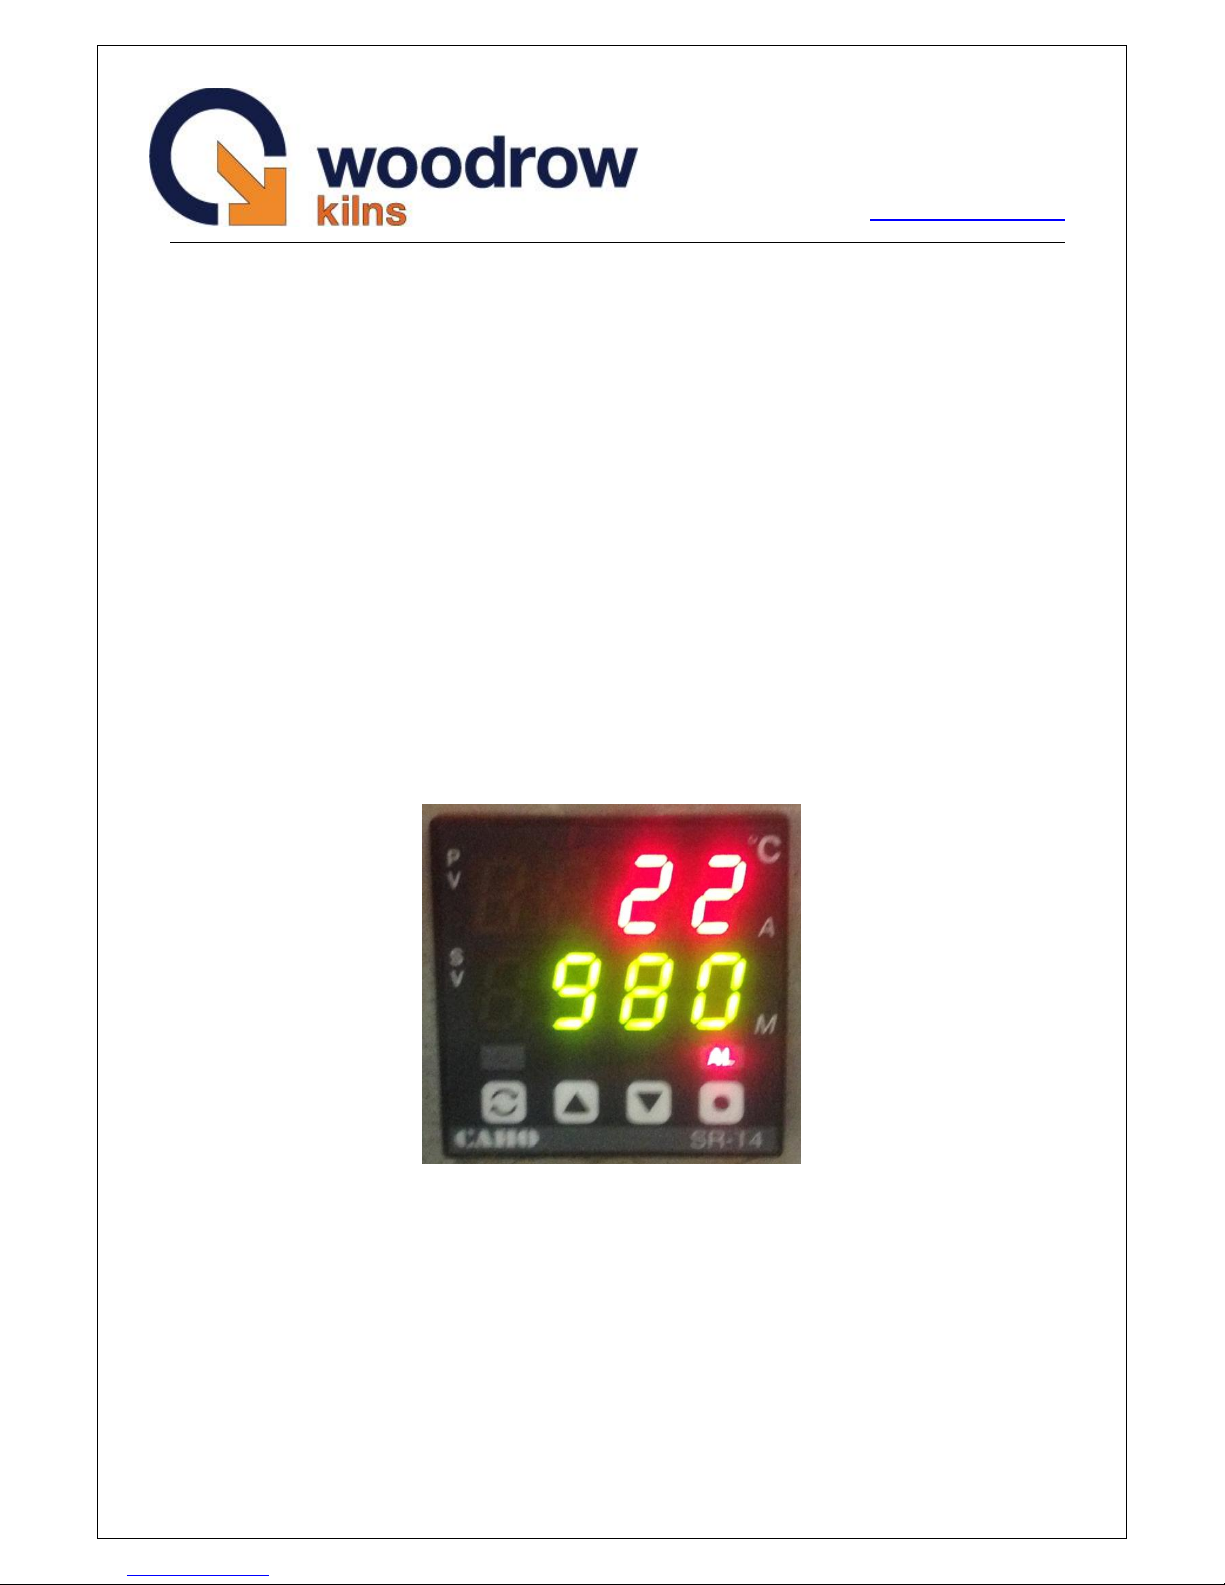
The bottom display will start to indicate the theoretical target temperature which the kiln
chamber should be at any point during the programmed firing. Visual checking of the bottom
theoretical program display with the top actual process value display will be helpful to the operator
to ensure that the kiln is able to keep up with the program.
NOTE: The Kiln will not always show the PV and SV being equal. The Controller will attempt to
keep these values being equal but may lag or overshoot from time to time. This is the normal
function of the controller. If these do become separated by a large amount you may have an issue
with the Kiln not being able to keep up with the program or there may be a problem with the Kiln.
3.2 Completion of Firing
At the moment that the kiln reaches the set value (set temperature) both the top display and the
bottom display will show this value at the same time. The program has now moved into the “timed
soak” stage of the program. When the “timed Soak” period has been completed, the small red
alarm light and the END light will be ON. The Kiln will now “Turn Off” as the firing is now
completed and the kiln temperature will begin to fall. The top display will continue to display the
falling temperature and the bottom section will display the set temperature that the Kiln reached.

Page 7of 7
SECTION 4 - Firing Time
4.1 Influences on Firing Time
For kilns & kilns fitted with Non Indicating Control firing time depends upon many use factors
including the type of ware, the mass of the ware and the temperature which the furnace is required
to operate at. Once the operator has learned the heating time taken for the particular process for
which the kiln is being used, this time should be noted so that in future, the kiln can be checked to
observe that it is not taking an unusually long time to reach the set temperature- which could
indicate a problem with the kiln.
NOTE: The firing time will vary slightly with variations in the mass of the load, but this is normal.
4.2 Firing Time - Influences on Firing Time
It is possible to set the firing rate to a speed that is faster than the kiln power can provide.
Therefore it is important to learn what the kiln is capable of providing particularly at the very end of
the firing.The maximum firing rate will be influenced by many factors including the type of ware,
the mass of the ware and the maximum temperature to which the kiln is required to operate.
Once the operator has learned the maximum heating rates and has the times, then the firing rate
can be set so that it is always controlling the kiln and so the firing time (for a particular setting
rate) from one firing to another will always be the same. The kiln can be checked to observe that it
is not taking an unusually long time to reach the set temperature-which could indicate aproblem
with the kiln.
SECTION 5 - Suggested Firing Ramp Rates and Soaks.
Top Temp
Soak (Sp3)
Ramp Rate (rr)
Bisque
(Check Clay Recommendations)
980oC - 1000oC
10 mins
1oC –1.6oC / min
Earthenware Glaze
(Check Glaze recommendations)
1080oC - 1100oC
15 - 30 mins
1.6oC–2.5oC /min
Stoneware / Porcelain
(Check Clay Recommendations)
1220oC - 1260oC
10 mins
1oC –1.6oC / min
Stoneware / Porcelain Glaze
(Check Glaze recommendations)
1220oC- 1260oC
0 - 15 mins
1.6oC–2.5oC /min
Table of contents
Popular Controllers manuals by other brands

Allen-Bradley
Allen-Bradley 1336 FORCE user manual

Enttec
Enttec DATAGATE MK2 Quick start manual

OptoSigma
OptoSigma SRC-101 instruction manual

Emerson
Emerson Vilter Vission 20/20 Operation and service manual

Grundfos
Grundfos PM 1 Installation and operating instructions

Anaheim Automation
Anaheim Automation MDCSL100-050301 user guide

National Instruments
National Instruments PCI-7354 Getting started

Calpeda
Calpeda IDROMAT 3 Original operating instructions

VALPES
VALPES ER35 Installation and operation manual

CARLO GAVAZZI
CARLO GAVAZZI Sx2WEB Series manual

EFIX
EFIX FC2 user guide

Precision Digital Corporation
Precision Digital Corporation PRO VU Series manual