English version –11/2009
2/4
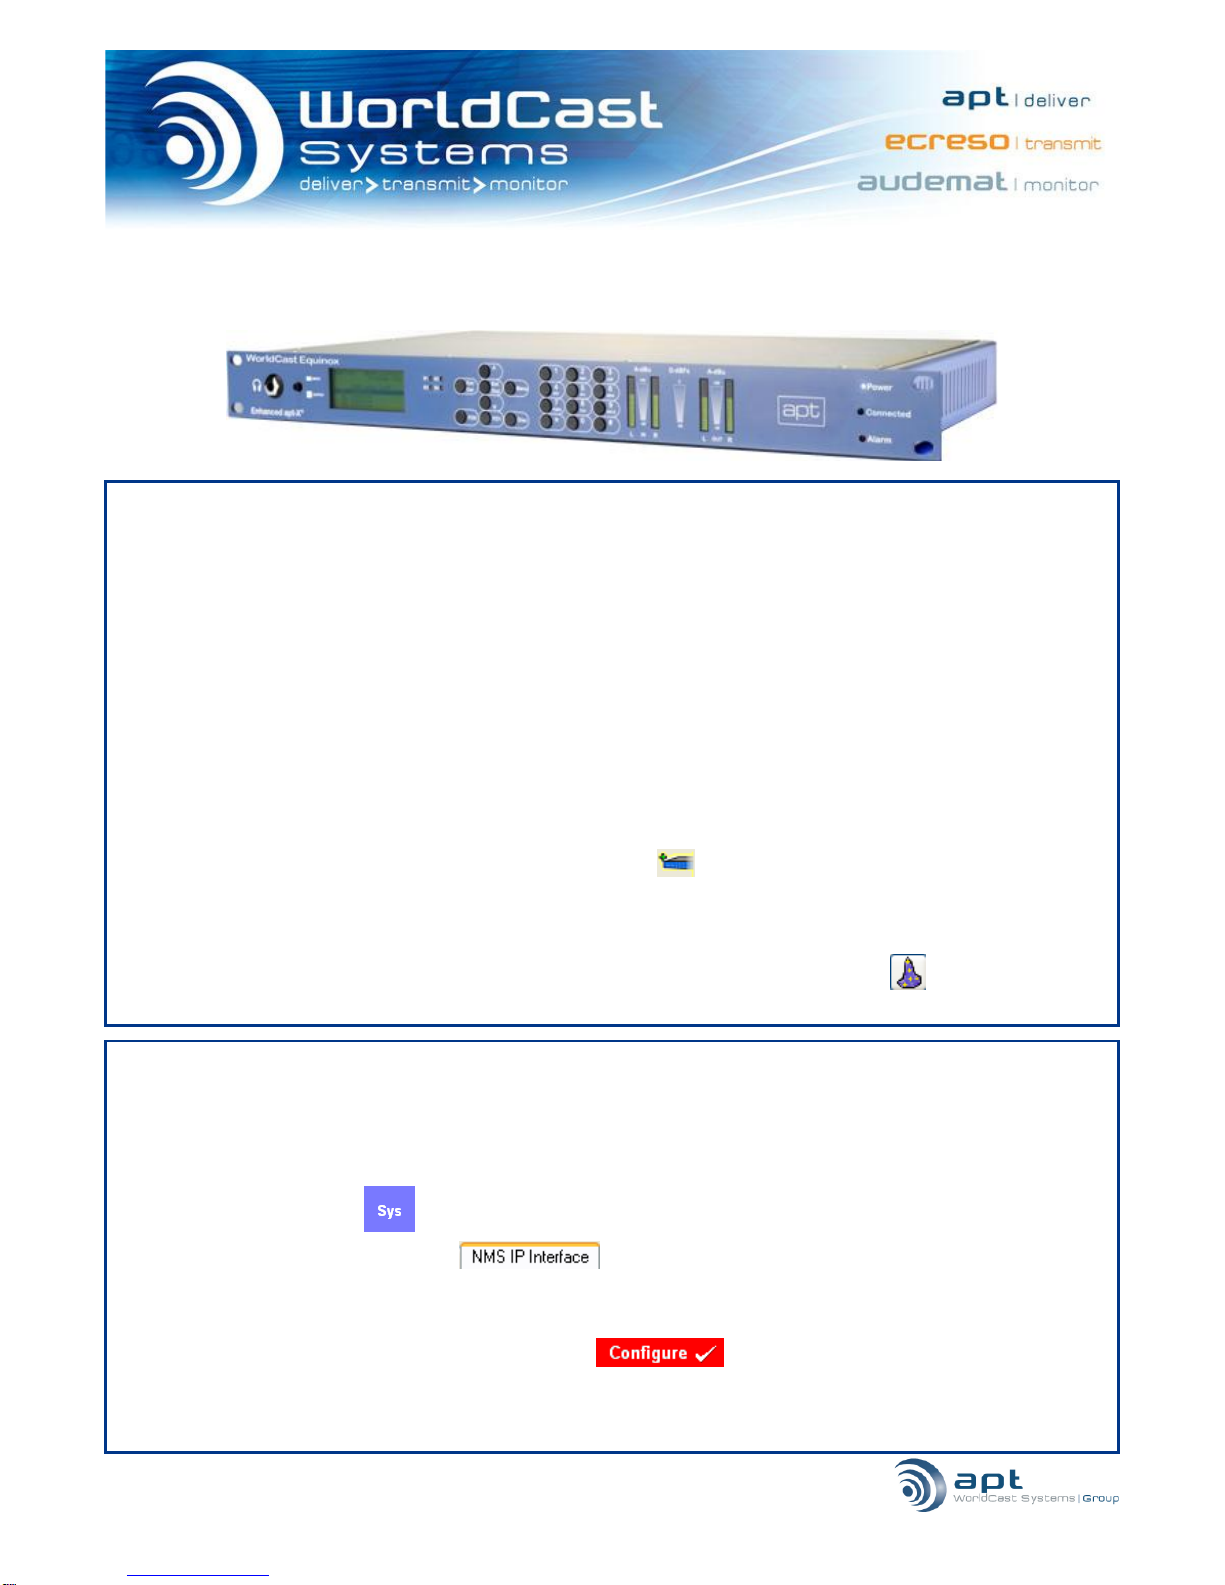
3. Configuring an audio profile
1. Double click the unit on the tree view to gain access to all the configurable options.
2. Determine the audio settings you wish to use for transmitting audio by clicking on Audio and Audio
Profiles . Ensure that the unit to which you are transmitting is setup to also use these audio
settings. When you have finished, click Configure. Ensure that the profile is given a name. If this audio profile
is also to be used for an ISDN connection, enable „ISDN Applicable‟. Press configure.
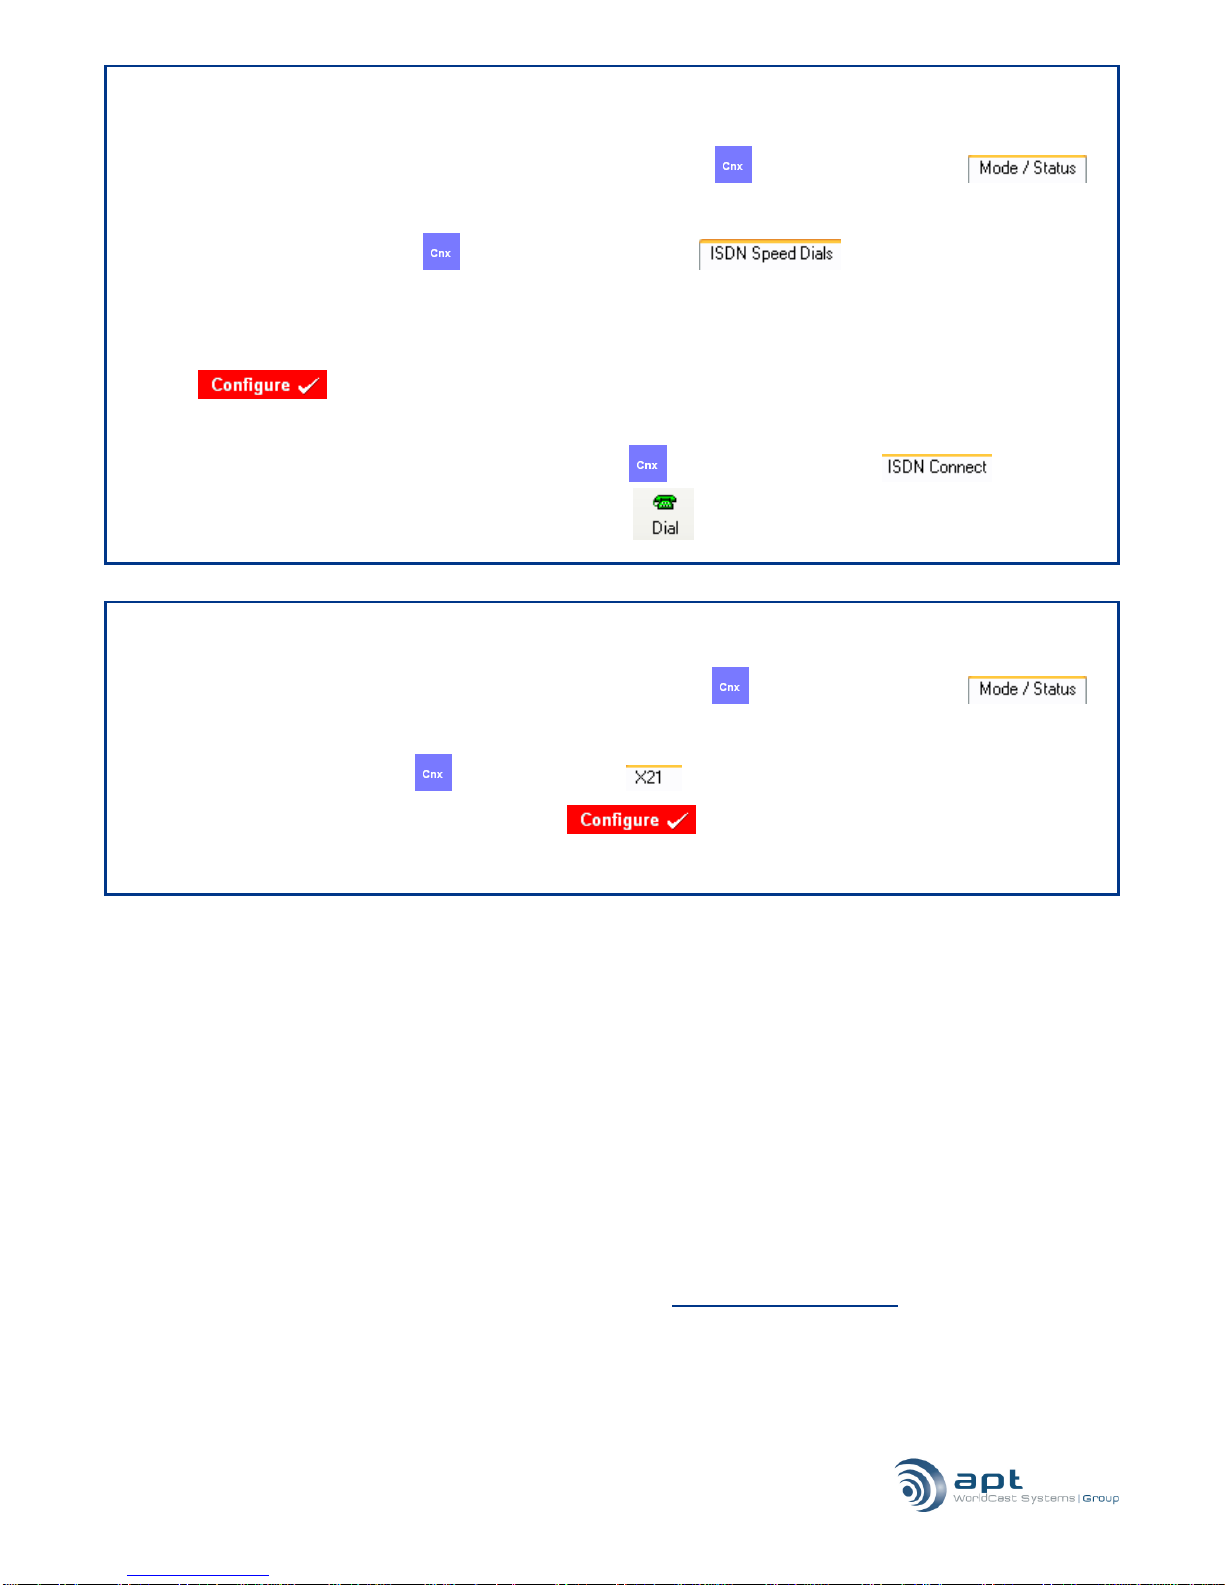
4. Establishing a bi-directional IP connection (using CMS/NMS)
1. Choose IP as the mode of transport you wish to use by opening the unit and navigating to CNX . Select
Mode/Status and select the primary connection as IP. Click Configure.
2. For an IP connection, it is recommended that there is only one unit configured as „Master‟; this unit would
normally be located at the transmitting or head-end. All slave units will synchronize with the master unit.
Please configure the master/slave setting as required.
3. Next, click on Cnx and IP Speed Dials and enter the IP address of the unit which you want
to transmit to. Select the same packet size as that on the receiving unit. Select a QoS (quality of service) if you
have arranged this with your ISP, otherwise leave at “0”. Select the type of IP connection you will require (IP
NACIP will normally be used to connect to other manufacturers‟codecs or NACIP compliant APT codecs, IP
Legacy would be used when connecting to older APT equipment which do not support NACIP and IP 3rd Party
Legacy would normally be used to transmit to older codecs from other manufacturers such as the Mayah
Centauri or Tokyo). Check the RX and TX enable check boxes. Set the buffer size to an appropriate level.
N.B. It may be necessary to adjust the buffer size during trial and error of your network connection (e.g. should
glitches appear in the audio). 100ms is the default value.
4. Select the audio profile from the drop down list which you configured in Section 3. Press configure.
5. Next, click on Cnx then IP Connect Select the IP speed dial you just configured from the drop-
down list and press Connect . This will connect this unit only so you will need to perform the same setup
on the unit with which you wish to communicate.