WorldEyeCam IMaxCamPro Bronze Specification sheet
Worldeyecam, Inc
Bronze DVR Quick Setup
Worldeyecam, INC.
24551 Raymond Way, Suite 270
Lake Forest, CA 92630
Phone:1-888-211-CCTV (2288)
FAX: 949-305-9977
Email: support@worldeyecam.com
http://www.worldeyecam.com
PLAYBACK RECORDED VIDEO
Step 1
Start out by right clicking with the mouse and choose
“Search”.
Step 2
To start a search, first enter the time and date to-
wards the bottom left. To the right of the time and
date you should see up to 4 numbers listed which are
your channels. Select the channels you want to
search. When completed, click the search button
located on the bottom right (magnifying glass).
Step 4
Double left click on the result you want to playback on
the right hand side. The video will be shown in the main
window.
Step 5
Click in the individual channel windows to control the
playback –fast forward, backward, pause, etc...
Step 6
Use the Next/Previous channel and Next/Previous
video clip buttons to easily jump through to your other
channels/results.
Note: You may want to move the cursor to each
button on the window to get familiar with its func-
tion which is displayed in the message bar.
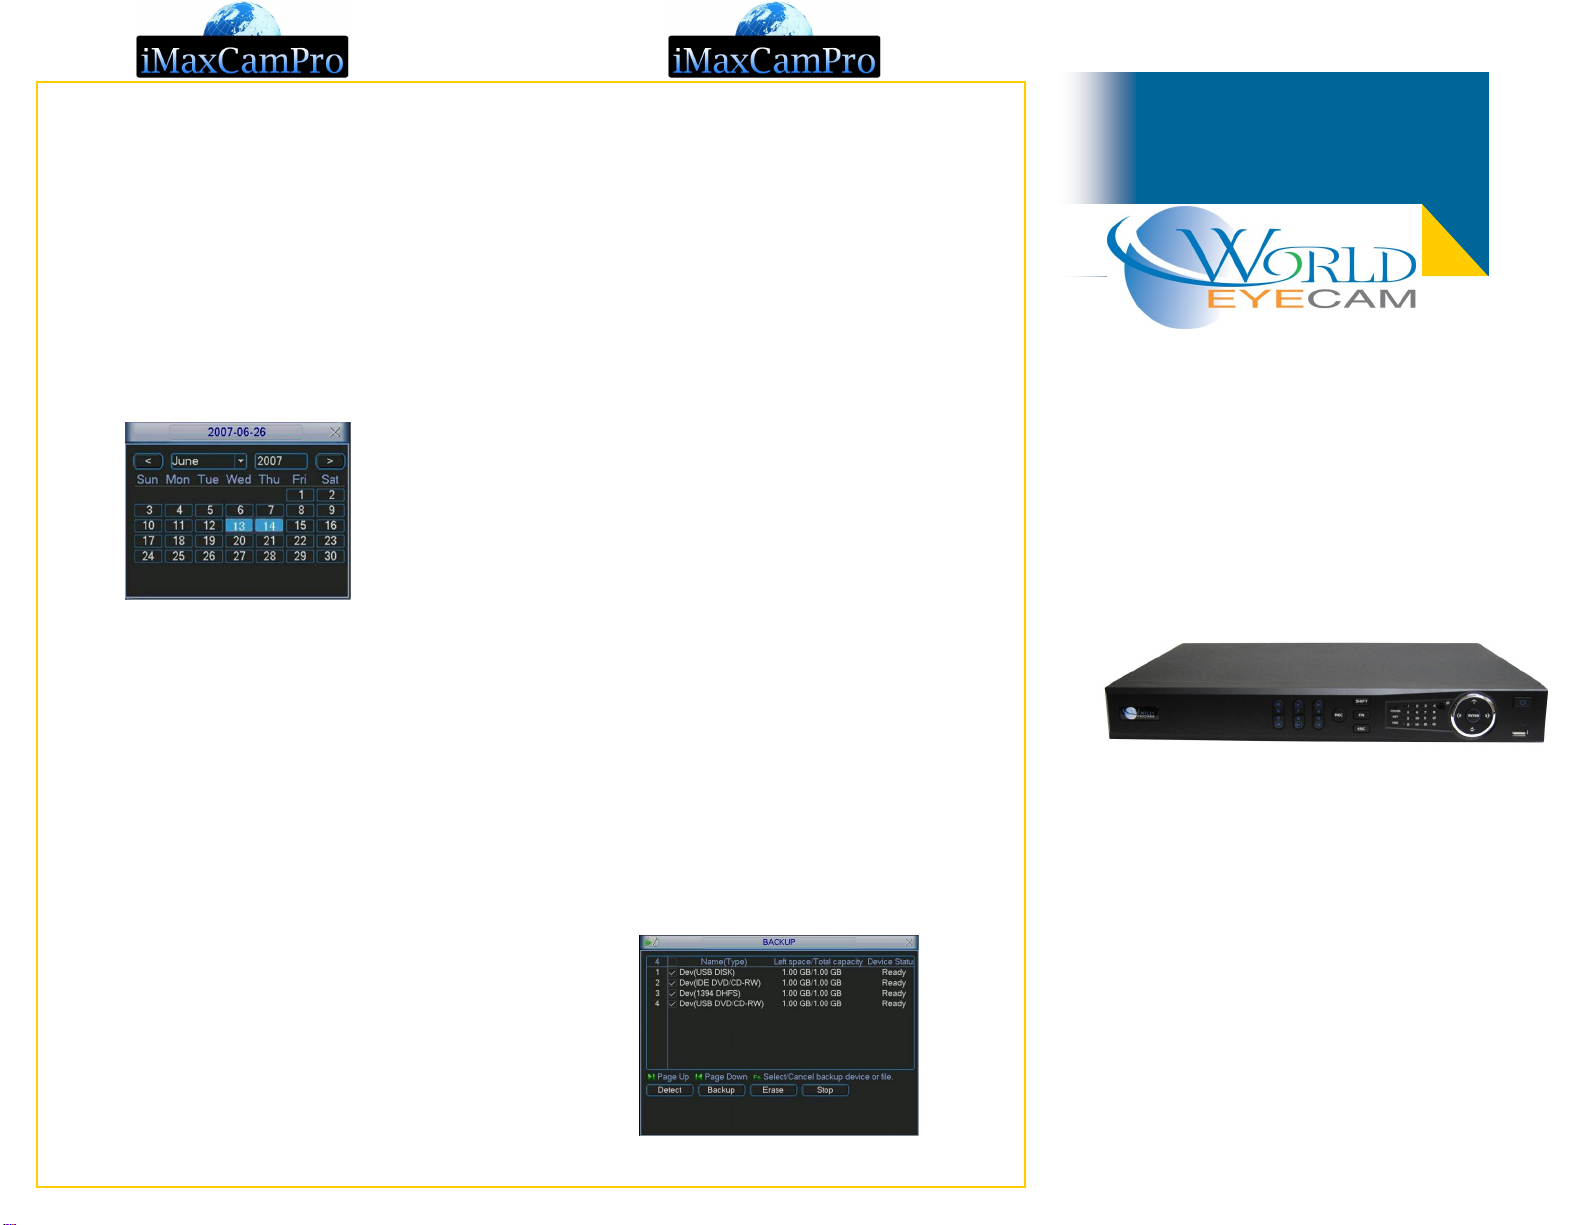
BACKUP RECORDED VIDEO
Step 1
Insert your USB drive or blank CD/DVD disk.
Step 2
Login to the DVR as administrator using
888888/888888 for username and password. Press
“Enter” Key for the password prompt.
Step 3
Select “ARCHIVE” then “BACKUP FILES”
Step 5
Verify the system has detected the media correctly.
Look at the top for “Left Space/Total Space." This
shows how much free space you have remaining on
your USB or CDR.
Step 6
Select the “Type”, “Channel”, and fill in the “Start Time”
and “End Time”. Select “Add”. Video clips meet the
criteria will be displayed. You can check/uncheck to
include/exclude the file for the backup.
Step 7
Repeat Step 6 to add video clips from other channels.
Watch for that “Space Required” not to exceed “Space
Remained”.
Step 8
Select “Backup” to start the backup process.

DVR NETWORK CONFIG
Step 1
Login to the DVR as administrator. Press “Enter” Key
for the password prompt. The default username/
password is “888888/888888”
Step 2
Select “SETTING” from the main menu. Then select
“NETWORK”
Step 3
Click "DHCP" (make sure the box is white, if black
then click it). Select “Save” at bottom on the menu.
Step 4
Next, you will need to restart the DVR. To do this,
first go back to the main menu and click on
"SHUTDOWN". Next, select "Restart system" from
the drop down menu options and click "OK".
Step 11
Next, go back to the "NETWORK" settings and un-
check the DHCP box. Click "SAVE"
DVR RECORDING CONFIG
Step 1
Login to the DVR as administrator. Press “Enter” Key
for the password prompt. The default username/
password is “888888/888888”
Step 2
Select “SETTING” from the main menu. Then select
“SCHEDULE”
Step 3
Start off by picking the channel (to apply to every
channel select “All”) at the top left of the screen and
also the day of the week (to apply to everyday select
“All”).
Step 4
You also have options to use prerecording and re-
dundancy.
Step 5
The periods below (1 through 6) are meant for you to
break down a total day in to different time periods.
Step 6
The graph below the periods will indicate a whole
days recordings in color coded form.
Quick Start
DVR SETUP
CAMERA CONNECTIONS
This manual suits for next models
1


