8
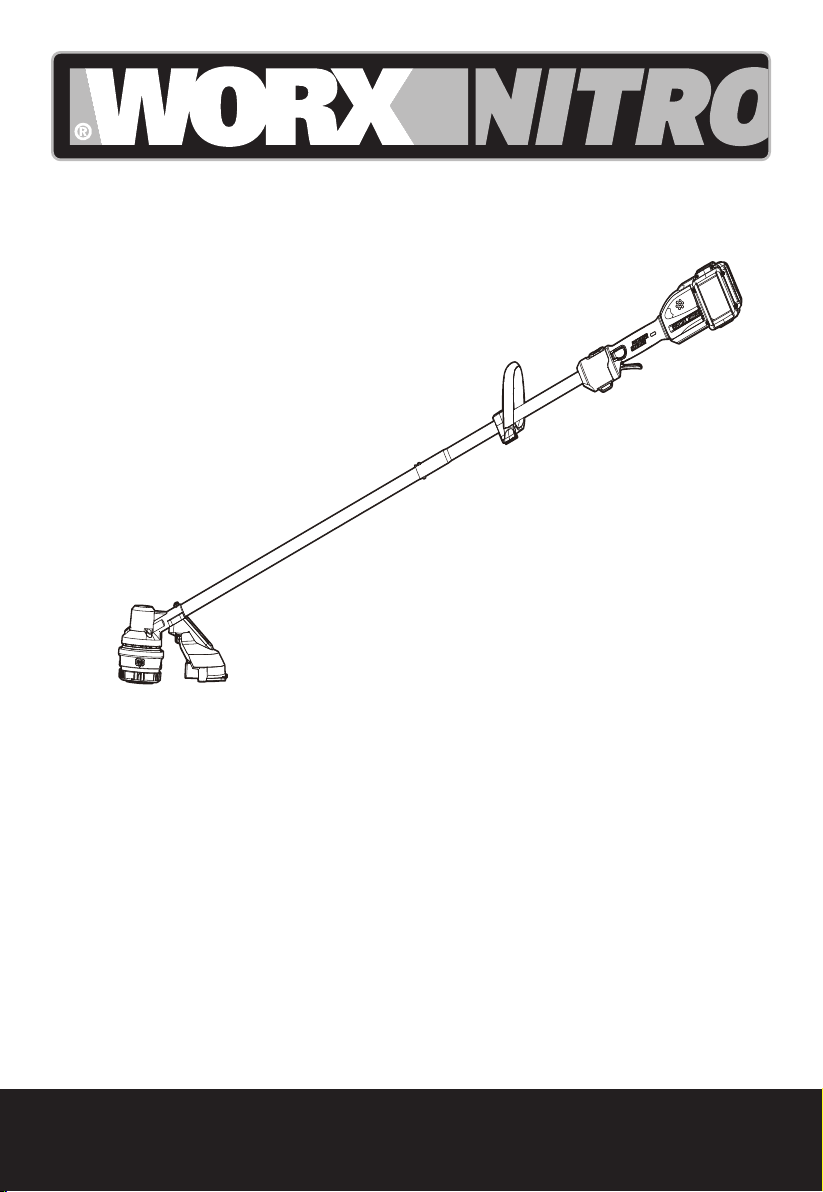
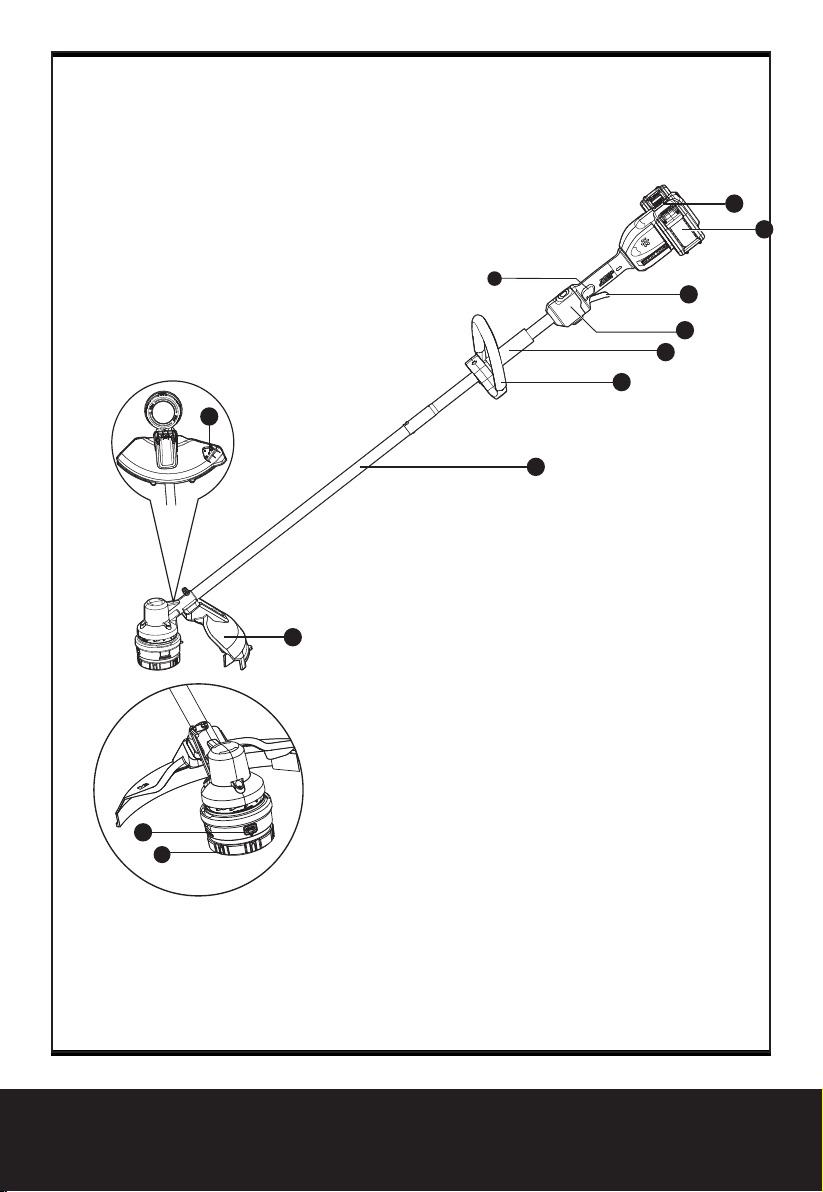
Cordless Grass Trimmer WG185E WG185E.X
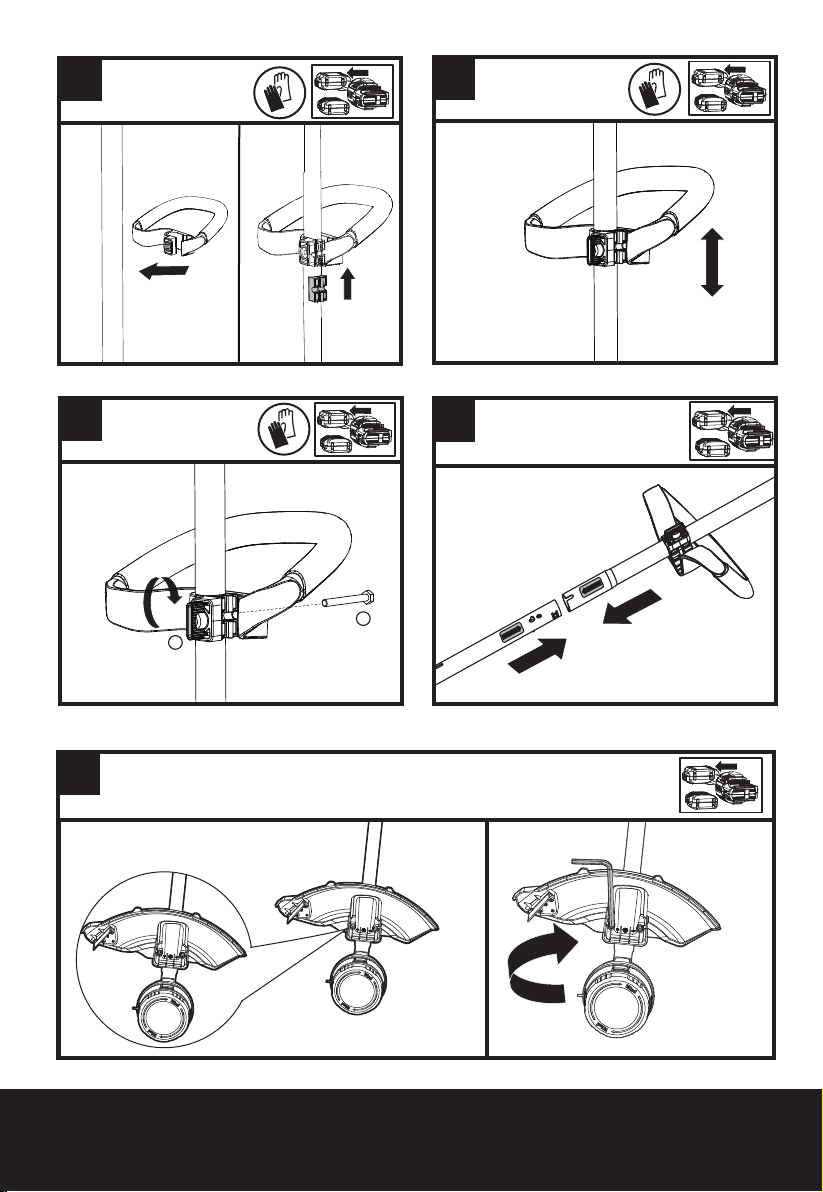
d)Never operate the machine
with damaged guards or
shields or without guards or
shields in place.
e)Switch on the motor only
when the hands and feet are
away from the cutting means.
f) Always disconnect the
machine from the power
supply (e.g. remove the
battery pack from the
machine)
1)whenever the machine is left
unattended;
2)before clearing a blockage;
3)before checking, cleaning or
working on the machine;
4)after striking a foreign object;
5)whenever the machine starts
vibrating abnormally.
g)Take care against injury to
feet and hands from the
cutting means.
h) Always ensure that the
ventilation openings are kept
clear of debris.
M2IZIVƼXQIXEPGYXXMRK
elements.
j) Always be sure of your
footing on slopes.
k)Walk, never run.
l) Not overreach and keep the
balance at all times.
m)Not to touch moving
hazardous parts before
removing the battery pack
from the machine and the
moving hazardous parts have
come to a complete stop.
4.Maintenance and storage
a)Disconnect the machine
from the power supply (e.g.
remove the battery pack from
the machine) before carrying
out maintenance or cleaning
work.
b)Use only the manufacturer’s
recommended replacement
parts and accessories.
c)Inspect and maintain the
machine regularly. Have the
machine repaired only by an
authorized repairer.
d)When not in use, store the
machine out of the reach of
children.
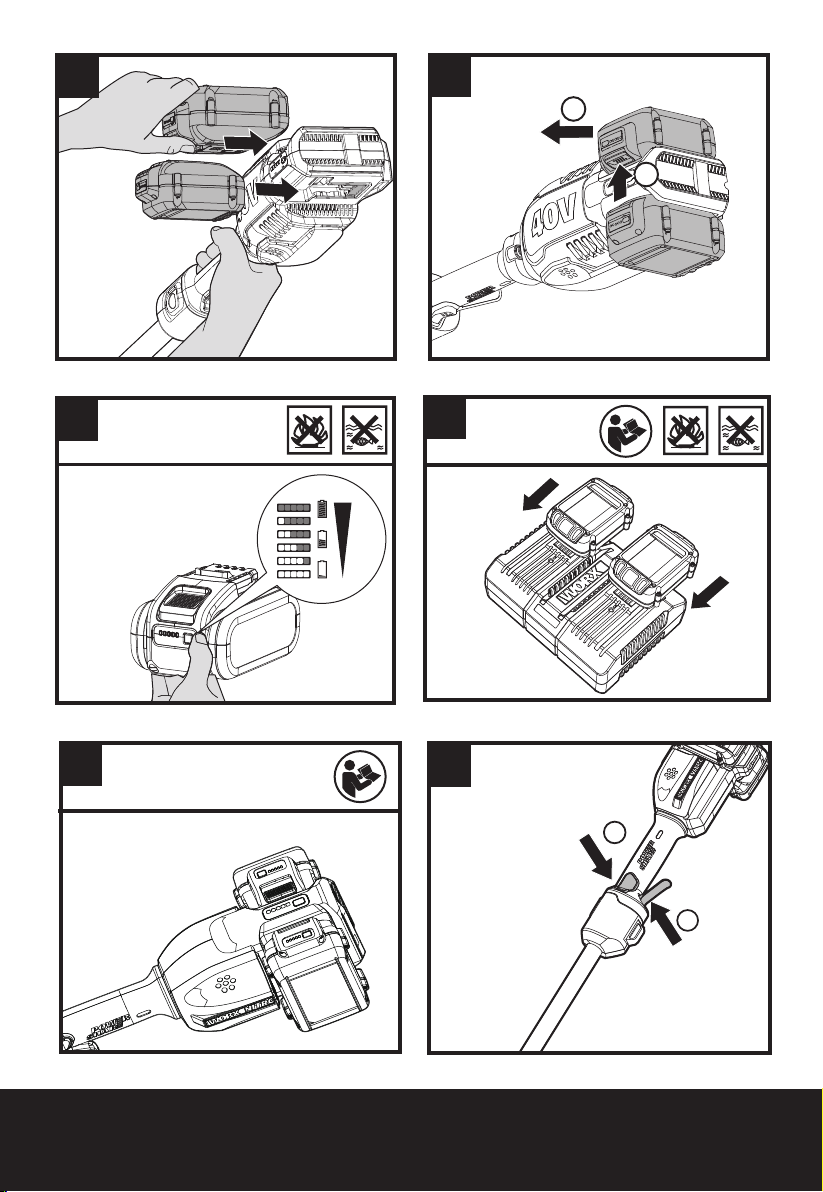
BATTERY SAFETY
SAFETY WARNINGS FOR
BATTERY PACK
a)Do not dismantle, open or
shred cells or battery pack.
b)Do not short-circuit a
battery pack. Do not store
battery packs haphazardly
in a box or drawer where
they may short-circuit each
other or be short-circuited
by conductive materials.
When battery pack is not
in use, keep it away from